
Crocheting a hat for a girl is one of the most satisfying and practical projects you can take on. Whether you’re making a cozy winter beanie, a stylish slouchy hat, or a lightweight spring cap, a handmade crochet hat makes a beautiful and thoughtful gift. This guide walks you through the entire process of making a classic crochet hat for girls, with room for customization, embellishment, and flair.
🧶 Materials You Will Need
| Item | Description |
|---|---|
| Yarn | Worsted weight yarn (acrylic, cotton, or a blend) – approx. 100–150 yards |
| Crochet hook | 5.0 mm (H-8) or size needed to match gauge |
| Stitch markers | To mark beginning of rounds |
| Tapestry needle | For weaving in ends |
| Scissors | For trimming yarn |
| Optional | Buttons, bows, ribbons, flower appliqués, pom-poms for embellishment |
📏 Size Guide (Approximate)
You can adjust the pattern to suit any age by changing the number of increase rounds or switching yarn/hook size.
| Age Group | Head Circumference | Hat Height |
|---|---|---|
| 1–3 years | 18–19 in (46–48 cm) | 6.5–7 in (16–18 cm) |
| 4–7 years | 19–20.5 in (48–52 cm) | 7–7.5 in (18–19 cm) |
| 8–12 years | 20.5–21.5 in (52–54 cm) | 7.5–8 in (19–20 cm) |
🪡 Stitches Used (US Terms)
- ch – chain
- sl st – slip stitch
- sc – single crochet
- dc – double crochet
- inc – increase (2 stitches in 1 stitch)
🎯 Step-by-Step Crochet Hat Pattern for Girls
This is a top-down, in-the-round pattern using basic double crochet stitches. Simple, fast, and easily adjustable.
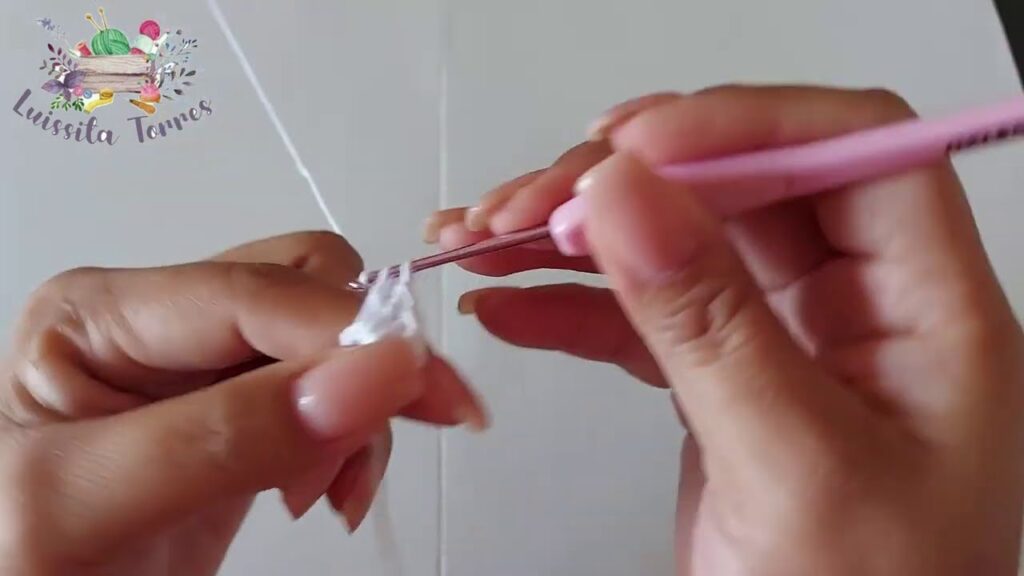
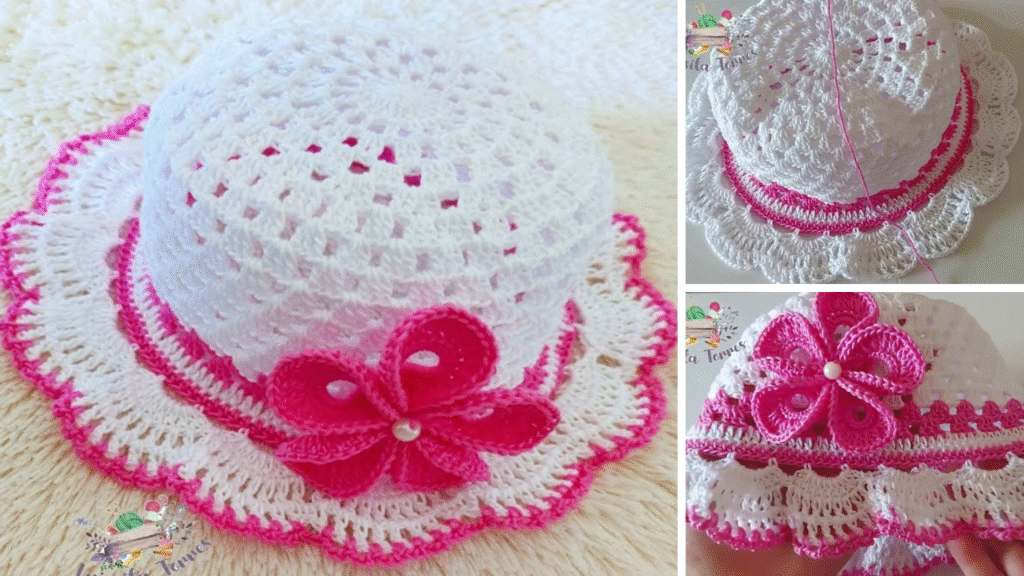
☀️ Step 1: Crochet the Crown
Start with a magic ring or chain 4 and join into a ring.
Round 1: Ch 2 (counts as dc), 11 dc in ring. Join with sl st. (12 dc total)
Round 2: Ch 2, 2 dc in each st around. Join. (24)
Round 3: Ch 2, *1 dc in next, 2 dc in next*. Repeat around. Join. (36)
Round 4: Ch 2, *1 dc in next 2 sts, 2 dc in next*. Repeat. Join. (48)
Round 5: Ch 2, *1 dc in next 3 sts, 2 dc in next*. Repeat. Join. (60)
➡️ Continue increasing (adding 12 stitches per round) until the crown diameter reaches about 6–6.5 inches (15–16.5 cm) for older girls or 5–5.5 inches for toddlers.
👒 Step 2: Work the Sides (Body of Hat)
Now that the crown fits the top of the head, stop increasing.
Rounds 6–13 (or until desired height):
Ch 2, 1 dc in each stitch around. Join with sl st.
➡️ The hat will begin to take shape and curve downward as you stop increasing.
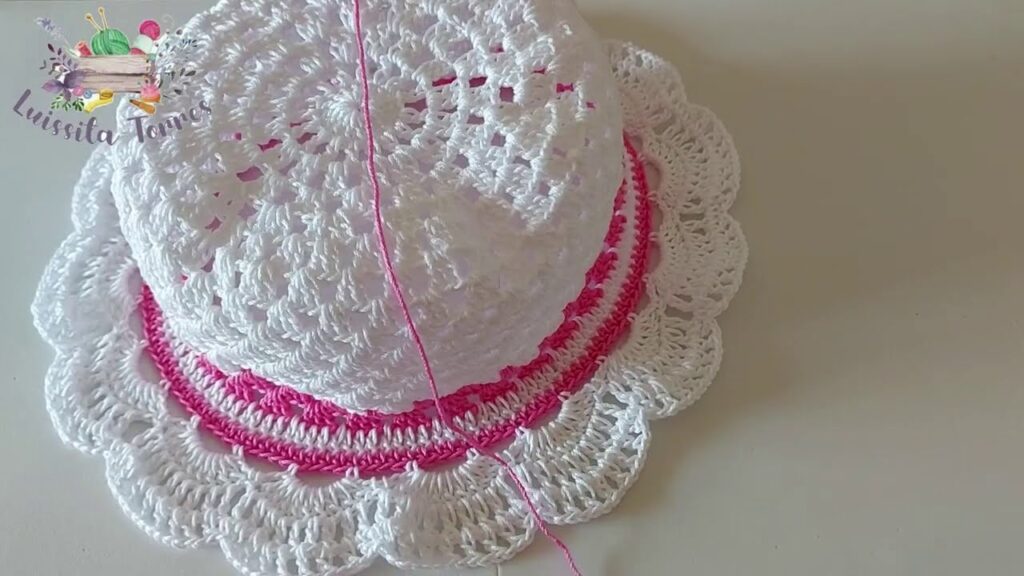
❄️ Optional Step: Add Ribbing or Texture
If you’d like a ribbed brim:
Last 2 rounds:
*Fpdc (front post double crochet), Bpdc (back post double crochet)* around.
This creates a stretchy, professional-looking edge.
Or for a textured stitch pattern, alternate dc with sc or use the V-stitch (dc, ch 1, dc in same stitch).
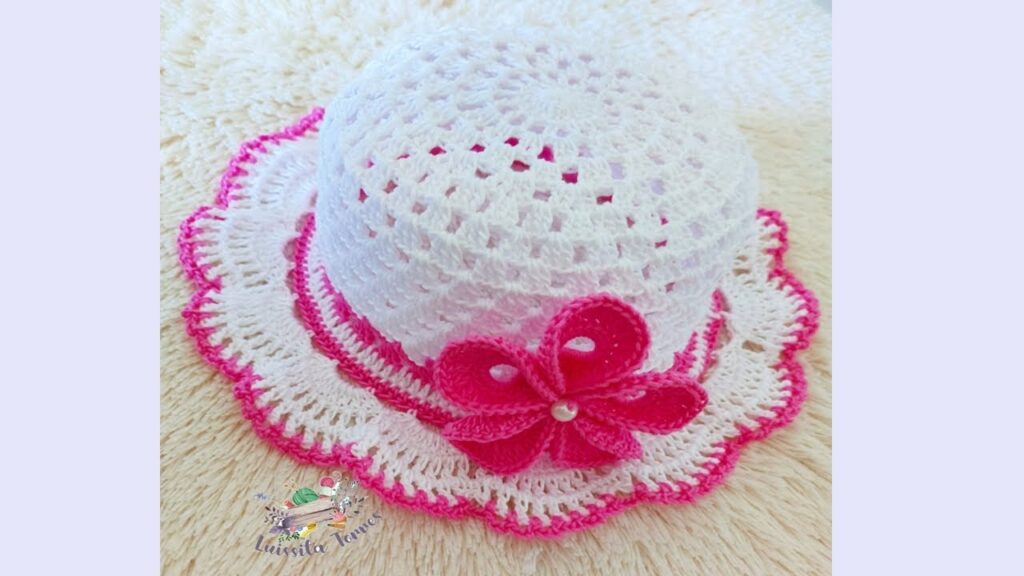
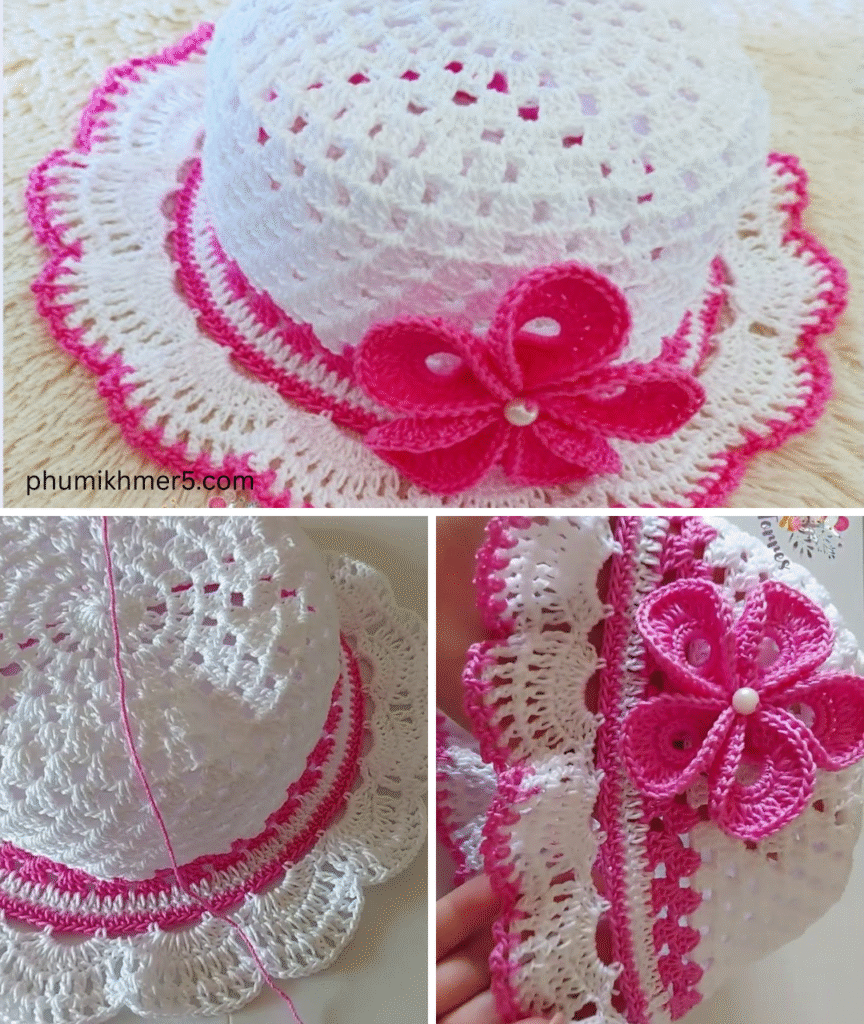
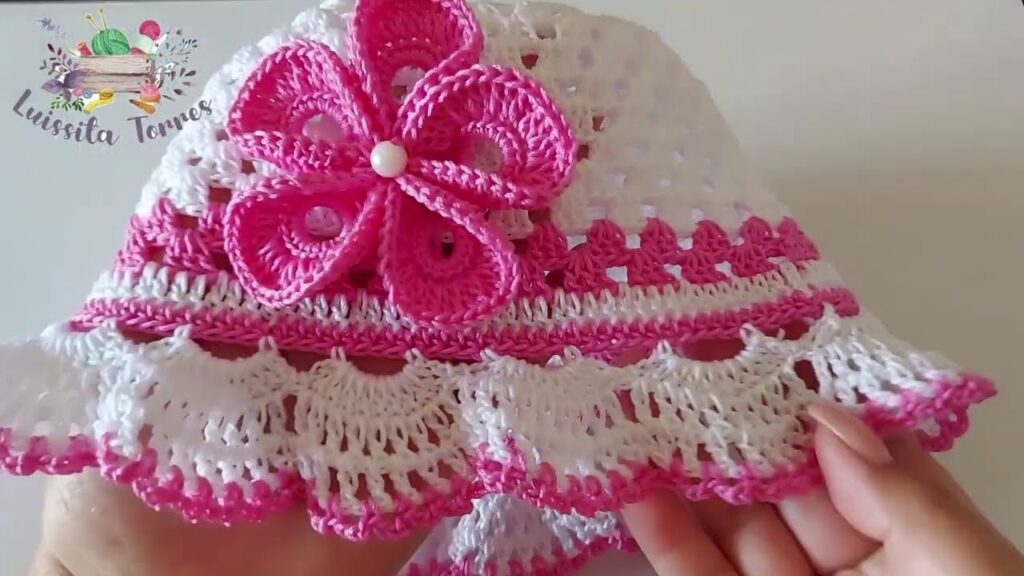
🎀 Step 3: Add Embellishments
Now the basic hat is done, customize it!
💐 Crochet Flower Appliqué
- Magic ring, ch 2, 10 dc into ring. Join.
- Ch 2, 3 dc in same st, ch 2, sl st in next st – repeat for 5 petals.
Sew onto one side of the hat.
🎀 Bow or Ribbon Band
- Crochet a simple rectangle and wrap yarn around the middle.
- Or weave a satin ribbon through the base row of the hat.
🎉 Pom-Pom Top
- Add a colorful pom-pom for a playful finish.
🧼 Step 4: Finishing
- Weave in all ends using a tapestry needle.
- Steam lightly or block with a damp cloth if needed.
- Try the hat on for size!
🧶 Customization Ideas
| Style | How to Achieve It |
|---|---|
| Slouchy Hat | Add 2–3 more rounds before the brim |
| Earflap Hat | Attach flaps on each side after finishing the body |
| Beanie with Brim | Add 1–2 rounds of sc with slight increases at the front |
| Lightweight Summer Cap | Use cotton yarn and mesh stitches (dc + chain patterns) |
📝 Quick Pattern Recap
1. Magic ring, 12 dc
2. Increase until 60–72 dc
3. Dc in each round (no increases) for 6–8 rounds
4. Optional ribbing or edging
5. Add embellishments like flower or bow
6. Weave in ends, block, and wear!
🎁 When to Gift or Use It?
- Birthday gift
- Matching mother-daughter hats
- Back-to-school accessory
- Winter and holiday outfits
- Handmade boutique items
🧵 Final Tips
- Use soft, washable yarns for kids.
- Try on as you go, or measure against a child’s beanie.
- Don’t be afraid to mix colors or add stripes.
- Keep it fun! Let the little one help choose the color or embellishments.
Video tutorial:


