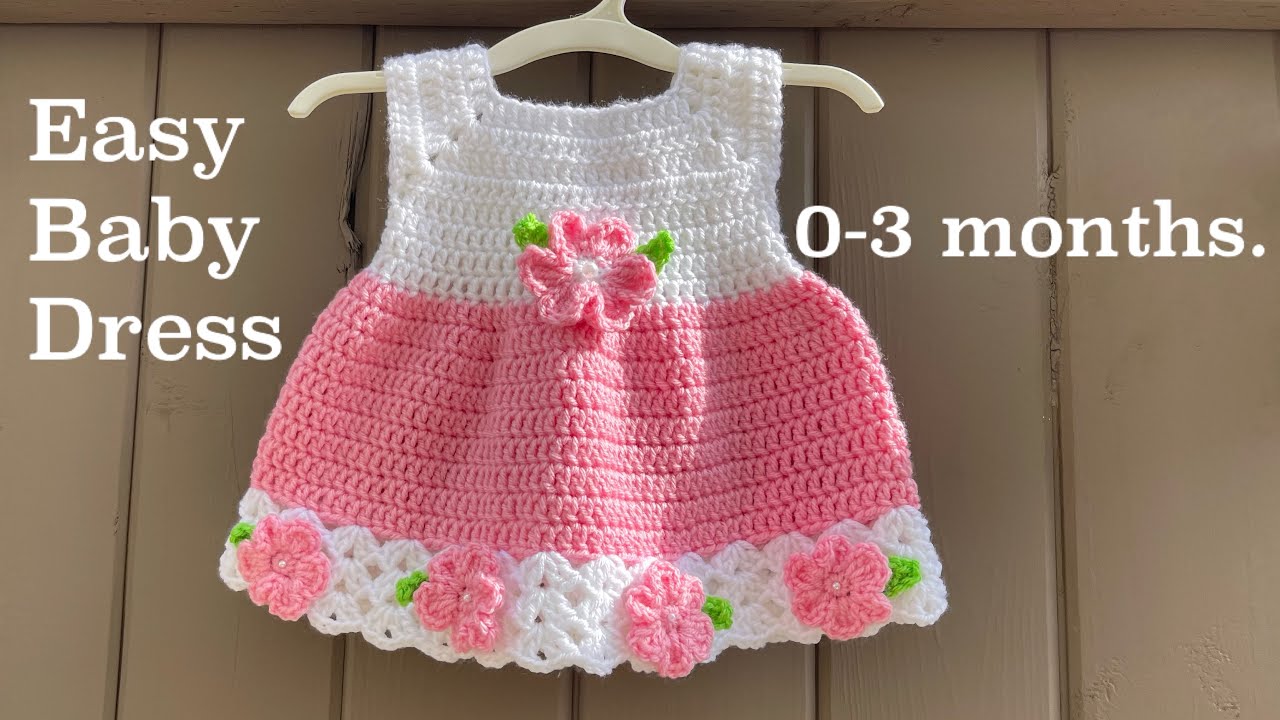
Crocheting a baby dress is one of the most delightful and rewarding projects you can take on as a maker. Whether you’re creating a special garment for a new baby, a baby shower gift, or a keepsake for your own child, a handmade crochet dress in the 0–3 month size is as adorable as it is meaningful.
This tutorial will walk you through everything you need to know—from choosing the right materials to finishing the final stitches of a beautifully crafted 0–3 month baby dress.

🧵 Materials and Tools
Before you begin, make sure you have the following supplies:
🧶 Yarn
- Lightweight (DK/3) or sport weight yarn is ideal for 0–3 month baby dresses.
- Look for soft, baby-friendly fibers:
- Baby acrylic
- Organic cotton
- Bamboo blends
- Yardage: ~200–300 yards (depending on the dress length and sleeve style)
- Suggested brands:
- Bernat Softee Baby
- Paintbox Baby DK
- Lion Brand Baby Soft
🪡 Tools
- Crochet hook size: 3.5 mm (E/4) or 4.0 mm (G/6) depending on your tension and yarn.
- Tapestry needle for weaving in ends.
- Scissors
- Buttons (2–4) for back closure or decorative accents (optional)
- Stitch markers
📏 Sizing Information (0–3 Months)
| Measurement | Inches | CM |
|---|---|---|
| Chest | 16–17” | 41–43 cm |
| Dress length | 11–12” | 28–30 cm |
| Armhole | 3.5–4” | 9–10 cm |
This pattern is meant to fit a typical baby from newborn to around 12 weeks old.
🔄 Stitches and Abbreviations (US Terms)
You’ll need to know these basic crochet stitches:
- ch – chain
- sl st – slip stitch
- sc – single crochet
- dc – double crochet
- hdc – half double crochet
- sk – skip
- st(s) – stitch(es)
- sp – space
If you’re a beginner, practice these stitches with scrap yarn before beginning the dress.
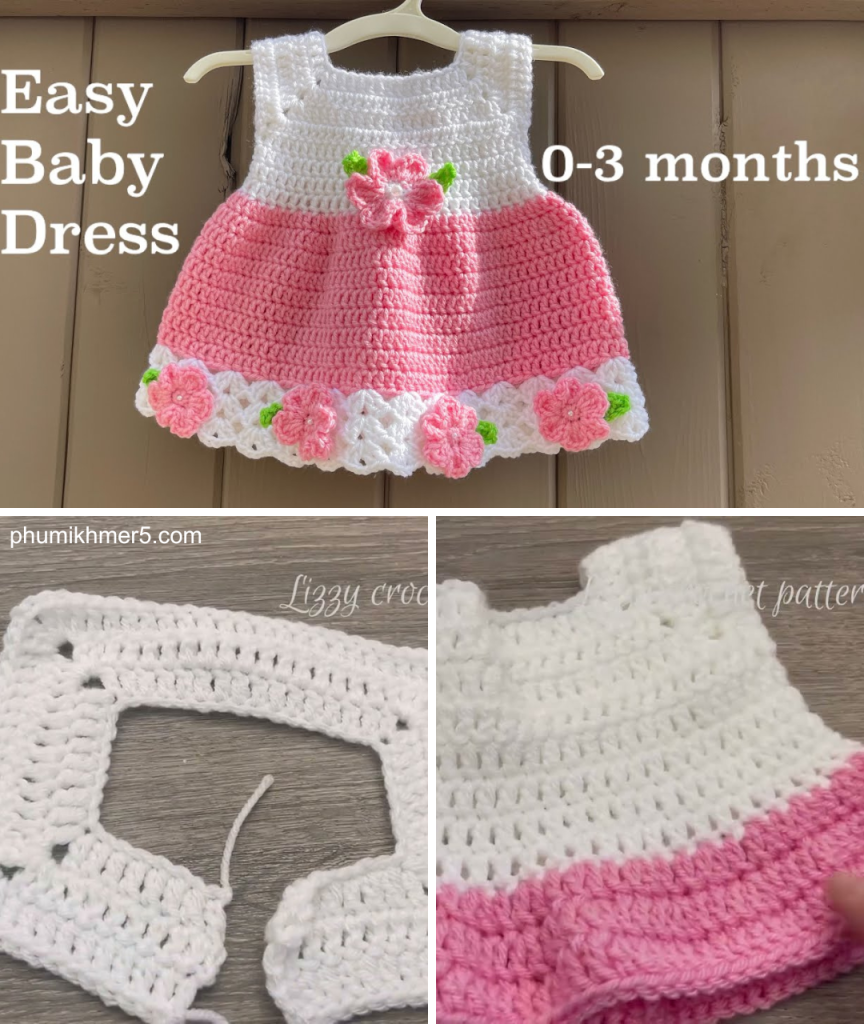
🧶 Pattern Construction: Top-Down Baby Dress
We’ll be crocheting this baby dress top-down in one piece, beginning at the yoke, working in rounds or rows, and then increasing into the skirt.
👗 How to Crochet a Baby Dress – Step-by-Step Instructions
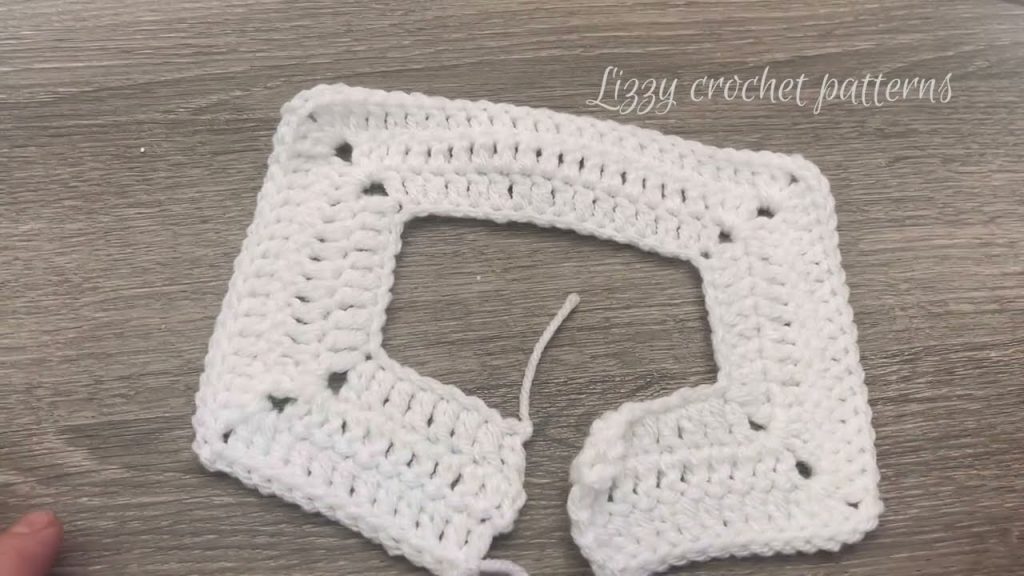
🟣 Yoke (Bodice)
- Foundation Chain:
- Ch 52.
- (If using a different yarn/hook, you can add or subtract in multiples of 8.)
- Row 1 (Set-Up):
- Dc in 4th ch from hook and across (49 dc total).
- Turn.
- Row 2:
- Ch 2 (counts as dc), dc in first 7 sts, (dc, ch 2, dc) in next st (corner),
- dc in next 9 sts, repeat * to make 4 corners total,
- dc in remaining 7 sts.
- Turn.
- Rows 3–7:
- Ch 2, dc in all dc sts, and work (dc, ch 2, dc) in each ch-2 corner space.
- Increase rows until you have:
- 15–16 dc for each sleeve section,
- ~20–22 dc for front/back each.
- Row 8 (Divide for sleeves):
- Dc to first corner, dc in ch-2 sp,
- skip stitches for sleeve, ch 6 (armhole), dc in next ch-2 corner sp,
- dc across front, repeat for second sleeve.
You now have the base of the dress and armholes separated.

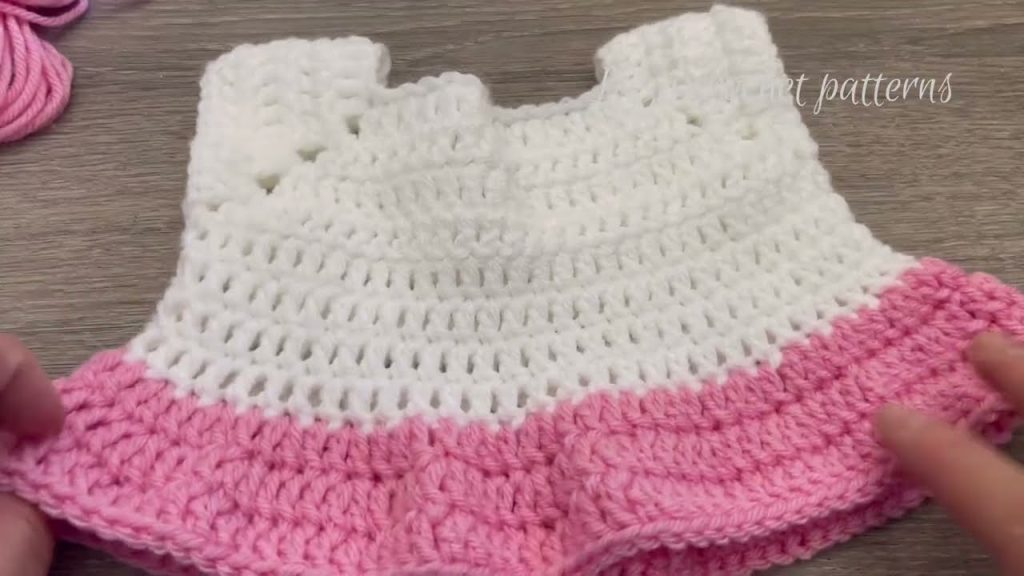
🔵 Body (Skirt)
Now begin working in the round to build the skirt.
- Round 1:
- Join yarn if needed, ch 2 (counts as dc),
- Dc in each st and ch across round (including the ch 6 underarm stitches),
- Join with sl st to beginning ch-2.
- Round 2:
- Ch 2, skip 1 st, 2 dc in next st (shell pattern),
- Repeat around to add slight flare.
- Join.
- Round 3–12 (or desired length):
- Continue working in shell or dc rounds for the body.
- You may add increases every 3–4 rows to create an A-line skirt.
For a fuller skirt, work (2 dc, ch 1, 2 dc) in one st every 4–5 rounds.
- Final Round (Optional):
- Work a decorative edge using:
- Shells (5 dc in one st)
- Picot edging (sc, ch 3, sl st in 1st ch, sc in next st)
- Work a decorative edge using:
🟢 Sleeves (Optional)
To create short sleeves or frilly cap sleeves:
- Attach yarn at the underarm.
- Ch 1, sc or hdc evenly around the armhole (~20–22 sts).
- Join with sl st and fasten off.
- For ruffled sleeves: Work 2 dc in each st around.
- You can add one or two rounds depending on your preference.
🔘 Back Opening (Optional Button Closure)
If you want a button closure at the back:
- Leave a small slit at the back when working the yoke (stop working in the round).
- Add a row of sc along both sides of the slit to create a neat edge.
- On one side, create buttonholes by working ch 2, sk 2 sts.
- Sew buttons on the opposite side.
🧵 Finishing
- Weave in all ends using a tapestry needle.
- Block the dress gently if needed (especially for natural fibers like cotton).
- Attach buttons, bows, or appliqués as desired.
🌈 Color and Style Variations
Here are a few creative ideas to customize your dress:
✨ Color Ideas:
- Classic Baby Pink or Blue
- Ombre or Gradient Yarn
- Rainbow Stripes for a Fun Look
- Neutral tones: beige, cream, or sage green
🧵 Design Additions:
- Add a contrasting belt using ribbon or crochet chain.
- Add a flower applique or crochet bow to the chest or hem.
- Alternate rows of dc and shell stitches for texture.
📋 Sample Pattern Summary (At a Glance)
Foundation: Ch 52
Row 1: Dc across
Row 2–7: Increase at corners (dc, ch 2, dc)
Row 8: Divide for sleeves (create ch-6 underarms)
Skirt: Work dc or shell stitch rounds to length
Sleeves: Optional ruffle or plain hdc
Edging: Picot or shell stitch border
Closure: Add buttons on back slit
🧸 Washing and Care Tips
To ensure longevity and baby-safety:
- Use hypoallergenic yarns
- Wash in cold water on gentle cycle
- Lay flat to dry or tumble dry low (check label)
🎁 Perfect Gift Idea
Crochet baby dresses make perfect handmade gifts for:
- Baby showers
- Christenings or baptisms
- First photo shoots
- Newborn keepsake boxes
Pair it with matching booties, headband, or a baby cardigan to make a complete set!
🧶 Conclusion
Creating a crochet baby dress (0–3 months) is a joyful and heartwarming experience. With just basic stitches and a few hours of work, you can craft a piece of wearable art that brings comfort, warmth, and beauty to a new baby’s life. Whether you’re a beginner or seasoned crocheter, this project offers just the right mix of simplicity and charm.
So grab your hook, pick your yarn, and start stitching a dress that will be treasured for years to come.
Video tutorial:


