
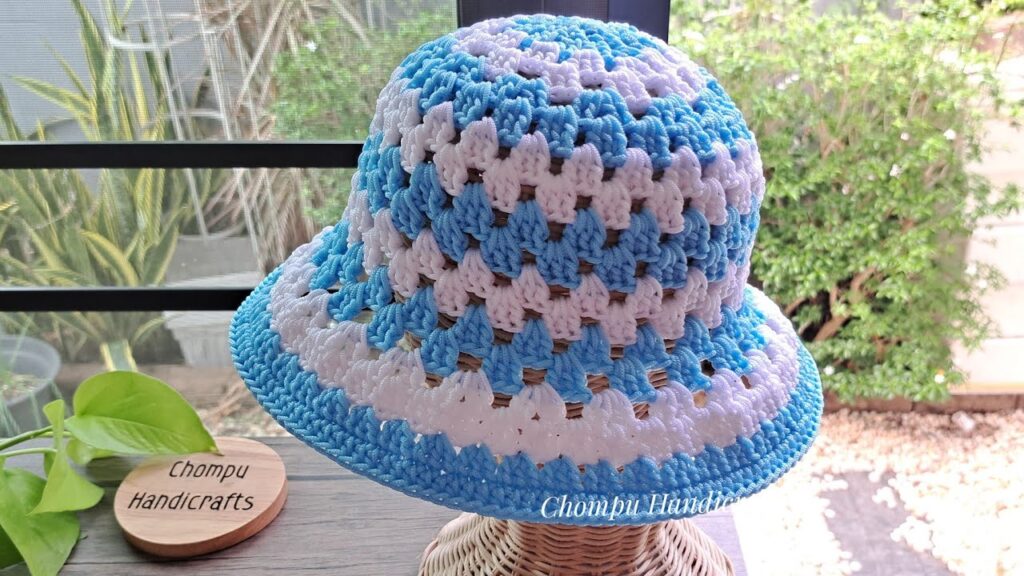
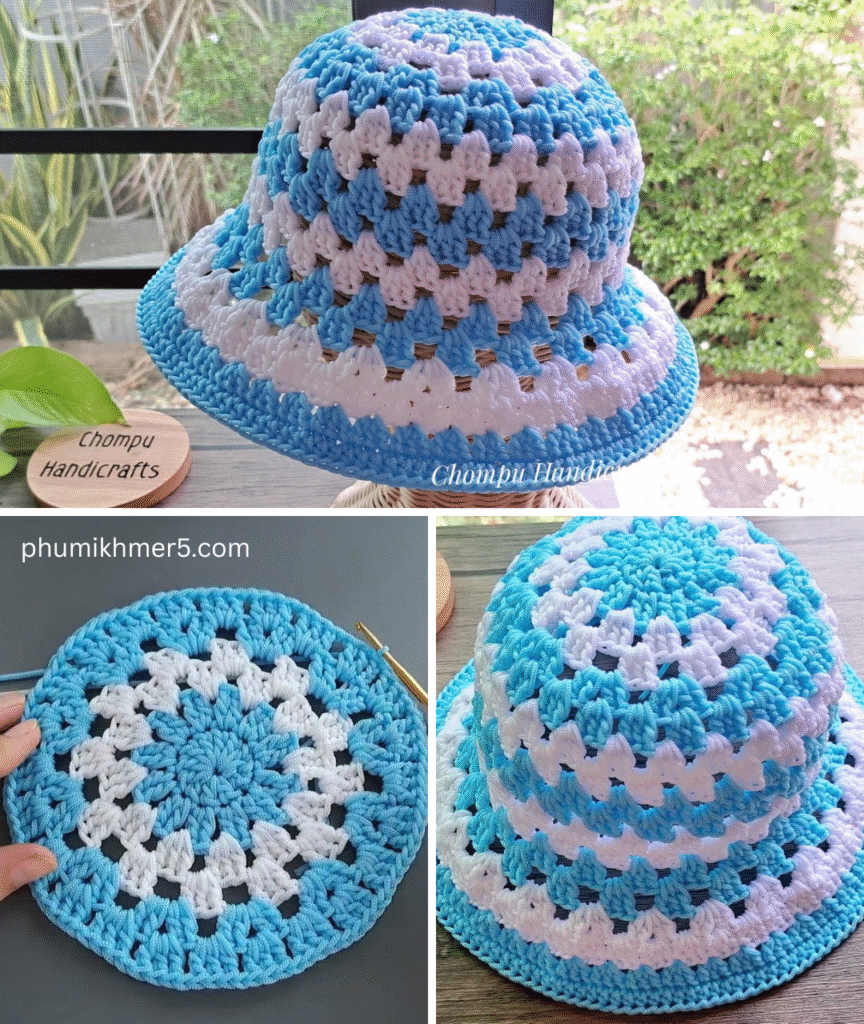
A crochet sun hat is a stylish and functional project that’s perfect for summer. Whether you’re headed to the beach, gardening in the yard, or just soaking up the sun, a handmade sun hat adds flair and offers essential protection. With the right materials and stitches, even a beginner can create a beautiful and durable sun hat in just a few hours.
In this guide, you’ll learn everything you need to crochet your own sun hat—from selecting materials to shaping the brim.
🧶 Materials You’ll Need
| Item | Description |
|---|---|
| Yarn | Cotton or raffia yarn (worsted or DK weight) |
| Crochet hook | 3.5mm – 5.0mm (check yarn label and gauge) |
| Stitch markers | Optional but helpful for keeping rounds aligned |
| Tapestry needle | For weaving in ends |
| Scissors | For trimming yarn |
| Measuring tape | To check fit |
| (Optional) Wire | Millinery wire to stiffen the brim |
| (Optional) Ribbon | Decorative band for style or tie |
Recommended Yarn:
- 100% cotton yarn (breathable and structured)
- Raffia yarn or paper yarn (for a beachy or straw-hat look)
🪡 Stitches & Techniques Used (US Terms)
- ch – chain
- sl st – slip stitch
- sc – single crochet
- dc – double crochet
- inc – increase (2 stitches in 1 stitch)
- dec – decrease (combine 2 stitches into 1)
🎯 Sizing Guide
The sun hat can be customized for any size. Here’s a general sizing guideline for adult head circumference:
- Head circumference: ~22 inches (56 cm)
- Crown diameter (top of hat): ~7 inches (18 cm)
- Hat height: ~6.5 inches (16.5 cm) before brim
- Brim width: ~3–4 inches (7.5–10 cm)
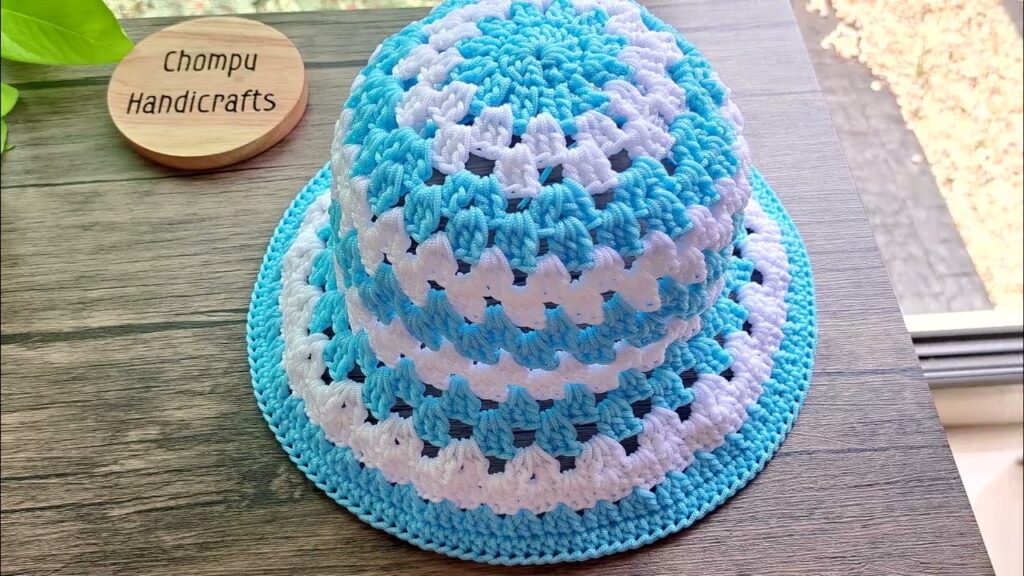
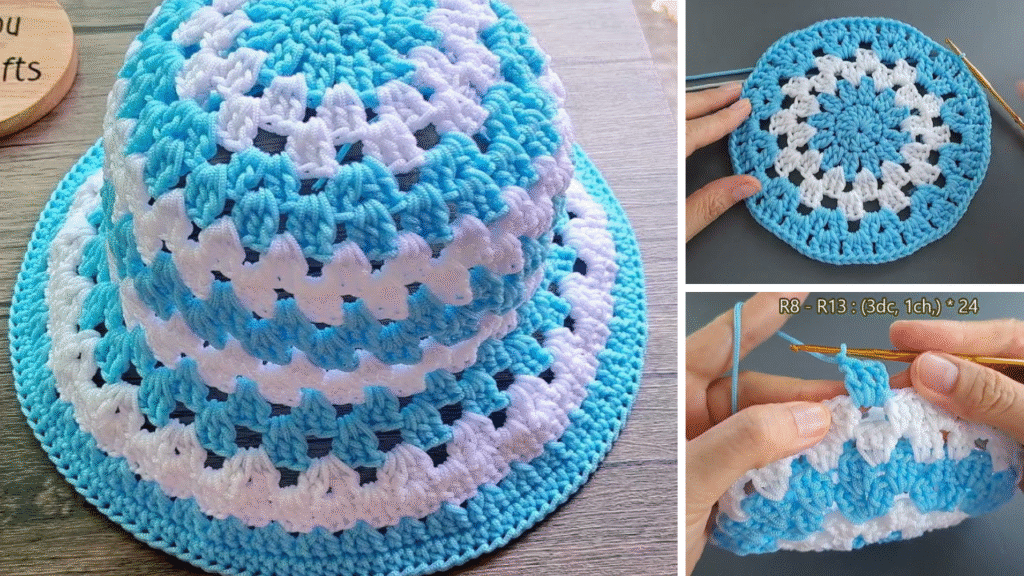
🧵 Crochet Sun Hat: Step-by-Step Tutorial
This pattern is worked top-down in the round, starting from the crown.
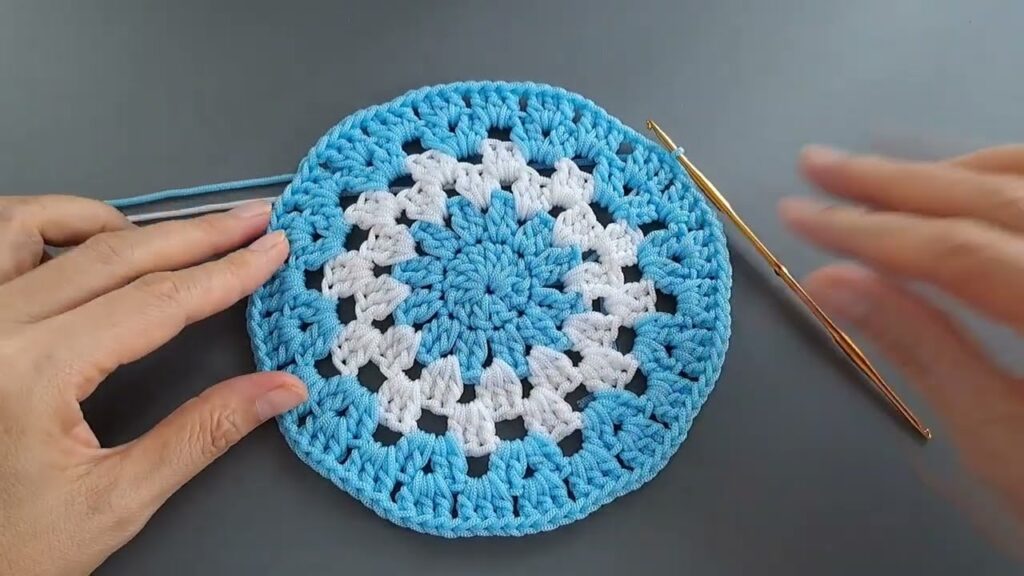
☀️ Step 1: Crochet the Crown (Top of Hat)
Round 1: Magic ring, ch 2, 12 dc into ring. Join with sl st. (12)
Round 2: Ch 2, 2 dc in each stitch around. Join. (24)
Round 3: Ch 2, *1 dc, 2 dc in next*, repeat around. Join. (36)
Round 4: Ch 2, *2 dc, 2 dc in next*, repeat. Join. (48)
Round 5: Ch 2, *3 dc, 2 dc in next*, repeat. Join. (60)
➡️ Continue increasing (adding 12 stitches per round) until the crown measures about 7 inches in diameter.
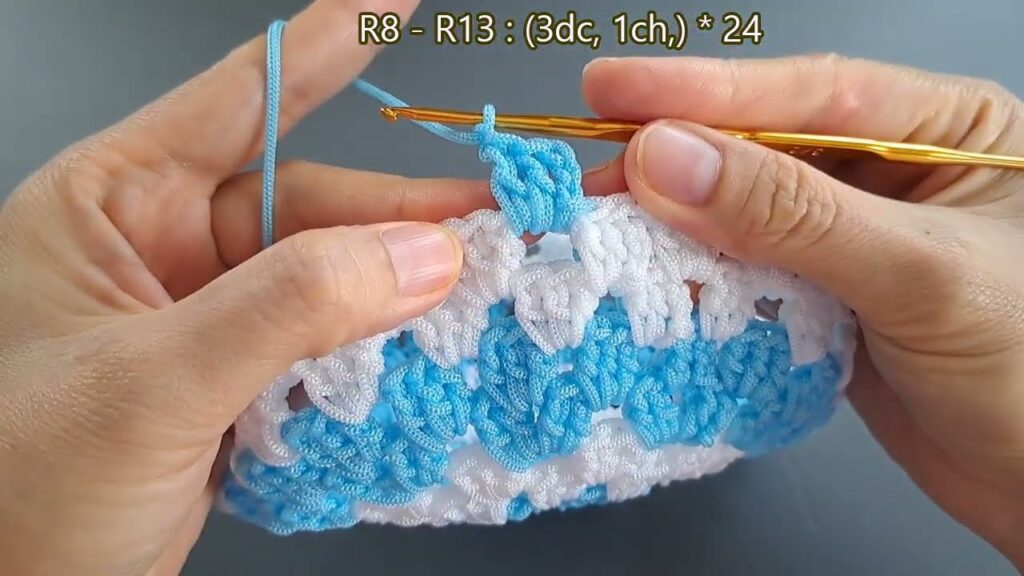
🎩 Step 2: Work the Sides (Hat Body)
Once you reach the desired crown diameter:
Next 10–12 rounds:
Ch 2, 1 dc in each stitch around. Join with sl st.
✅ You are no longer increasing—just building the sides down to form the head shape.
🪄 Optional shaping: For a snug fit, sc one round every few rounds to pull in the sides gently.
👒 Step 3: Crochet the Brim
Begin increasing again to create a flared brim:
Round 1: *4 dc, 2 dc in next*, repeat around. Join.
Round 2: *5 dc, 2 dc in next*, repeat. Join.
Round 3: *6 dc, 2 dc in next*, repeat. Join.
➡️ Continue increasing every round or every other round, depending on how wide or ruffled you want the brim.
🧑🎨 Brim Customization Options:
- Flat & structured: Increase slowly and add single crochet edging.
- Ruffled/Floppy: Increase more rapidly.
🧵 Step 4: Finish the Edging
Use a round or two of single crochet for a clean, tight edge:
Final Round: Ch 1, sc in each stitch around. Join with sl st. Fasten off.
Optional:
- Slip a millinery wire or fishing line into the last row and sc over it to make the brim stiff.
- Add a row of reverse single crochet (crab stitch) for a decorative edge.
🎀 Optional Add-Ons
- Ribbon Band: Weave a ribbon around the base of the crown.
- Tie Straps: Crochet two long chains and attach under the brim for securing.
- Flower Appliqué: Add a small crochet flower or button for embellishment.
🌬 Blocking the Hat
To shape and stiffen your sun hat:
- Spray lightly with water or steam using a handheld steamer.
- Shape over a bowl or balloon the size of a head.
- Let dry completely.
- (Optional) Stiffen the brim using fabric stiffener spray or starch.
👗 Styling Tips
- Pair with summer dresses, sunglasses, and sandals.
- Use neutral yarns like beige, white, or soft pastels for a timeless look.
- For a trendy look, use raffia yarn and add black ribbon banding.
🧶 Quick Pattern Summary
1. Crown: Increase rounds until ~7" diameter.
2. Body: Dc evenly for 10–12 rounds (~6.5" total height).
3. Brim: Gradually increase (e.g., every 5-6 stitches) for 3–4 inches.
4. Edging: Sc or crab stitch edge for structure.
5. Block and accessorize.
Video tutorial:
🧵 Final Tips
- Always check your gauge to ensure correct sizing.
- Use stitch markers to track the beginning of each round.
- For a child or baby version, use fewer crown increases and shorter sides.
- Be patient—structure and neatness matter more than speed!


