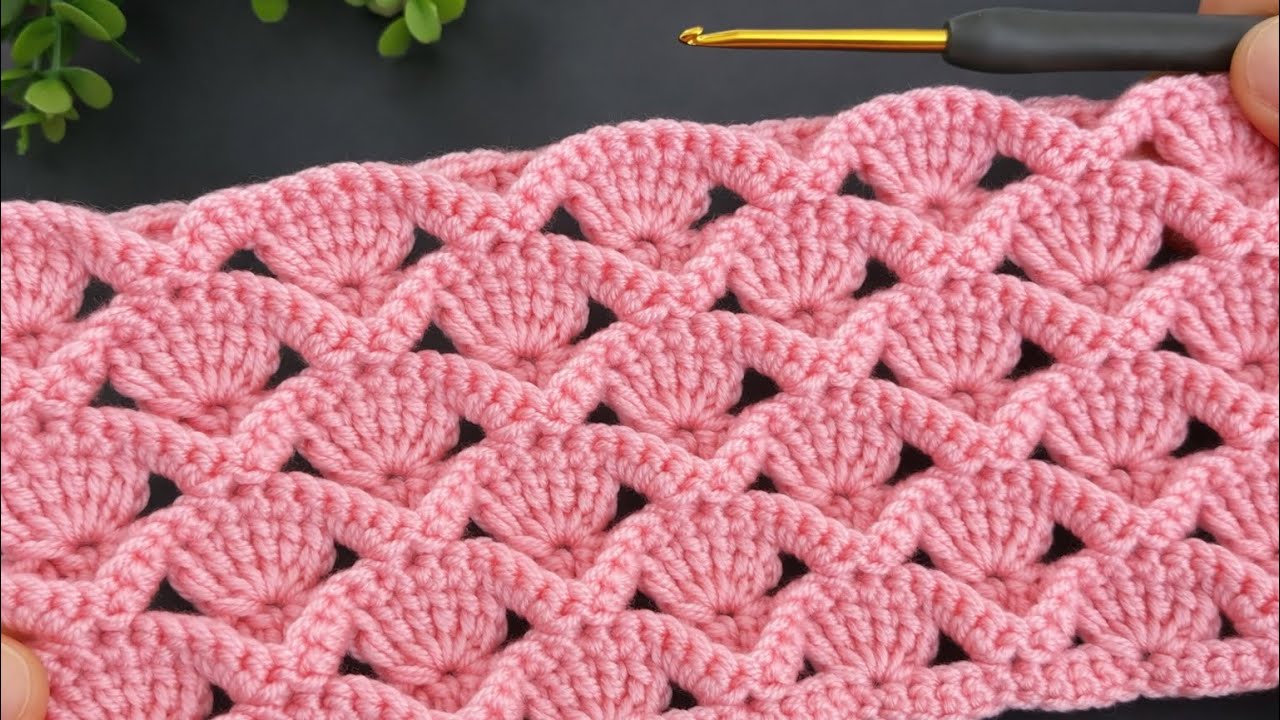
Inspired by the intricate and airy design featured in the tutorial “A Gift for You! 🎁 Beautiful and Easy Crochet Pattern!” by Knitting Love, this pattern introduces the Starlight Lattice Stitch.
This unique stitch combines a structured mesh grid with soft, overflowing fans, creating a fabric that looks like woven lace. It is perfect for those who want the elegance of a complex design with the simplicity of a two-row repeat. Whether you are making a delicate summer scarf, a structured tote, or a heirloom baby blanket, this stitch adapts beautifully to any yarn weight.
📋 Project Details & Materials
| Item | Detail | Notes |
| Project | Starlight Lattice Fabric | Customizable length and width. |
| Skill Level | Confident Beginner | Requires knowledge of DC, SC, and working into chain spaces. |
| Yarn | Any weight! (Sample used Category 3 DK Cotton) | Use cotton for bags/coasters; use soft acrylic or wool for blankets/scarves. |
| Hook | 4.0 mm (G/6) | Or size recommended for your chosen yarn. |
| Notions | Tapestry needle, Scissors, Measuring tape. |
Gauge & Multiples
- Multiples: Chain a multiple of 8 + 2.
- Gauge: 2 full pattern repeats (16 stitches) = Approx. 3.5 inches wide in DK weight.
📚 Abbreviations (US Crochet Terms)
| Abbreviation | Meaning |
| Ch | Chain |
| SC | Single Crochet |
| DC | Double Crochet |
| St(s) | Stitch(es) |
| Sp | Space |
| Sk | Skip |
| Fan | A cluster of 7 DC worked into one stitch. |
Part 1: The Foundation & Lattice Grid
The beauty of this stitch is the “Lattice” row, which creates the windows for the fans to bloom through.
Foundation Row: Chain your desired length (Multiple of 8 + 2).
- SC in the 2nd chain from hook and in each chain across.
- Turn.
Row 1 (The Lattice Setup):
- Ch 4 (counts as 1 DC + Ch 1). Skip the first 2 SC.
- *DC in the next SC. Ch 1, Sk 1 SC.
- Rep from * across, ending with a DC in the last stitch.
- This creates a “grid” of small windows.

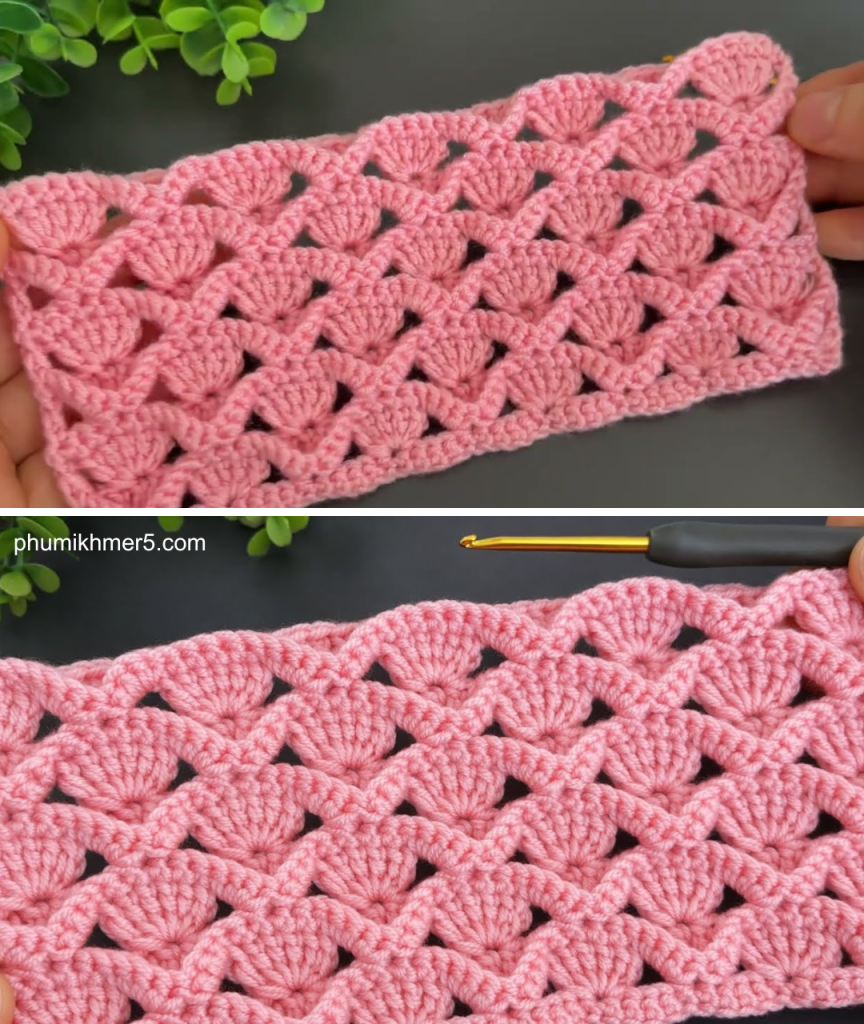
Part 2: The Starlight Bloom Row
This is where the texture comes alive. We will be working large fans into specific windows to create the staggered effect.
Row 2 (The Bloom Row):
- Ch 1, turn. SC in the first DC.
- *Skip the first Ch-1 space. In the next Ch-1 space, work 7 DC (This is your Fan).
- Skip the next Ch-1 space. SC into the next DC.
- Ch 5, Skip the next two Ch-1 spaces, SC into the next DC.
- Rep from * across, ending with an SC in the top of the turning chain.
Row 3 (The Integration Row):
- Ch 5 (counts as 1 DC + Ch 2), turn.
- SC into the 4th DC of the Fan below (the center of the fan).
- Ch 2, DC into the SC between the Fan and the Ch-5 loop.
- Work 7 DC into the center of the Ch-5 loop from the previous row.
- Rep from * across, ending with a DC in the final SC.

Part 3: Customizing Your Project
1. The Airy Summer Scarf
To make a lightweight scarf, use a Lace or Fingering weight yarn with a hook one size larger than recommended. This will exaggerate the “Lattice” windows and give the scarf a wonderful, flowy drape.
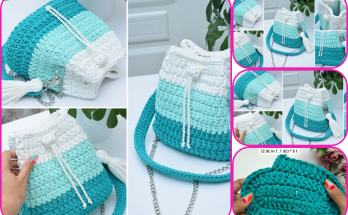
2. The Structured Tote Bag
For a bag, use 100% Lily Sugar ‘n Cream cotton. Work the pattern until you have two square panels. Because this stitch is lacy, we recommend lining the bag with a solid fabric to ensure your items don’t slip through the “Starlight” windows.
3. The Heirloom Blanket
End your blanket on a Row 2 repeat to give it a scalloped, “Fan” edge. Add a simple border of SC around the remaining three sides to frame the lace.

💡 Pro Tips for Success
- Counting is Key: In the Lattice row, ensure your windows are even. If you skip too many stitches, the fans will pull the fabric and cause it to curl.
- Tension: Keep your Ch-5 loops slightly loose. If they are too tight, the “Integration Row” will cause the blanket to pinch inward.
- Color Changes: This stitch looks magnificent in a “Ombre” or “Long-stripe” yarn. The fans will naturally create a variegated wave pattern as you work upward.
🧼 Finishing & Blocking
Because this pattern involves “Fans” and “Lattice” windows, blocking is highly recommended. 1. Lay your finished piece on a flat surface.
2. Lightly mist with water or use a steamer (if using natural fibers).
3. Pin the fans outward to open up the lace and reveal the “Starlight” shapes.
4. Let dry completely.
Your Starlight Lattice project is now ready to be gifted or enjoyed!
Video tutorial: