
(A Pretty Giant Granny Square Pattern!)
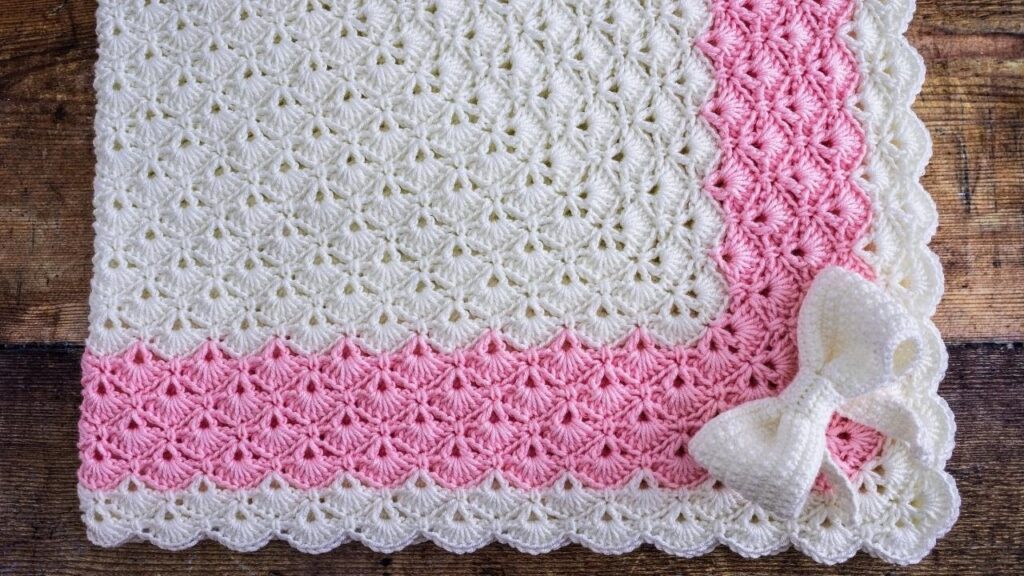
When it comes to timeless and charming baby blankets, nothing beats a granny square pattern—especially one made with beautiful shell stitches that give texture, softness, and visual appeal. In this tutorial, you’ll learn how to make a crochet shell stitch baby blanket in the round, built like a giant granny square. It’s the perfect project for baby showers, nursery décor, or cozy newborn photoshoots.
Let’s get started!

🌟 Why You’ll Love This Pattern
- ✅ Worked in the round from the center outward
- ✅ Combines the classic granny square layout with a shell stitch for elegance
- ✅ Seamless and square, no joining motifs
- ✅ Easily customizable size and color
- ✅ Beginner-friendly but polished enough for gifts
🧶 Materials You’ll Need
| Item | Details |
|---|---|
| Yarn | Worsted weight (4) or DK (3) yarn — soft acrylic, cotton, or baby yarn |
| Crochet Hook | 5.0 mm (H) or size to match your yarn |
| Stitch Markers | Optional, to mark corners |
| Tapestry Needle | For weaving in ends |
| Scissors | For trimming yarn |
Recommended Yarn:
- Bernat Baby, Red Heart Soft Baby, Paintbox Simply DK, or any soft washable yarn.
📐 Blanket Size Guide
Since this blanket is worked in the round, you can make it as large or small as you’d like by continuing rounds. Here are some rough guides:
| Blanket Type | Approximate Size |
|---|---|
| Lovey | 12″ x 12″ (30 x 30 cm) |
| Stroller Blanket | 30″ x 30″ (76 x 76 cm) |
| Crib Blanket | 36″ x 36″ (91 x 91 cm) |
| Play Mat | 40″ x 40″ (102 x 102 cm) |
🪡 Stitches Used (US Terminology)
- ch – chain
- dc – double crochet
- sl st – slip stitch
- shell stitch – (5 dc in one stitch or space)
- corner shell – (3 dc, ch 2, 3 dc) in one space
🧵 Step-by-Step Pattern: Shell Stitch Granny Square Blanket
This pattern begins with a center square and builds outward using shell stitches in each corner and side spaces.
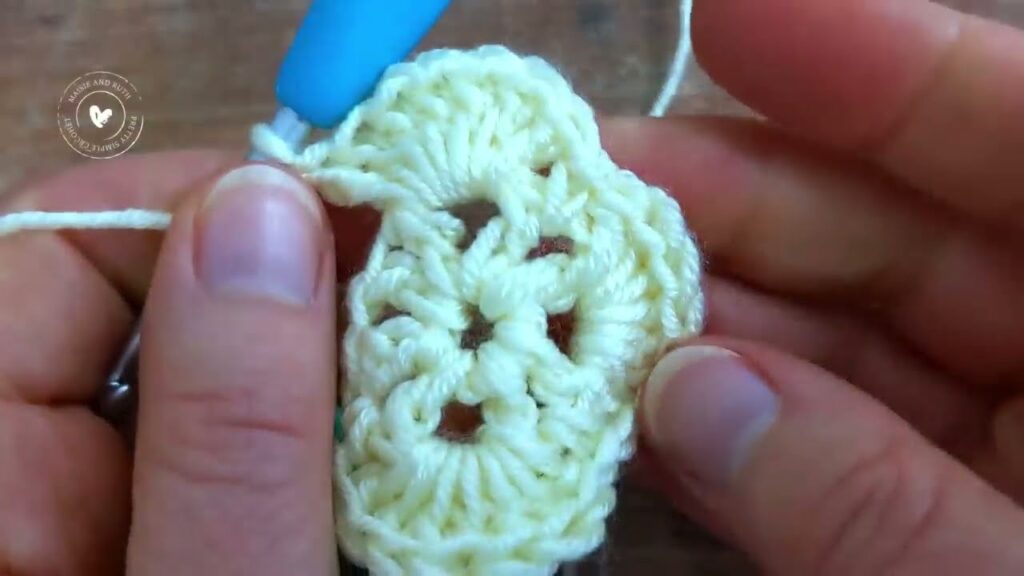
🌀 Step 1: Begin with a Magic Ring (or Ch 4 and sl st to form a ring)
Round 1:
Ch 3 (counts as first dc), 2 dc in ring, ch 2,
*3 dc in ring, ch 2* — repeat 3 more times.
Join with sl st to top of ch 3. (You’ll have 4 shell clusters and 4 ch-2 spaces = corners.)
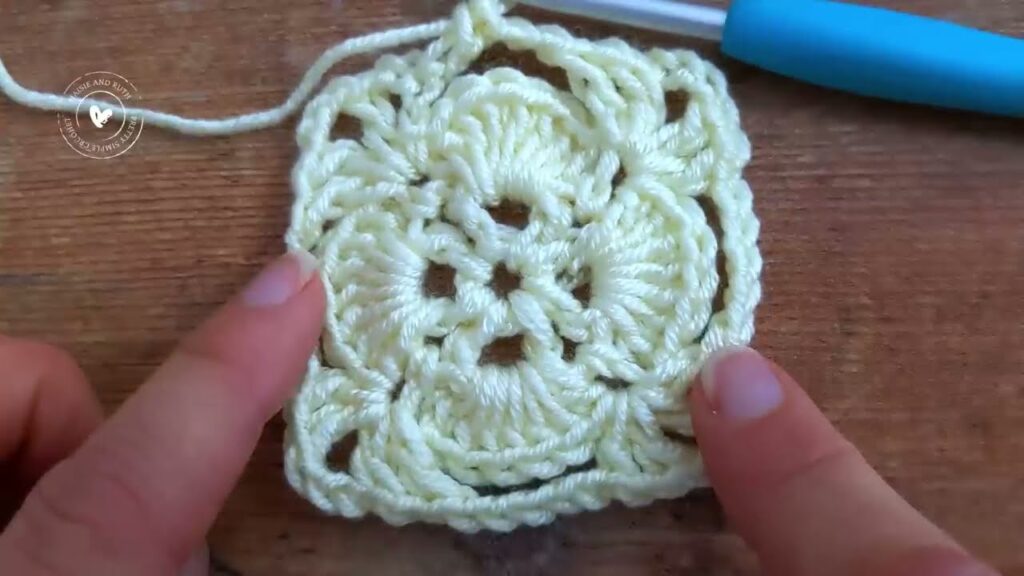
🧶 Step 2: Build the Square Using Shell Stitch
From now on, you’ll place shells (3 dc) in the spaces between shell groups and corner shells (3 dc, ch 2, 3 dc) in the corner chain-spaces.
Round 2:
Sl st to next ch-2 corner space.
(Ch 3, 2 dc, ch 2, 3 dc) in corner space (first corner shell),
*ch 1, 3 dc in space between shells, ch 1,
(3 dc, ch 2, 3 dc) in corner space* — repeat around.
Join with sl st to top of starting ch 3.
➡️ You now have a bigger square with more spaces for shells.
🔄 Step 3: Repeat and Grow!
Continue working corner shells in each ch-2 space, and 3 dc shells with 1 chain between on each side.
Round 3 and onward:
Sl st to ch-2 corner space.
(Ch 3, 2 dc, ch 2, 3 dc) in each corner.
Ch 1 between all side shells (3 dc in ch-1 space).
Each round adds 4 corner shells and more side shells between them.
➡️ Keep working until the blanket is the size you want.
🧼 Step 4: Finish and Edging
Once your blanket is the desired size:
- End on a full round and join with sl st.
- You can:
- Fasten off and weave in ends or…
- Add an edging:
Optional Edging Ideas:
- Picot edge: (sc in stitch, ch 3, sl st in same stitch, skip 1) — repeat
- Shell edge: (5 dc in one stitch, skip 2, sc) — repeat
- Crab stitch: Reverse single crochet for a twisted cord look
🌈 Color Ideas
- Solid Pastel: Soft baby pink, mint, or cream
- Striped: Change colors every 2–3 rounds
- Ombre: Use a cake yarn or gradient effect yarn
- Scrappy: Use leftover baby yarns for a fun patchwork look
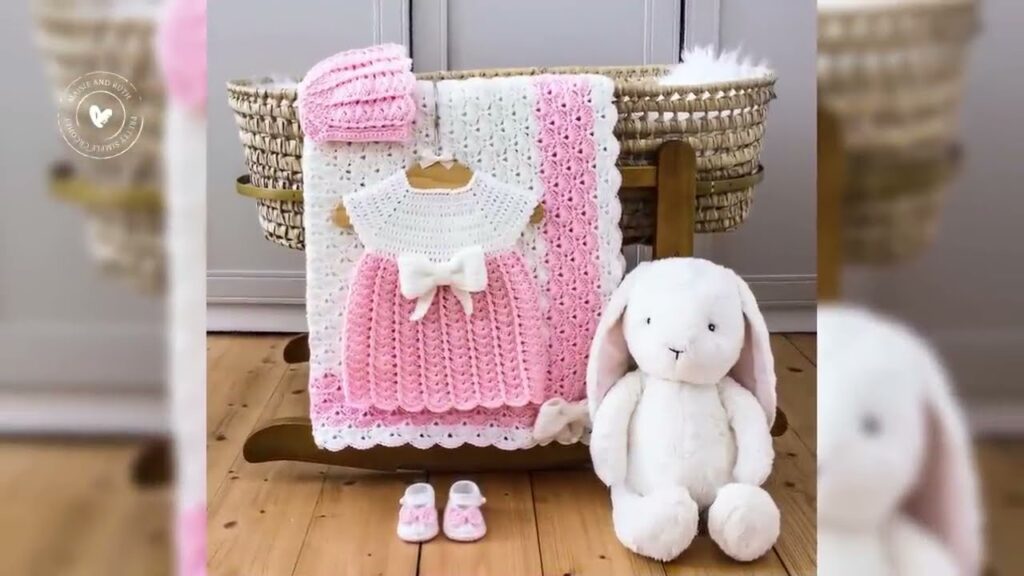
👶 When to Gift or Use It?
- Baby shower gift
- Nursery bedding
- Christening or blessing blanket
- Newborn photos
- Soft play mat
📝 Pattern Summary
1. Start with 4 shell corners in a magic ring.
2. Work corner shells and side shells each round.
3. Ch 1 between shells.
4. Keep growing your square until desired size.
5. Add edging, weave in ends, and block if needed.
🧵 Tips for Success
- Use stitch markers at corners if you lose track.
- Block your blanket to straighten the edges and define the stitch texture.
- Keep your tension even—granny squares can twist if not balanced.
- Use soft, washable yarn for practicality.
Video tutorial:


