
Introduction: From Circle to Square, The Art of the Transition
Hello, lace lovers! If you’ve been captivated by the delicate beauty of filet crochet but felt intimidated by complex charting, you’ve found your perfect project. Today, we’re unveiling the pattern for the Sunburst Mandala Square.
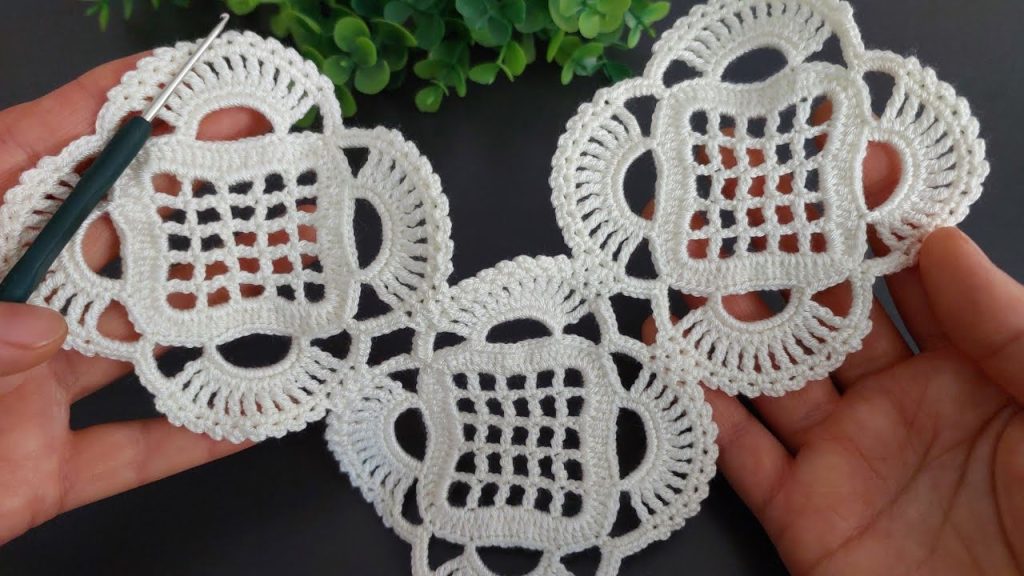
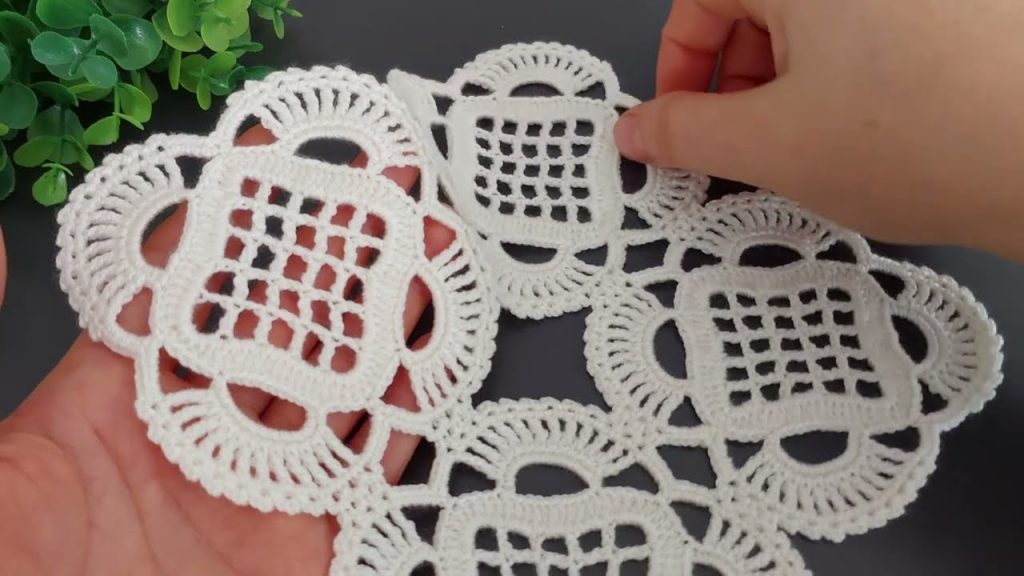
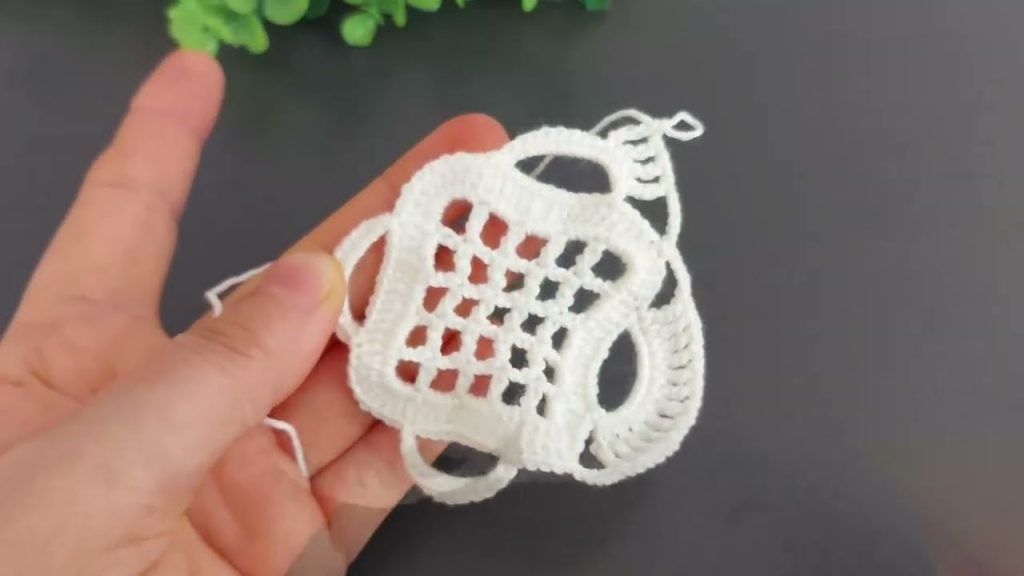
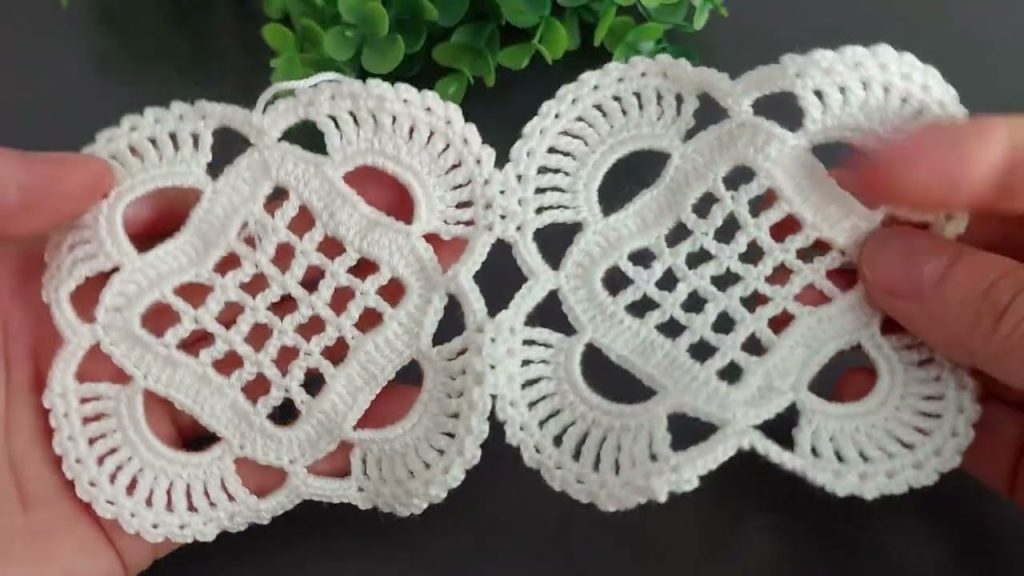
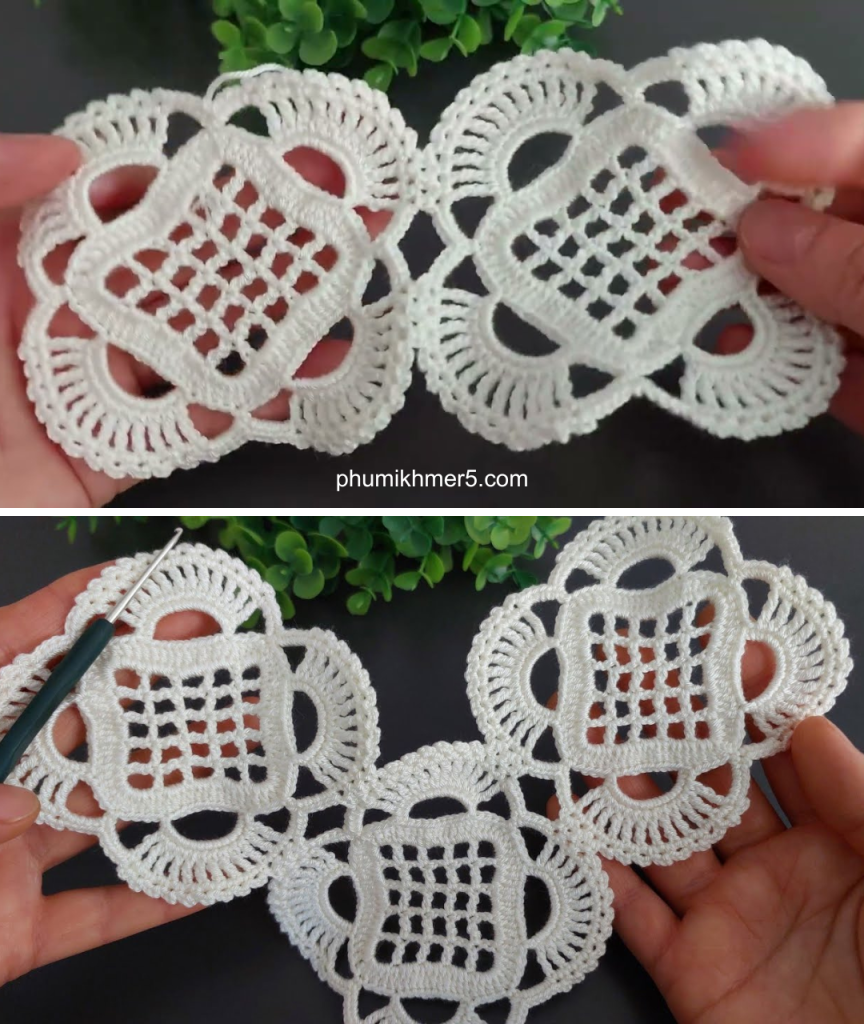
This stunning motif starts as a radiant, circular mandala that then gracefully transitions into a perfect square, making it ideal for joining into blankets, table runners, or lace scarves. It combines the airy beauty of mesh with the foundational strength of the classic granny square structure. The result is a piece that looks incredibly intricate but is built on a simple 2-round repeat.
This is a fantastic project for learning how to shape circular crochet into a square—a fundamental skill for many advanced motifs. Let’s get started on this easy-to-master heirloom piece!
Section 1: Materials & Tools
For a delicate, authentic lace look, thread or fine yarn is recommended. For a more practical, beginner-friendly blanket square, a DK weight is perfect.
| Material/Tool | Recommendation | Notes |
| Yarn | DK Weight (Category 3) or Sport Weight (Category 2) | Choose a smooth, tightly twisted yarn for maximum stitch definition. |
| Hook | Size D/3 (3.25 mm) or E/4 (3.5 mm) | The size will depend on your yarn and desired tightness. |
| Notions | Yarn Needle for weaving ends, Scissors, Stitch Markers (helpful for marking corners). |
Terminology & Gauge:
- Stitch Definition: Filet crochet is built on “blocks” (Solid or Open).
- Solid Block: DC 3 (Double Crochet in three consecutive stitches/spaces).
- Open Mesh (Cell): DC, CH 2, Skip 2.
- Finished Size: Using DK yarn and a 3.5 mm hook, the finished square will measure approximately 6 x 6 inches (15 x 15 cm).
Section 2: Stitches & Abbreviations
We will use standard US crochet terms.
| Abbreviation | Full Name |
| CH | Chain |
| SL ST | Slip Stitch |
| SC | Single Crochet |
| HDC | Half Double Crochet |
| DC | Double Crochet (Yarn over 1 time) |
| TC | Treble/Triple Crochet (Yarn over 2 times) |
| CH-SP | Chain Space |
Section 3: The Pattern – Sunburst Mandala Square
Part A: The Circular Center (Mandala)
We start with a tight center and build out the initial 8-point structure.
Foundation: CH 4, SL ST into the first CH to form a ring.
Round 1 (Solid Base):
- CH 3 (counts as 1st DC). DC 15 into the center ring.
- SL ST to the top of the starting CH 3 to join. (16 DC)
Round 2 (Open Mesh):
- CH 5 (counts as 1st DC + CH 2).
- Skip the next DC. DC into the next DC.
- *CH 2, Skip the next DC, DC into the next DC.*
- Repeat from * to * around (7 more times).
- SL ST into the 3rd CH of the starting CH 5 to join. (8 open cells)
Round 3 (Petal Points):
- SL ST into the first CH 2 space. CH 3 (counts as 1st DC).
- DC 2 into the same CH 2 space. (First Solid Block)
- CH 3.
- *DC 3 into the next CH 2 space. CH 3.*
- Repeat from * to * around (7 more times).
- SL ST to the top of the starting CH 3 to join. (8 Solid Blocks, 8 CH 3 spaces)
Part B: Transitioning to the Square
We use the 8-point structure from Round 3 to establish 4 corners and 4 sides, using taller stitches (TC) for the corners to create crisp 90-degree angles.
Round 4 (The Corner Maker):
- SL ST into the next 2 DC, and then into the first CH 3 space. CH 4 (counts as 1st TC).
- First Corner: Work (TC 2, CH 3, TC 3) into the same CH 3 space. (Place a stitch marker in the corner CH 3 space).
- Side 1: CH 2. Work a SC into the top of the next Solid Block (middle DC). CH 2.
- Side 2: Into the next CH 3 space, work a Solid Block (DC 3).
- Second Corner: CH 2. Into the next CH 3 space, work (TC 3, CH 3, TC 3).
- Side 3: CH 2. SC into the top of the next Solid Block. CH 2.
- Side 4: Into the next CH 3 space, work a Solid Block (DC 3).
- Third Corner: CH 2. Into the next CH 3 space, work (TC 3, CH 3, TC 3).
- Side 5: CH 2. SC into the top of the next Solid Block. CH 2.
- Side 6: Into the next CH 3 space, work a Solid Block (DC 3).
- Fourth Corner: CH 2. Into the starting CH 3 space (where you started the round), work (TC 3, CH 3).
- SL ST to the top of the starting CH 4 to join. (You now have a distinct square shape!)
Part C: Defining the Filet Lace Square
Now we expand the square using a standard Filet Mesh pattern.
Round 5 (Filet Mesh):
- SL ST into the next 3 TC, and then into the corner CH 3 space. CH 3 (counts as 1st DC).
- Corner: Work (DC 2, CH 3, DC 3) into the corner CH 3 space.
- CH 2 (First Open Mesh). Skip the next 2 TC.
- Side Mesh: DC into the next TC. CH 2. Skip the CH 2 space and the SC. DC into the next CH 2 space. CH 2. Skip the next 2 DC. DC into the next DC (middle of the Solid Block).
- Continue the mesh pattern along the side, working (DC, CH 2, Skip 2) until you reach the next corner. Ensure your last stitch before the corner is a DC.
- Corner Repeat: Work (DC 3, CH 3, DC 3) into the next CH 3 corner space.
- Repeat Steps 3-6 around all four sides. SL ST to the top of the starting CH 3 to join.
Round 6 (Solid Edging/Joining Round):
(This round creates a solid edge, perfect for attaching to other squares or for a clean border.)
- CH 3 (counts as 1st DC). DC into the next 2 DC.
- Corner: Work (DC 3, CH 2, DC 3) into the corner CH 3 space.
- Side Solid: Work DC 2 into every CH 2 space along the side, and DC 1 into every DC stitch, until you reach the next corner.
- Corner Repeat: Work (DC 3, CH 2, DC 3) into the next CH 3 corner space.
- Repeat Steps 3-4 around all four sides. SL ST to the top of the starting CH 3 to join.
- Fasten off and weave in ends.
Section 4: Project Ideas & Finishing
Project Inspiration:
- The Heirloom Throw: Join multiple squares together in a grid pattern. The solid edging of Round 6 makes a simple SC joining method effortless.
- Lace Scarf or Shawl: Make a long, single strip of squares joined together.
- Elegant Doily: Skip Round 6 entirely and add a simple SC border to maintain the delicate lace quality.
Finishing (Blocking):
Blocking is essential for all lace projects. It opens up the mesh and highlights the intricate transition from the circular sunburst to the crisp square frame.
- Gently soak your finished square in lukewarm water (with a wool wash if desired).
- Gently squeeze out excess water (do not wring).
- Pin the square to a foam board, carefully stretching each corner and side edge to define the shape.
- Allow to dry completely (up to 24 hours) before unpinning.
Enjoy your beautiful and professional-looking Sunburst Mandala Square! Happy hooking!
Video tutorial:


