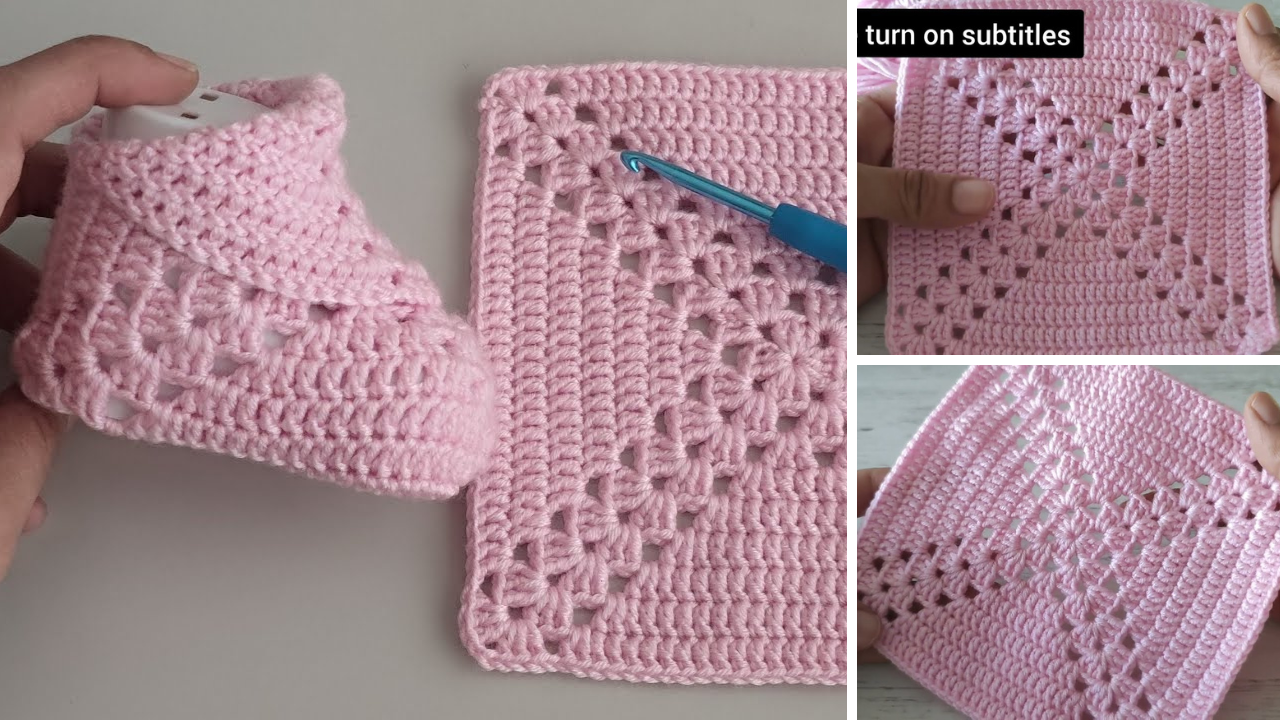
If you’re new to crochet and looking for an adorable, easy-to-make baby gift, look no further than baby shoes made from the simple square stitch! These crochet baby booties are soft, stylish, and surprisingly simple to make — no advanced shaping or fancy tools needed.
In this tutorial, you’ll learn how to crochet the cutest baby shoes using the square stitch technique, which is ideal for beginners who want a quick and satisfying project.
🧶 Why You’ll Love This Pattern
- ✅ Beginner-friendly – uses simple stitches and techniques
- ✅ Quick to make – finish in under 1 hour per shoe
- ✅ Minimal shaping – made from flat square or rectangular pieces
- ✅ Adorable design – soft, cozy, and easy to customize
- ✅ Perfect gift – great for baby showers, newborns, or keepsakes
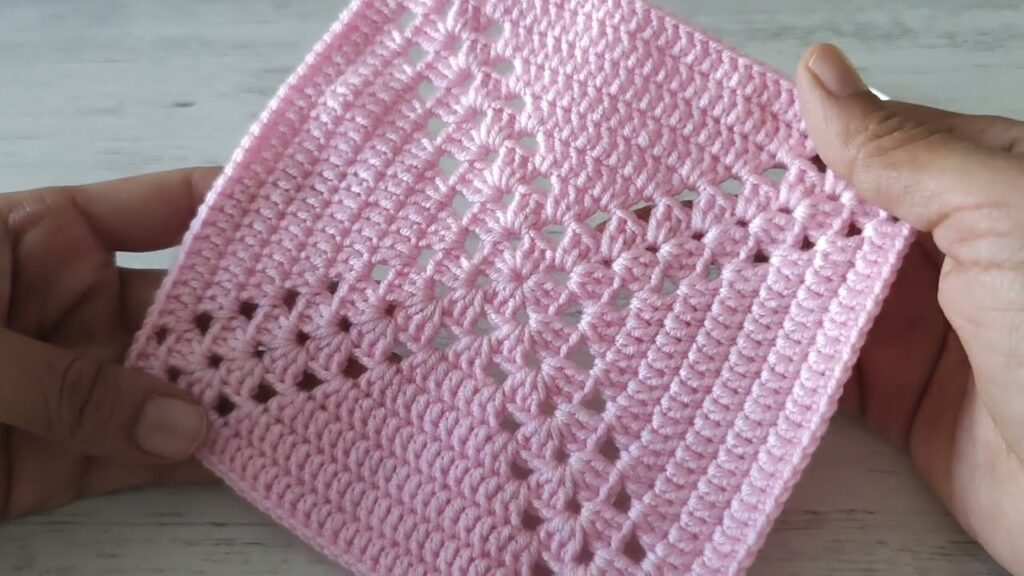
🧵 What is the Square Stitch?
The square stitch typically refers to any basic square-shaped crochet unit, often made using single crochet (sc) or half double crochet (hdc). In this project, you’ll make a small flat square, fold it, and sew it into the shape of a baby shoe.
Think of it as origami with yarn—fold, seam, and shape into something adorable!
🧸 Materials You’ll Need
| Item | Description |
|---|---|
| Yarn | Soft DK or light worsted (baby acrylic or cotton blend preferred) |
| Crochet Hook | 4.0 mm (G) or as recommended for yarn |
| Yarn Needle | For sewing seams and weaving in ends |
| Scissors | For trimming yarn |
| Stitch Markers | Optional, for marking folds |
| (Optional) Button or Ribbon | To embellish the top or create a fastening |
📏 Sizing Information
This pattern fits babies 0–3 months (approx. 3.5–4″ foot length). Adjust hook/yarn for larger sizes:
| Age Group | Foot Length |
|---|---|
| 0–3 months | 3.5 in (9 cm) |
| 3–6 months | 4 in (10 cm) |
| 6–9 months | 4.5 in (11 cm) |
🪡 Stitches & Abbreviations (US Terms)
- ch – chain
- sc – single crochet
- hdc – half double crochet
- sl st – slip stitch
- st(s) – stitch(es)

👣 Step-by-Step: How to Crochet Baby Shoes from a Square
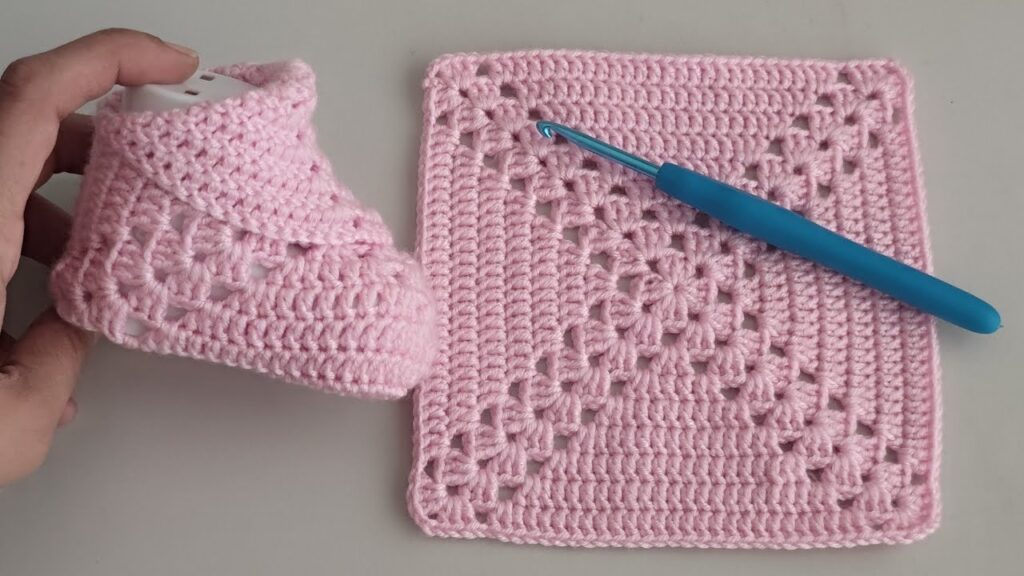
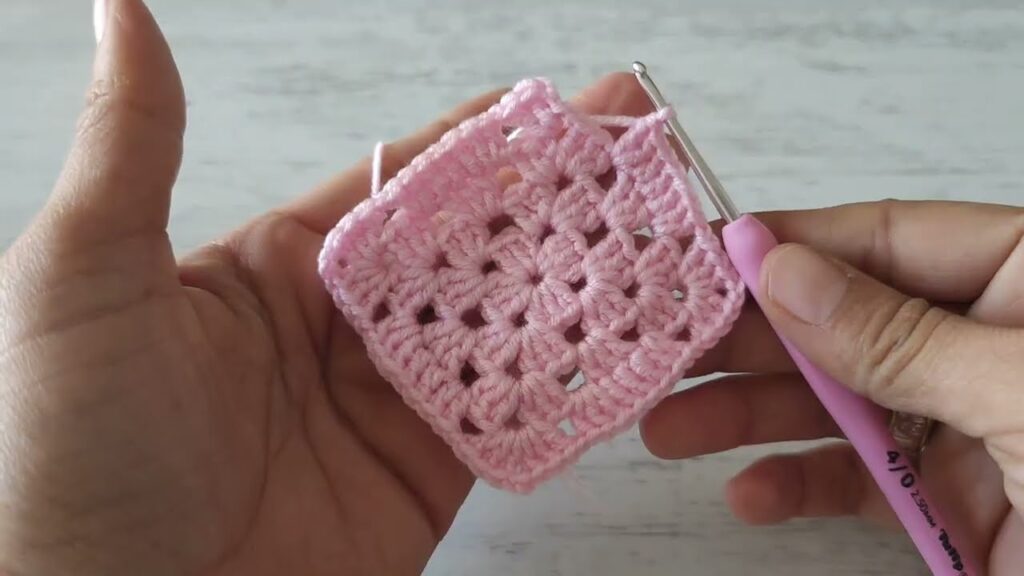
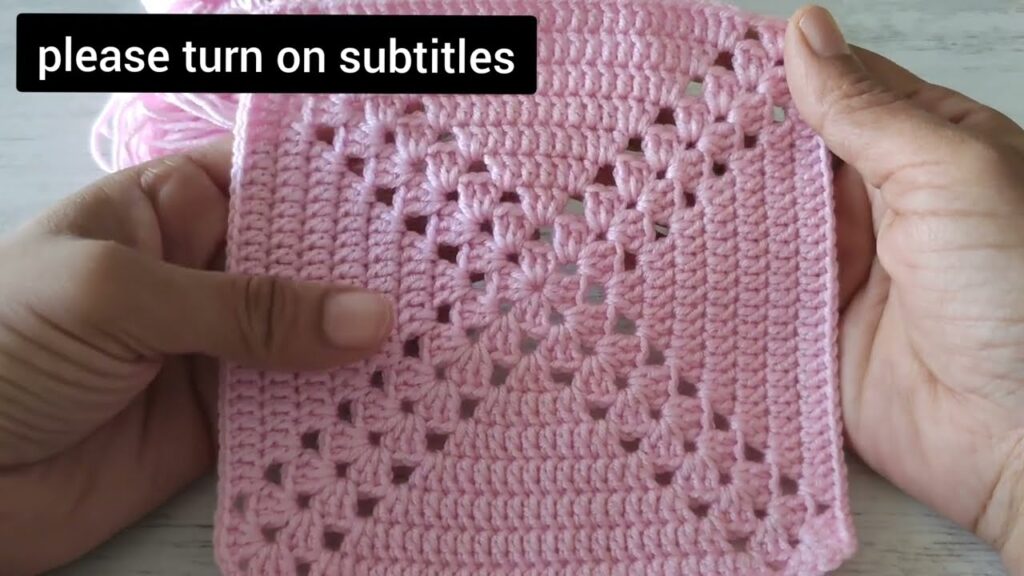
🧶 Step 1: Crochet a Simple Square
This square will become the base and upper part of the shoe.
Foundation Chain:
Ch 16 (or adjust based on size).

Row 1:
Sc in 2nd ch from hook and in each across (15 sts). Ch 1, turn.

Rows 2–15:
Sc in each st across. Ch 1, turn. (You should have a 15-row square.)

➡️ Result: A flat square of approx. 3.5" x 3.5" (or larger, depending on size).
Optional Texture: Use hdc instead of sc for a slightly thicker fabric.
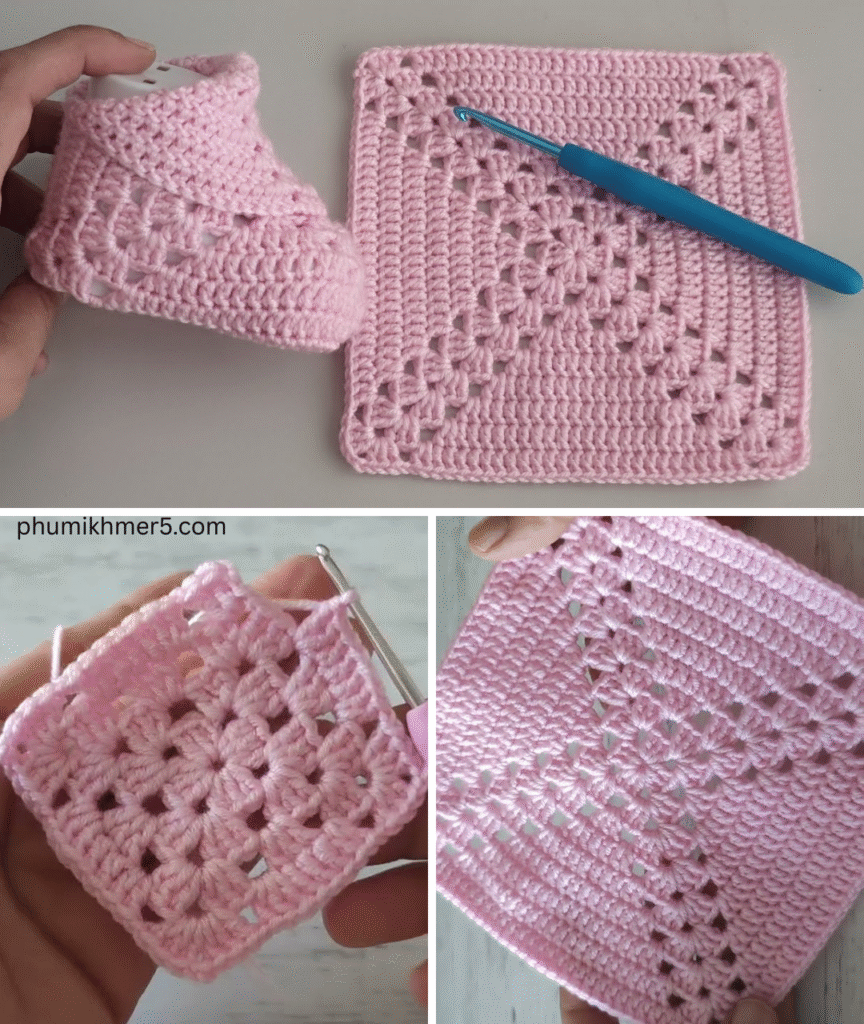
🧷 Step 2: Fold the Square
- Lay the square flat in front of you like a diamond shape (corner pointing upward).
- Fold the bottom point up toward the top point—like folding in half horizontally.
- Pinch or mark about 1/3 from each side (this becomes the heel).
You now have the general shape of a shoe sole and upper.
🧵 Step 3: Seam the Heel
- With yarn and needle, sew or sl st the two side edges together from the back point up about 1 inch (2.5 cm).
- This forms the heel of the shoe.
👟 Step 4: Shape the Toe
- At the front point (now the toe), fold the edges inward to overlap.
- Whipstitch or sl st across the front edge to close the toe.
➡️ You should now have a pouch shape with a closed heel and toe.
🧼 Step 5: Add Edging and Cuff (Optional)
To add a clean edge or a soft cuff:
Join yarn at back seam.
Round 1: Sc evenly around the opening. Join with sl st.
Round 2: Sc around again or use hdc for a thicker cuff.
Optional: Add a picot or shell stitch edging for decoration.
🎀 Step 6: Add Embellishments (Optional)
- Button or bow on the side
- Crochet strap over the top with button closure
- Ribbon tie for Mary Jane-style look
- Pom-pom or mini flower on toe
🧶 Pattern Summary (Quick Recap)
1. Crochet a square (approx. 3.5”).
2. Fold into shoe shape.
3. Seam heel and toe.
4. Add edging and cuff.
5. Embellish with ribbon, button, or bow.
🌈 Color & Design Ideas
| Style | Yarn Suggestion | Notes |
|---|---|---|
| Classic White | Cotton or baby yarn in white/cream | For christenings or newborn photos |
| Pastel Ombre | Self-striping pastel yarn | Soft color changes, no switching |
| Rainbow Fun | Bright scraps for each row | Great for using leftovers |
| Neutral Boho | Earth tones, wooden button accent | Natural and gender-neutral |
🧼 Washing & Care
- Use machine washable baby yarns when gifting
- Hand-wash if embellished with non-washable items (like wooden buttons)
- Lay flat to dry to maintain shape
🎁 Perfect for:
- Baby showers
- Birth announcements
- Newborn photography props
- Handmade baby gift sets
- Craft fairs and handmade shops
🧵 Final Tips
- Keep stitches tight and consistent so the shoes hold shape
- Try on your work often (if you have access to baby feet!)
- Make two at once to ensure size and tension match
- Customize the look with minimal effort — this pattern is a canvas!
Video tutorial:


