
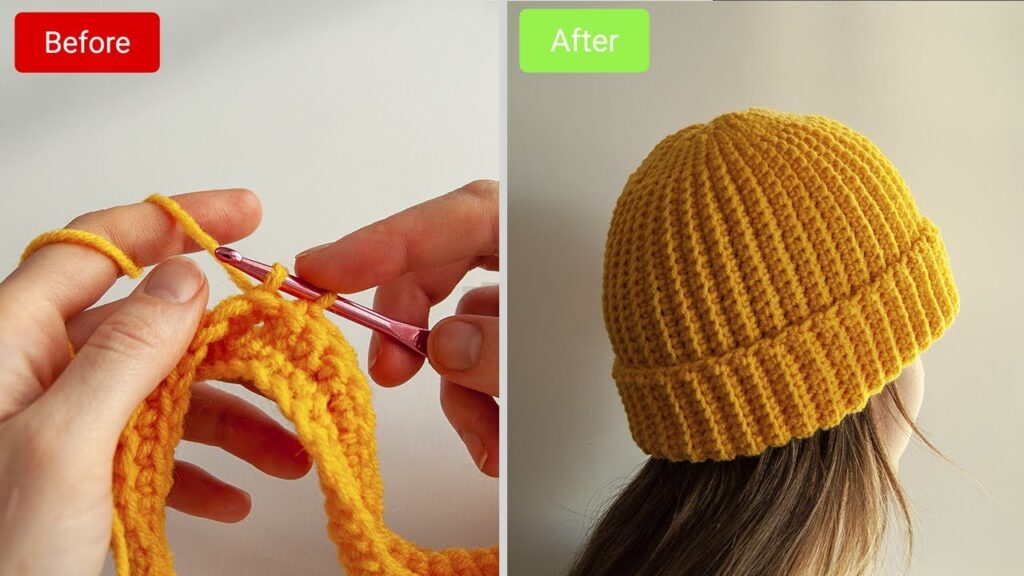
A Simple Step-by-Step Guide to Your First Cozy Hat
If you’re new to crochet and looking for a fun, fast, and functional project, a crochet beanie is the perfect place to start! With just a few basic stitches and a single skein of yarn, you can create a soft, stylish hat that fits beautifully and keeps you warm. This tutorial walks you through every step of making an easy crochet beanie – no fancy shaping, no advanced techniques – just beginner-friendly instructions and cozy results.
🎯 Why Make This Beanie?
- ✅ Beginner-friendly: no increases or decreases needed
- ✅ One size fits most (easily adjustable)
- ✅ Works up fast with medium or bulky yarn
- ✅ Unisex style – perfect for gifting
- ✅ Great intro to hat-making techniques
🧵 Materials You’ll Need
| Item | Description |
|---|---|
| Yarn | Worsted weight (4) or Bulky weight (5) – acrylic or wool blend |
| Crochet Hook | 5.5 mm (I-9) or 6.0 mm (J-10) for worsted weight yarn |
| Tapestry Needle | For weaving in ends |
| Scissors | For trimming yarn |
| Measuring Tape | Optional, for checking sizing |
Recommended Yarn: Red Heart Soft, Lion Brand Vanna’s Choice, or Paintbox Simply Aran
📏 Sizing Guide (Adult Size)
This pattern fits most teens and adults. Want to adjust for kids or toddlers? Just reduce the starting chain and work fewer rows.
| Size | Circumference | Height |
|---|---|---|
| Teen/Adult | 20–22″ (51–56 cm) | 8–9″ (20–23 cm) |

🪡 Stitches & Abbreviations (US Terms)
- ch – chain
- sc – single crochet
- hdc – half double crochet
- sl st – slip stitch
- blo – back loop only
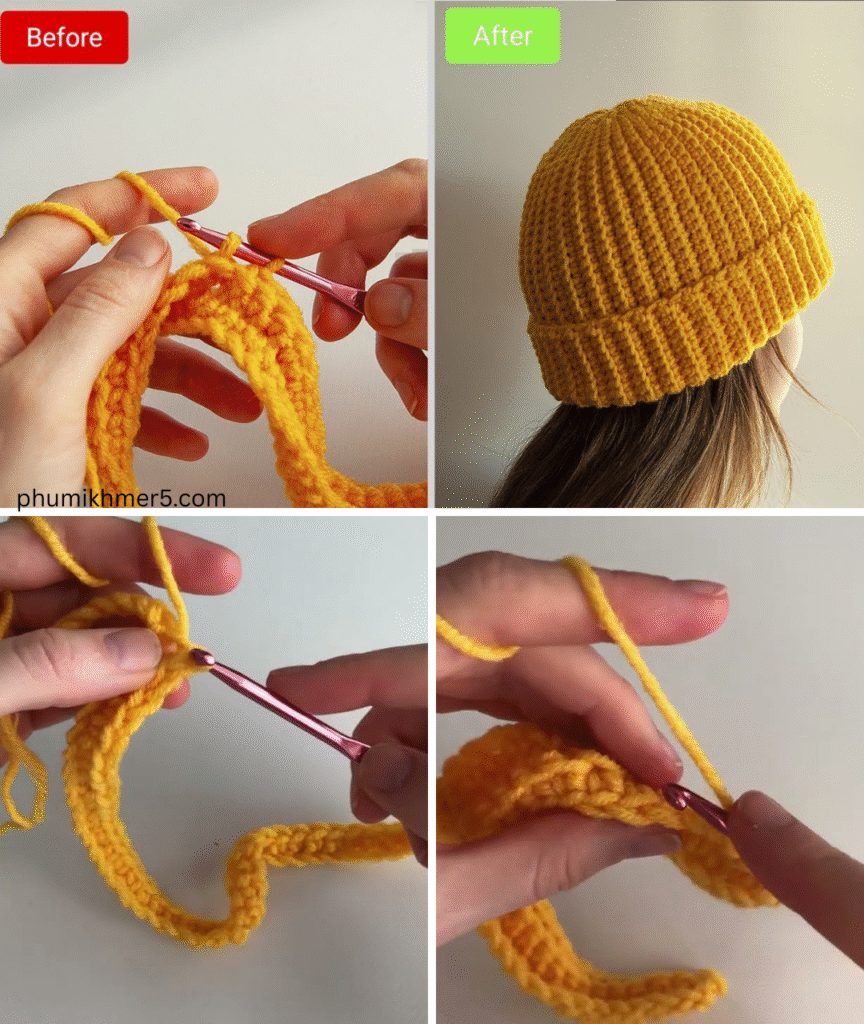
👒 Step-by-Step Pattern: Easy Ribbed Beanie
This beanie is worked flat as a rectangle and then seamed into a tube with one end cinched closed. Super simple – no working in the round!
🧶 Step 1: Make a Foundation Chain
Ch 36 (for a 9" tall beanie; adjust if you want a shorter or longer hat).
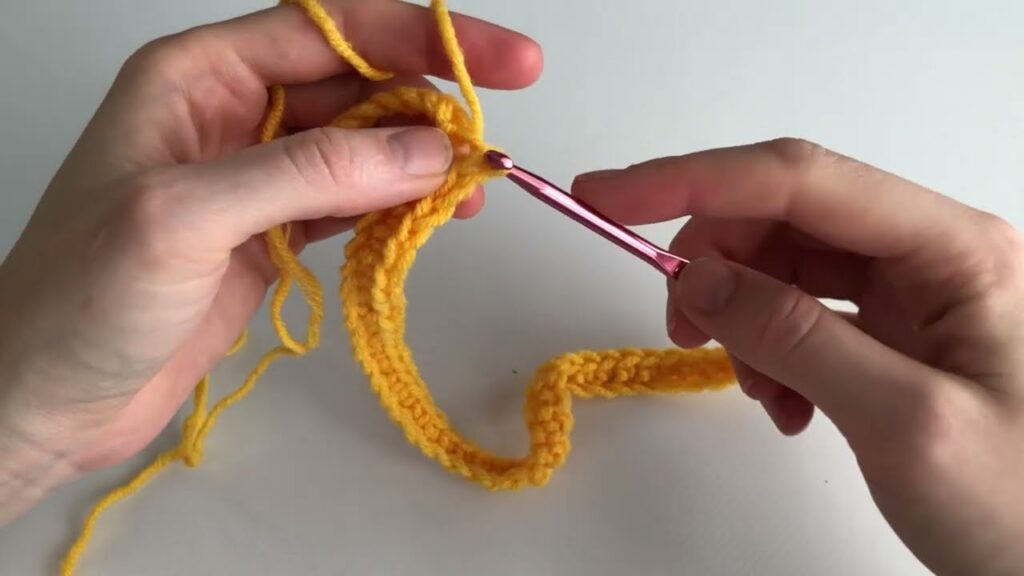
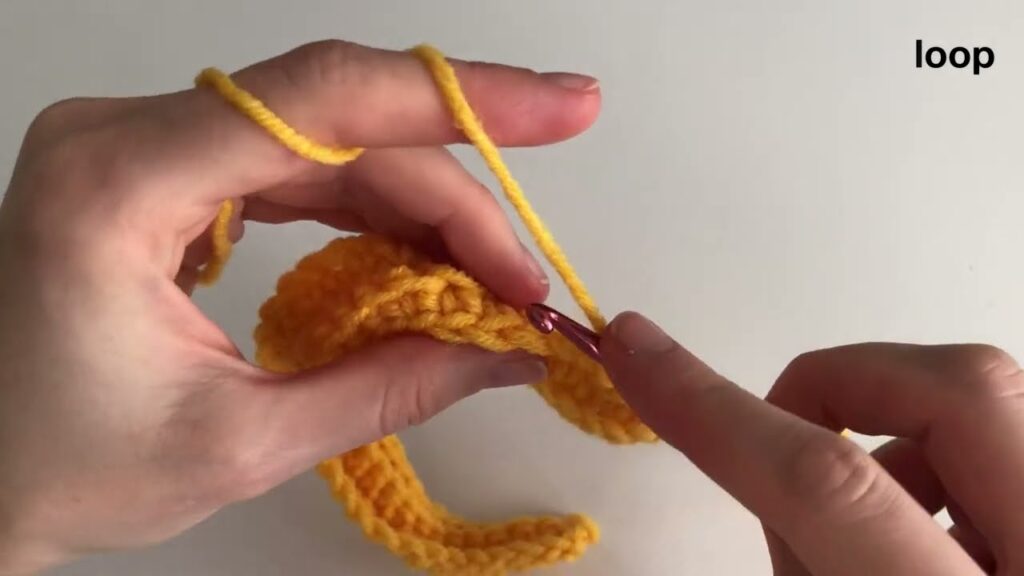
🧵 Step 2: Work the Rows (Beanie Body)
You’ll be using half double crochet in the back loop only (hdc blo) to create a stretchy, ribbed fabric.
Row 1: Hdc in 2nd ch from hook and in each ch across (35 sts). Ch 1, turn.
Row 2: Hdc blo in each stitch across. Ch 1, turn.
Repeat Row 2 for 32–38 rows or until the rectangle wraps around your head snugly.
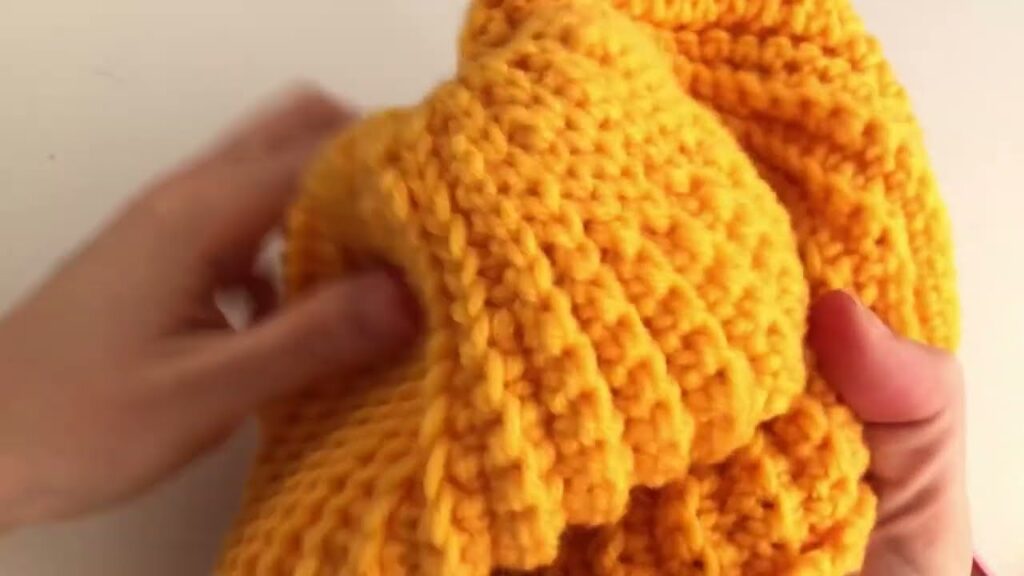
You now have a rectangular piece that looks like a ribbed knit fabric.
📌 Step 3: Seam the Beanie
Fold the rectangle in half lengthwise (bringing short edges together).
- Sl st seam through both loops of one side and back loop of the other side.
- Join edges to form a tube.
🎀 Step 4: Close the Top
With a tapestry needle and a long tail:
- Weave in and out around the top edge of the tube (one round).
- Pull tight to gather the top like a drawstring.
- Secure tightly with a knot.
- Weave in remaining ends.
Optional: Sew on a pom-pom for a fun finish!
👑 Step 5: Turn Up the Brim
Turn the hat inside-out (so seam is on the inside), and fold up the bottom to form a brim. That’s it!
You’ve just made your first crochet beanie!
🧶 Pattern Summary
1. Ch 36 (adjust height).
2. Work rows of hdc blo to desired length.
3. Seam short edges to form tube.
4. Cinch top closed with yarn needle.
5. Turn inside out, fold brim, and wear!
🌈 Customization Ideas
| Feature | How to Customize |
|---|---|
| Yarn Color | Use self-striping or ombré yarn for flair |
| Brim Style | Add extra rows for a deeper folded brim |
| Top Detail | Sew on a faux fur or yarn pom-pom |
| Stitch Variation | Try sc blo or alternate sc/hdc rows |
🧼 Care Instructions
- Use machine-washable yarns for easy care.
- Lay flat to dry for best shape retention.
- Avoid heat if using acrylic yarn (can melt fibers).
🎁 Perfect For:
- Last-minute handmade gifts
- Cold-weather accessories
- Beginner crochet practice
- Selling at craft fairs or markets
- Matching family beanies (just adjust size!)
Video tutorial:
✅ Final Tips for Beginners
- Count stitches often to keep edges even.
- Use stitch markers to mark row ends if needed.
- Practice hdc in back loop slowly — the rhythm gets easier!
- Don’t worry about perfection. Handmade means it’s unique.


