A Step-by-Step Pattern Perfect for Beginners
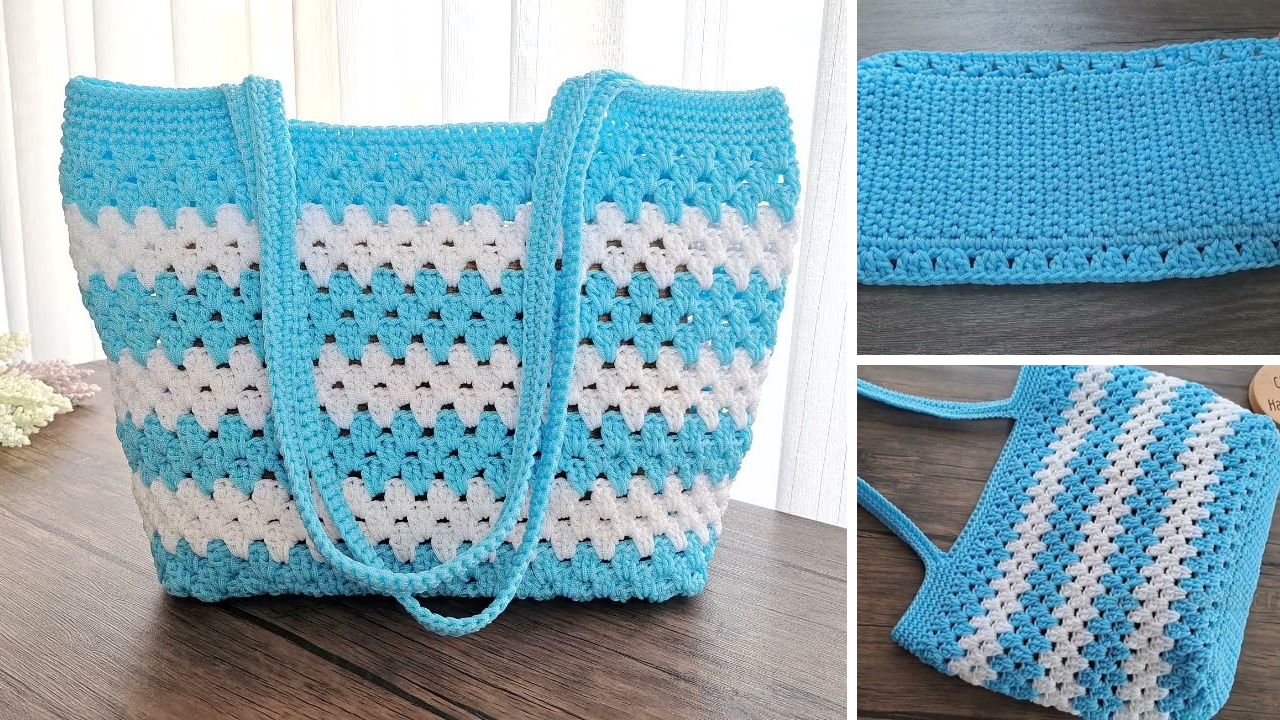
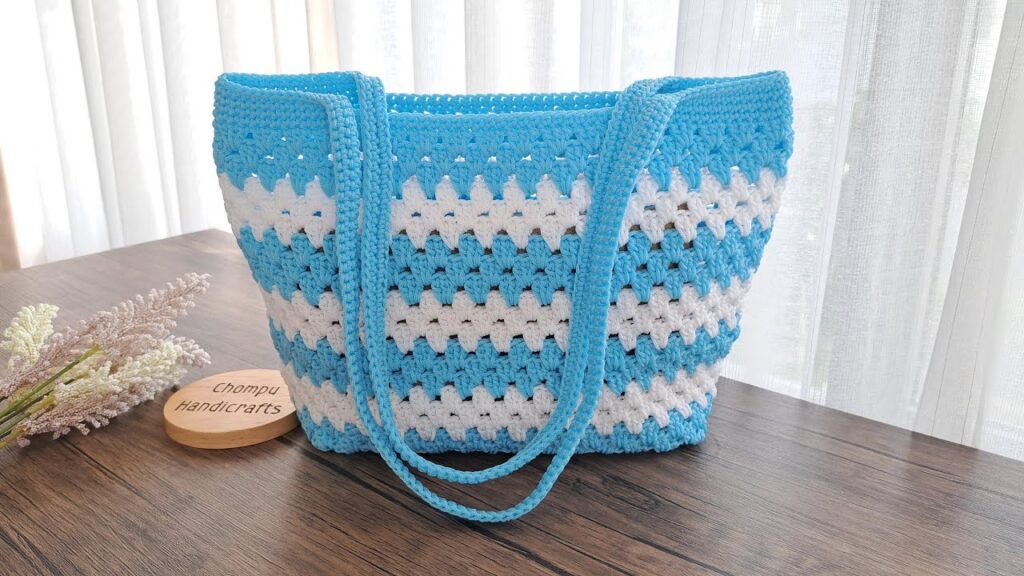
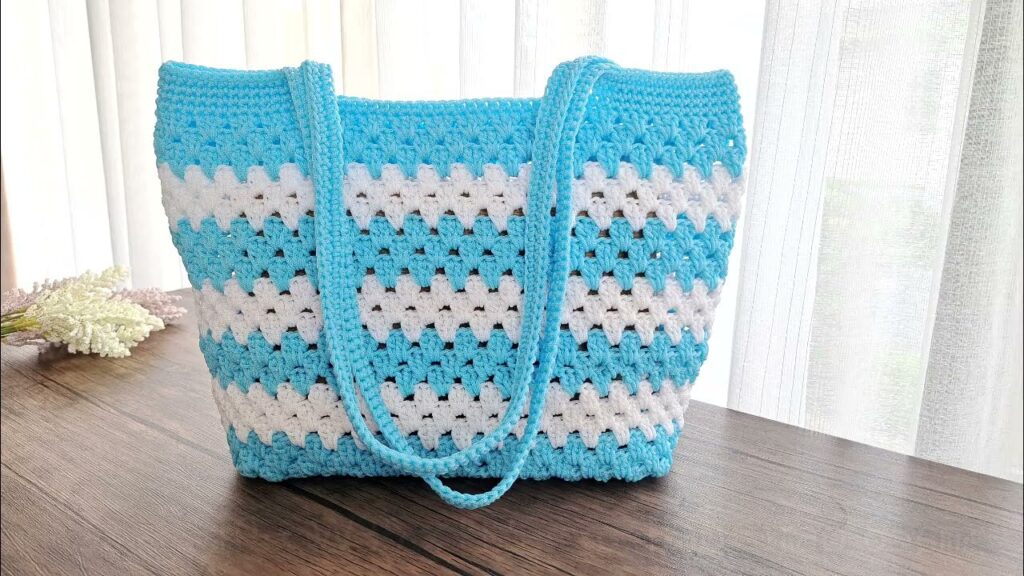
Crocheting your own tote bag is a fun and practical project—whether you want a reusable shopping bag, a casual summer carryall, or a handmade gift. This super easy crochet tote bag pattern is designed specifically for beginners, using basic stitches and simple construction. No shaping, no complicated techniques—just a flat rectangle, basic seaming, and sturdy handles.
If you can crochet a square, you can make this bag!
🎯 Why You’ll Love This Tote Bag
- ✅ Beginner-friendly: No increases or decreases
- ✅ Quick to make: Great weekend project
- ✅ Eco-friendly: Replace plastic bags
- ✅ Stylish and reusable: For beach, market, or daily use
- ✅ Customizable: Add lining, pockets, or tassels later
🧶 Materials You’ll Need
| Item | Details |
|---|---|
| Yarn | Worsted weight cotton yarn (4) — sturdy and washable |
| Crochet Hook | 5.0 mm (H-8) or size appropriate for your yarn |
| Tapestry Needle | For sewing and weaving in ends |
| Scissors | For trimming yarn |
| Measuring Tape | Optional, for size adjustments |
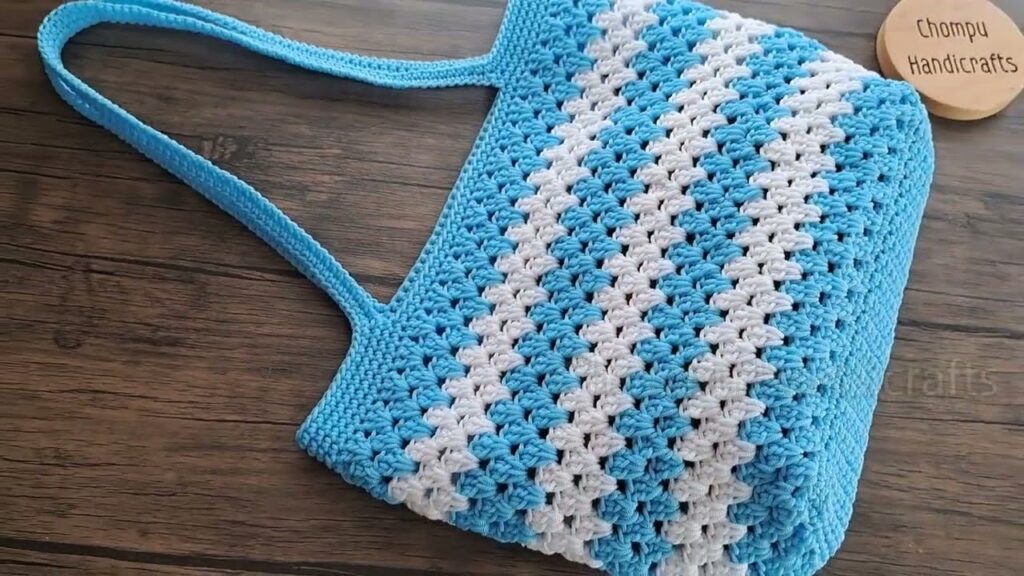
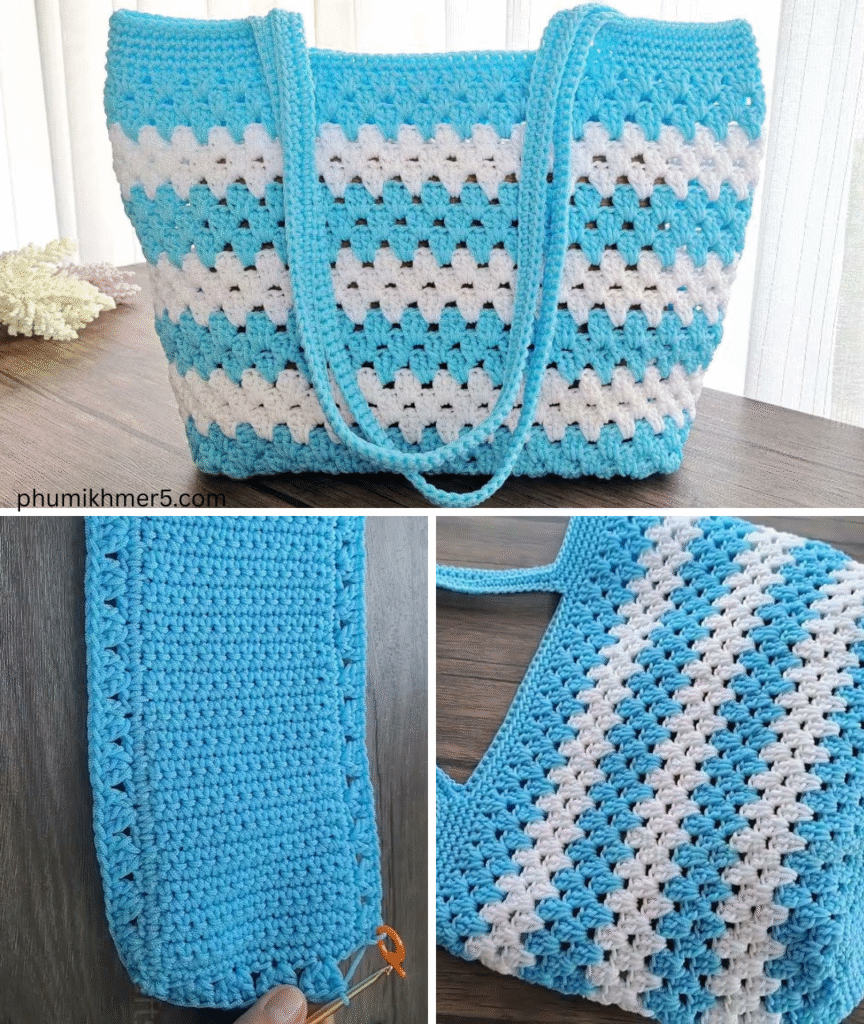
Recommended Yarn: Lily Sugar’n Cream, Paintbox Cotton Aran, Lion Brand 24/7 Cotton
📏 Finished Size (Adjustable)
| Feature | Measurement |
|---|---|
| Bag Width | ~14 in (36 cm) |
| Bag Height | ~13 in (33 cm) |
| Handle Length | ~20 in (50 cm) each side |
You can make your tote taller or wider by simply increasing the starting chain or working more rows.
🪡 Stitches & Abbreviations (US Terms)
- ch – chain
- sc – single crochet
- hdc – half double crochet
- sl st – slip stitch
- st(s) – stitch(es)
🧵 Step-by-Step Pattern: Super Easy Crochet Tote Bag
This pattern is made by creating one long rectangle (the base and sides), then sewing up the sides and adding two simple handles.
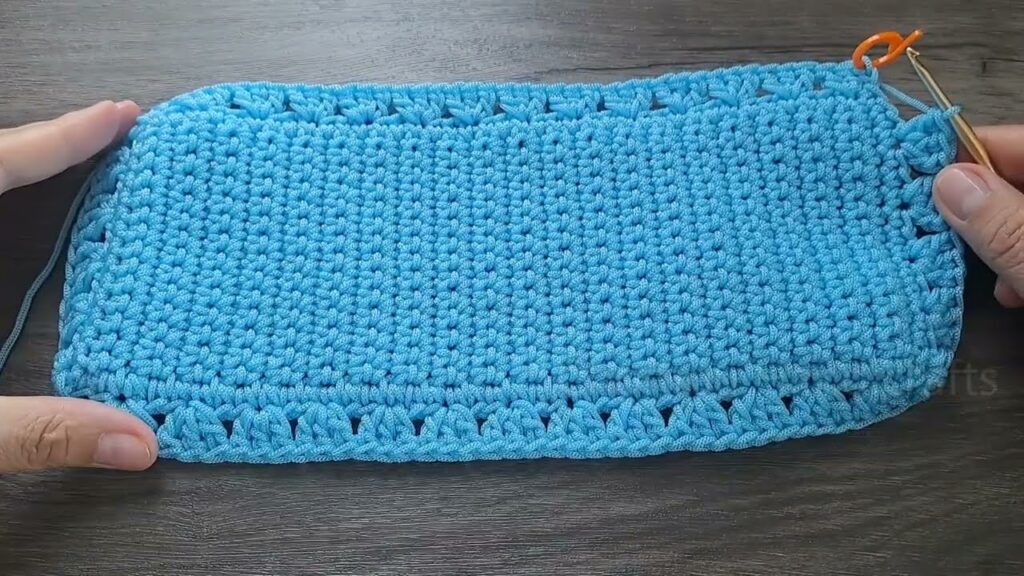
🧶 Step 1: Crochet the Main Rectangle (Bag Body)
Foundation Chain:
Ch 41 (for 14" wide bag; adjust as needed)

Row 1:
Sc in 2nd ch from hook and in each ch across (40 sts). Ch 1, turn.

Rows 2–60:
Sc in each stitch across. Ch 1, turn.

➡️ You now have a rectangle approx. 14" wide by 13" tall. Add more rows if you want a deeper bag.
Want more texture? Try hdc instead of sc for a slightly looser and softer fabric.
🧷 Step 2: Fold and Seam the Sides
- Fold the rectangle in half, matching short edges together (like a book).
- Use slip stitch or whipstitch to seam both sides from bottom to top.
- Turn the bag right side out so the seams are on the inside.
➡️ You now have an open bag shape!
👜 Step 3: Add Handles
You’ll crochet handles directly onto the bag opening.
Round 1:
Join yarn at any side seam. Sc evenly around the top opening of the bag. Sl st to join. Ch 1.

Round 2 (Handle Round):
Sc in next 5 stitches (or desired position),
Ch 40 (or adjust for longer/shorter handle),
Skip 10–12 stitches (handle gap), sc in next 10 stitches (across opposite side),
Ch 40 again, skip 10–12 sts, sc to finish round. Sl st to join.
🔁 Optional: Round 3 (Reinforce the Handles)
Sc in each stitch and chain around the top, including across the handles, to thicken and reinforce them.
Repeat for an additional round for extra strength.
🎀 Step 4: Weave In Ends and Shape
- Weave in all ends using your tapestry needle.
- Block the bag if needed for sharper corners.
- Optional: Line the inside with fabric for extra durability.

🧺 Customization Ideas
| Feature | Customization Tip |
|---|---|
| Color Stripes | Switch yarn color every few rows for fun patterns |
| Bottom Reinforcement | Double yarn or crochet an extra base to attach inside |
| Closure | Add button, toggle, or drawstring at the top |
| Tassels/Pom-Poms | Add to handles or corners for a boho look |
| Lining | Sew in fabric with pockets or waterproof interior |
🧼 Washing & Care
- Use 100% cotton yarn for machine-washable totes.
- Lay flat to dry to keep the shape.
- Avoid tumble drying if handles are long (may stretch).
Video tutorial:
✅ Final Tips
- Keep your stitches even to maintain a square shape.
- Use a tight stitch for better strength.
- Practice sc and slip stitch before starting.
- Mark handle placement with stitch markers to stay symmetrical.


