
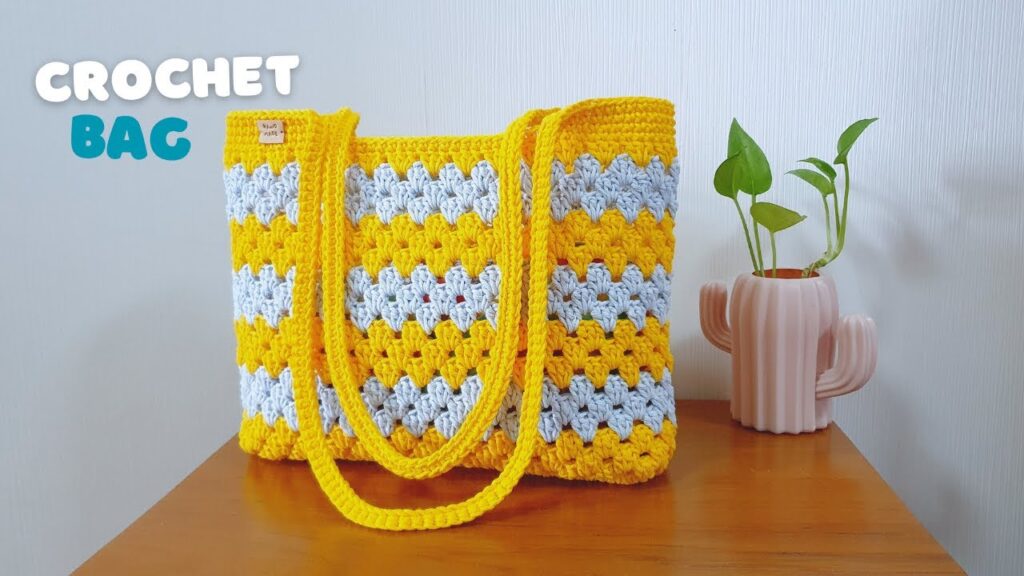
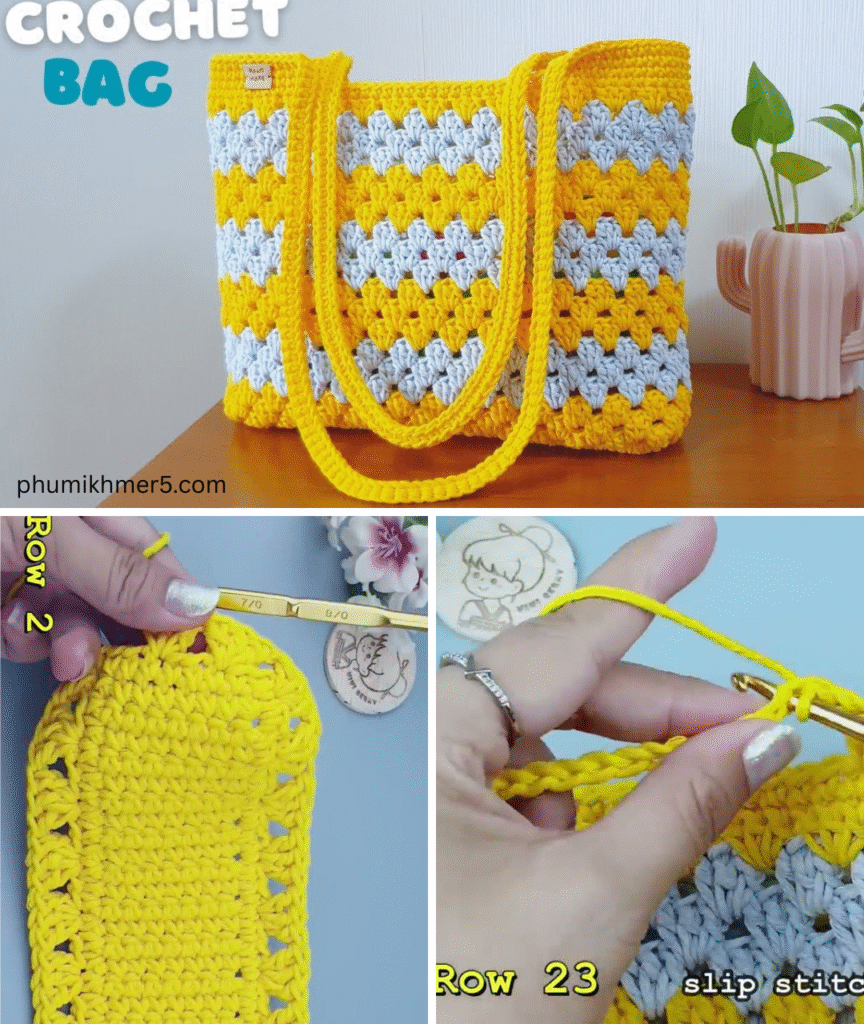
A Modern, Functional Handmade Bag You’ll Love
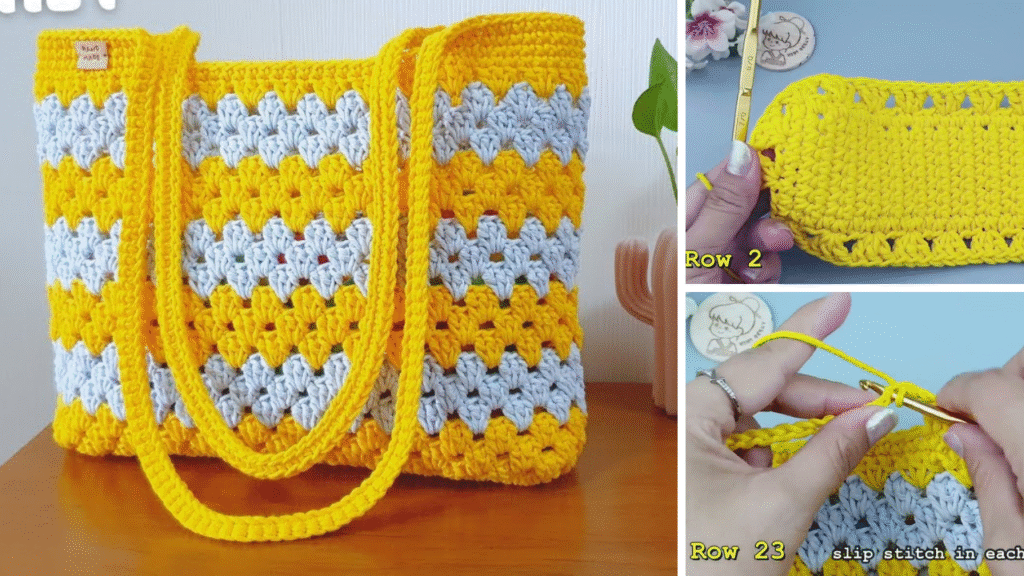
If you’re looking to make a durable, clean-finished crochet shoulder bag, this super neat pattern is the perfect project. Ideal for everyday use, this bag has a structured look, tidy seams, and a modern silhouette—all made using simple stitches and minimal shaping.
This guide walks you through how to crochet a shoulder bag that looks professionally made but is fully DIY!
✨ Why You’ll Love This Crochet Bag
- ✅ Clean and structured design
- ✅ Perfect size for daily use
- ✅ Beginner/intermediate friendly
- ✅ Sturdy enough to carry essentials
- ✅ Easily customizable with colors or lining
🧶 Materials Needed
| Item | Description |
|---|---|
| Yarn | Worsted weight (4) cotton yarn or sturdy acrylic (2–3 skeins) |
| Crochet Hook | 5.0 mm (H-8) or hook size that gives a dense fabric |
| Tapestry Needle | For sewing and weaving in ends |
| Scissors | For cutting yarn |
| Stitch Markers | Optional, to mark corners and rounds |
| (Optional) Lining | Fabric, zipper, or snap for a finished look |
Recommended Yarn:
- Lily Sugar’n Cream, Lion Brand Re-Up, or Paintbox Aran Cotton (for structure and washability)
📏 Finished Size
| Feature | Measurement |
|---|---|
| Bag Width | ~12 in (30 cm) |
| Bag Height | ~10 in (25 cm) |
| Strap Length | ~20 in (50 cm) |
You can easily adjust dimensions to make it a crossbody bag, tote, or mini purse.
🧵 Stitches & Abbreviations (US Terms)
- ch – chain
- sc – single crochet
- sl st – slip stitch
- hdc – half double crochet
- blo – back loop only
- st(s) – stitch(es)
🪡 Step-by-Step: Crochet Shoulder Bag (Super Neat Look)
🔹 Part 1: Crochet the Base
Start by making a sturdy oval base using single crochet.
Ch 31 (this will be the base length).

Round 1: Sc in 2nd ch from hook and across (30 sc), then work 3 sc in last ch.
Continue working on the other side of the chain: sc in each ch (30 sc), 3 sc in last st. (66 sts total)

Round 2–4: Work in continuous rounds. Place stitch marker at start.
[Sc in each st, and increase by 2 sc at each curve to keep the oval flat.]
➡️ After 4 rounds, your base should be a flat oval that lays neatly on a surface.
🔸 Part 2: Build the Bag Body
We now work upward in continuous rounds with hdc blo to create the sides.
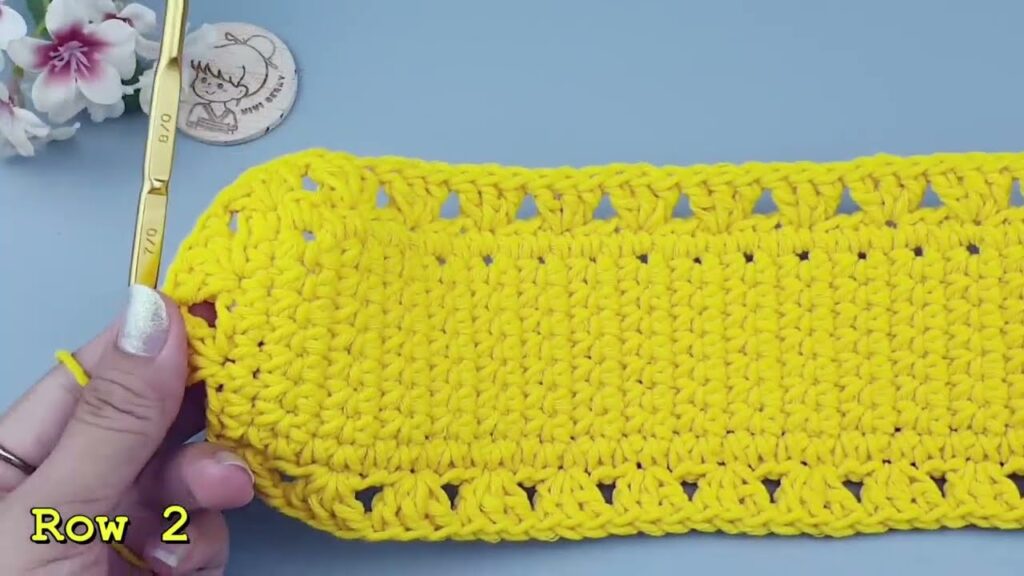
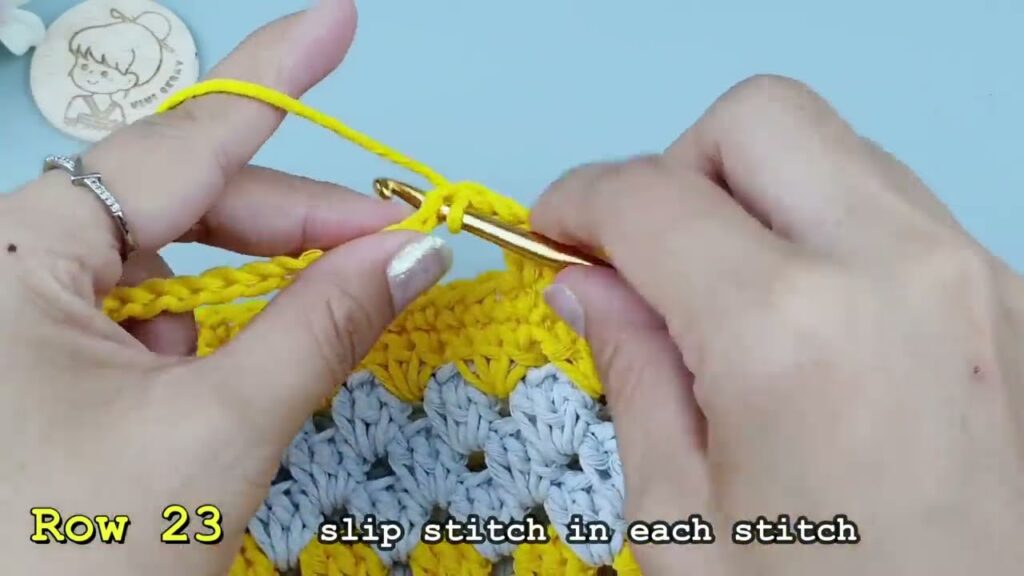
Round 5–25: Hdc in **back loop only** around. (No increases)

> Optional: Slip stitch in the first stitch and ch 1 at the start of each round to make a more visible seam line.
➡️ After 20+ rounds, your bag will be tall enough for essentials and hold its shape.
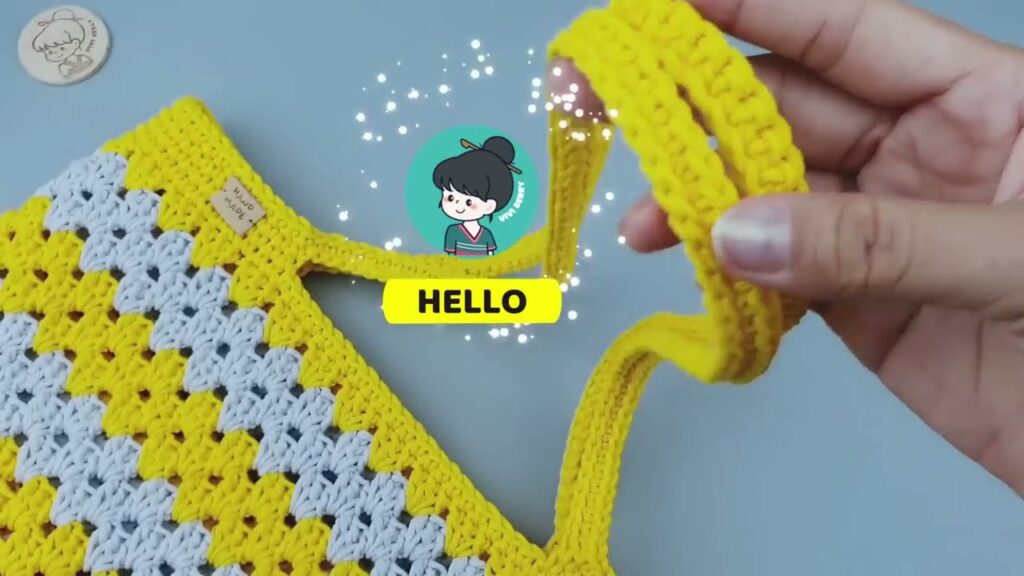
🔹 Part 3: Add a Strap
Option 1: Crochet-In Strap (Built-In)
From current round:
Sc 10, ch 40 (or desired length), skip 20 sts, sc 20, ch 40, skip 20 sts, sc 10 to finish.
Next round: Sc in each stitch and across the chain handles to reinforce.
Option 2: Sew-On Strap (Adjustable or Decorative)
- Crochet a strip: Ch 6, sc across for ~60–70 rows (or longer for crossbody).
- Attach each end to the side of the bag using sl st or sew in securely.
- Optional: Add D-rings or metal rings for a more modern, polished look.
🔸 Part 4: Finishing Touches
- Edge Round (Optional): Sc or reverse sc (crab stitch) around the top for a clean edge.
- Weave in all ends securely with a tapestry needle.
- Block the bag by stuffing it and lightly spraying with water to shape.
🎨 Customization Ideas
| Element | Ideas |
|---|---|
| Colorwork | Add stripes or color block sections |
| Texture | Use puff stitch or basketweave pattern for body |
| Fastening | Sew in a zipper, button loop, or magnetic snap |
| Lining | Add fabric lining for a clean interior and extra strength |
| Pockets | Crochet a small square and sew it inside or outside the bag |
🧼 Washing & Care Tips
- Use cotton or cotton blend yarn for best structure and washability
- Spot clean or hand wash to avoid stretching the handles
- Lay flat to dry, and reshape if necessary
🧵 Pattern Recap (Quick Summary)
1. Crochet a flat oval base with sc rounds.
2. Work hdc blo in continuous rounds to build the body.
3. Add a strap directly or crochet separately and attach.
4. Optional edging and lining for polish.
5. Weave in ends, block, and enjoy!
🧺 Perfect For:
- Daily shoulder bag
- Market trips or errands
- Beach or book bag
- Handmade gifts
- Beginner-friendly DIY accessory
Video tutorial:
🧶 Final Tips for a Super Neat Finish
- Use a tight gauge to make a sturdier bag.
- Work in continuous rounds for seamless sides.
- Use back loop stitches to add clean vertical lines.
- Don’t skip blocking—it gives your bag a professional look.


