There’s nothing sweeter than a tiny handmade cardigan for a newborn. Whether you’re crocheting for your own baby, a loved one, or a charity project, this simple crochet baby cardigan is the perfect pattern for beginners and seasoned crafters alike.
In this guide, we’ll walk you through how to make a soft and cozy 0–3 month-size cardigan — step by step.

🧵 Why This Pattern?
- ✅ Beginner-friendly
- ✅ Minimal shaping
- ✅ Top-down raglan style (easy to adjust)
- ✅ Customizable with colors, buttons, or edgings
📦 Supplies You’ll Need
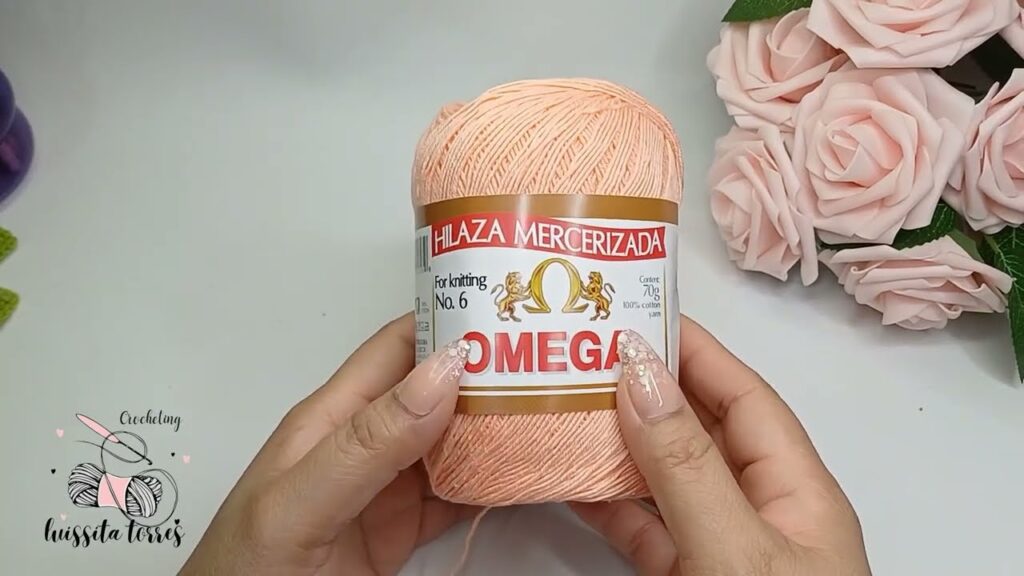
- Yarn: Worsted weight yarn (Category 4); approx. 200g
Tip: Choose baby-friendly yarn (soft cotton or baby acrylic) - Crochet Hook: 4.0 mm (G-6)
- Scissors
- Yarn needle (for weaving in ends)
- Stitch markers (helpful for raglan increases)
- Buttons: 3 to 4 small (0.5–0.75 inch)
🧶 Stitches & Abbreviations
- ch – chain
- sc – single crochet
- dc – double crochet
- sl st – slip stitch
- st(s) – stitch(es)
- inc – increase (2 dc in same stitch)
📏 Finished Size
Fits a baby approximately 0–3 months:
- Chest: ~16 inches
- Length: ~8 inches
- Sleeve length: ~4–5 inches
🔨 Construction Overview
This cardigan is made top-down in one piece:
- Create the yoke using raglan increases.
- Separate body and sleeves.
- Work the body in rows.
- Add sleeves in rounds.
- Finish with an edging and buttonholes.
👕 Step-by-Step Instructions
🌟 Step 1: Create the Foundation Chain
Chain 42.
🌟 Step 2: Row 1 – Double Crochet Base
Starting in the 3rd ch from the hook:
dc in each ch across. (40 dc)
Ch 2, turn.
🌟 Step 3: Raglan Increases (Yoke Shaping)
You will now shape the cardigan by increasing at four raglan points. Place stitch markers at these raglan points if helpful:
- Front: 6 sts
- Sleeve: 6 sts
- Back: 12 sts
- Sleeve: 6 sts
- Front: 6 sts
Row 2:
- dc in first 6 sts (front)
- inc in next st (2 dc in same st) – place marker
- dc in next 6 sts (sleeve)
- inc – place marker
- dc in next 12 sts (back)
- inc – place marker
- dc in next 6 sts (sleeve)
- inc – place marker
- dc in last 6 sts (front)
Ch 2, turn.
🌟 Step 4: Continue Increasing for Yoke
Repeat Row 2 for 5 more rows (6 rows total), increasing at each raglan point.
You should have approximately 80 stitches by the end of the yoke.
Ch 2, turn.
🌟 Step 5: Separate for Sleeves
Next row:
- dc in first 15 sts (front)
- skip 18 sts (sleeve)
- dc in next 24 sts (back)
- skip 18 sts (sleeve)
- dc in last 15 sts (front)
Now you’ve created armholes and formed the body!
🌟 Step 6: Work the Body
Work double crochet rows back and forth across the body section for 12–14 rows, or until desired length (~8 inches total from neckline).
Fasten off. Weave in ends.
🌟 Step 7: Work the Sleeves
Attach yarn to underarm space of sleeve.
Round 1: dc evenly around the sleeve opening (~24 stitches). Join with sl st, ch 2.
Rounds 2–8: dc around.
You can taper slightly by decreasing every few rows if desired.
Repeat for the second sleeve.
Fasten off and weave in ends.

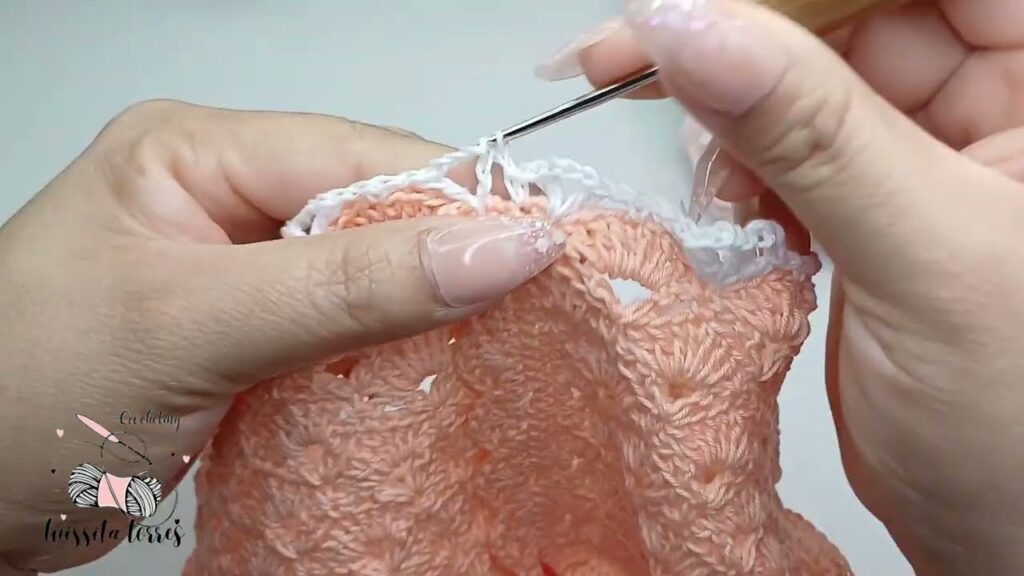
🌟 Step 8: Add Edging and Button Band
With the cardigan laid flat and right side facing:
- Attach yarn to bottom corner.
- sc evenly up the front, around the neckline, and down the other side.
- On one front side, create buttonholes: (sc, ch 2, skip 1) every 5–6 rows.
Fasten off and weave in ends.
Sew buttons to match buttonholes.
🎨 Customization Ideas
- Add a shell edging (scallops) for a girly look
- Use variegated yarn or color-blocking
- Add a crochet appliqué (like a star, flower, or heart)
- Make matching booties or a hat
🧼 Care Tips
Wash the finished cardigan using mild detergent on a gentle cycle, or hand-wash. Always check your yarn label for care instructions.
Video tutorial:
✅ Final Thoughts
Crocheting a baby cardigan is one of the most rewarding handmade projects. This simple, cozy pattern is a beautiful keepsake that can be gifted, donated, or treasured for generations.
Ready to get stitching? Grab your hook and yarn — and happy crocheting!


