
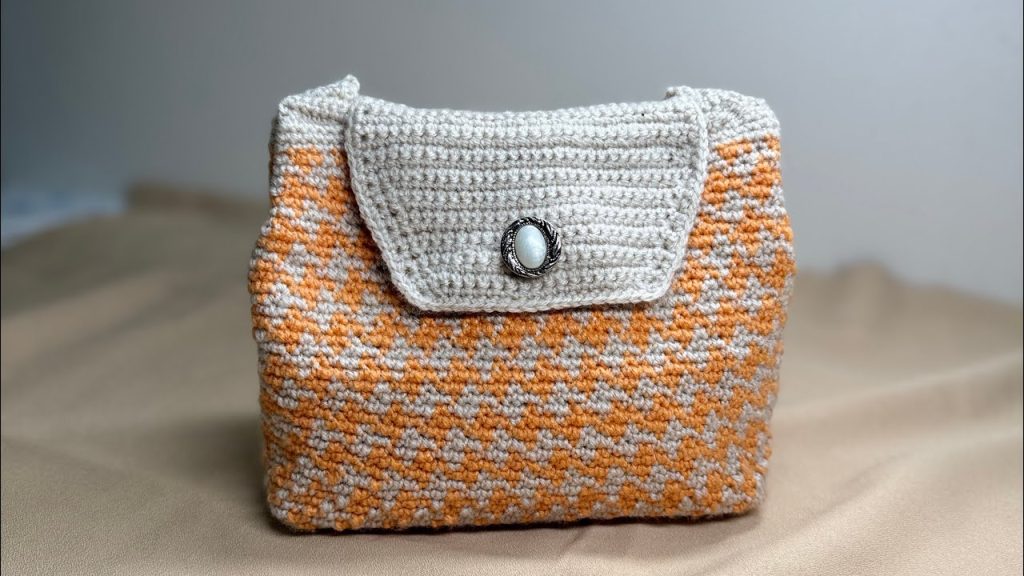
Crocheting a handbag for ladies is one of the most rewarding projects in the world of handmade fashion. It’s not just a bag—it’s a stylish, functional accessory that showcases your creativity, skills, and personality. Whether you’re aiming for a minimalist tote, a boho shoulder bag, or a clutch for evenings out, this tutorial will walk you through a beautiful, beginner-friendly pattern with room for customization.
🌸 Why Crochet Your Own Handbag?
Handbags are an essential part of everyday life—used for shopping, work, or special occasions. Making your own handbag offers several advantages:
- Customization: Choose colors, size, shape, and strap type.
- Eco-Friendly: Use sustainable or recycled yarns.
- Budget-Friendly: High-fashion look without designer prices.
- Creative Outlet: Express your unique style.
🪡 Crochet Techniques & Skills You’ll Learn
This tutorial focuses on a simple flat-bottom tote bag, using basic stitches and clear shaping.
✨ You’ll Learn:
- Magic ring (optional)
- Working in the round
- Creating a flat oval base
- Working in rows vs. rounds
- Creating sturdy handles
- Adding a lining (optional but recommended)
🧶 Crochet Handbag for Ladies – Pattern Overview
| Feature | Description |
|---|---|
| Style | Classic Tote/Shoulder Bag |
| Difficulty | Easy/Beginner |
| Construction | Bottom-up, seamless |
| Yarn Type | Cotton or raffia (durable) |
| Size | Medium: ~12” wide x 10” tall |
| Closure | Open-top (optional zipper/button) |
✂️ Materials Required
| Item | Details |
|---|---|
| Yarn | Worsted weight cotton or raffia – 400–500 yards |
| Hook | 5.0 mm (H/8) crochet hook |
| Notions | Stitch markers, tapestry needle, scissors |
| Optional | Fabric for lining, sewing needle/thread, button, zipper |
💡 Cotton yarn is preferred as it provides durability and minimal stretch.
🔄 Abbreviations Used (US Terms)
- ch – chain
- sc – single crochet
- sl st – slip stitch
- st(s) – stitch(es)
- inc – increase (2 sc in one st)
- dec – decrease (sc2tog)
👜 Step-by-Step Crochet Handbag Tutorial
🔹 Step 1: Make the Flat Oval Base
We begin by creating the base of the bag in an oval shape using single crochet.
Ch 21

Round 1: Sc in 2nd ch from hook and in next 18 sts, 3 sc in last ch. Rotate and work along the opposite side of chain, sc in next 18 sts, 2 sc in the last st (same ch as the first sc). Join with sl st. (42 sts)

Round 2: Ch 1, sc in next 18 sts, inc in next 3 sts (corner), sc in next 18 sts, inc in last 2 sts. Join. (48 sts)

Round 3–6: Continue working in rounds, increasing 3 sc at each end (corners) to keep the oval shape. You’ll reach ~12” long base.
📏 Tip: Stop increasing once your base reaches your desired width and length.

🔹 Step 2: Build the Body of the Bag
Now work the sides upward in a seamless tube.
Round 7: Ch 1, sc in each st around **(do not increase)**. Join.

Round 8–30: Repeat round 7. You’ll see the bag start to grow taller.

(Feel free to adjust height: 30 rounds = ~10” tall)
✨ Optional: Add color changes or stripes by switching yarn every few rows.

🔹 Step 3: Create the Handles
You can either crochet handles directly onto the bag or make separate straps and sew them on.
Method 1: Attached Handles (Simple Holes)
Round 31: Sc 10, ch 25 (skip next 20 sts), sc 20, ch 25 (skip next 20 sts), sc 10. Join.

Round 32–34: Sc in every stitch and ch around. This reinforces the handles.
Method 2: Separate Straps
Ch 70 (or desired length), turn.
Row 1–4: Sc in each ch, ch 1, turn.

Fasten off and sew ends to top edge of the bag securely using a tapestry needle.
💪 Tip: Reinforce with extra stitching or rivet-style fasteners if carrying heavy items.
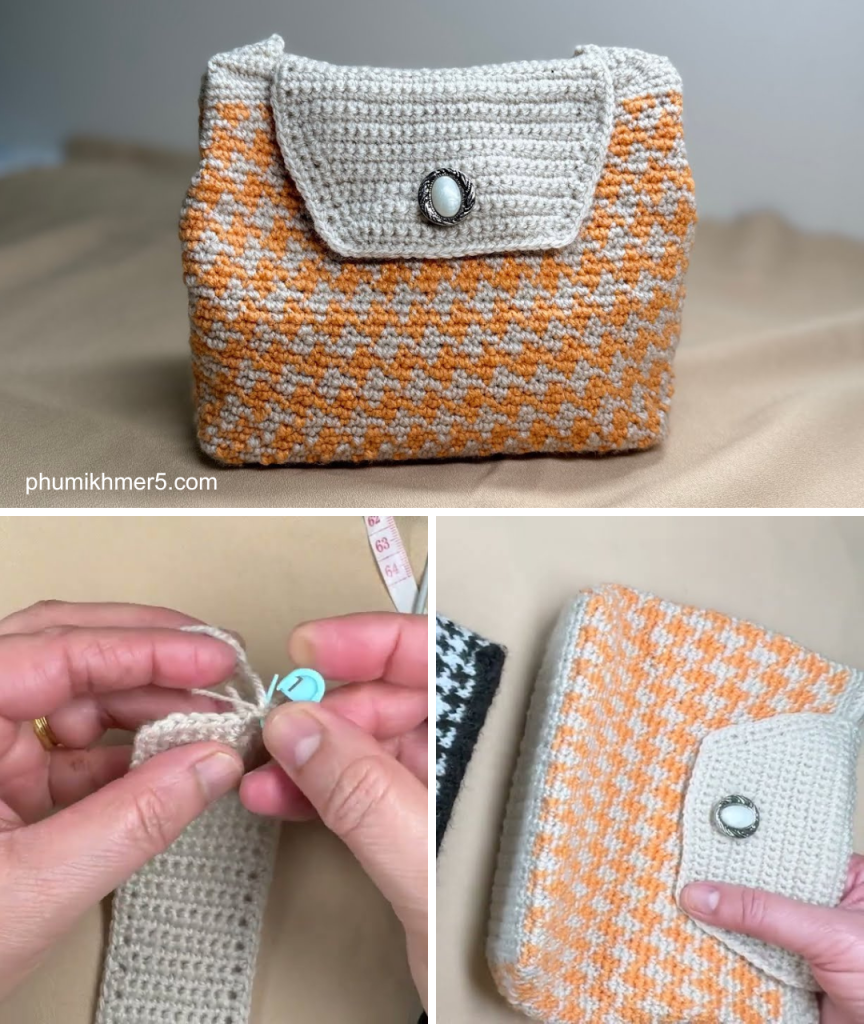
🔹 Step 4: Finishing Touches
Optional Edging:
Work 1 round of reverse sc (crab stitch) around the top edge for a polished finish.
Optional Closure:
- Zipper: Sew on a zipper to the top using a sewing needle and thread.
- Button Loop: Crochet a small loop and attach a button to the opposite side.
Optional Lining:
Cut fabric slightly larger than the bag, fold edges under, and sew to the inside using a backstitch. This strengthens the bag and prevents stretching.
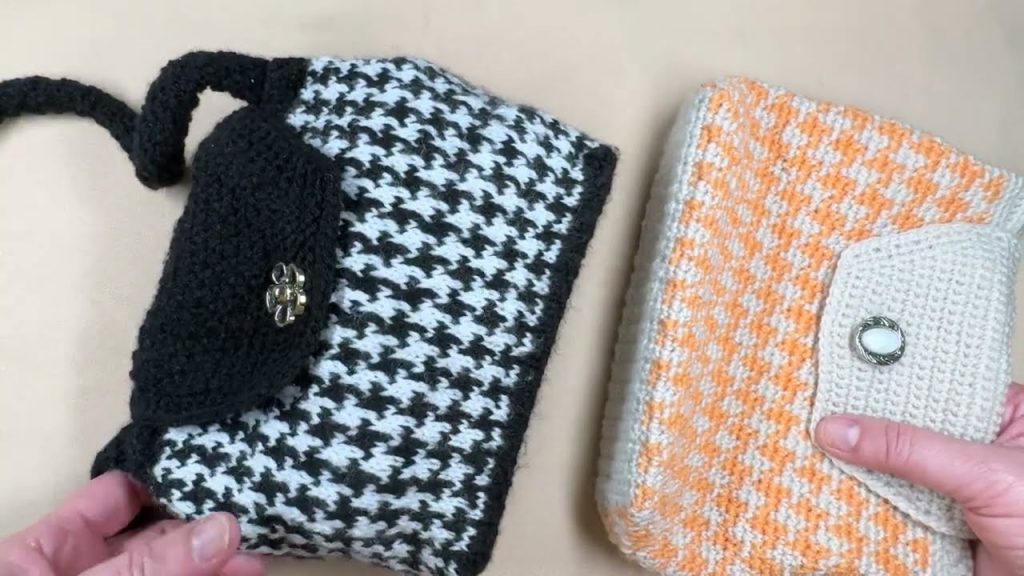
🌟 Customization Ideas
- Add Tassels or Pom-Poms to the handle
- Use macramé cord for a boho look
- Add an inner or outer pocket
- Embroider on the front for personalization
- Try a granny square base for vintage flair
🧺 Washing and Care
If using cotton yarn:
- Hand wash or gentle cycle
- Lay flat to dry
- Avoid wringing or hot water (may shrink)
🎉 Final Thoughts
Crocheting a handbag for ladies is a satisfying project that blends fashion with function. This easy and detailed tutorial shows you how to create a beautiful tote-style handbag from scratch using basic stitches. Once you’ve mastered this pattern, you can explore variations like clutches, crossbody bags, and even beach bags.
Video tutorial:


