Crochet is a timeless and relaxing craft that allows you to transform yarn into beautiful, functional items. One of the most rewarding projects for beginners is a mini crochet bag. Small in size but big on style and versatility, a mini bag is the perfect accessory for holding keys, lip balm, cards, or coins—and it’s a great way to practice basic crochet stitches.
This beginner-friendly tutorial will walk you through every step of making your own DIY crochet mini bag, from gathering materials to stitching and assembling. Whether you’re crafting for yourself, a friend, or selling at a local market, this cute and simple project will become one of your favorites.

🧶 Why Crochet a Mini Bag?
Mini bags are trendy, useful, and easy to make. Here’s why they’re great for beginners:
- Quick project – Finish it in 1–2 hours.
- Minimal materials – Requires just one skein of yarn.
- Learn foundational skills – Practice chaining, single crochet, and seaming.
- Endless customization – Change colors, straps, closures, or add embellishments.
📦 Materials You’ll Need
Here’s what you need to get started:
✅ Yarn:
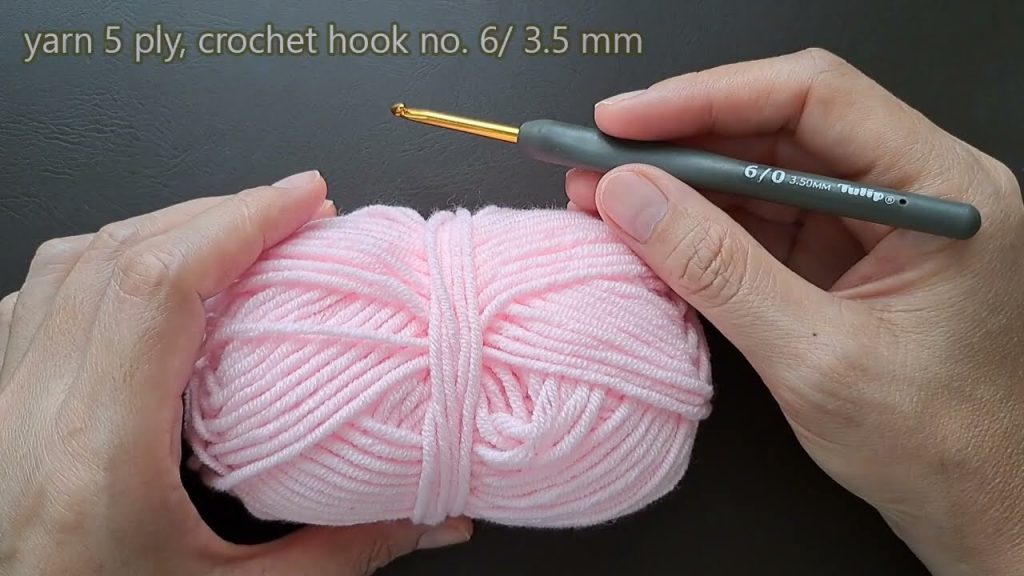
- Worsted weight (category 4) yarn in any color (100% cotton is ideal for structure and durability)
✅ Tools:
- Crochet hook: 4.0 mm (G/6) or 5.0 mm (H/8), depending on yarn thickness
- Yarn needle for sewing ends
- Scissors
- Optional: Button, snap, or magnetic clasp for closure
✅ Optional Embellishments:
- Decorative buttons
- Tassels or pom-poms
- Lining fabric (if sewing a fabric lining)
- Strap rings or D-rings
🧵 Crochet Terms (US Terminology)
| Abbreviation | Meaning |
|---|---|
| CH | Chain |
| SC | Single Crochet |
| SL ST | Slip Stitch |
| INC | Increase (2 SC in 1 stitch) |
| DEC | Decrease (SC 2 stitches together) |
| FO | Fasten Off |
✨ Project Overview
This project creates a small rectangular bag with a fold-over flap and a single strap—perfect for beginners. The body is worked flat in rows, then folded and sewn up the sides. A strap is crocheted separately or directly onto the bag.
📐 Dimensions (Finished)
- Bag body: Approx. 6 inches wide x 5 inches tall (15 cm x 12 cm)
- Strap: Customizable to shoulder or crossbody length
🔨 Step-by-Step Instructions
🧩 Step 1: Start with a Foundation Chain
CH 26
(This will be the width of your bag. You can adjust the number for different sizes.)
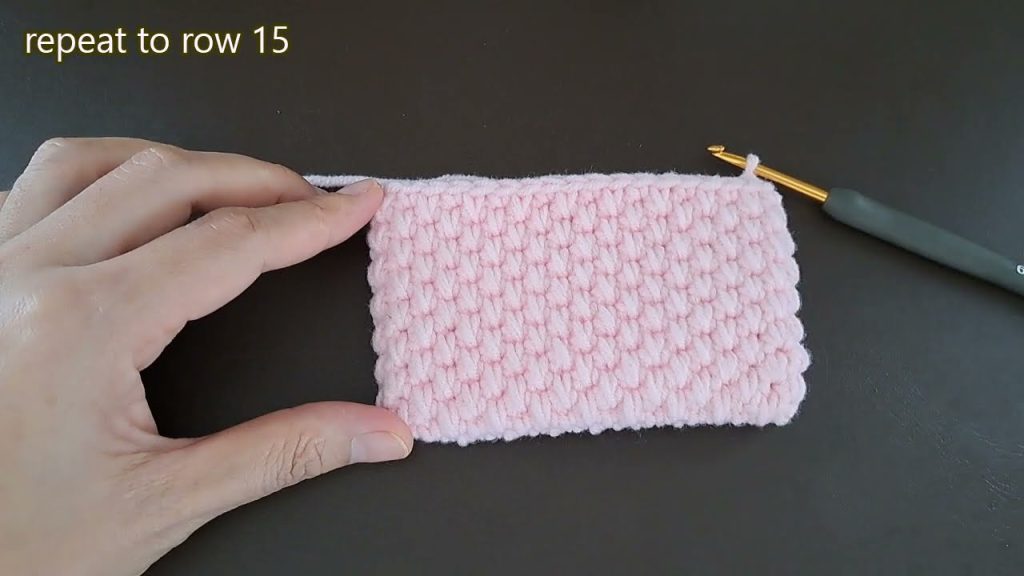
🧩 Step 2: Work the Body of the Bag
Row 1: SC in 2nd CH from hook and in each CH across. (25 SC)
Row 2: CH 1, turn. SC in each stitch across. (25 SC)
Repeat Row 2 until your piece measures about 12 inches long (or desired length).

You’re creating a long rectangle. The lower 2/3 will form the main pouch, and the top 1/3 will fold over as a flap.
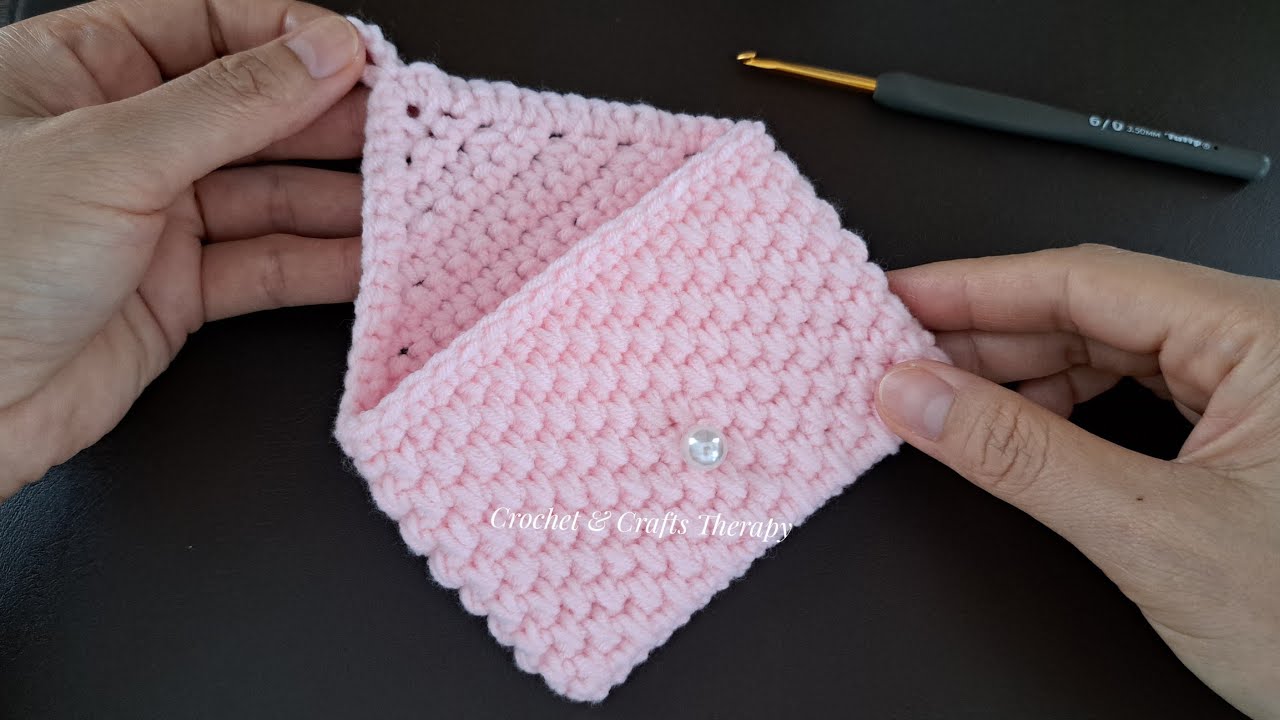
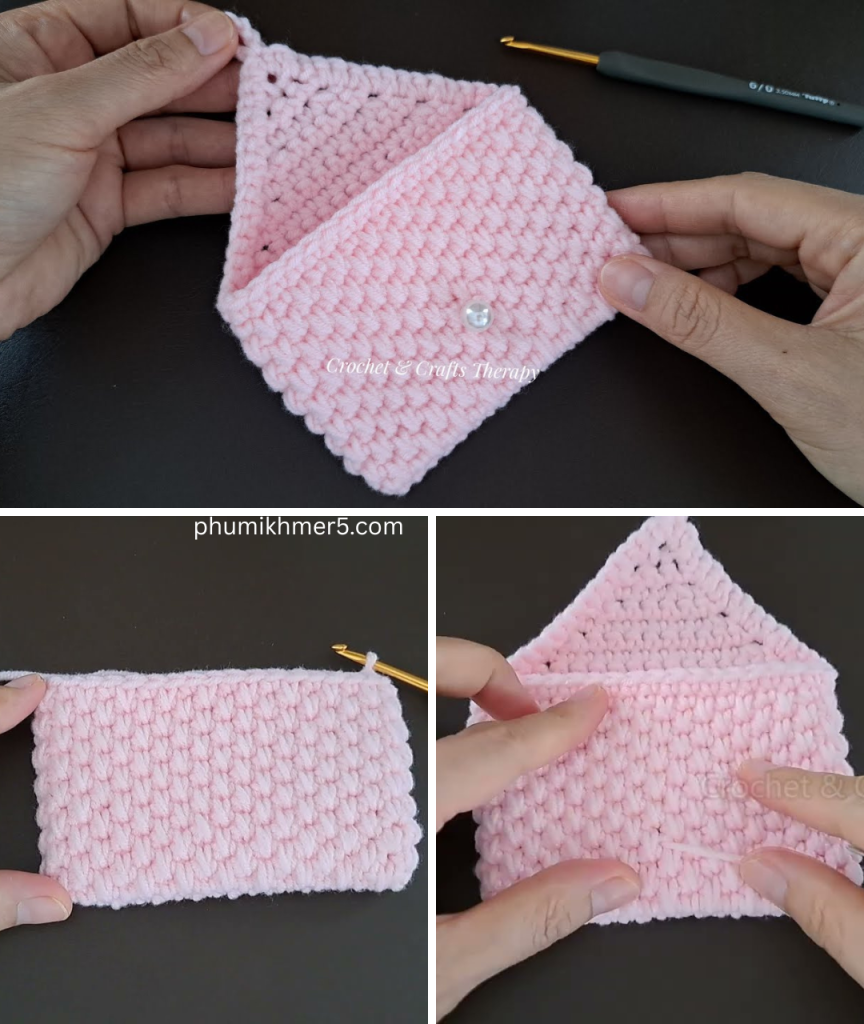
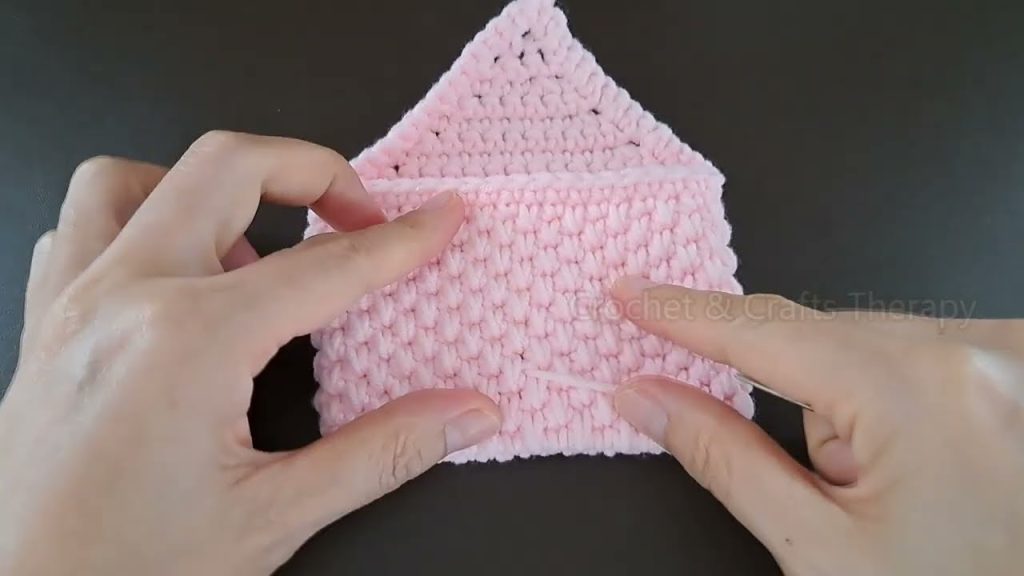
🧩 Step 3: Fold and Seam the Sides
- Fold the rectangle so the bottom 8 inches make the pouch, and the remaining top folds over as the flap.
- Use a yarn needle and matching yarn to whip stitch or slip stitch the two sides of the pouch.
- Fasten off and weave in ends.
🎀 Step 4: Add the Strap
You have two options:
🔹 Option 1: Crochet the Strap Directly Onto the Bag
Attach yarn to the top corner of one side.
CH 100 (or desired length for shoulder/crossbody).
Attach to the opposite corner with SL ST.
SC back along the chain to make the strap thicker.
SL ST into the starting stitch. FO and weave in ends.
🔹 Option 2: Make a Detachable Strap
CH 100 (or more for longer strap).
Row 1: SC in 2nd CH from hook and across.
FO and attach both ends to the bag with yarn needle or D-rings.
🎁 Step 5: Add a Closure (Optional)
- Button Loop:
CH 10 and attach to the center of the flap to make a loop.
Sew a button on the front pouch section. - Snap or Magnetic Closure:
Sew or glue into the inside of the flap and pouch.
🖌️ Step 6: Customize Your Mini Bag
This is where you can really make it your own!
Decoration Ideas:
- Crochet a flower applique and sew it on.
- Add fringe or tassels along the flap edge.
- Sew a fabric lining for a polished finish.
- Attach a metal chain for a modern look.
📷 Visual Breakdown (Summary)
| Step | Action | Details |
|---|---|---|
| 1 | Chain 26 | Base width of the bag |
| 2 | Single crochet rows | Until 12 inches long |
| 3 | Fold and seam sides | Creates pouch shape |
| 4 | Add strap | Crochet or attach with rings |
| 5 | Add closure | Button, snap, or magnetic clasp |
| 6 | Decorate | Flowers, tassels, or lining |
🧵 Tips for Beginners
- Use light-colored yarn at first—it’s easier to see stitches.
- Mark your first and last stitch of each row with stitch markers to keep edges straight.
- Keep your tension consistent to ensure your bag lies flat.
- Don’t worry about perfection—handmade is meant to be unique!
💡 Variation Ideas
| Style | Modification |
|---|---|
| Boho Mini Bag | Use multicolored yarn and fringe along the flap |
| Elegant Pouch | Use black yarn and a gold button |
| Coin Purse | Make it smaller (CH 16, fewer rows) |
| Phone Bag | Make it taller (CH 20, SC 40 rows) |
💬 Final Thoughts
Making a DIY crochet mini bag is a fantastic beginner project. It teaches essential techniques, works up quickly, and results in a stylish, practical accessory. Whether you’re crocheting for fun, fashion, or function, this project is a great confidence-builder.
So grab your hook and yarn, get comfortable, and enjoy the creative process. With a little practice and imagination, you’ll soon have a collection of handmade mini bags to show off, gift, or sell!
Video tutorial:


