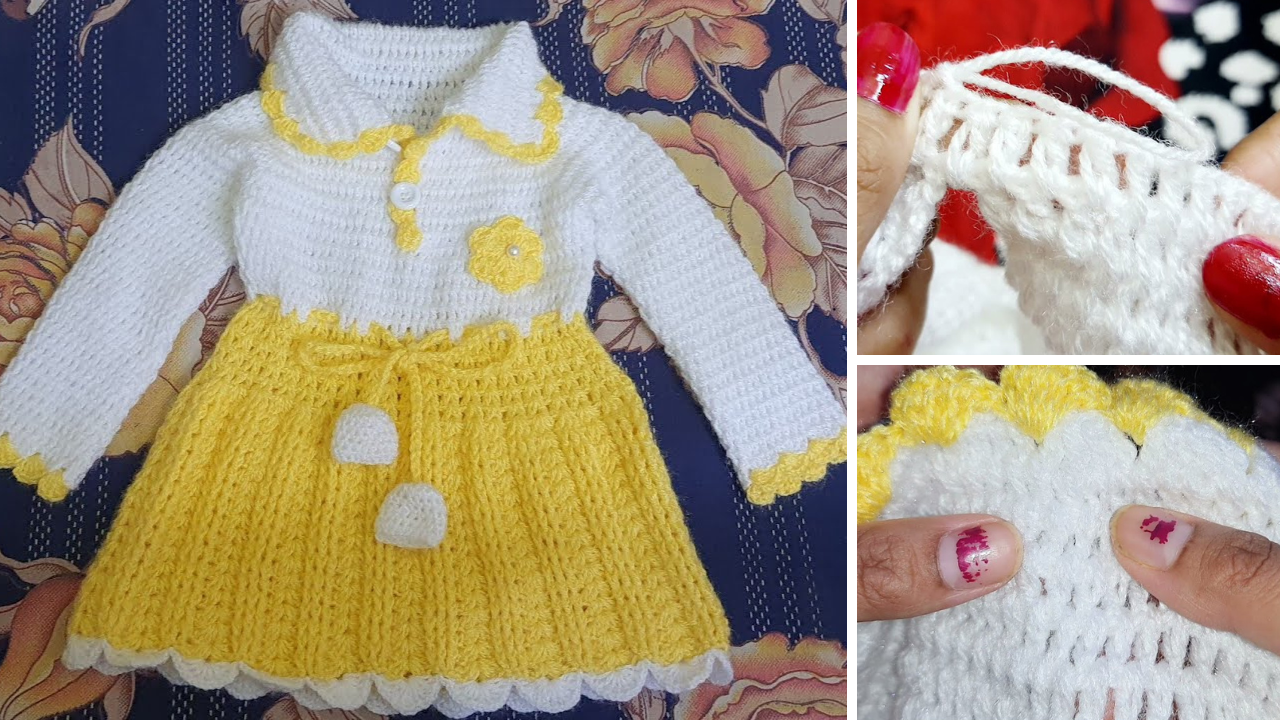
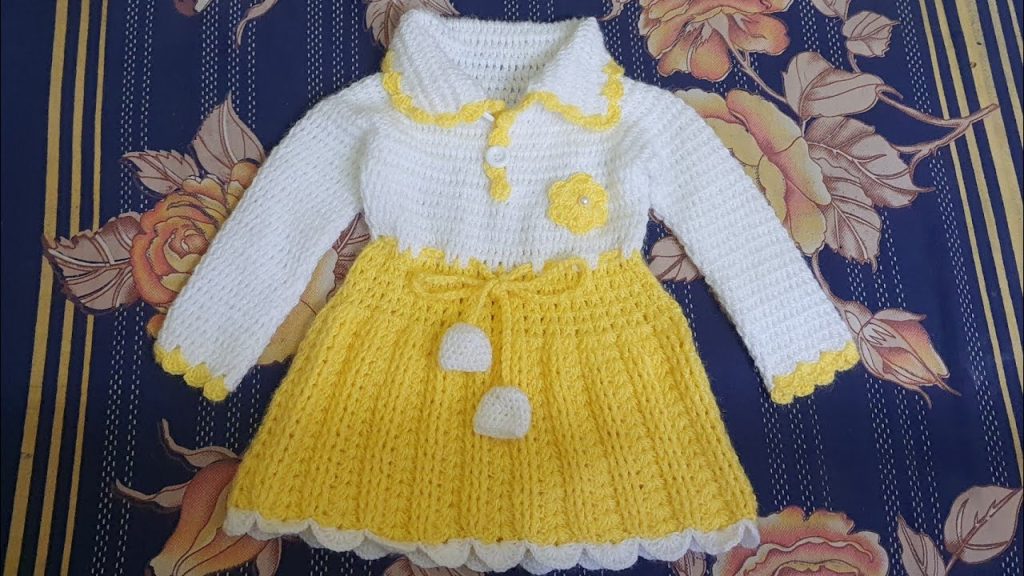
Crocheting baby clothes is one of the most rewarding experiences for any crafter. Among the most adorable and timeless garments you can make is a baby frock—a sweet, classic dress perfect for everyday wear, special occasions, or thoughtful gifts.
In this detailed tutorial, we’ll guide you step by step through making a crochet frock for a baby aged 1 to 2 years. This project is suitable for advanced beginners to intermediate crocheters and includes basic sizing, material suggestions, pattern breakdown, and customization ideas.
Why Crochet a Baby Frock?
- Unique & Handmade: No store-bought dress can match the love and care stitched into a handmade piece.
- Customizable: Choose your own colors, stitches, and trims.
- Perfect Gift: Ideal for birthdays, baby showers, or holidays.
- Beginner-Friendly Project: A frock is simple to assemble and great for learning how to shape garments.
Estimated Sizing for 1 to 2-Year-Olds
Every baby grows at a different pace, but here are standard measurements to help you size your frock:
| Measurement | Inches | Centimeters |
|---|---|---|
| Chest | 20–21” | 50–53 cm |
| Dress length | 15–17” | 38–43 cm |
| Armhole | 4.5–5” | 11–12.5 cm |
| Waist | 19–20” | 48–51 cm |
You can adjust the stitch count or rows for a perfect fit.
Materials Needed
🧶 Supplies:
- Yarn: DK or Light Worsted (Category 3 or 4). Choose soft, baby-friendly yarn such as cotton or baby acrylic.
- Approx. 200–300 grams (depending on size and length)
- Crochet Hook: 4.0 mm (G/6) or as recommended on your yarn label
- Stitch Markers
- Buttons (2–3 small): For back closure
- Yarn Needle: For weaving in ends
- Scissors
- Measuring Tape
Yarn Suggestions:
- Bernat Softee Baby
- Paintbox Yarns Baby DK
- Lion Brand Baby Soft

Stitches and Abbreviations (US Terms)
| Abbreviation | Stitch Name |
|---|---|
| ch | Chain |
| sl st | Slip Stitch |
| sc | Single Crochet |
| dc | Double Crochet |
| tr | Treble Crochet (if desired) |
| sk | Skip |
| st(s) | Stitch(es) |
| rep | Repeat |
| inc | Increase (2 dc in same stitch) |
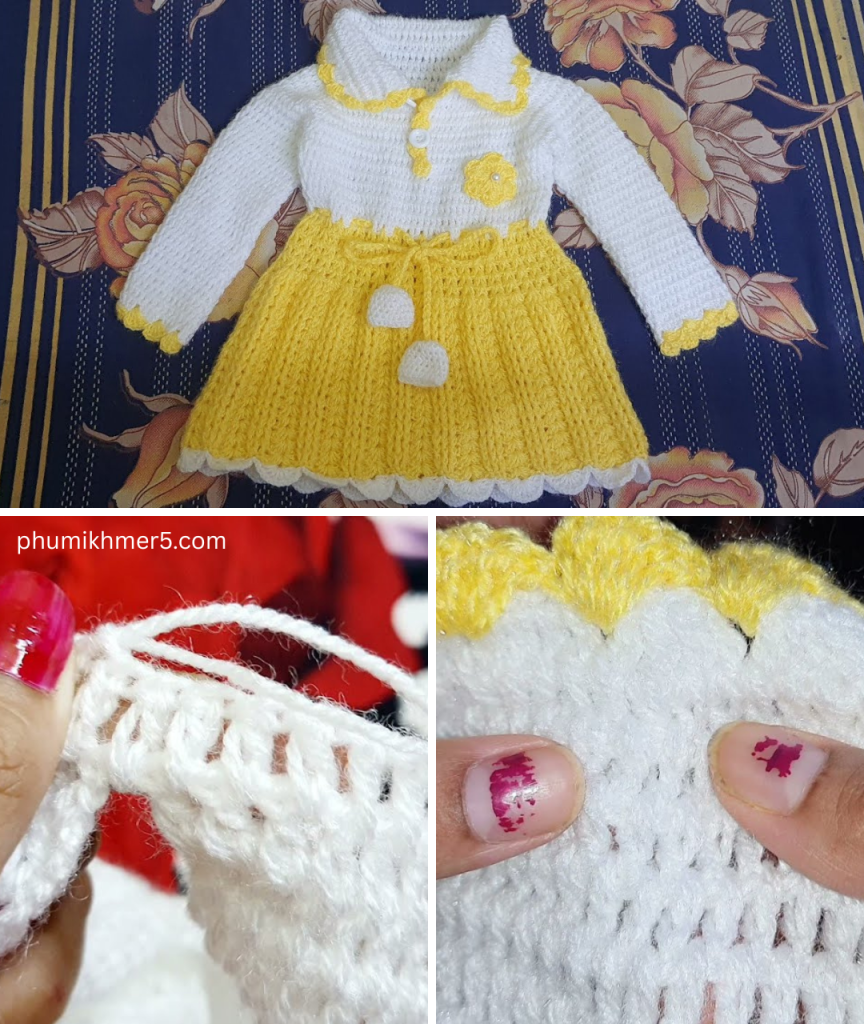
Crochet Frock Construction Overview
The frock is constructed in three main parts:
- Yoke (Top Bodice) – crocheted in rows or rounds.
- Armholes & Skirt Separation – dividing for body and sleeves.
- Skirt (Bottom Flare) – worked in rounds, usually with a flared or shell pattern.
📌 Step-by-Step Crochet Baby Frock Pattern (1–2 Years)
Part 1: Yoke (Worked Top Down in Rounds)
Using Color A (Main Color):
- Foundation Chain:
- Ch 60 (or adjust in multiples of 4 for yoke width).
- Join with sl st to form a ring, taking care not to twist.
- Round 1:
- Ch 3 (counts as dc), 1 dc in each st around. Join with sl st to top of ch 3. (60 dc)
- Round 2 (Increase Round for Raglan-style yoke):
- Ch 3, dc in next 2 sts, (dc, ch 1, dc) in next st (increase), dc in next 14 sts.
- Repeat between * * 4 times around, evenly spacing increases. Join.
- Rounds 3–7:
- Repeat Round 2, increasing at each marked stitch. The yoke should widen.
Part 2: Divide for Sleeves
- Create Armholes:
- Ch 3, dc in each stitch to the first increase point.
- Skip stitches for armhole (approx. 12–15 sts), ch 5 to bridge the gap.
- Dc in remaining stitches, skipping the other armhole similarly.
- Join and continue working in rounds. This forms the start of the skirt section.
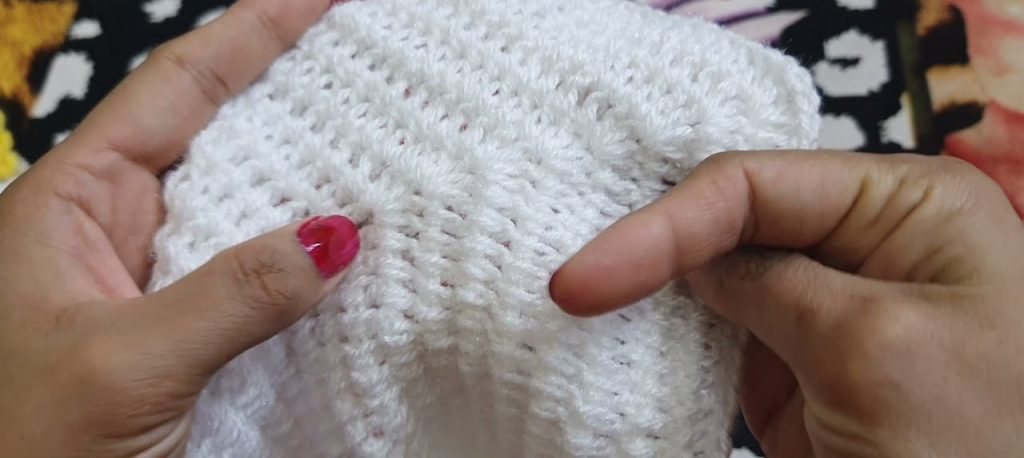
Part 3: Skirt (Bottom Part)
Now we’ll switch to a more decorative stitch like the Shell Stitch for a lovely drape.
Shell Stitch Pattern:
- Shell = 5 dc in one stitch
- Sk next 2 sts, sc in next, sk 2, shell in next – repeat around.
- Round 1:
- Join Color B (optional for contrast).
- Shell in 1 st, sk 2, sc in next, sk 2 – repeat to end. Join.
- Rounds 2–15:
- Continue shell pattern. Make sure shells stack directly on shells, and sc over sc.
- Add length as desired.
✅ At the end, your frock should reach approximately 15–17″ in length from shoulder to hem.
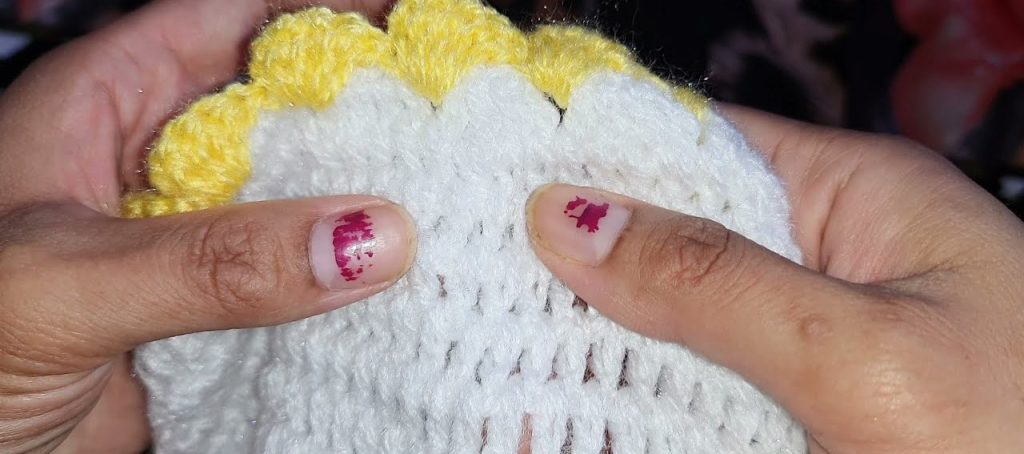
Optional: Decorative Edging
Add a scalloped or picot edging at the bottom hem or sleeves:
- Scallop Edging: (sc, hdc, dc, hdc, sc) in same stitch – skip 1–2 sts between.
- Picot Edging: (sc, ch 3, sl st in 1st ch, sc in next) – gives a lacy finish.
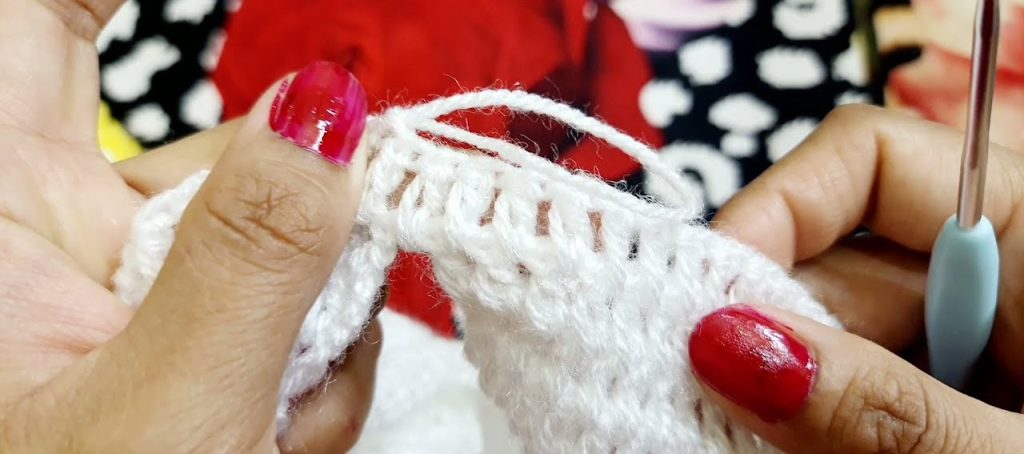
Finishing the Back Closure
- Leave a small slit at the back of the yoke.
- Use sc rows to finish the edge.
- Sew buttons on one side and make ch-loop buttonholes on the other.
Customization Ideas
- Add Sleeves: You can extend dc or shell stitches on the skipped armhole stitches to add short or long sleeves.
- Ribbon Waistband: Weave a satin ribbon through the waistline for a girly touch.
- Lacy Yoke Variation: Use V-stitches or mesh patterns on the top bodice for lighter summer frocks.
- Color Blocks: Use different colors for bodice, skirt, and edging.
- Appliques: Add crochet flowers, hearts, or bows.
Care Tips
- Always use machine-washable, baby-safe yarn.
- Wash gently in cold water and lay flat to dry.
- Avoid heavy blocking—light steam blocking is enough.
Final Thoughts
Creating a crochet frock for a 1 to 2-year-old baby is a heartwarming project that allows you to combine creativity and care. Whether you’re making it for your child, a family member, or as a gift, this adorable dress is sure to be treasured.
With endless possibilities for customization, once you master the basic structure, you’ll find yourself designing dozens of little dresses in every color and style imaginable. Don’t forget to pair it with matching booties or a headband for a complete handmade outfit!
Video tutorial:


