
Crochet is a timeless craft that allows you to turn simple yarn into intricate and beautiful creations. Among the most popular and versatile crochet motifs is the granny square, loved for its modular design and creative potential. While traditional granny squares are often made in a simple, circular-in-a-square pattern, diamond granny squares add a touch of geometric elegance and flair.
In this tutorial, we’ll walk you step-by-step through creating your very own diamond granny square, even if you’re a complete beginner. By the end, you’ll be equipped with the knowledge to make blankets, cushions, bags, or even garments using this eye-catching motif.
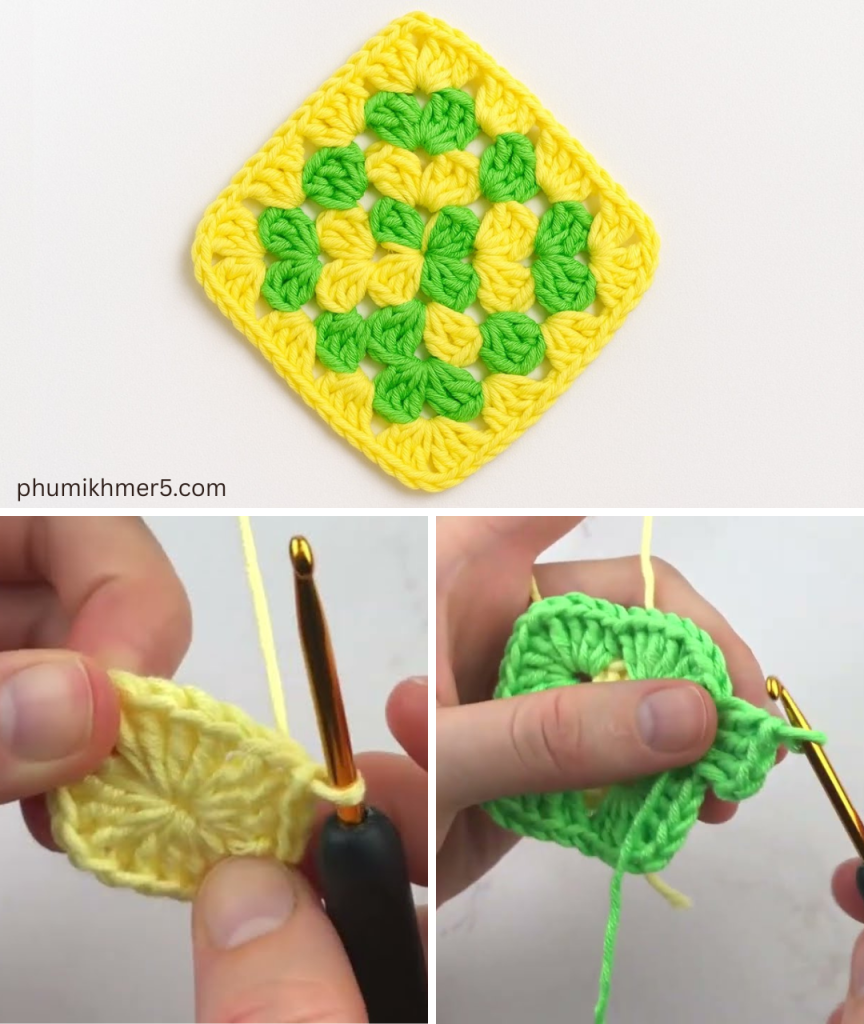
What Is a Diamond Granny Square?
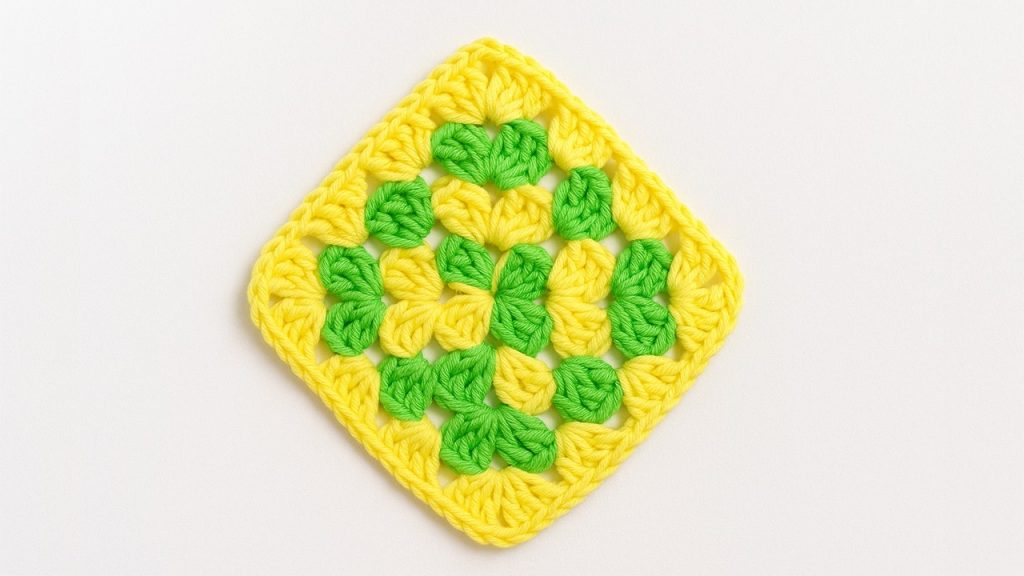
A diamond granny square is a square crochet motif that features a central diamond shape, often created through clever color changes or stitch positioning. Unlike the standard granny square that radiates in concentric rounds, the diamond granny square has a central motif that looks like a tilted square or “diamond” surrounded by contrasting rows.
This design adds dimension and a unique twist to traditional projects, making it an excellent pattern for both beginners and experienced crocheters looking to try something new.
Materials Needed
Before we dive into crocheting, let’s gather the necessary materials:
Supplies:
- Yarn: Choose medium-weight yarn (worsted weight / category 4) in at least two contrasting colors – one for the diamond and one for the background.
- Crochet Hook: Use a size that matches your yarn. For worsted weight, a 5.0 mm (H/8) hook is usually ideal.
- Scissors
- Yarn needle (for weaving in ends)
- Stitch markers (optional)
Yarn Suggestions:
- Cotton or acrylic yarns are perfect for granny squares.
- Use a color palette that highlights the diamond center – bold or bright color in the center, and neutral tones around it.
Basic Stitches and Techniques Used
If you’re new to crochet, here are the basic stitches and techniques you’ll need:
- Chain (ch) – the foundation of crochet work.
- Slip Stitch (sl st) – used to join rounds or move the yarn without adding height.
- Double Crochet (dc) – the main stitch used in most granny square patterns.
- Magic Ring (also known as magic circle) – an adjustable loop used to start in the round (optional, can be replaced by chaining 4 and joining).
Pattern: Diamond Granny Square
Let’s dive into the step-by-step instructions. We’ll be using two colors: Color A (diamond center) and Color B (square background).
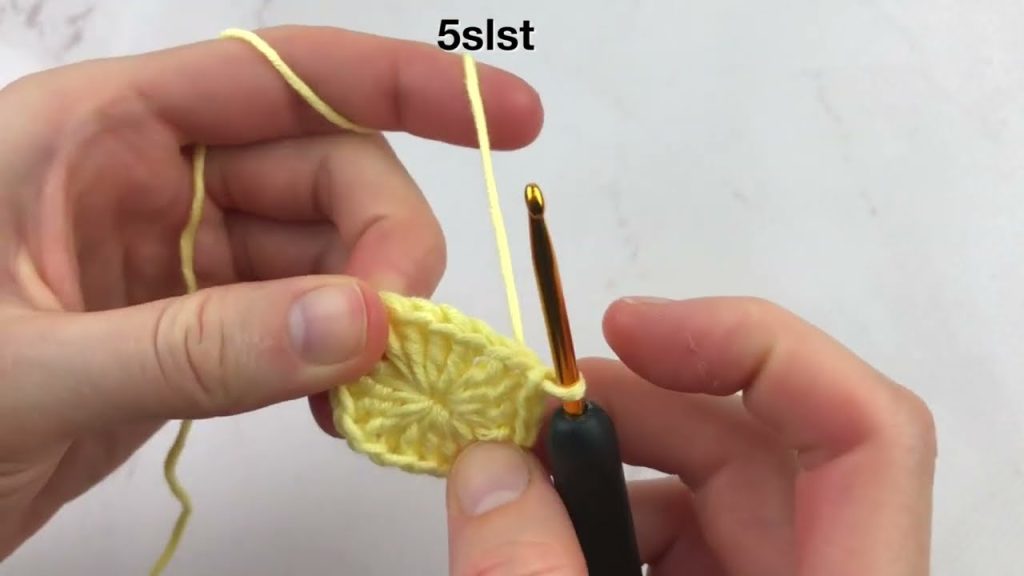
💠 Round 1 – The Center Diamond
Using Color A:
- Start with a magic ring, OR ch 4 and sl st to form a ring.
- Ch 3 (counts as 1 dc), work 2 dc into the ring, ch 2, 3 dc into the ring, ch 2, 3 dc, ch 2, 3 dc, ch 2.
- Sl st to the top of the initial ch 3 to close the round.
You should now have 4 clusters of 3 dc separated by ch-2 spaces. This forms a square that will become the diamond shape when rotated.
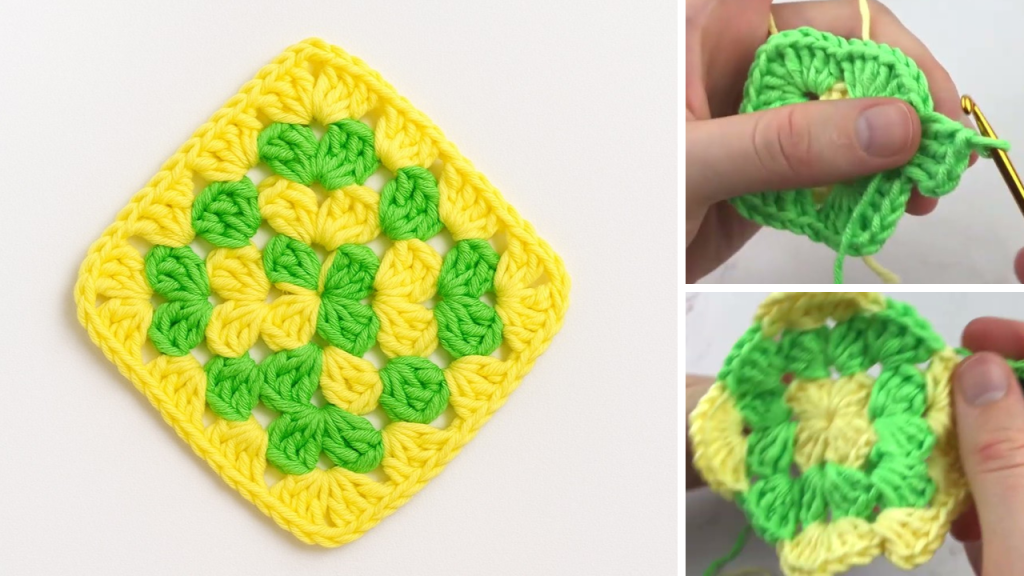
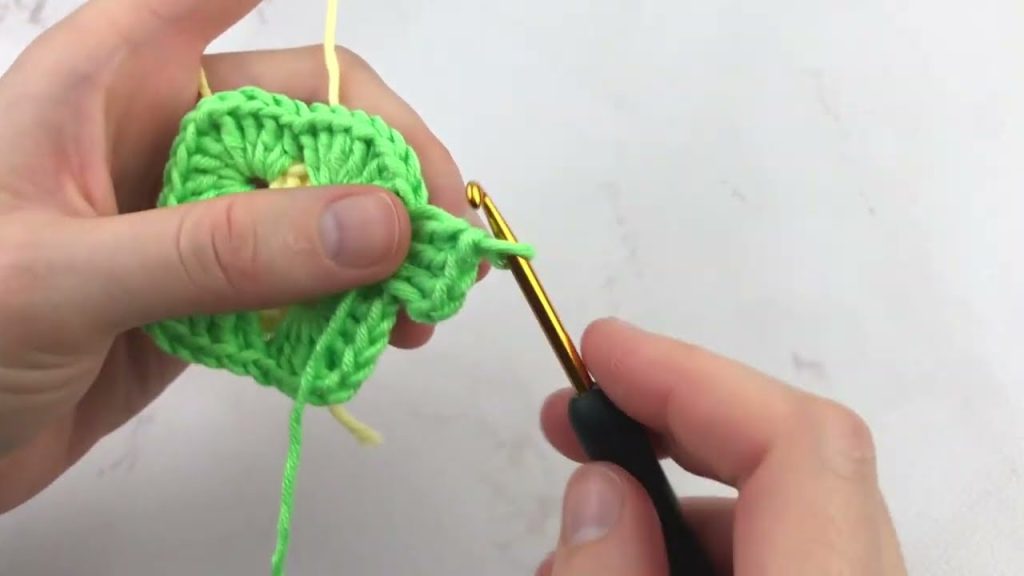
🔁 Round 2 – Shaping the Background
Switch to Color B:
- Sl st into the next dc and into the next ch-2 corner space.
- Ch 3 (counts as 1 dc), 2 dc, ch 2, 3 dc into the same corner.
- (Ch 1, 3 dc, ch 2, 3 dc) into each of the next 3 ch-2 corner spaces.
- Ch 1, sl st to the top of starting ch 3 to join.
Now you have a square with corner clusters that start to build around the diamond.
🔁 Round 3 – Expanding the Square
Continue with Color B or change to another color for variety:
- Sl st into the next dc and into the ch-2 space.
- Ch 3 (counts as 1 dc), 2 dc, ch 2, 3 dc in the corner.
- (Ch 1, 3 dc in next ch-1 space, ch 1, 3 dc, ch 2, 3 dc in corner) – repeat around.
- Join with sl st to top of ch 3.

✅ Optional – Add More Rounds
You can continue adding rounds in the same pattern (3 dc in each ch-1 space, 3 dc + ch 2 + 3 dc in each corner) to enlarge the square.
Tips for Beginners
- Practice first: Try a few basic granny squares before attempting the diamond version.
- Keep tension even: Consistent yarn tension makes your stitches look uniform.
- Count often: Keep track of your stitch count to ensure your square doesn’t warp.
- Use stitch markers in the corners if you tend to lose track of where rounds begin and end.
Blocking the Finished Square
Granny squares often benefit from blocking, especially if you plan to join many together.
- Lightly dampen your square with water.
- Pin it into shape on a blocking board or foam mat.
- Let it dry completely.
This ensures crisp corners and helps the diamond shape stay prominent.
How to Use Diamond Granny Squares
Here are some creative project ideas:
- Blankets or afghans: Join multiple squares for a bold, graphic effect.
- Cushion covers: Add a zipper or buttons for removable covers.
- Bags and totes: Seam squares into a unique handbag or tote.
- Wearables: Incorporate into cardigans, ponchos, or vests.
- Wall art: Mount onto canvas or in a frame for a DIY home decor piece.
Conclusion
The diamond granny square is a wonderful variation of the classic granny square, offering a striking central motif while remaining accessible to beginners. With just a few stitches and a couple of color changes, you can create a square that looks both modern and timeless.
Whether you’re building your first crochet project or expanding your motif repertoire, this pattern is a satisfying and flexible addition to your skills. Grab your hook and yarn, follow this tutorial, and start crocheting your way to stunning handmade creations!
Video tutorial:


