Crocheting garments is one of the most fulfilling experiences for any yarn enthusiast, and a handmade girl’s jacket is a practical yet charming project. Whether you’re crafting for your daughter, granddaughter, niece, or a special gift, a crocheted jacket provides warmth, comfort, and a touch of handmade love.
This detailed guide will walk you through everything you need to know to crochet a stylish and cozy girl’s jacket—from selecting yarn and taking measurements, to choosing the right stitches and assembling the final garment.

🧶 Materials You’ll Need
Before we get started, gather the following tools and supplies:
Yarn
- Worsted weight yarn (Category 4) – soft acrylic, wool blend, or cotton
- Quantity: Approx. 400–800g depending on size
- Choose a color suitable for the child (e.g., pastel, bright, or neutral)
Tools
- Crochet hook (usually 4.0mm – 5.5mm; follow yarn label)
- Yarn needle for sewing and weaving ends
- Stitch markers (helpful for shaping and joining)
- Scissors
- Buttons or zipper (optional, for closure)
- Measuring tape
📏 Choosing the Right Size
Before you begin crocheting, decide which size you’re making. Girls’ clothing sizing usually follows age brackets, but always check actual chest circumference and length from shoulder to waist for best fit.
| Age | Chest (inches) | Approx Length (inches) |
|---|---|---|
| 2–3 | 21–22 | 13–14 |
| 4–5 | 23–24 | 15–16 |
| 6–7 | 25–26 | 17–18 |
| 8–10 | 27–28 | 19–20 |
👉 It’s always a good idea to measure the child for the most accurate sizing.

✨ Design Options
There are countless designs, but we’ll be covering a basic top-down, raglan-style jacket that’s customizable, beginner-friendly, and can be dressed up or down.
Key Features:
- Worked from the neck down (seamless)
- Uses basic stitches: double crochet (dc) or half-double crochet (hdc)
- Includes shaping for sleeves and body
- Optional edging, hood, or decorative buttons
🪡 Stitches & Abbreviations
Here are the standard stitches (US terminology):
- ch – chain
- sl st – slip stitch
- sc – single crochet
- hdc – half double crochet
- dc – double crochet
- inc – increase (2 sts in one stitch)
- dec – decrease (crochet two sts together)
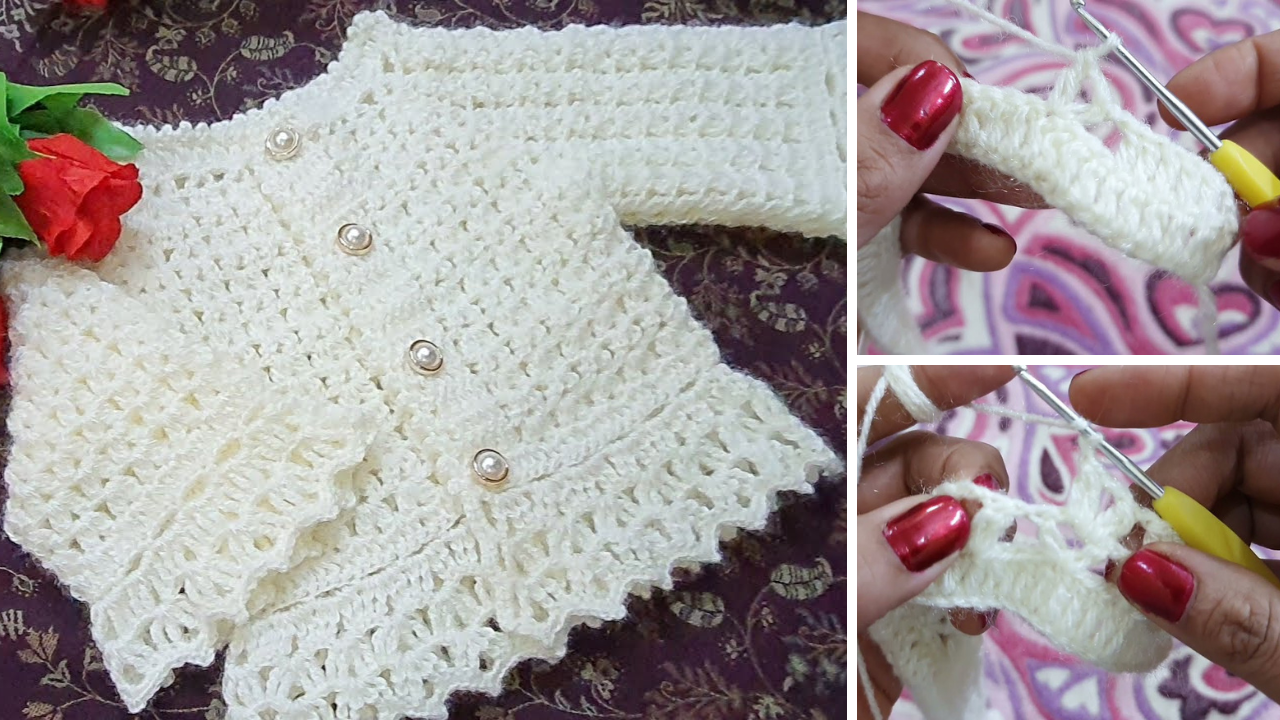
🧥 Step-by-Step Instructions: Girl’s Top-Down Raglan Jacket
This example is for a size 4–5 years. Adjust your stitch count accordingly for different sizes.
Step 1: Foundation Yoke
We’ll begin with a foundation chain and work in rows back and forth to create the yoke with raglan increases.
🧷 Yoke Setup:
- Ch 52
- Row 1: Dc in 4th ch from hook and across. (You’ll have 50 dc)
- Place stitch markers to separate sections:
- 8 dc (Left Front)
- 1 marked st (Raglan)
- 12 dc (Sleeve)
- 1 marked st
- 8 dc (Back)
- 1 marked st
- 12 dc (Sleeve)
- 1 marked st
- 8 dc (Right Front)
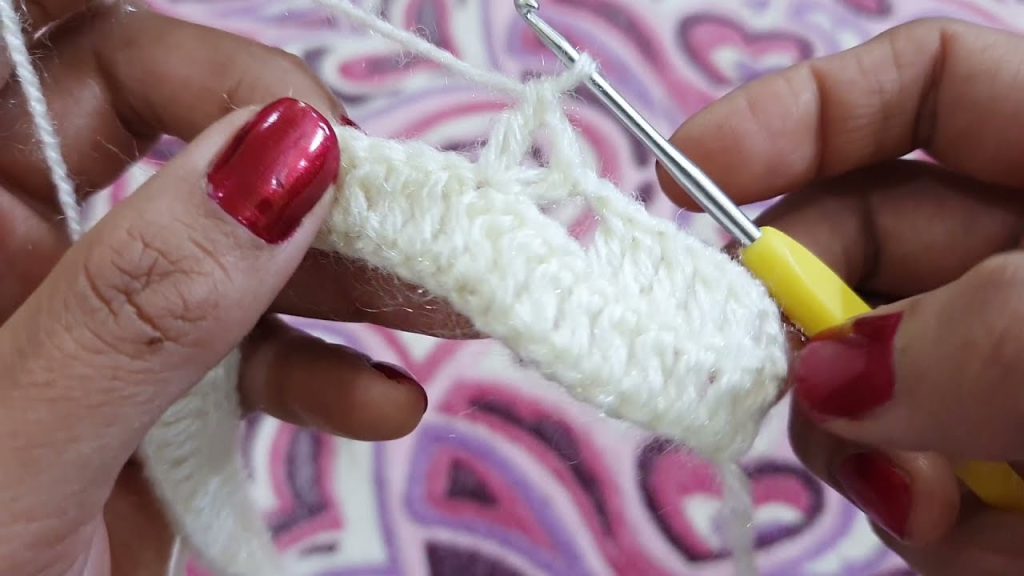
🧵 Raglan Increase Rows:
From here, we’ll increase in each raglan-marked stitch every right-side row:
- Rows 2–12:
- Ch 2 (counts as dc), dc across, working (dc, ch 1, dc) in each marked stitch.
- Move markers to new center ch-1 space in each increase.
Repeat until the sleeves measure approximately 5.5–6 inches.
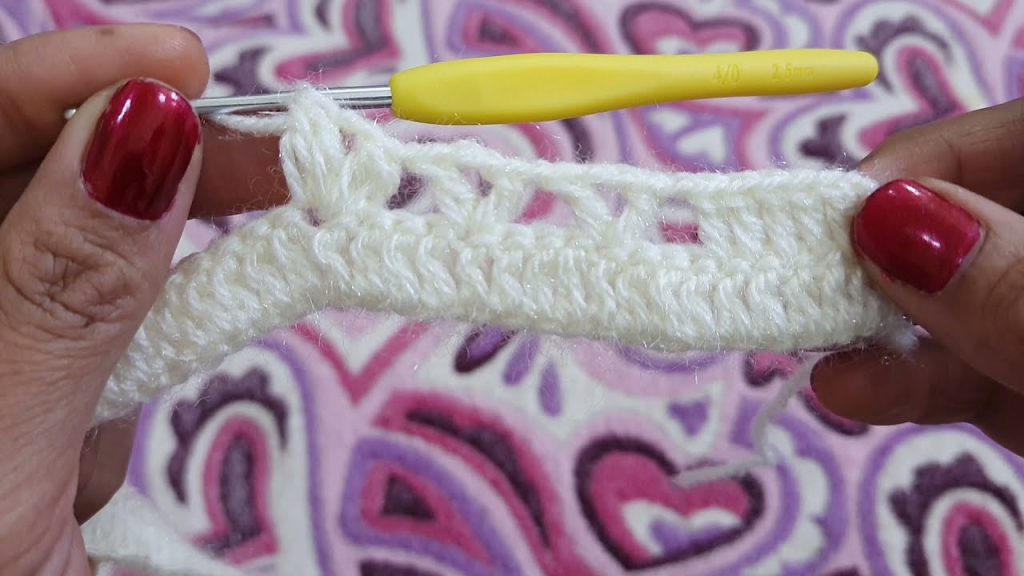
Step 2: Divide for Body and Sleeves
Now we’ll separate the sleeves from the body.
🧶 Separate the Sections:
- Ch 2, dc across Left Front
- Skip Sleeve stitches, ch 4 (for underarm)
- Dc across Back
- Skip second Sleeve, ch 4
- Dc across Right Front
Your jacket is now separated into 3 sections: body + 2 sleeves
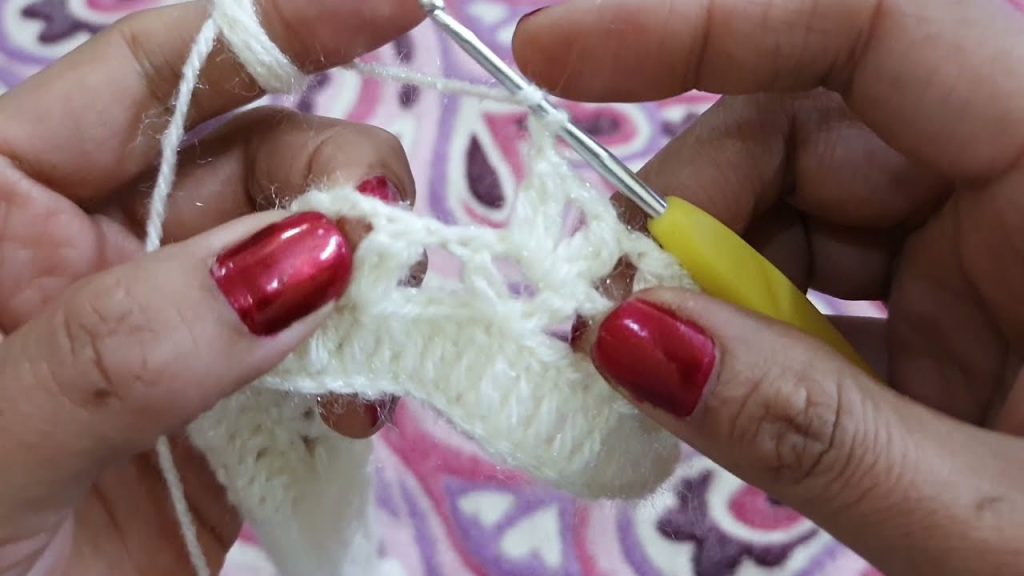
Step 3: Body Section
Continue working the body of the jacket:
- Work even in dc rows for about 9–11 inches or until the desired jacket length is reached.
- Optionally, finish with 2–3 rows of sc or shell edging for a nice hem.
Step 4: Sleeves
Work one sleeve at a time in rounds.
- Join yarn at the underarm.
- Dc around the sleeve opening, evenly distributing stitches (approx. 28–30 sts).
- Join with sl st, ch 2, continue in rounds.
- Work sleeve for 7–9 inches (3/4 or full length)
- Optional: Add some shaping by decreasing 1 stitch every 3rd round.
- Finish with a few rounds of sc or ribbed cuff (fpdc/bpdc).
Repeat for second sleeve.
Step 5: Neckline & Front Edging
Add a clean finish around the front opening and neckline:
- Attach yarn to bottom corner of one front panel.
- Sc evenly up the edge, around the neckline, and down the other side.
- Repeat for 2–3 rows.
- On the second row, add buttonholes on one side:
- [Sc 4, ch 2, skip 2] (repeat every 1.5–2 inches)
- Sew matching buttons on the opposite side.
Optional Add-ons
🧢 Add a Hood:
- After neckline edging, pick up sts evenly around the back neckline.
- Work in dc rows, increasing slightly at center.
- Continue until hood is about 8–9 inches tall.
- Fold in half and seam the top shut.
🌸 Add Decorative Touches:
- Crochet flowers, hearts, or bows and sew them on
- Embroider initials or shapes using a yarn needle
🎨 Customization Ideas
- Use variegated yarn for fun color changes
- Add contrasting borders in complementary shades
- Incorporate pockets or stripes
- Try bobble stitches for texture
🧼 Care Instructions
Handmade crochet garments require gentle care:
- Hand wash in cold water with mild detergent
- Lay flat to dry
- Avoid wringing or hanging to prevent stretching
- If using machine-washable yarn, use a garment bag on gentle cycle
✅ Conclusion
Crocheting a girl’s jacket is a beautiful project that combines creativity, functionality, and love. With just some yarn, basic stitches, and a little time, you can craft a jacket that will be worn proudly and treasured for years.
The top-down raglan method is especially forgiving and easy to adjust, so don’t be afraid to customize sizing, sleeves, and length.
Whether you’re a beginner looking for your first garment project or an experienced crocheter adding to your handmade wardrobe, a girl’s crochet jacket is always a warm idea—both literally and figuratively!
Video tutorial:


