
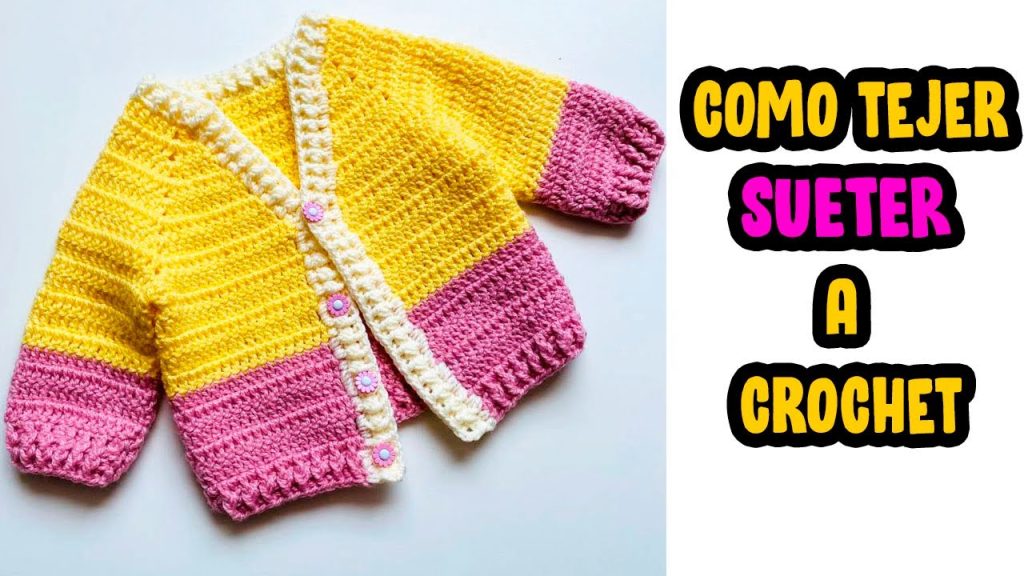
A crochet V-neck sweater is a charming and versatile garment for babies and children. It provides warmth, comfort, and style all in one—a perfect addition to any little one’s wardrobe. Handmade crochet sweaters are also treasured keepsakes, passed down through generations as symbols of love and care.
In this article, you’ll find a step-by-step guide to creating a V-neck sweater suitable for infants and toddlers up to early childhood (0–5 years). Whether you’re a confident beginner or an intermediate crocheter, this project is both enjoyable and rewarding. With simple stitches and thoughtful construction, you can create a custom-fit sweater your little one will love.
👕 Why Choose a V-Neck Sweater?
- Comfortable Neckline: The V-neck makes it easier to dress babies without pulling anything over their heads.
- Stylish Design: V-necks look modern, clean, and can be worn casually or dressed up.
- Gender-Neutral: Change the yarn color and button options to fit any style.
- Layer-Friendly: Fits well over shirts and onesies, perfect for layering in cool weather.
🧵 Materials Needed
Before getting started, gather the following materials:
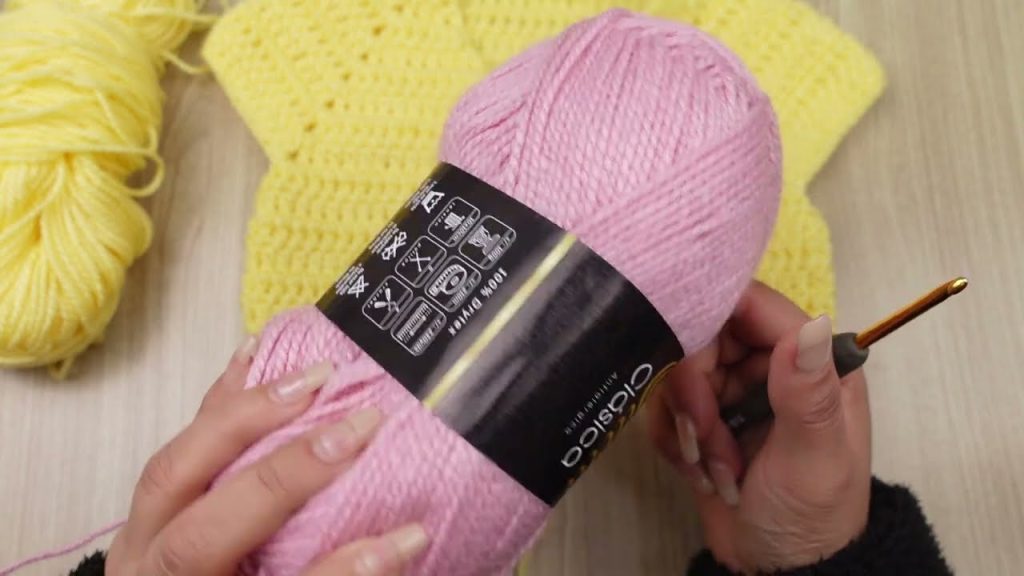
Yarn
- Lightweight (DK/#3) or Worsted (Medium/#4) yarn
- Cotton, acrylic, or baby-safe blends
- Approx. 300–600 yards (depending on size)
Crochet Hook
- Size H (5.0 mm) for worsted weight
- Size G (4.0 mm) for DK weight
Other Tools
- Scissors
- Stitch markers
- Yarn needle (for sewing and weaving in ends)
- Measuring tape
- Optional: Buttons for shoulder closure (useful for infants)
👶 Sizing Guide (0 Months to 5 Years)
Use the chart below to adjust your stitch count and dimensions:
| Age | Chest (in) | Sweater Width | Sweater Length | Sleeve Length |
|---|---|---|---|---|
| 0–3 mo | 16″ | 8″ | 9″ | 5″ |
| 6–12 mo | 18″ | 9″ | 10″ | 6″ |
| 1–2 yrs | 20″ | 10″ | 11″ | 7″ |
| 2–3 yrs | 22″ | 11″ | 12″ | 8″ |
| 4–5 yrs | 24″ | 12″ | 13″ | 9″ |
Use a sweater that fits your child well as a guide, or take measurements to ensure accuracy.
🔁 Basic Stitches Used
- Ch – Chain
- Sl st – Slip stitch
- Sc – Single crochet
- Hdc – Half double crochet
- Dc – Double crochet
- Inc – Increase (2 stitches in one stitch)
- Dec – Decrease (crochet two stitches together)
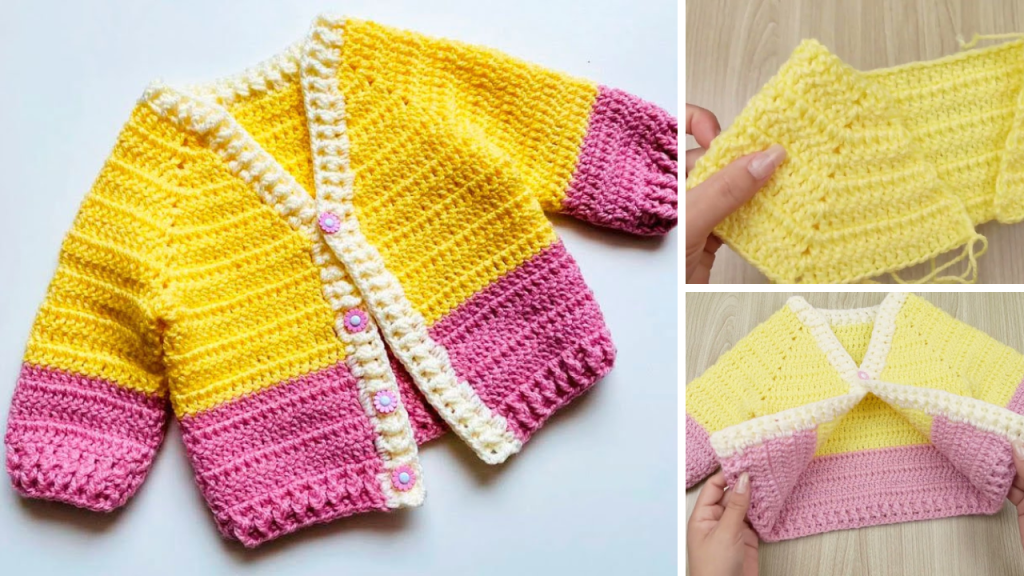
🧶 Step-by-Step Crochet V-Neck Sweater Pattern
This pattern is worked bottom-up in panels, then seamed and finished with sleeves and neckline shaping.
Step 1: Create the Front Panel (with V-Neck)
1.1 Chain Foundation
- Chain a number to match the width (e.g., for 6–12 months: ch 45).
- Add 2 extra chains for turning.
1.2 Row 1: Double Crochet Row
- Dc in 3rd ch from hook, dc across. Turn.
- (You should now have 45 dc total.)
1.3 Rows 2–10: Body
- Ch 2, dc in each stitch across. Turn.
- Repeat until desired body height is reached (approx. 6–8 rows depending on size).
1.4 Begin V-Neck Shaping
- Find the center stitch (e.g., stitch 23 of 45).
- Right Side V: Work dc to center – 1 stitch. Turn.
- Next row: Decrease 1 stitch at the neckline edge (ch 2, dc2tog, dc to end).
- Repeat until the shoulder has reduced by 3–5 stitches.
- Left Side V: Join yarn to the opposite edge of the center and repeat the same shaping in reverse.
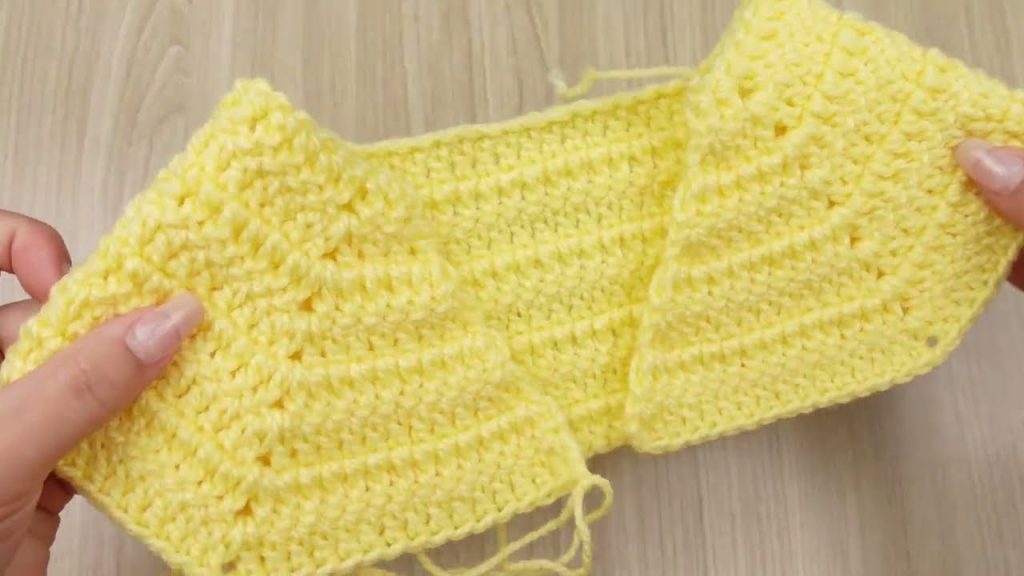
Step 2: Back Panel
- Ch the same number of stitches as the front panel.
- Work dc rows without shaping until the same height as the front panel.
- No V-neck shaping is needed.
- Fasten off.
Step 3: Join the Shoulders
- Line up front and back panels with right sides facing in.
- Use a yarn needle or slip stitch to seam the shoulders.
- Leave space (3–4 inches depending on size) on both ends for armholes.
Step 4: Sleeves (Worked Flat or in the Round)
Option 1: Flat Sleeves
- Ch a base equal to desired sleeve length.
- Dc rows until sleeve is wide enough (e.g., 6–8 inches).
- Decrease slightly near the wrist for a better fit.
- Sew sleeve edges together to form a tube.
- Sew sleeve to armhole.
Option 2: Sleeves in the Round (Easier for beginners)
- Join yarn at armhole.
- Ch 2, dc evenly around.
- Join with sl st, ch 2, and continue in rounds.
- Decrease 2–3 stitches near wrist.
- Fasten off and weave in ends.
Step 5: Neckline Finishing
To finish the neckline and shape the V:
- Join yarn at shoulder seam.
- Sc or hdc evenly around neckline.
- When you reach the “V” point, work 3 sc into the tip to define the point.
- Optionally, add a second round for more structure.
Optional Button Flap (for babies):
- If desired, make a 1″ flap on the shoulder with 2–3 buttonholes for easy on/off.
- Sew buttons on the opposite side of the flap.
Step 6: Bottom and Sleeve Cuffs
- Add ribbing or sc around the sleeves and bottom hem.
- For ribbing:
- Ch 6, sc across (5 sts).
- Sl st to body, ch 1, turn.
- Work in back loops only for ribbed effect.
- Continue around and seam closed.

🎨 Customization Ideas
- Stripes: Change yarn colors every few rows for a fun effect.
- Appliqués: Add a star, heart, or animal patch to the chest.
- Textures: Use front post/back post stitches for a ribbed body.
- Hood: Add a simple hood to the neckline for extra warmth.
🧺 Care Instructions (Important for Baby Clothes)
- Use soft, hypoallergenic yarns.
- Wash on gentle cycle in cool water.
- Air dry or tumble dry on low heat.
- Avoid bleach or harsh detergents.
🧡 Final Thoughts
Crocheting a V-neck sweater for babies and children is a heartfelt project that combines skill and sentiment. Whether you’re making a cozy winter sweater, a lightweight top for layering, or a special handmade gift, this step-by-step guide will help you create something beautiful and functional.
The best part? You can adapt this design endlessly—different sleeve lengths, yarn textures, colors, and embellishments make each sweater unique. So grab your hook, pick your yarn, and start stitching love into every row.
Video tutorial:


