Knitting is a timeless craft that weaves warmth and love into every stitch. Among the most rewarding beginner projects is the knitted hat—a practical, stylish, and heartfelt item for both boys and girls. Whether you’re preparing for chilly weather, crafting a handmade gift, or learning a new skill, knitting a hat is the perfect place to start.
This step-by-step guide will walk you through how to knit a beautiful hat for children, including what materials you need, how to size it properly, and how to complete each section with clear, easy-to-understand instructions.

🧶 Why Knit Hats for Kids?
Knitted hats are ideal for kids because they’re:
- Warm and cozy, perfect for keeping little heads toasty.
- Customizable with colors, patterns, or fun embellishments like pom-poms and stripes.
- Stretchy and comfortable, offering a snug but soft fit.
- Quick to make, often finished in just a few hours for smaller sizes.
- Gender-neutral, with endless variations for boys and girls alike.
🎨 Supplies You’ll Need
Before you begin, gather the following materials:
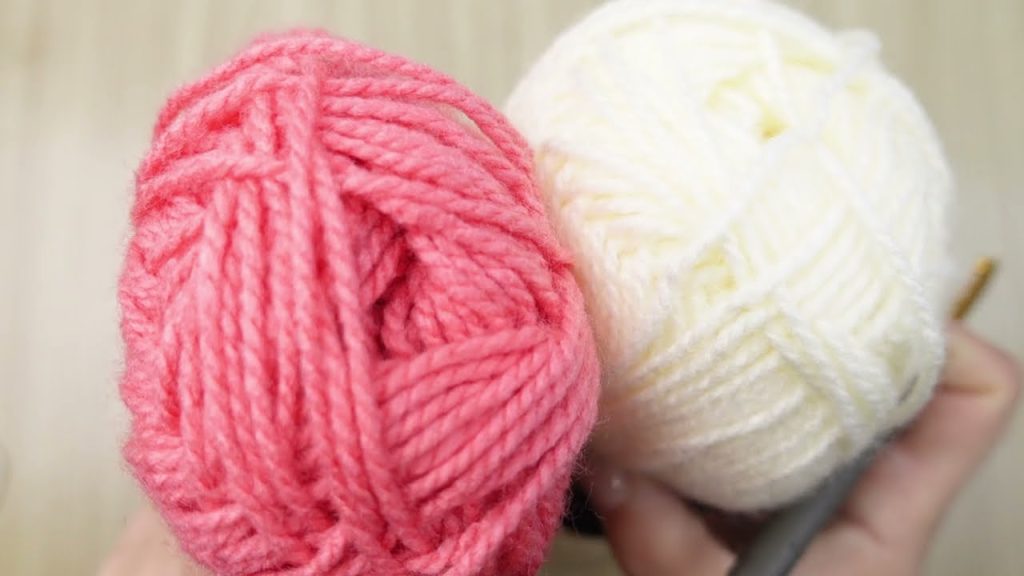
🧵 Yarn
- Worsted weight yarn (Medium/#4) is a great choice for beginners.
- Choose soft, washable fibers—acrylic, cotton blends, or superwash wool.
- Approximately 100–150 yards needed for a child-sized hat.
🧷 Knitting Needles
- 16″ Circular needles in size US 8 (5.0 mm)
- Double-pointed needles (DPNs) in the same size for shaping the crown (or use magic loop if preferred).
🧰 Notions
- Stitch markers
- Tapestry/yarn needle (for weaving in ends)
- Scissors
- Optional: Pom-pom maker

📏 Sizing Guide for Children’s Hats
Use this general chart for guidance:
| Age | Head Circumference | Hat Circumference | Hat Height |
|---|---|---|---|
| 1–3 years | 18–19 inches | 16–17 inches | 6.5–7 inches |
| 4–6 years | 19–20 inches | 17–18 inches | 7–7.5 inches |
| 7–10 years | 20–21 inches | 18–19 inches | 7.5–8 inches |
Note: Hats should have 1–2 inches of negative ease (meaning the hat circumference is slightly smaller than the head for a snug fit).
🧢 Basic Knitted Hat Pattern (Step-by-Step)
This simple ribbed brim + stockinette body pattern is classic and gender-neutral. We’ll knit it in the round for a seamless finish.
🪡 Step 1: Cast On
- Cast on the number of stitches needed for your size:
- For a 4–6 year old: Cast on 72 stitches
- For a 7–10 year old: Cast on 80 stitches
- Join in the round, being careful not to twist your stitches.
- Place a stitch marker at the beginning of the round.
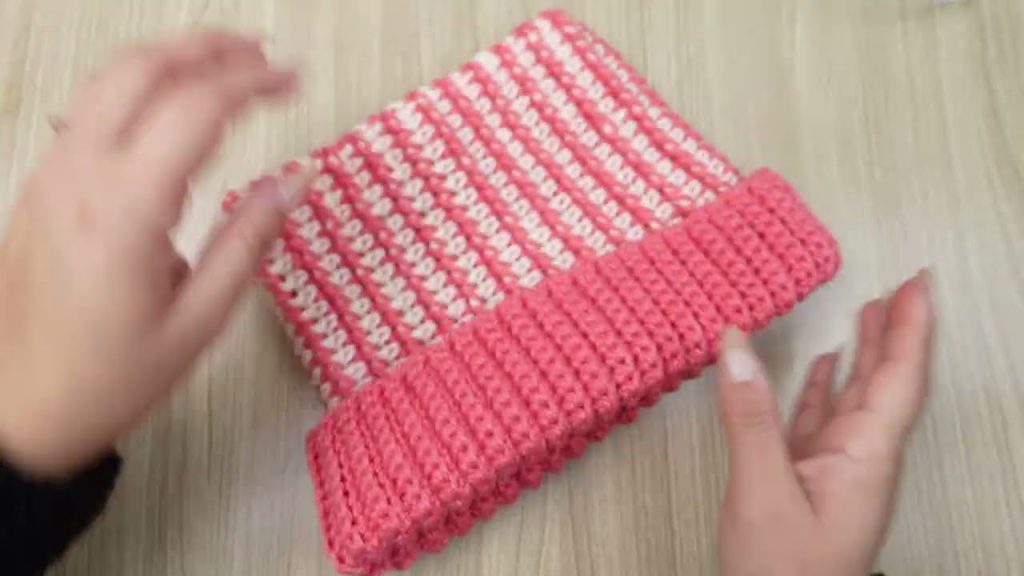
🧵 Step 2: Knit the Brim (Ribbing)
- Work in K2, P2 ribbing for 1.5–2 inches.
- (Knit 2, Purl 2) repeat around.
- This creates a stretchy brim that fits securely and comfortably.
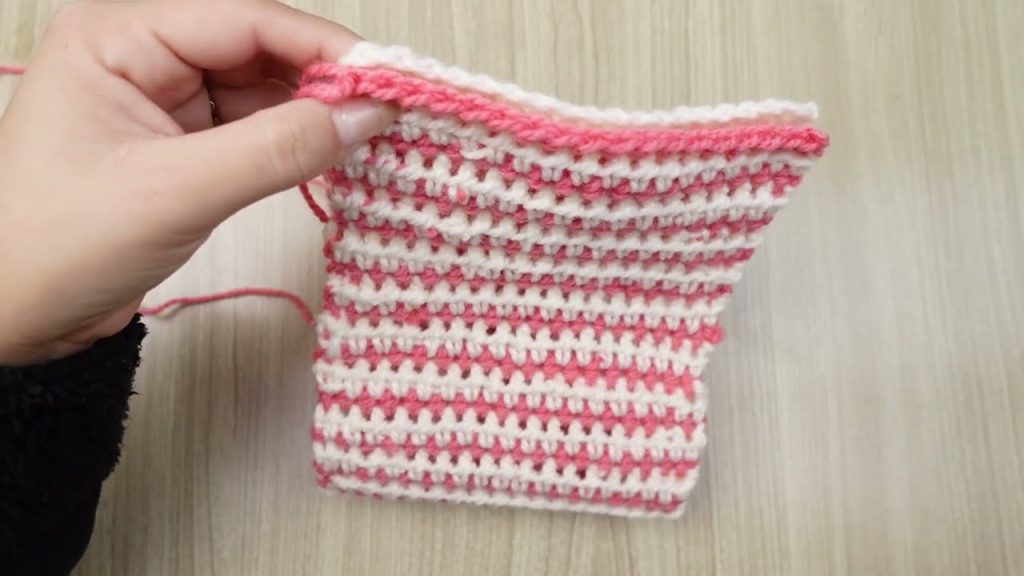
🧶 Step 3: Knit the Body
- Switch to stockinette stitch: Knit every stitch, every round.
- Continue knitting in the round until the total length of the hat (from cast-on edge) measures:
- 6.5 inches for ages 4–6
- 7.5 inches for ages 7–10
📉 Step 4: Shape the Crown (Top of the Hat)
Decrease gradually to form the rounded crown.
Begin Decreasing:
Use this repeat pattern for your crown shaping:
Round 1: (K8, K2tog) repeat around
Round 2: Knit
Round 3: (K7, K2tog) repeat around
Round 4: Knit
Continue in this fashion (reducing the number of knit stitches before the decrease by one each round) until you are down to:
Final Decrease Round: (K2tog) around until ~8 stitches remain.
🪡 Step 5: Finishing
- Cut the yarn, leaving a 6–8 inch tail.
- Thread the tail through the remaining stitches using a tapestry needle.
- Pull tight to close the top of the hat.
- Weave in all loose ends securely.
🎀 Optional Embellishments
Once your basic hat is complete, you can customize it with fun elements:
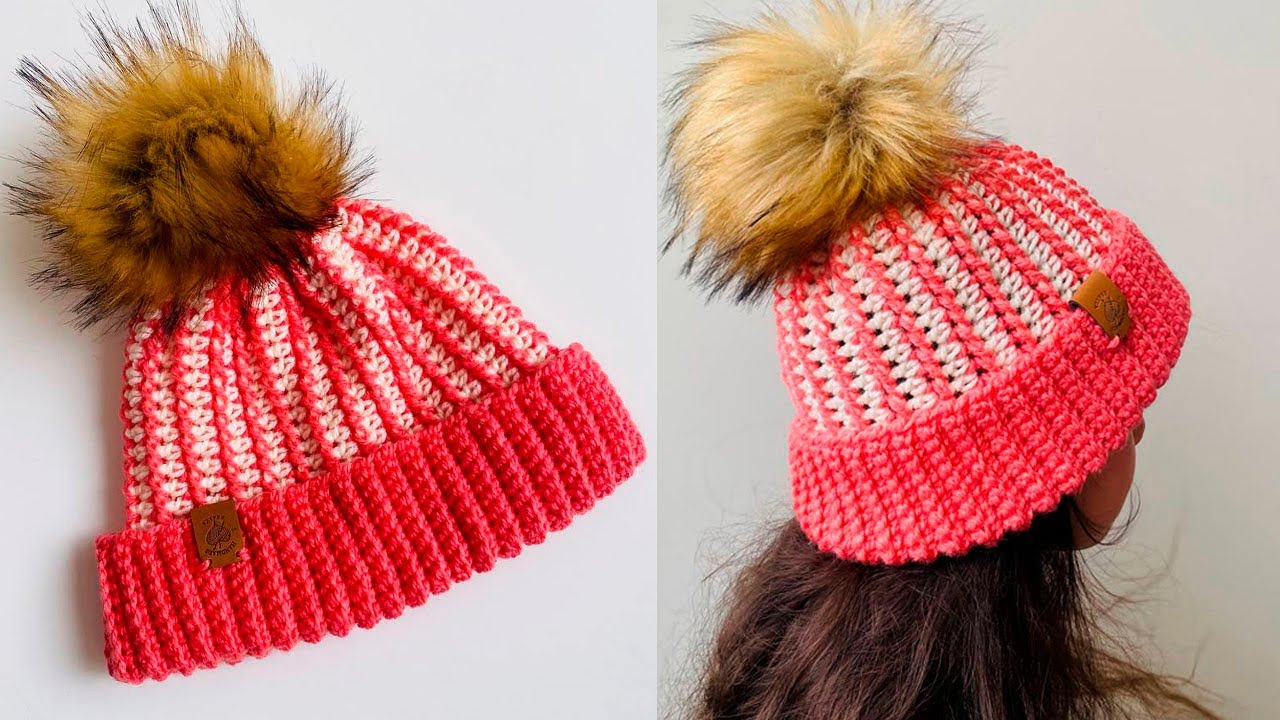
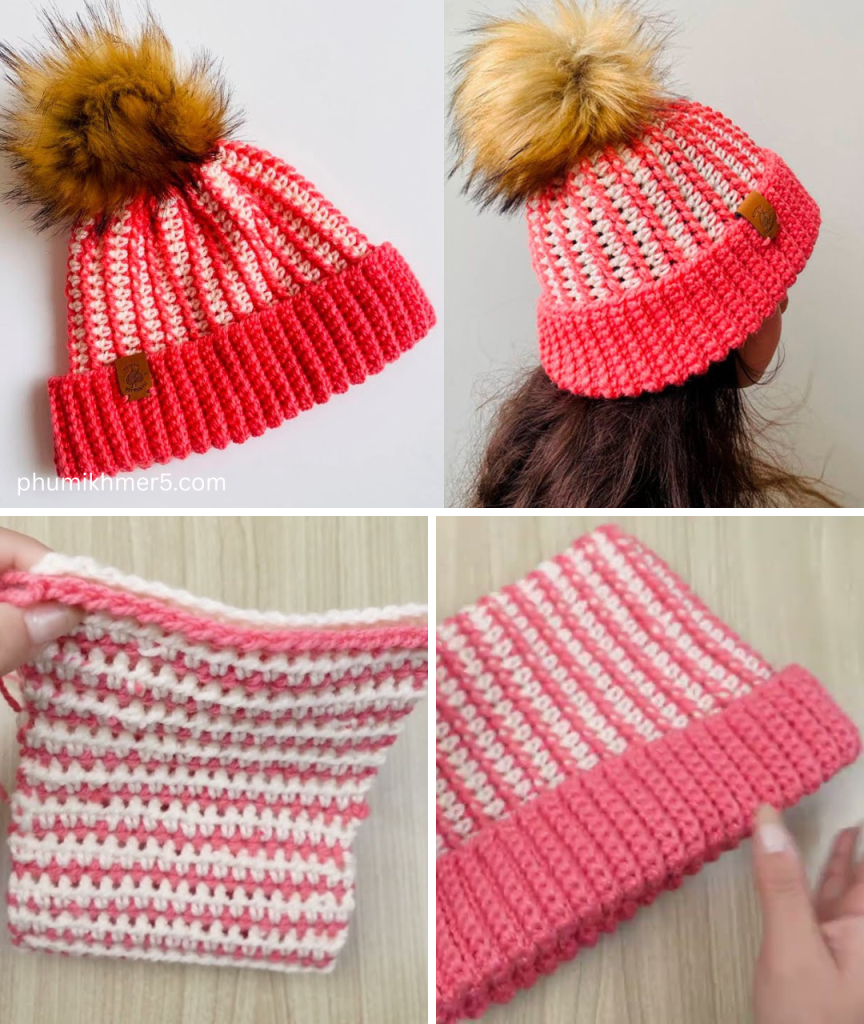
🎊 Pom-Pom
- Use a pom-pom maker or wrap yarn around cardboard or your fingers.
- Tie it tightly, trim, and sew to the top of the hat.
🌈 Color Changes
- Knit stripes by changing colors every 4–5 rows.
- Use ombre or variegated yarn for a magical effect.
🎨 Duplicate Stitch
- Add names, stars, hearts, or initials by stitching over the finished fabric with contrasting yarn.
🧒 Style Variations
- Slouchy Style: Knit the body 1–1.5 inches longer before starting decreases.
- Earflap Hat: Add crocheted or knitted earflaps after completing the body.
- Fold-Up Brim: Knit 1–2 extra inches of ribbing and fold the brim up for a chunkier look.
- Fair Isle or Colorwork: Incorporate fun patterns once you’re comfortable with the basics.
🧺 Washing and Care Tips
- Use machine-washable yarns for easy maintenance.
- Wash in cool water on the gentle cycle.
- Lay flat to dry to preserve shape.
🎁 Knitted Hats Make Perfect Gifts!
A hand-knitted hat is a cherished gift for children. It shows time, care, and creativity—all in one cozy package. Whether it’s for a birthday, winter holidays, or “just because,” a handmade hat is always appreciated.
Pair it with matching mittens or a scarf for a full set, or include a note with care instructions and a personal touch.
🧡 Final Thoughts
Learning to knit a beautiful hat for boys and girls is an exciting and achievable project. With just basic stitches—knit, purl, and decrease—you can create a stylish, warm, and customized accessory that children will love wearing. And with the flexibility to personalize it in dozens of ways, no two hats ever have to be the same.
So grab your needles, pick your favorite yarn colors, and start knitting. One stitch at a time, you’ll be making something truly special.
Video tutorial: