
Hello, cozy creators!
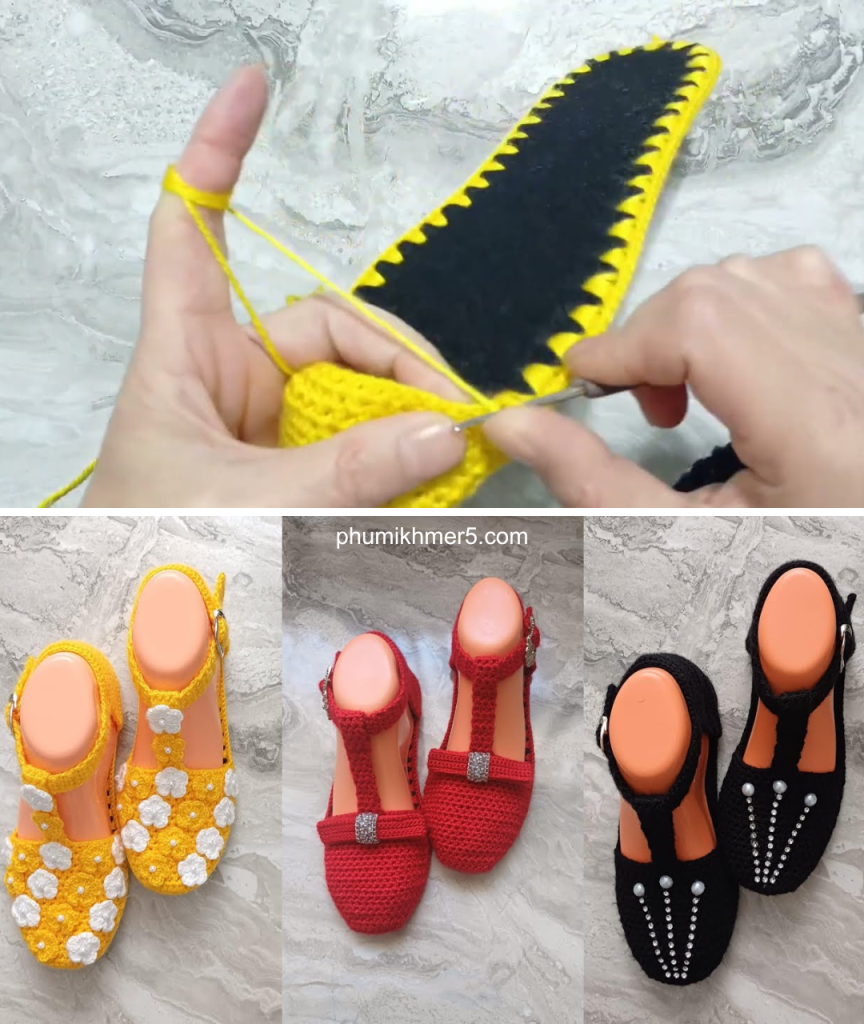
There is nothing quite like slipping your feet into a pair of warm, handmade house shoes after a long day. Inspired by the meticulous construction and elegant shaping shown in the Turkish slipper tutorial video Hazır Tabanlı Örgü Babet Detaylı Anlatım, I’ve designed the Forest Moss House Shoes.
This pattern is named for its rich, textured body and deep, forest-inspired color palette, perfect for cool evenings. We will be using a ready-made slipper sole, which gives the house shoe durability and structure—just like the best store-bought footwear! The body uses the Moss Stitch variation to create a dense, warm, and elastic fabric that conforms beautifully to your foot.
Let’s grab our durable soles and our softest yarn!

🧶 Project Snapshot & Materials
| Detail | Description |
| Skill Level | Intermediate (Requires familiarity with attaching to a sole and decreasing for shaping.) |
| Size | Customizable for any pre-punched slipper sole (e.g., Sizes 37-38 EU / 6-7 US, as shown in the video). Instructions are based on general hole count. |
| Yarn | Worsted Weight (Category 4) or Double Stranded Sport Weight. Use an acrylic or wool blend for warmth and elasticity. Approx. 200 yards per pair. |
| Sole | 1 pair of ready-made, perforated slipper/bootie soles. |
| Hook Sizes | Size 1: A smaller hook (e.g., 2.0 mm or 2.5 mm) for attaching yarn to the sole. Size 2: A larger hook (e.g., 4.0 mm or 4.5 mm) for the body of the slipper. |
| Notions | Stitch markers, tapestry needle, scissors. |
📋 Abbreviations (US Terms)
| Abbreviation | Meaning |
| ch | Chain |
| sl st | Slip Stitch |
| sc | Single Crochet |
| hdc | Half Double Crochet |
| M-st | Moss Stitch (Sc, ch 1, sk 1 st) |
| M-sp | Moss Stitch Space (the ch-1 space from the previous row) |
| dec | Decrease (Sc2tog or Hdc2tog) |
| BLO | Back Loop Only |
| [#] | Stitch count at the end of the round. |
The “Forest Moss” House Shoe Pattern
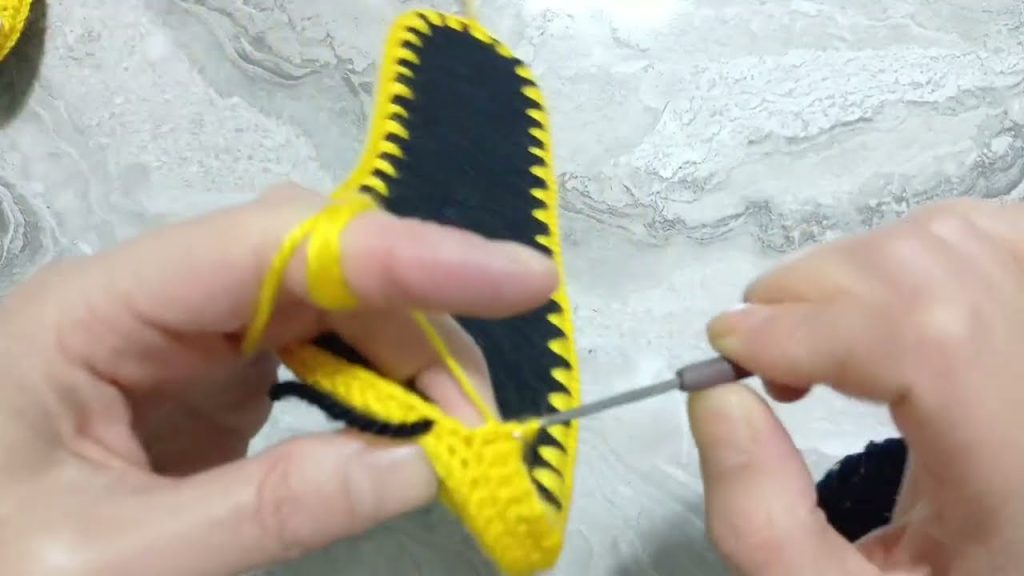
SECTION 1: Prepping the Sole (Initial Edging)
Use Hook Size 1 (smaller hook) and work around the sole.
Rule of Thumb for Sole Holes:
- Heel Area: 3 SC per hole.
- Mid-Foot Area: 2 SC per hole (side-to-side).
- Toe Area: 4 SC per hole (for curve and flexibility).
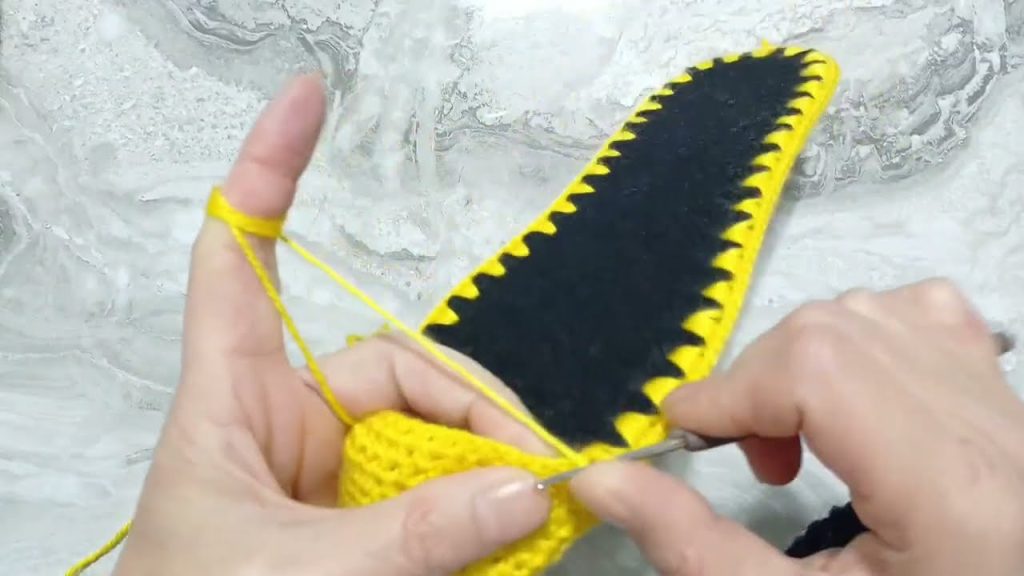
Rnd 1 (Sole Edge):
- Starting at the center back of the heel, join yarn with a sl st to the first hole.
- Work 3 SC into the first hole. Work 3 SC into the next 4-5 holes (total of 5-6 holes for the heel).
- Work 2 SC into each hole along the entire side of the sole, until you reach the start of the toe curve.
- In the toe area (usually the center 7-9 holes), work 4 SC into each hole to create a rounded, flexible toe.
- Continue 2 SC in each hole along the second side until you reach the heel holes.
- Work 3 SC into the remaining heel holes.
- Join with a sl st to the first SC.
Rnd 2 (Transition Row):
Switch to Hook Size 2 (larger hook).
- Ch 1 (does not count as st). SC in the BLO of every SC around.
- Join with a sl st to the first SC. [Total Stitch Count Established]
- Working in the BLO creates a distinct, structural edge, allowing the basket stitch sides to stand up perfectly.
SECTION 2: The Body (Moss Stitch Section)
Work in continuous, joined rounds using Hook Size 2.
Rnd 3 (Foundation): Ch 1. SC in the first st. *Ch 1, sk 1 st, SC in next st.* Repeat from * around. Join with a sl st to the first SC.
- Ensure your final SC is next to the starting ch-1 space.
Rnd 4 (Moss Stitch Repeat): Ch 1. SC in the first M-sp (ch-1 space). *Ch 1, SC in the next M-sp.* Repeat from * around. Join with a sl st to the first SC.
- The SC is always worked into the ch-1 space from the row below.
Rnd 5 – Rnd 8: Repeat Rnd 4. (Total of 5 Moss Stitch rows before starting the toe decreases).
SECTION 3: Shaping the Toe (Decreases)
You will now mark the center toe section for decreases. This is similar to the method shown in the reference video for the shoe’s front section (around [07:17]).
- Marking: Flatten the shoe sole. Identify the center front SC/ch-sp. Count back 8 M-sp to the right and 8 M-sp to the left, placing a stitch marker at the beginning and end of this 16-space section. This is your decrease zone.

Rnd 9 (Decrease Row 1):
- Work the Moss Stitch as usual until you reach the first stitch marker.
- Decrease 1: SC into the marker space. Ch 1, sk the next SC. Hdc2tog over the next two M-sp (insert hook into 1st space, pull up a loop, insert hook into 2nd space, pull up a loop, yarn over, pull through all 3 loops).
- Moss Stitch Toe: *Ch 1, SC in next M-sp.* Repeat the standard Moss Stitch pattern for the next 6 M-sp.
- Decrease 2: Ch 1, sk the next SC. Hdc2tog over the next two M-sp.
- Continue the Moss Stitch as normal (SC in M-sp, ch 1) around the back and side of the heel until the end. Join with a sl st.
Rnd 10 (Rest Row): Work the Moss Stitch pattern (Rnd 4) normally around the entire slipper. Do not decrease. SC in M-sp, ch 1, SC in M-sp.
Rnd 11 (Decrease Row 2):
- Work Moss Stitch until 3 M-sp remain before the previous decrease (Hdc2tog).
- Decrease 3: SC in M-sp, ch 1, sk SC. Hdc2tog over the next two M-sp.
- Moss Stitch Toe: *Ch 1, SC in next M-sp.* Repeat the standard Moss Stitch for the next 4 M-sp.
- Decrease 4: Ch 1, sk SC. Hdc2tog over the next two M-sp.
- Continue Moss Stitch as normal around the back and side of the heel until the end. Join with a sl st.
Rnd 12 (Rest Row): Work Moss Stitch pattern (Rnd 4) normally around the entire slipper. Do not decrease.
SECTION 4: The Ankle Cuff and Finishing
The cuff is worked flat in rows, creating an opening for the ankle.
Rnd 13 (Open Cuff Foundation):
- Sl st to the next M-sp. Ch 1. SC in the same M-sp.
- Continue the Moss Stitch pattern (SC in M-sp, ch 1) all the way around until you reach the last 5 M-sp before the heel center. (Stop about 2-3 inches before the center back).
- Do NOT join. Ch 1, turn.
Row 14 (Cuff Row): SC in the first ch-1 space. *Ch 1, SC in the next M-sp.* Repeat from * across the row. Stop at the last SC of the previous row. Ch 1, turn.
Row 15 – Row 18: Repeat Row 14 until the cuff height is approximately 1.5 inches (4 cm).
Final Row (Optional Button Loop):
- Work Moss Stitch until the center of the row is reached.
- Ch 8 (or enough chains to form a loop for your button). Sk the next M-sp. SC in the next M-sp.
- Continue Moss Stitch to the end of the row.

Finishing
- Fasten Off and weave in all ends securely using the tapestry needle.
- Attach Closure: Sew a decorative button securely to the opposite side of the cuff from the loop you created. If you skipped the loop, you can attach any preferred closure (snaps, toggles, etc.).
- Steaming/Blocking: Lightly steam the slipper body to even out the stitches and soften the fabric.
Congratulations! Your customized, cozy Forest Moss House Shoes are ready for wear. Enjoy the beautiful structure and warmth!
Video tutorial:


