
Hello, fiber artists!
I am thrilled to introduce a brand-new, incredibly versatile stitch pattern I call the Desert Sand Ripple. Much like the simple yet stunning patterns shown in the video ONLY 2 ROWS! Very easy and Beautiful Crochet Stitch…, this motif relies on just two repeating rows to create a fabric that is light, airy, and beautifully draped.
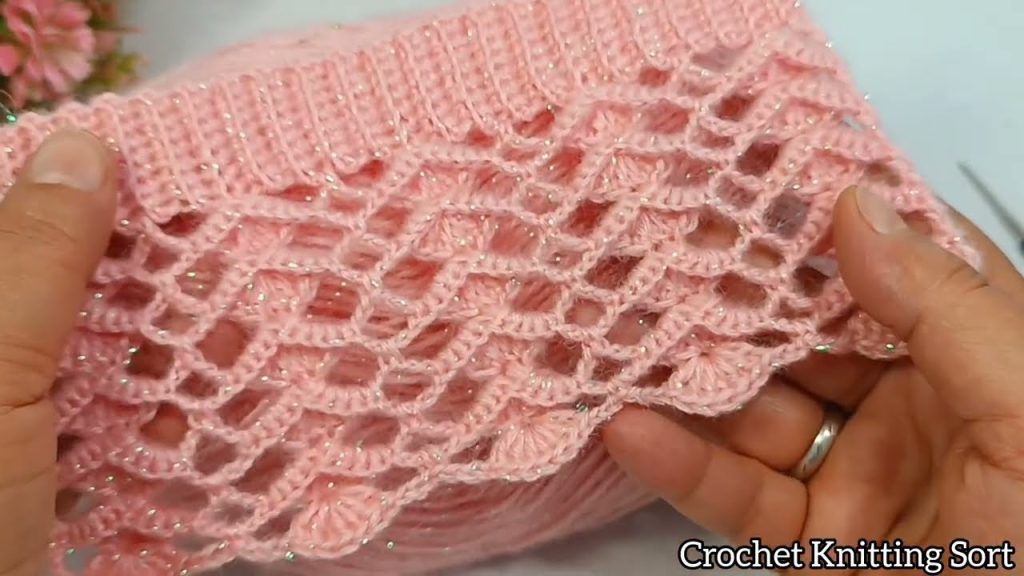
This stitch is perfect for everything from scarves and tunics to baby blankets and light throws. For this tutorial, we will be making a generous, elegant shawl—a timeless accessory that works up surprisingly fast. The ripple effect, created by the contrast between open V-stitches and dense clusters, adds beautiful movement and texture.

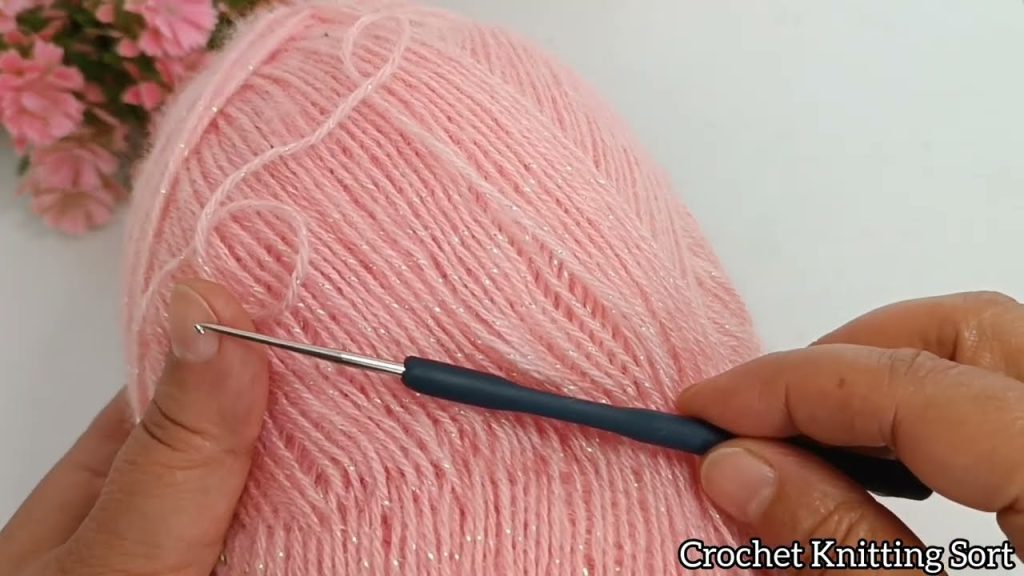
Grab your favorite yarn and let’s dive into this satisfying two-row journey!
🧶 Project Snapshot & Materials
| Detail | Description |
| Project | Rectangular Shawl/Wrap |
| Skill Level | Beginner-Friendly/Easy |
| Finished Size | Approximately 20 inches wide x 65 inches long (50 cm x 165 cm) |
| Stitch Multiplier | Multiples of 4 + 3 (plus 3 for the starting chain). |
| Recommended Yarn | Light Worsted (Category 3/4) or DK Weight. We recommend a soft, draping fiber like Merino Wool, Alpaca, or a high-quality Acrylic blend. Approx. 900-1100 yards. |
| Hook Size | US Size H/8 (5.0 mm) or I/9 (5.5 mm). Use the larger hook for a softer, more open drape. |
| Notions | Scissors, Tapestry Needle (for weaving ends). |
📋 Abbreviations (US Terms)
| Abbreviation | Meaning |
| ch | Chain |
| st(s) | Stitch(es) |
| sk | Skip |
| sc | Single Crochet |
| dc | Double Crochet |
| V-st | V-Stitch: (DC, ch 1, DC) worked into the same stitch or space. |
| sp | Space |
| rep | Repeat |
The Desert Sand Ripple Shawl Pattern
SECTION 1: Getting Started (Foundation)
Initial Chain: Chain a number of stitches in a multiple of 4 + 3. For a shawl of this size, chain approximately 83 or 87 stitches. (We will proceed using a sample count of 83.)
Foundation Row (Row 0):
- DC in the 4th ch from hook (the skipped 3 ch count as the first DC).
- DC in each ch across. [81 DC]
- Ch 3, turn.
- This single foundation row provides a stable base for the lacy repeat.
SECTION 2: The 2-Row Repeat
The pattern is created by repeating Row 1 and Row 2 until the desired length is reached.
Row 1: The Openwork (V-Stitch Row)
This row creates the airy foundation and the “peaks” of the ripple.
- DC in the first st (this is the base of the first V-stitch).
- *Sk the next 3 sts. V-st (DC, ch 1, DC) in the next st.*
- Repeat from * across the row until 4 sts remain.
- Sk the next 3 sts. DC in the top of the turning chain-3.
- Ch 1, turn.
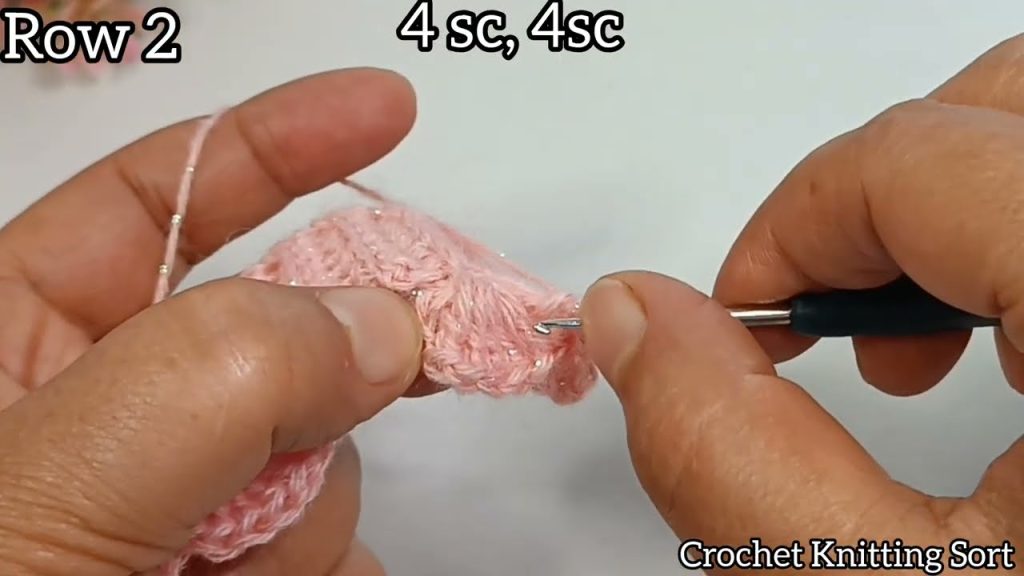
Row 2: The Texture (Single Crochet/Shell Row)
This row works into the spaces created by Row 1, filling the gaps to create density and the “valleys” of the ripple.
- SC in the first st.
- *Work 4 DC into the ch-1 space of the next V-st.* (This forms a compact mini-shell).
- SC into the DC post that sits between the V-sts from the previous row.
- Repeat from * across the row.
- End with an SC in the top of the turning ch-3.
- Ch 3, turn.
Repeating the Pattern
Row 3 (V-Stitch Row):
- DC in the first st.
- *Sk the next SC and the next 2 DC. V-st (DC, ch 1, DC) into the next DC (this is the center of the 4 DC mini-shell).*
- Sk the next 2 DC and the next SC. V-st (DC, ch 1, DC) into the next SC (the one worked between the mini-shells in Row 2).
- Repeat from * across the row, always ensuring the V-st is centered over a shell or a space, and the skip count remains the same.
- End with a DC in the final SC st.
- Ch 1, turn.
Row 4 (Texture Row):
- SC in the first st.
- *Work 4 DC into the ch-1 space of the next V-st. SC into the DC post that sits between the V-sts.*
- Repeat from * across the row.
- End with an SC in the top of the turning ch-3.
- Ch 3, turn.
Continue repeating Row 3 and Row 4 until the shawl reaches approximately 65 inches (165 cm) in length, or your desired length.
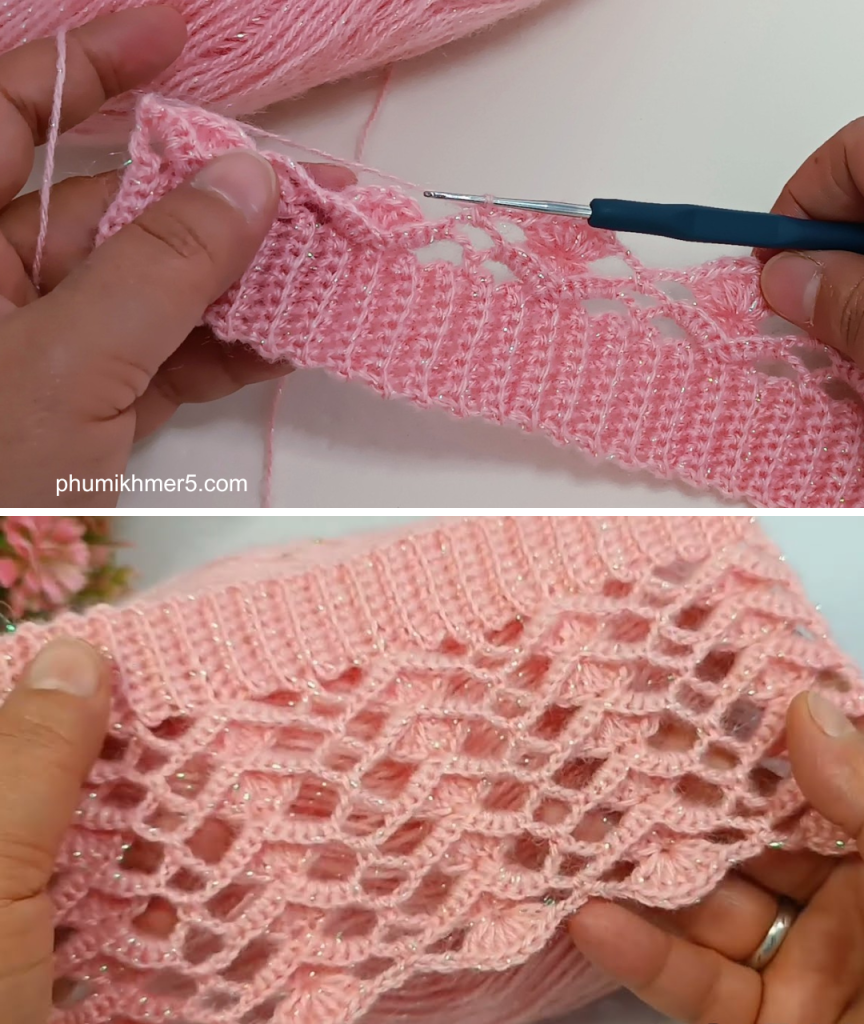
SECTION 3: Final Edging & Finishing
Closing Row (To Match Foundation):
When you have finished on a Row 4 (Texture Row), you will close the pattern with a final row of solid DC to match the bottom edge.
- Final Row (DC Row): Ch 3 (counts as DC), turn.
- Work a DC into the first SC st.
- Work a DC into each DC st and each SC st across the row. (You may need to gently adjust tension on this row to keep it even).
- DC in the final SC st.
- Fasten off.
The Finishing Touches:
- Weaving: Use your tapestry needle to securely weave in all loose yarn tails.
- Blocking: Blocking is essential for any lace project. Gently wash your shawl, squeeze out excess water, and pin it flat to your desired dimensions, gently stretching the lace open. Allow it to air dry completely. Blocking will relax the yarn and define the beautiful ripple and V-stitch pattern.
- Optional Fringes: For added luxury, cut strands of yarn 12 inches long and knot them evenly spaced along the short edges of the shawl to create a fringe.
Enjoy the luxurious drape and eye-catching texture of your new Desert Sand Ripple Shawl! Happy stitching!
Video tutorial:


