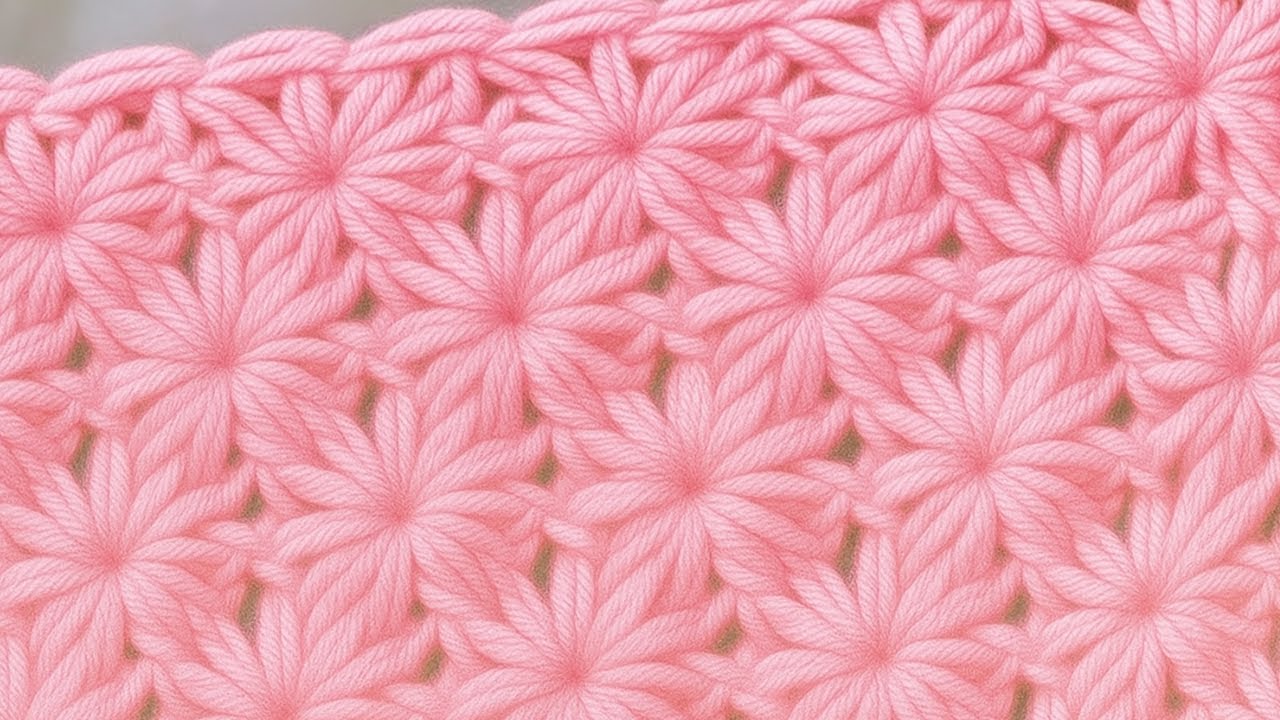
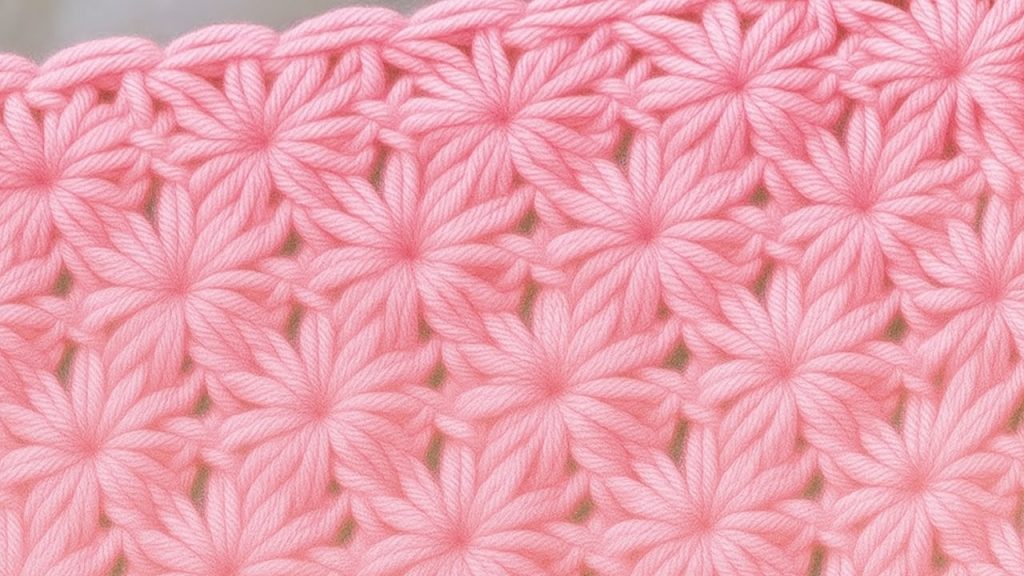
Today, I am thrilled to share an original stitch pattern I’ve named the Celestial Iris Stitch. Inspired by the airy, delicate look of the pattern showcased in the video, this design forms a stunning, repeat-flower motif using simple clusters and chain spaces.
What makes this stitch truly magnificent is its one-row vertical repeat. Once you master the sequence of the main row, you can create fabric of any size effortlessly. It’s perfect for luxurious scarves, elegant shawls, delicate summer tops, or even a breathable baby blanket.
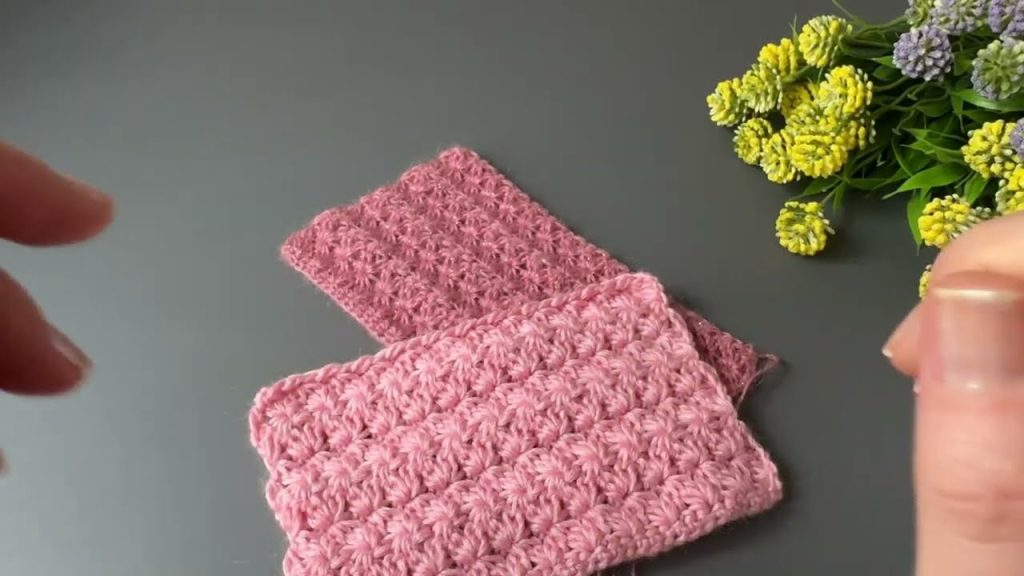
Let’s gather our supplies and transform a simple skein of yarn into a piece of wearable art!

🧶 Project Snapshot & Materials
| Detail | Description |
| Skill Level | Intermediate (Requires familiarity with clusters and non-joining stitches.) |
| Stitch Multiplier | Multiples of 8 + 1 (plus 3 for the starting chain). |
| Recommended Yarn | Light Fingering or Lace Weight Yarn (Category 0 or 1). Mohair blends or silk blends are excellent for drape and fluff. |
| Hook Size | US Size G/6 (4.0 mm) or H/8 (5.0 mm). Use a hook size 1-2 sizes larger than recommended on your yarn label for a lacy, open look. |
| Notions | Scissors, Tapestry Needle (for weaving ends). |
📋 Abbreviations (US Terms)
| Abbreviation | Meaning |
| ch | Chain |
| sl st | Slip Stitch |
| sc | Single Crochet |
| dc | Double Crochet |
| tr | Treble Crochet (Yarn over twice) |
| st(s) | Stitch(es) |
| sk | Skip |
| ch-sp | Chain Space |
| CL | Cluster: Work 3 incomplete DC stitches into the same stitch or space, then yarn over and pull through all 4 loops on the hook. |
The Celestial Iris Stitch Pattern
This pattern consists of a foundational row (Row 0) followed by a single main row (Row 1) that is repeated for height.
SECTION 1: Preparation (Creating the Foundation)
Setup: To make a sample swatch, chain 32 (a multiple of 8) + 1 (end stitch) + 3 (turning chain) = 36 chains total.
Row 0 (Foundation Row):
- Sc in the 4th ch from the hook. (The first 3 skipped chains count as a DC).
- DC in the next chain.
- *Sk 1 ch. DC in the next 3 ch.* Repeat from * to end of row.
- Ch 1, turn.
- This creates a simple DC base and establishes a consistent, firm top edge for the first decorative row.
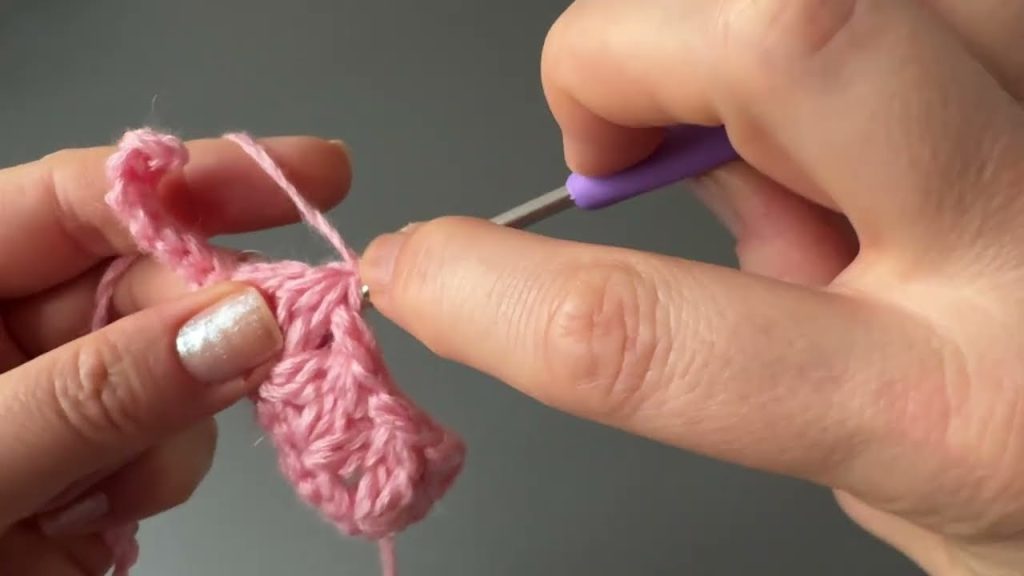
SECTION 2: The Main Repeat (The Iris Motif)
Row 1 (The Celestial Iris Row): This is the only row you will repeat.
- Start Cluster: Ch 3 (counts as a DC). Work a 2-DC incomplete cluster into the first stitch. (3 loops on hook). Yarn over and pull through all 3 loops.
- Petal 1: Ch 2. Sk the next 3 stitches.
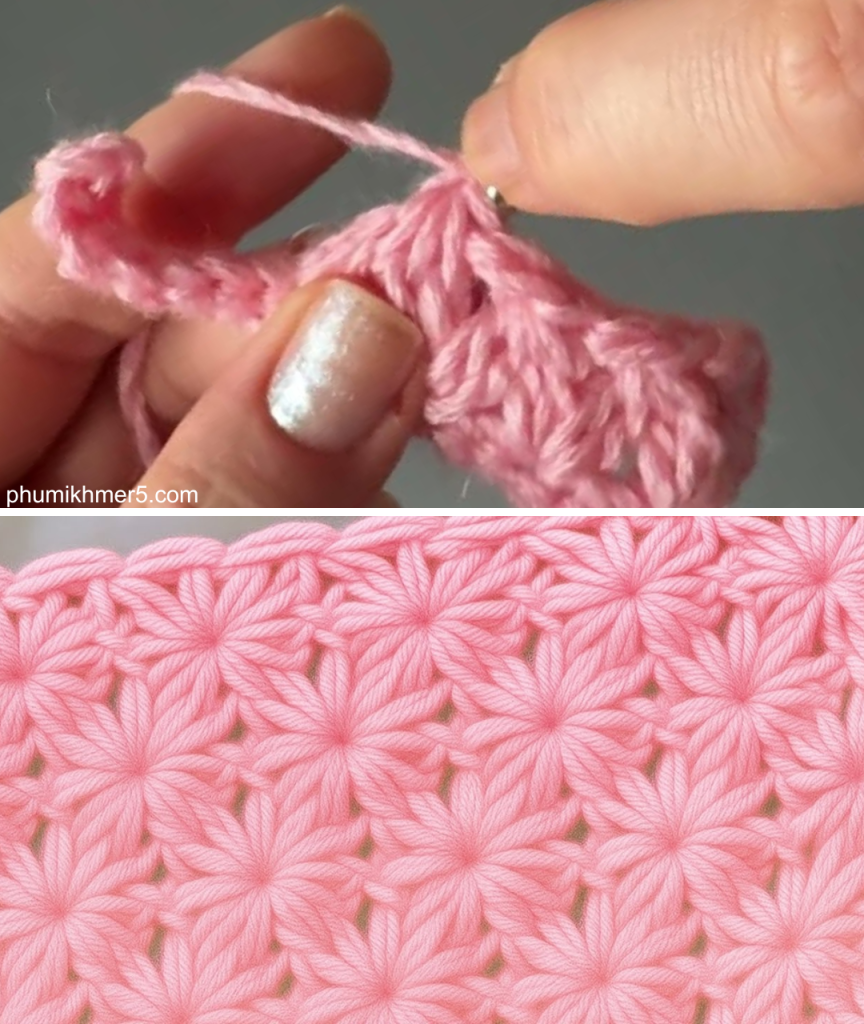
- The Center Stamen: In the next stitch (the 4th skipped st):
- Work a CL (3-DC Cluster – 4 loops on hook). Pull through all 4 loops.
- Ch 2.
- Work a SC in the same stitch.
- Ch 2.
- Work a CL (3-DC Cluster – 4 loops on hook) in the same stitch. Pull through all 4 loops.
- (This sequence creates the three-part “Iris” center motif.)
- Petal 2: Ch 2. Sk the next 3 stitches.
- Anchor DC: DC in the next stitch.
- *Ch 2. Sk the next 3 sts.
- Repeat Center Stamen: In the next stitch (the 4th skipped st):
- Work a CL.
- Ch 2.
- Work a SC in the same st.
- Ch 2.
- Work a CL in the same st.
- Ch 2. Sk the next 3 sts.
- Anchor DC: DC in the next stitch.*
- Repeat from * until the last 4 stitches remain.
- End Cluster: Ch 2. Sk the next 3 sts. Work a CL in the last stitch (the turning chain space).
- Ch 3, turn.
SECTION 3: Repeating and Finishing
Row 2 (Repeat Row 1):
From this point forward, you will work into the previous row’s chain spaces (ch-sps) and stitches.
- Start Cluster: Ch 3 (counts as a DC). Work a 2-DC incomplete cluster into the first CL/st. (3 loops on hook). Pull through all 3 loops.
- Petal 1: Ch 2.
- Locate Center: Skip the next ch-2 sp, the CL, the ch-2 sp, and the next CL.
- The Center Stamen: Work into the SC from the previous row’s iris center:
- Work a CL.
- Ch 2.
- Work a SC in the SC st.
- Ch 2.
- Work a CL in the SC st.
- (The SC stitch is always your center anchor for the new Iris motif.)
- Petal 2: Ch 2.
- Anchor DC: DC into the DC post from the previous row.
- *Ch 2. Sk the next ch-2 sp, the CL, the ch-2 sp, and the next CL.
- Repeat Center Stamen: Work into the SC from the previous row’s iris center: CL, ch 2, SC, ch 2, CL.
- Ch 2.
- Anchor DC: DC into the DC post from the previous row.*
- Repeat from * until the last flower motif is complete.
- End Cluster: Ch 2. Sk the last ch-2 sp. Work a CL into the top of the beginning ch-3 of the previous row.
- Ch 3, turn.
Repeat Row 2 until your project reaches the desired length.
Final Edging & Finishing
Optional Finishing Row (for a straight edge):
- Ch 1, turn. Sc in the first CL.
- Work 2 sc in the next ch-2 sp.
- Sc in the next CL. Sc in the next ch-2 sp. Sc in the next SC. Sc in the next ch-2 sp. Sc in the next CL.
- Work 2 sc in the next ch-2 sp.
- Sc in the next DC post.
- Repeat steps 2-5 across the entire row. End with a final sc in the top of the ending cluster/ch-3.
Tidy Up:
- Fasten off and weave in all ends using a tapestry needle.
- Blocking is Crucial! To truly open up the delicate lace pattern and let the Iris motifs shine, wet block your finished piece. Pin it out firmly to the desired dimensions and allow it to dry completely.
Enjoy the luxurious drape and stunning texture of your Celestial Iris fabric! Happy crocheting!
Video tutorial:


