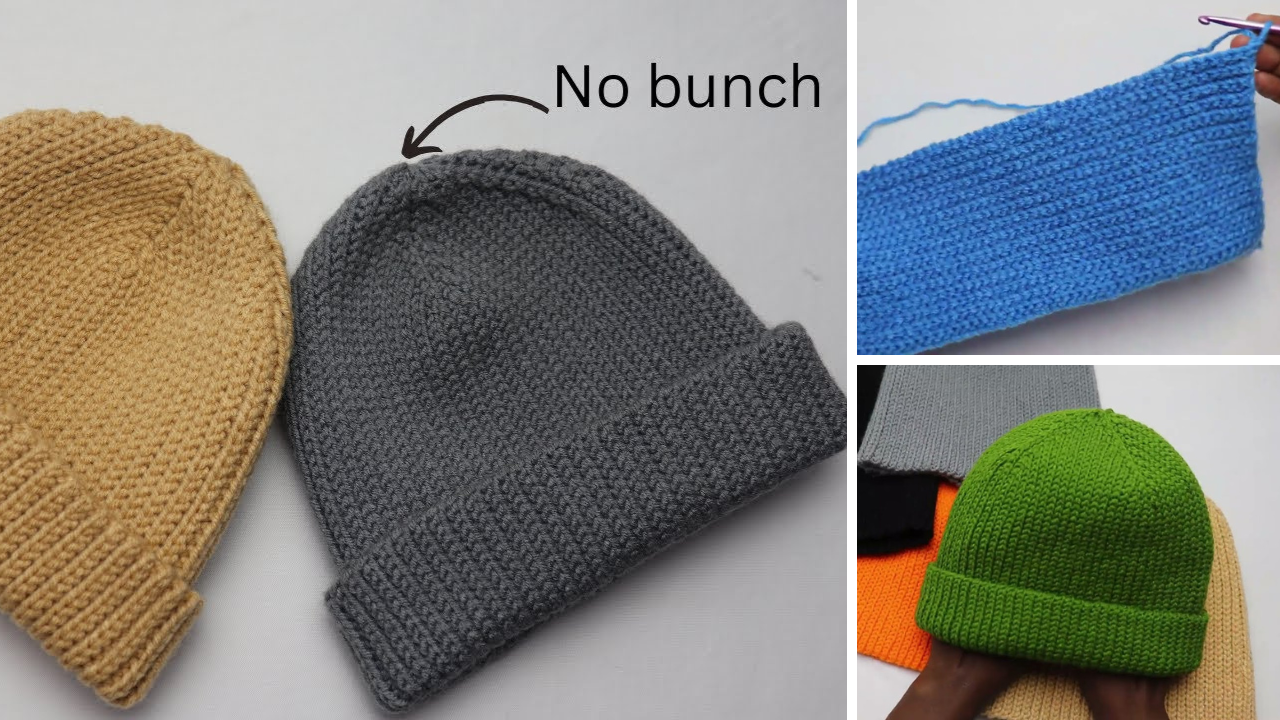
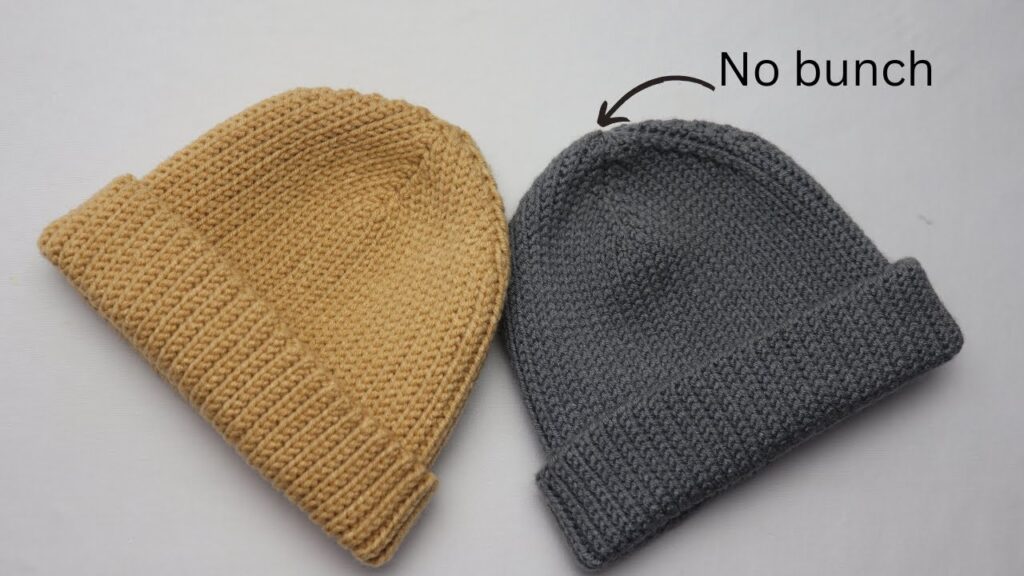
Have you ever crocheted a beanie, only to find the crown gathering awkwardly or coming to an unwanted point? The “bunched beanie” struggle is real for many crocheters! This detailed tutorial will show you how to create a sleek, flat-topped beanie that sits beautifully on the head, avoiding that common “pointy” or “puckered” crown. By understanding the principles of crocheting a flat circle and mastering your gauge, you’ll be able to create a professional-looking, comfortable beanie every time.

The Secret to a No-Bunch Beanie: Mastering the Flat Circle
The key to a perfectly flat-topped beanie lies in the initial increasing rounds that form the crown. When crocheting in the round, if you increase too slowly, your circle will cup. If you increase too quickly, it will ruffle. The goal is to increase just enough in each round to keep the piece perfectly flat.
This tutorial focuses on a top-down construction using half double crochet (hdc), a fantastic stitch for beanies because it works up quickly and creates a good fabric with nice drape.
1. Planning Your Flat-Top Beanie: Size & Yarn Matters
Careful planning is crucial for achieving that desired flat top and comfortable fit.
- Sizing: This pattern is for an Adult Medium (fits head circumference 21-23 inches / 53-58 cm).
- To adjust sizes: You’ll modify the diameter of your flat crown and the number of rounds for the height. See the “Gauge” and “Crown Diameter” sections for guidance.
- Yarn Choice:
- Fiber: Choose a yarn that’s comfortable against the skin, has good drape, and isn’t too stiff. Soft acrylic, wool, or wool/acrylic blends are excellent choices.
- Weight: Worsted Weight (#4) yarn is recommended for its balance of warmth, speed, and stitch definition.
- Quantity: Approximately 150-200 yards (137-183 meters) for an adult beanie.
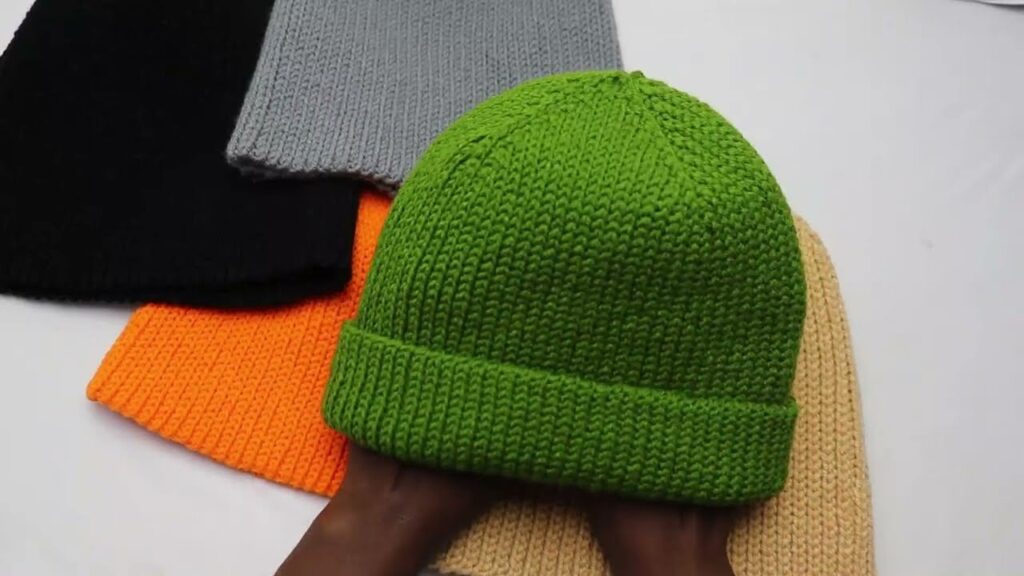
- Style: This tutorial creates a classic, fitted beanie. You can easily add a ribbed brim or pom-pom once the main body is complete.
2. Materials You’ll Need
- Yarn: Approximately 150-200 yards of Worsted Weight (#4) soft yarn.
- Crochet Hook: 5.0 mm (H-8 US). (This is a common starting point for worsted weight; you may need to adjust based on your gauge.)
- Scissors: For cutting yarn.
- Yarn Needle (Tapestry Needle): For weaving in ends.
- Stitch Marker (Essential!): A locking stitch marker or a scrap piece of contrasting yarn is vital for marking the beginning of each round when working in a continuous spiral.
- Measuring Tape: Crucial for checking gauge and the diameter of your crown.
3. Essential Crochet Stitches (Review for Confidence)
Before starting, ensure you’re comfortable with these fundamental stitches:
- Slip Knot: The very first step.
- Chain (ch): The foundation stitch.
- Magic Ring (or Adjustable Ring): This creates a tight, closed hole at the very top of your beanie, preventing a gap. If you’re new to the magic ring, search for a quick tutorial or use the alternative method below.
- Half Double Crochet (hdc): The primary stitch for this beanie. It works up quickly and creates a balanced fabric.
- To make a HDC: Yarn over (YO), insert hook into stitch, YO, pull up a loop (3 loops on hook), YO, pull through all 3 loops on hook.
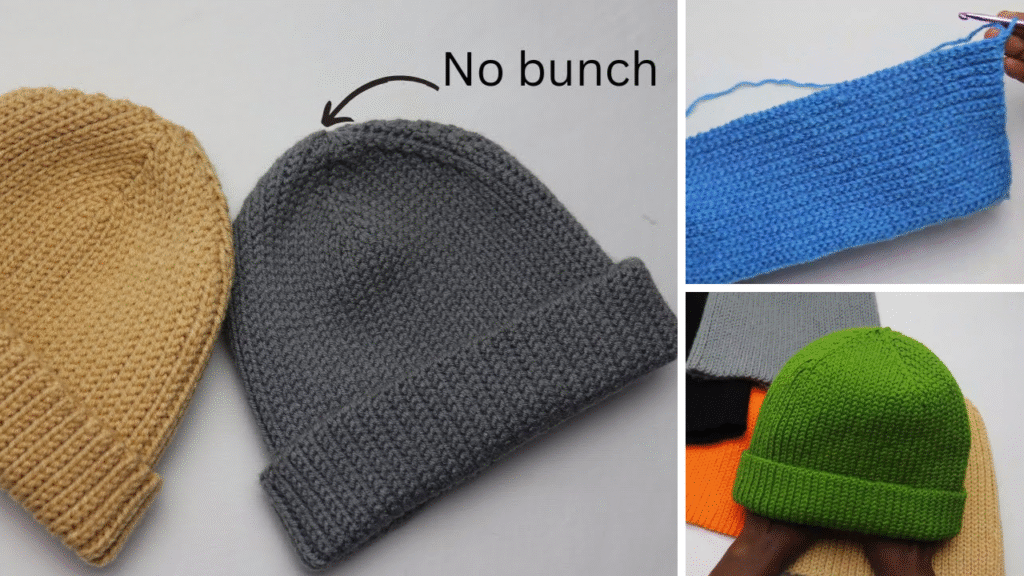
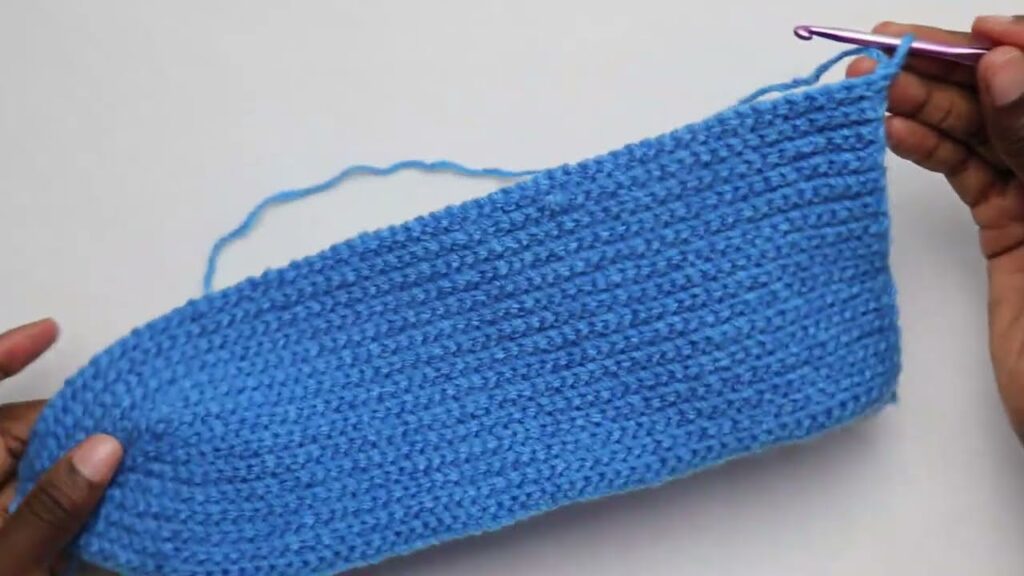
- Working in Continuous Rounds: For a seamless beanie, you’ll work in a continuous spiral without joining with a slip stitch or making turning chains at the end of each round. This eliminates visible seams. Always use your stitch marker!
4. Gauge and Crown Diameter: Your Blueprint for a Flat Top
Getting your gauge right is the most critical step for a non-bunching, well-fitting beanie. It ensures your initial flat circle (the crown) will be the correct diameter for your desired head size.
- Target Gauge (approximate for HDC with 5.0mm hook & Worsted Weight):
- Approximately 13-14 HDC stitches in 4 inches (10 cm).
- Approximately 9-10 HDC rows in 4 inches (10 cm).
- Making a Gauge Swatch:
- Chain 17.
- Row 1: HDC in the 3rd ch from the hook and in each ch across. (15 HDC)
- Row 2: Ch 2 (does NOT count as a st), turn. HDC in each HDC across. (15 HDC)
- Repeat Row 2 until your swatch measures at least 4 inches (10 cm) tall.
- Measure: Count your stitches and rows within a 4×4 inch (10×10 cm) square.
- Adjust Hook Size:
- If you have more stitches/rows than the target, your tension is too tight; go up a hook size (e.g., to 5.5 mm).
- If you have fewer stitches/rows than the target, your tension is too loose; go down a hook size (e.g., to 4.5 mm).
- Remake your swatch until you’re close to the target gauge.
- Determining Crown Diameter (The No-Bunch Secret!): The finished flat crown diameter should be approximately 1/3 to 1/2 of the wearer’s head circumference. For an Adult Medium (21-23 inch head), aim for a flat crown diameter of 6.5 – 7.5 inches (16.5 – 19 cm).
- Pro Tip for a Truly Flat Top: Instead of a strict “increase by X stitches each round” formula, focus on the diameter. You’ll stop increasing when your flat circle measures the desired diameter for the crown.
5. Crocheting Your No-Bunch Beanie! (Step-by-Step)
We’ll build the beanie from the crown (top) down.
Part 1: The Flat Crown (Increasing Rounds)
This section creates your flat circle. Consistency is key!
- Start with a Magic Ring: Make a magic ring.
- Alternative if you prefer not to use a magic ring: Ch 3, sl st to the first ch to form a ring.
- Rnd 1: Ch 2 (does NOT count as a st). Work 10 hdc into the magic ring. Pull the magic ring tail tightly to close the hole completely.
- If using Ch 3 ring: Work 10 hdc into the ring.
- Place your stitch marker in the 1st hdc of this round. This is crucial as you’ll be working in a continuous spiral.
- Rnd 2: Work 2 hdc in each hdc around. [20 hdc]
- Move your stitch marker to the 1st hdc of this round.
- Rnd 3: (Hdc in next st, 2 hdc in next st) repeat around. [30 hdc]
- Move your stitch marker.
- Rnd 4: (Hdc in next 2 sts, 2 hdc in next st) repeat around. [40 hdc]
- Move your stitch marker.
- Rnd 5: (Hdc in next 3 sts, 2 hdc in next st) repeat around. [50 hdc]
- Move your stitch marker.
- Rnd 6: (Hdc in next 4 sts, 2 hdc in next st) repeat around. [60 hdc]
- Move your stitch marker.
- Rnd 7: (Hdc in next 5 sts, 2 hdc in next st) repeat around. [70 hdc]
- Move your stitch marker.
- Crucial Crown Check: Lay your work flat. Measure the diameter across the center. For an Adult Medium, it should be approximately 6.5 – 7 inches (16.5 – 18 cm).
- If your diameter is too small: Add one more increase round (Rnd 8: (Hdc in next 6 sts, 2 hdc in next st) repeat around. [80 hdc]).
- If your diameter is perfect: Proceed to the next section.
- If your diameter is too large: You likely need to go down a hook size and restart, or accept a slightly looser beanie.
- For other sizes: Continue increasing rounds in the same pattern (e.g., Rnd 8: hdc in next 6 sts, 2 hdc; Rnd 9: hdc in next 7 sts, 2 hdc, etc.) until your crown reaches the appropriate diameter for your desired head size (refer to standard hat size charts if needed).
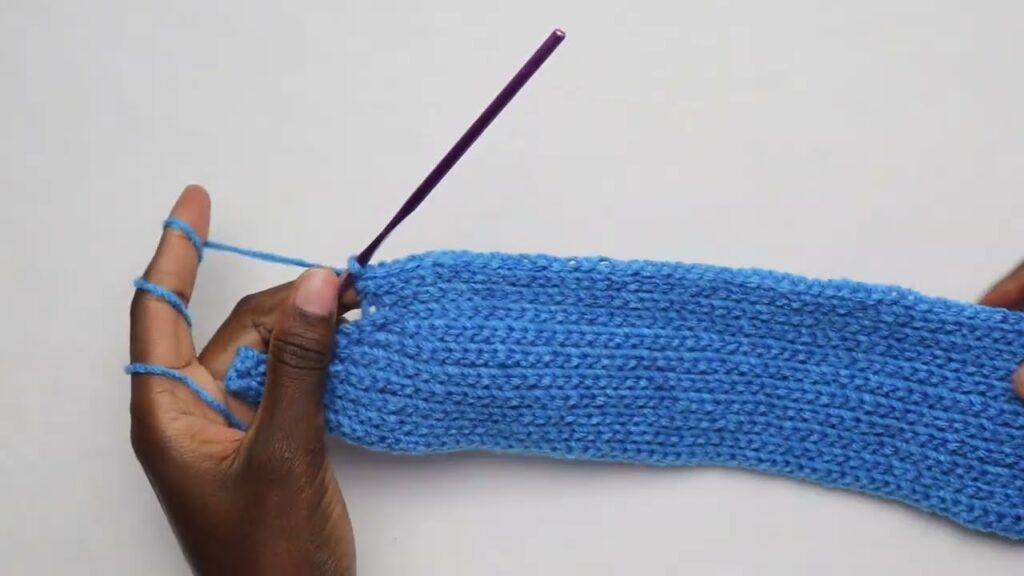
Part 2: The Beanie Body (Working Even)
Once your crown is the correct diameter, you’ll stop increasing. This creates the straight sides of the beanie.
- Next Round (after your final increase round): Hdc in each hdc around. [Stitch count will be the same as your last increase round, e.g., 70 hdc for Adult Medium].
- Move your stitch marker to the first hdc of the round.
- Continue working in a spiral, without joining or chaining.
- Repeat this “Hdc in each hdc around” round until your beanie reaches your desired length from the very top center of the crown to the bottom edge.
- For a standard Adult Medium beanie, aim for approximately 7.5 – 8.5 inches (19-21.5 cm) total height.
- Try it on as you go! This is the best way to determine the perfect height.
- For a slouchy beanie, add 1-2 more inches (2.5-5 cm) to the height.
Part 3: The Brim (Optional)
A simple brim provides a neat finish and can add a bit more warmth around the ears.
- Brim Round 1: Ch 1 (does NOT count as a st).
- Work this entire round in hdc in the third loop (also known as the “camel stitch”). This creates a beautiful knit-like horizontal ridge and keeps the brim from flaring out.
- To find the “third loop”: Look at the top of an hdc stitch from the previous round. You’ll see the regular ‘V’ (front loop and back loop). Just below the back loop, on the back side of your work, there’s a horizontal bar. That’s the third loop! Insert your hook into this loop and complete your hdc.
- Hdc in the 3rd loop of each hdc around.
- Join with a sl st to the first hdc of the round.
- This will slightly push the top of your stitches to the outside, creating a subtle, clean edge.
- Work this entire round in hdc in the third loop (also known as the “camel stitch”). This creates a beautiful knit-like horizontal ridge and keeps the brim from flaring out.
- Brim Round 2: Ch 1 (does NOT count as a st). Sc in each hdc around. Join with a sl st to the first sc.
- This final round of single crochet creates a sturdy, finished edge.
- Fasten Off, leaving a 6-8 inch (15-20 cm) tail.
6. Finishing Your No-Bunch Beanie
- Weave in All Ends: Use your yarn needle to neatly weave in all loose yarn tails, especially the one from the magic ring and the final tail. Ensure they are secure and invisible.
- Add a Pom-Pom (Optional): If desired, make a yarn pom-pom (or attach a faux fur one) and securely attach it to the very top center of your beanie. For added security, thread the pom-pom tails through the top of the beanie, tie them tightly inside, and weave in any remaining tails.
- Light Blocking (Recommended): While not always essential for acrylic, a light steam block (or wet block for wool) can help relax the stitches, even out any inconsistencies, and ensure your crown lies perfectly flat.
- Steam Blocking (for acrylic): Place your beanie over a bowl or head-form close to its finished size. Hover a steam iron (do not let it touch the yarn directly, especially acrylic, as it can melt!) over the fabric, allowing the steam to penetrate. Gently pat and shape with your hands. Let cool and dry completely.
7. Care for Your Crocheted Beanie
Always follow the care instructions on your yarn label. For most acrylic or wool blend worsted weight yarns:
- Machine Washable: Usually machine wash on a gentle cycle in cool water.
- Drying: Tumble dry on low heat or, ideally, lay flat to air dry to maintain shape.
- Avoid Bleach: Do not use bleach unless specified on the yarn label.

With this detailed tutorial, you’re now equipped to crochet a beautiful, flat-topped beanie that will be comfortable and stylish without any unwanted bunching. Enjoy your perfectly shaped, handmade headwear!
Video tutorial:


