Crocheting baby booties is one of the most cherished projects in the world of yarn crafting. These tiny, adorable shoes aren’t just functional—they’re a heartfelt gift that symbolizes warmth, love, and care. Whether you’re preparing for a new arrival, creating a thoughtful baby shower present, or making a keepsake, crocheted baby booties are the perfect project.
In this guide, you’ll learn how to crochet baby booties from start to finish. We’ll cover the best yarns to use, hook sizes, sizing information, essential stitches, and a step-by-step pattern with tips to help you succeed.

🍼 Why Crochet Baby Booties?
Crocheted baby booties are timeless. Here’s why they make a perfect project:
- Quick & Portable: A small project you can finish in an hour or two.
- Customizable: Choose any color, style, or embellishment.
- Great for Gifting: Handmade gifts are always meaningful.
- Beginner-Friendly: Simple patterns using basic stitches are widely available.
🧵 Materials You’ll Need
✅ Yarn
- Weight: Sport (#2), DK (#3), or Worsted (#4)
- Fiber: Choose soft, baby-safe, machine-washable yarns, such as:
- Baby acrylic
- Cotton blends
- Bamboo blends
- Avoid scratchy or itchy yarns.
✅ Crochet Hook
- Generally between 3.5 mm to 4.5 mm, depending on your yarn.
- Use a smaller hook for a tighter fabric to keep booties snug.
✅ Other Supplies
- Yarn needle (for sewing and weaving in ends)
- Scissors
- Stitch markers (optional)
- Buttons, ribbons, or bows (optional, for decoration only)

📏 Sizing Guide
Babies grow fast! Use the chart below to size your booties correctly:
| Age | Foot Length (inches) | Chain to Start |
|---|---|---|
| Newborn | 3.5″ – 3.75″ | ~9–10 ch |
| 0–3 mo | 3.75″ – 4″ | ~10–11 ch |
| 3–6 mo | 4″ – 4.25″ | ~11–12 ch |
| 6–9 mo | 4.25″ – 4.5″ | ~12–13 ch |
| 9–12 mo | 4.5″ – 5″ | ~13–14 ch |
🧠 Tip: Measure the baby’s foot or refer to a baby shoe sizing chart for better accuracy.
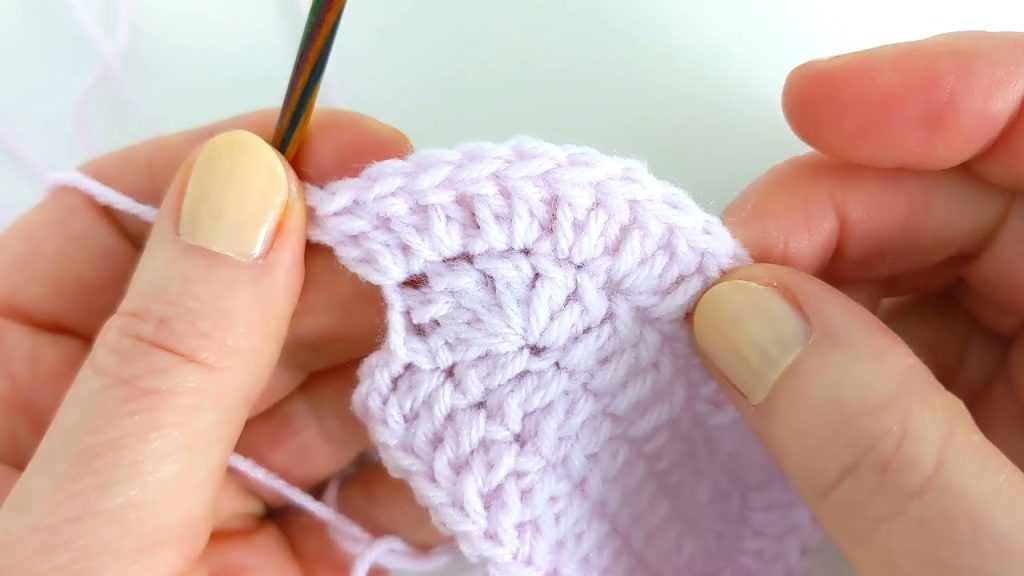
🧶 Stitches Used
These basic stitches are used in most baby bootie patterns:
- CH – Chain
- SC – Single Crochet
- HDC – Half Double Crochet
- DC – Double Crochet
- SL ST – Slip Stitch
- INC – Increase (2 stitches in 1 stitch)
- DEC – Decrease (combine 2 stitches)
If you’re new to any of these, look up a quick video or visual tutorial to practice.
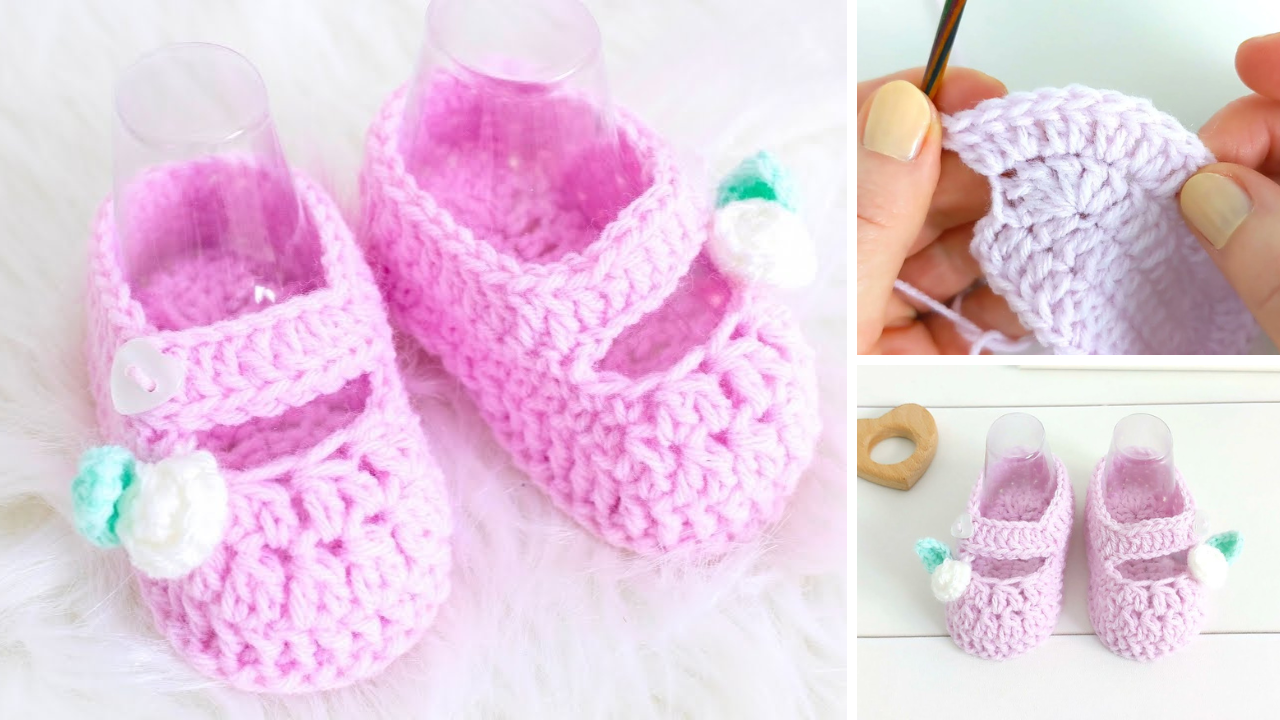
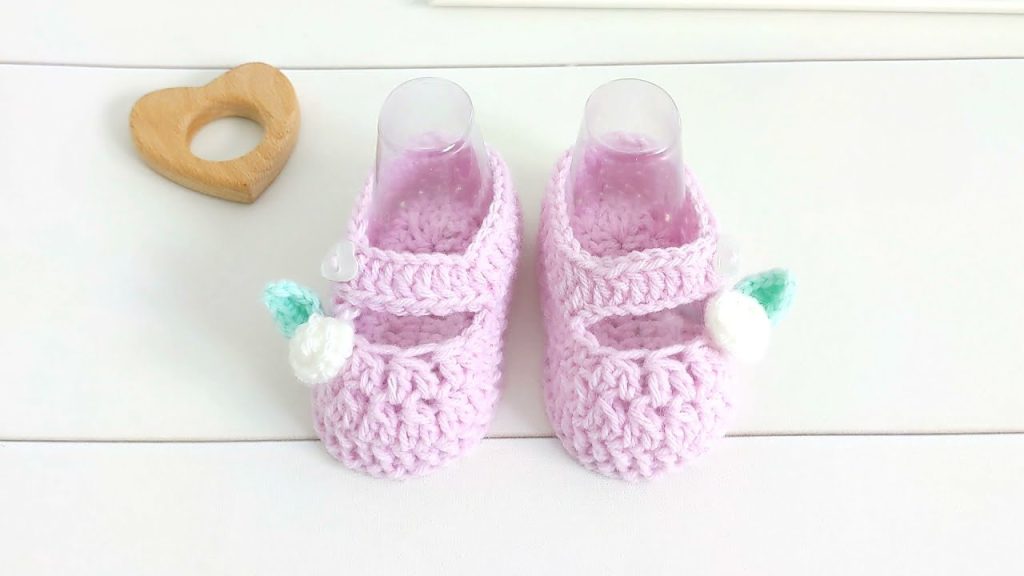
🧦 Simple Baby Booties Pattern (0–3 Months)
Here’s a basic pattern for baby booties that you can customize and adapt as needed. This pattern is worked in rounds, starting from the sole.
👣 Part 1: The Sole
Foundation Chain: CH 11
Round 1:
HDC in 2nd CH from hook and next 8 CH, 5 HDC in last CH.
Work around to other side of foundation chain: HDC in next 8, 4 HDC in last stitch. Join with SL ST to top of first HDC. (26 sts)
Round 2:
CH 1. HDC in next 8, INC in next 5 sts, HDC in next 8, INC in next 4 sts. Join. (35 sts)
Round 3:
CH 1. HDC in next 8, (HDC in next, INC) 5 times, HDC in next 8, (HDC in next, INC) 4 times. Join. (44 sts)
You’ve just created the sole of the bootie.
👢 Part 2: The Sides
Round 4:
CH 1. Working in back loops only, SC in each stitch around. Join. (44 sts)
Round 5–6:
CH 1. SC in each stitch around. Join. (44 sts)
Now you have the wall of the bootie.
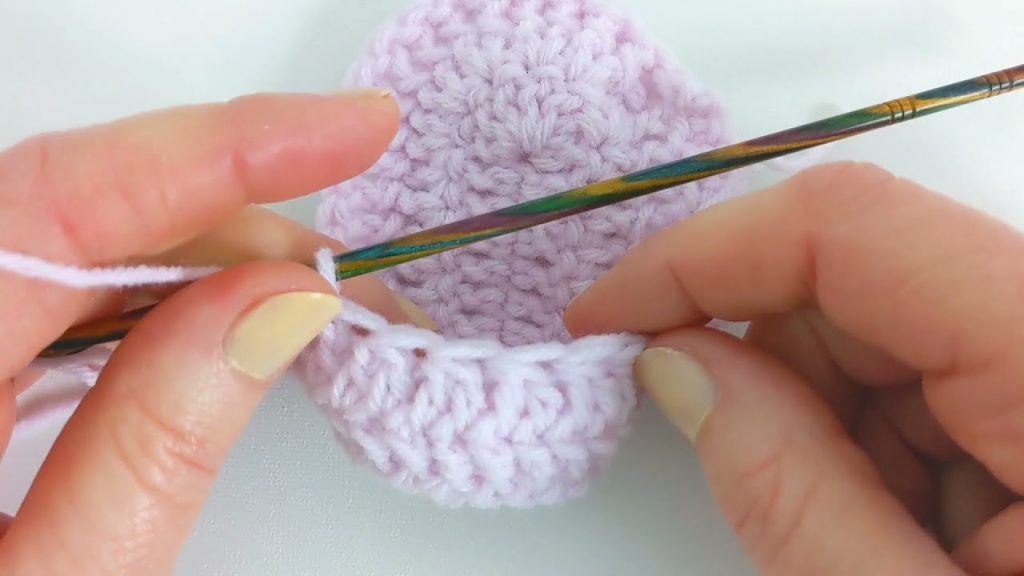
🧩 Part 3: The Top & Toe
Round 7:
CH 1. SC in next 14, SC2TOG 8 times, SC in next 14. Join. (36 sts)
Round 8:
CH 1. SC in next 12, SC2TOG 6 times, SC in next 12. Join. (30 sts)
Round 9:
CH 1. SC in next 10, SC2TOG 5 times, SC in next 10. Join. (25 sts)
Round 10:
CH 1. SC in each stitch around. Fasten off and weave in ends.
Repeat all steps for the second bootie.
🎀 Optional Additions
Here are some ways to customize your baby booties:
✅ Cuffs
Add a ribbed or ruffled cuff for style and better fit:
- Work 3–4 rows of HDC or SC after Round 10.
- Use front/back post stitches for ribbing.
✅ Straps
Add a decorative or functional strap over the top:
- CH a short band, sew both ends or add a small button.
✅ Buttons or Bows
- Only use securely sewn decorative items—never use choking hazards.
🧼 Care Instructions
Babies get messy, so your booties should be easy to clean:
- Use machine-washable yarn (check label)
- Wash on gentle cycle or hand-wash
- Lay flat to dry to maintain shape
💡 Tips for Success
- Gauge matters: Adjust hook size if your stitches are too tight or too loose.
- Count stitches every round to stay on track.
- Use stitch markers to mark rounds or decreases.
- Try on the booties if possible, or test against a size chart.
🛍️ Where to Find Patterns
Want to try different styles? Check out:
- Ravelry: Thousands of free and paid patterns.
- Pinterest: Great for visual inspiration.
- YouTube: Video tutorials for every skill level.
- Etsy: Printable bootie patterns, including animal-themed and lace booties.
- Yarn company websites: Red Heart, Lion Brand, and Bernat offer free patterns.
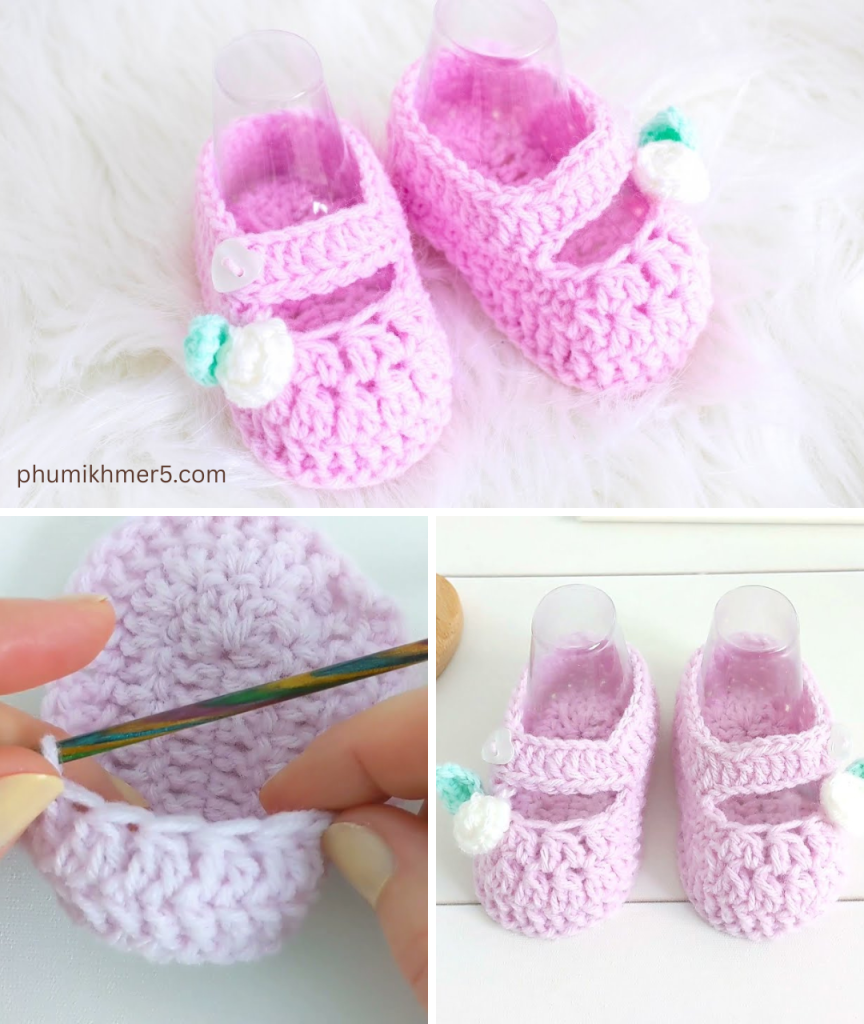
👶 Popular Styles to Try
Once you’ve mastered the basic bootie, explore these styles:
- Mary Janes – Classic girl’s booties with a strap and button.
- Loafers – Modern, unisex style.
- Ankle Booties – With cuffs for extra warmth.
- Animal Booties – Add ears, eyes, and tails for fun characters.
- Slipper Booties – Soft and cozy with fuzzy yarn.
🧡 Final Thoughts
Crocheting baby booties is a meaningful and joyful project—small in size, but big in heart. With a few simple stitches and a little yarn, you can create a practical and beautiful item that brings comfort and warmth to a little one’s first days. Once you make one pair, you might find it hard to stop!
So gather your materials, choose your colors, and start stitching your way to adorable baby booties—one tiny step at a time.
Video tutorial:


