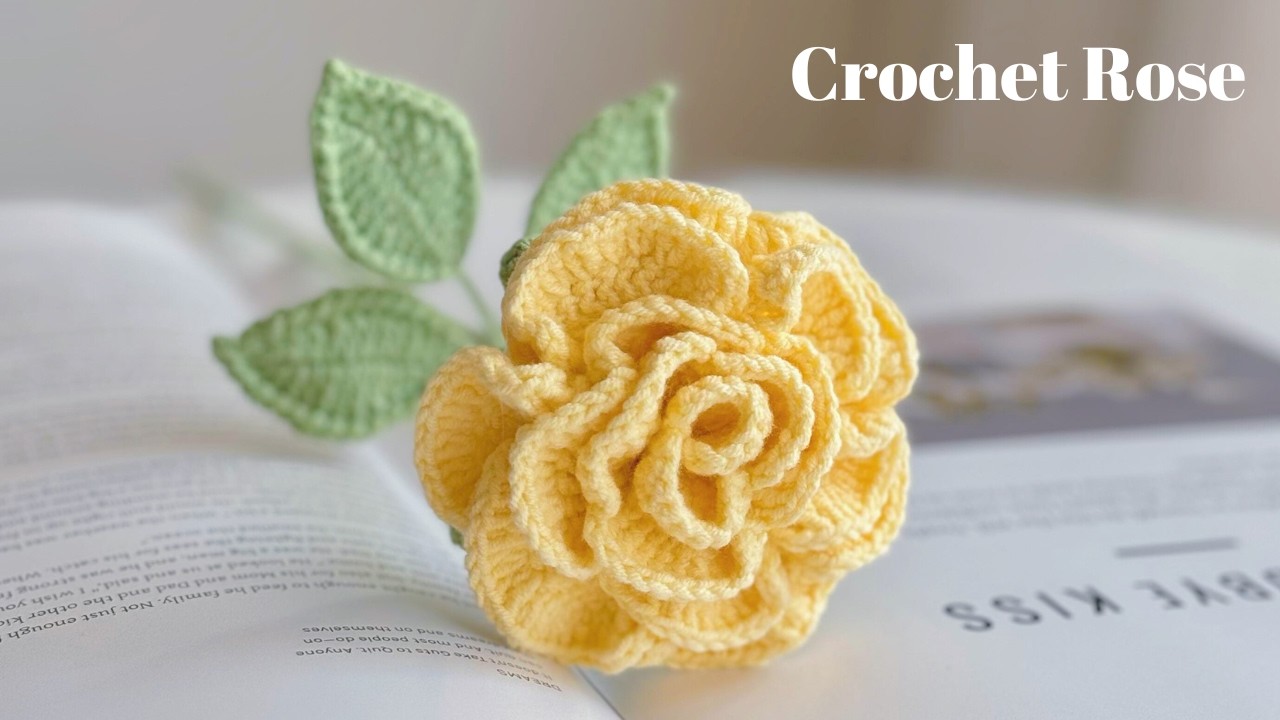
Crocheting a rose is one of the most charming and satisfying projects you can undertake as a beginner. It’s a small, manageable project that teaches essential skills while resulting in a beautiful, decorative item. Whether you’re embellishing a hat, adding a romantic touch to a scarf, or crafting a bouquet that never wilts, learning how to crochet a rose is both fun and rewarding.
In this comprehensive guide, we’ll walk you through everything you need to know about crocheting a rose—from materials and stitches to step-by-step instructions and creative ideas for using your finished rose.

🌹 Why Crochet a Rose?
The crochet rose is a timeless motif that has charmed crafters for generations. Here are a few reasons to make one:
- Beginner-friendly: Requires only basic stitches (chain, single crochet, double crochet).
- Quick project: Can be completed in under an hour.
- Versatile: Perfect as appliqués, pins, hair accessories, brooches, or decorations.
- No wilting: Unlike real flowers, your crochet roses last forever.
- Gift-worthy: Add a handmade touch to cards, gifts, or bouquets.
🧶 Materials You’ll Need
Most of these supplies are beginner staples, and you may already have them:
- Yarn: Worsted weight yarn (Category 4) in your desired rose color (red, pink, yellow, white, etc.). Green yarn optional for leaves/stem.
- Crochet Hook: Size H/8 (5.0 mm) is a great beginner hook, but you can adjust depending on your yarn.
- Scissors
- Yarn needle (tapestry needle): For sewing in ends and assembling.
- Stitch markers (optional)
🧵 Basic Stitches You’ll Use
If you’re new to crochet, here are the key stitches you’ll use for a rose:
- Ch (Chain)
- Sc (Single Crochet)
- Hdc (Half Double Crochet)
- Dc (Double Crochet)
- Sl St (Slip Stitch)
Don’t worry if you’re unfamiliar with these—each one is simple, and this project will help you master them.

🌹 Step-by-Step: How to Crochet a Simple Rose
This is a spiral rose pattern, one of the easiest and most elegant forms. It consists of a long strip that curls into a rose when rolled and stitched.
Step 1: Make the Base Chain
Start by making a foundation chain.
- Chain 51 (or any multiple of 6 + 1 for a larger/smaller rose).
This long chain will become the base of your rose petals.

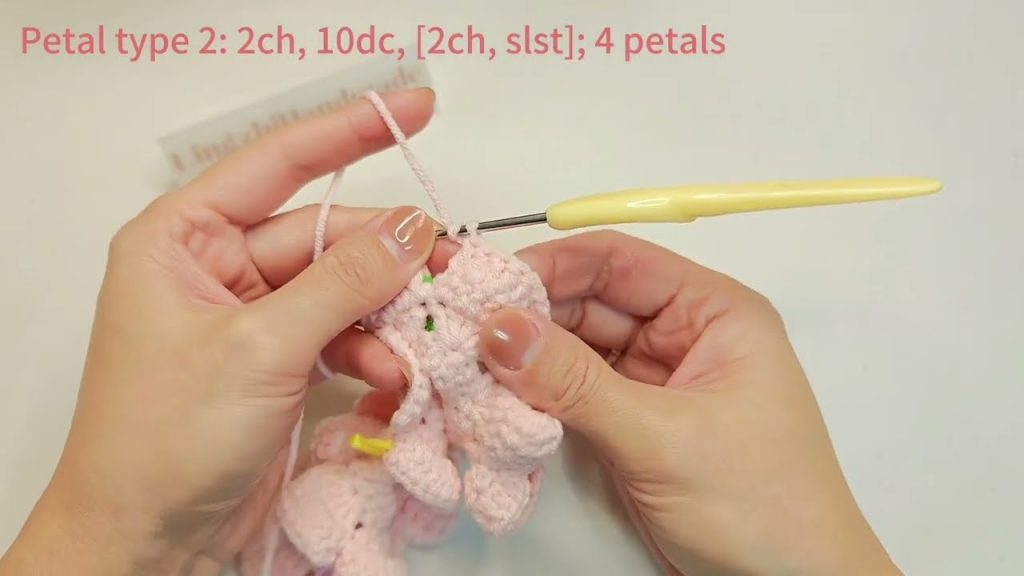
Step 2: Work the First Row (Petals Row)
In this row, you will create clusters of stitches that form the ruffled petals.
- In the second chain from hook, work:
- 1 single crochet (sc)
- In the next chain:
- 1 half double crochet (hdc)
- In the next 3 chains:
- 1 double crochet (dc) in each (3 times)
- In the next chain:
- 1 half double crochet (hdc)
- In the next chain:
- 1 single crochet (sc)
🔁 Repeat this 6-stitch pattern (sc, hdc, 3 dc, hdc, sc) across the entire foundation chain.
When you reach the end, you should have a long, ruffled strip that begins curling slightly on its own.
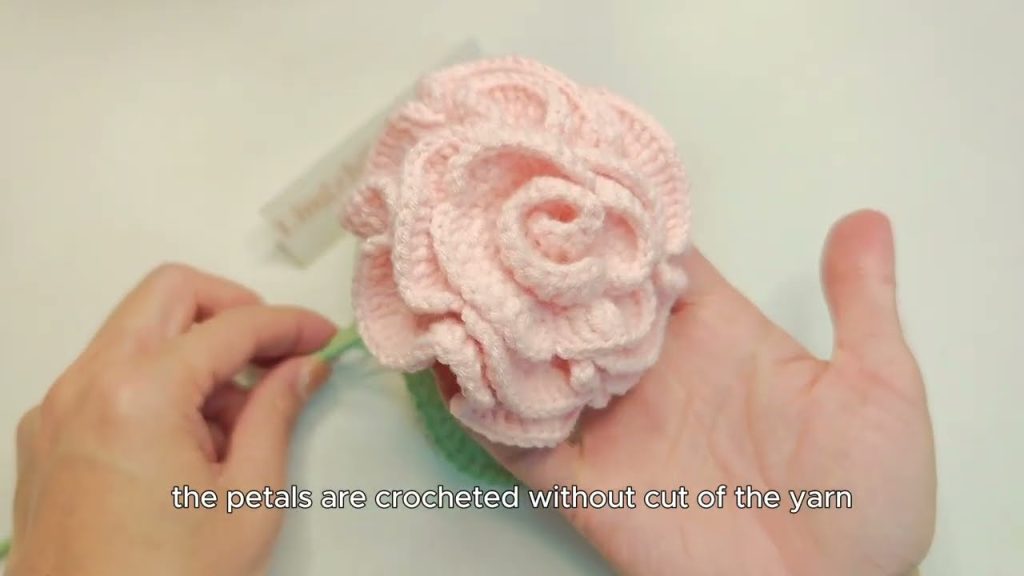
Step 3: Shape the Rose
Now comes the magic: rolling the rose.
- Start from one end of the strip and begin rolling tightly, forming the rose shape.
- As you roll, adjust the petals slightly outward to give a natural bloom look.
- Once rolled to the end, thread your yarn needle with a long tail of yarn.
- Sew through the base of the rose several times (back and forth), securing all the layers so they don’t unravel.
- Tie off and weave in any remaining ends.
And just like that—you’ve crocheted your very own rose! 🌹
🍃 Optional: Add Leaves
Want to take it a step further? Here’s a quick pattern for a simple leaf:
Crochet Leaf Pattern:
- Chain 7.
- In the second chain from the hook: 1 sc.
- Next chain: 1 hdc.
- Next: 1 dc.
- Next: 1 dc.
- Next: 1 hdc.
- Last chain: 3 sc (to round the tip).
- Now work along the other side of the chain:
- 1 hdc, 2 dc, 1 hdc, 1 sc.
- Slip stitch to the first stitch to finish. Fasten off and weave in ends.
You can sew the leaf to the rose base or leave it separate to use as desired.
🌈 Creative Ideas for Your Crochet Rose
Once you’ve mastered the basic rose, the creative possibilities are endless. Here are some ideas to put your roses to use:
💡 Wearables
- Attach a pin back for a brooch
- Sew onto a headband or hair clip
- Embellish a beanie or scarf
🏠 Home Decor
- Create a bouquet of crochet roses
- Attach to a wreath
- Add to pillows, blankets, or curtains
🎁 Gift & Wrapping
- Use as a reusable gift topper
- Attach to cards or letters
- Create a rose keychain
🧵 Other Crafts
- Incorporate into mixed media art
- Frame in a shadow box
- Use as party favors or wedding decor
🪡 Tips for Success
- Yarn Choice Matters: For soft, realistic roses, use cotton or acrylic yarn. For a more delicate rose, try sport or DK weight yarn.
- Tension: Keep your tension even to avoid lumpy petals.
- Practice First: Try a practice rose with scrap yarn to get comfortable with shaping.
- Blocking: Lightly steam block your rose for more defined shape and open petals.
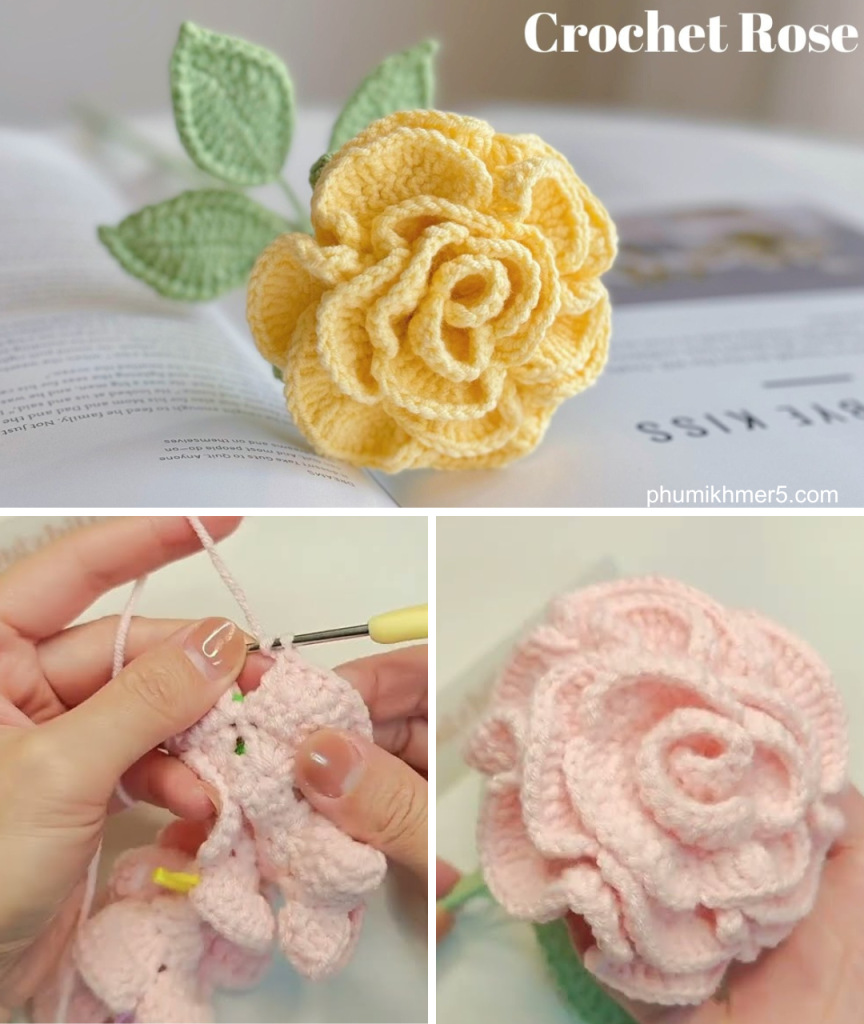
🧶 More Advanced Rose Variations
Once you’re comfortable with the basic spiral rose, try these variations:
- Layered Rose: Add more petals in different heights for a fuller look.
- 3D Popcorn Petal Rose: Use popcorn or puff stitches for dimensional petals.
- Multicolor Rose: Change yarn colors as you crochet for a two-tone or gradient effect.
🧡 Final Thoughts
Learning how to crochet a rose is a beautiful entry point into the world of fiber art. It’s quick, satisfying, and endlessly customizable. You’ll come away with not only a gorgeous handmade flower but also new crochet skills and creative confidence.
So, grab your hook and yarn, and start crafting your first crochet rose today. You’ll be amazed at what your hands can create—one petal at a time.
Video tutorial:


