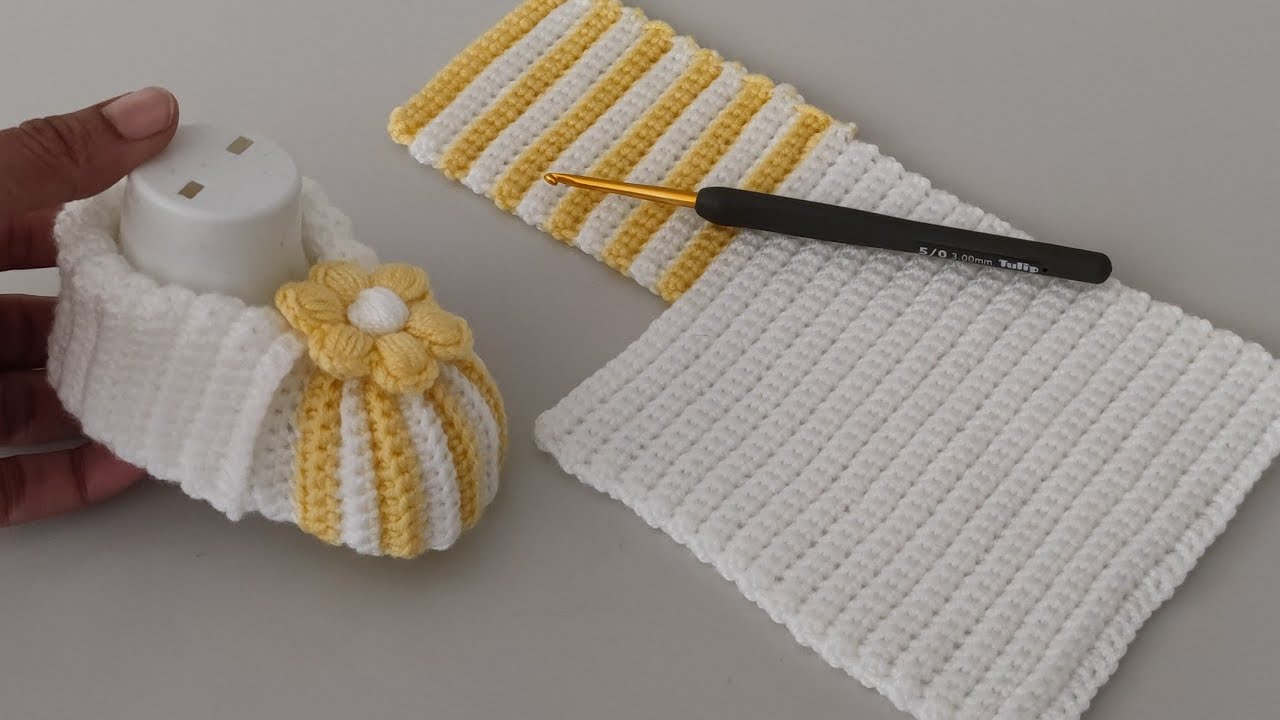
There is nothing quite as sweet as a pair of handmade baby booties, and crocheting them yourself is a rewarding and surprisingly quick project. The “Little Dreamer” Crochet Baby Booties are a perfect project for any skill level, featuring a simple stitch that creates a soft, cozy fabric and a timeless design. This detailed tutorial will guide you through creating these adorable booties, from the sole to the final elegant cuff.
This pattern is an excellent choice for a beginner looking to create a beautiful, practical gift or for an experienced crocheter wanting a fast and fun project. The repetitive nature of the stitches makes it a joy to create, and the finished booties are a heartfelt treasure that any new parent will adore.

Why Crochet the Little Dreamer Booties?
- Quick & Easy: These booties work up in a short amount of time, making them a perfect last-minute gift.
- Beginner-Friendly: Uses only fundamental crochet stitches, making it accessible for those new to the craft.
- Heartfelt Gift: A handmade gift for a new baby is always cherished and treasured.
- Customizable: Easily change colors, add a decorative ribbon, or add more rows for a taller cuff.
- Practical & Cozy: The dense fabric provides warmth for tiny, delicate feet.
1. Planning Your Booties: Size & Materials
- Sizing: This pattern is written for Newborn (0-3 Months) with a finished sole length of approximately 3-3.5 inches (7.5-9 cm).
- For a larger size (3-6 months), use a slightly larger hook (e.g., 4.5 mm) or a slightly bulkier yarn.
- For a smaller size, use a smaller hook (e.g., 3.0 mm) or a lighter yarn.
- Yarn Choice: Choose a yarn that is soft, gentle on a baby’s skin, and machine-washable.
- Fiber: Look for a baby-specific yarn in acrylic, bamboo, or a soft cotton blend.
- Weight: Sport (#2) or DK (#3) weight yarn is ideal for these booties, as it creates a beautiful, lightweight fabric.
- Color: A single, solid color is beautiful, but you can also use two or three colors for a striped effect.
- Quantity: You will need approximately 50 yards (45 meters) of yarn per pair of booties.
2. Materials You’ll Need
- Yarn: One skein of a soft, baby-friendly yarn.
- Crochet Hook: 3.5 mm (E-4 US) or the hook size that gives you a dense but flexible fabric with your yarn.
- Scissors: For cutting yarn.
- Yarn Needle (Tapestry Needle): For weaving in ends and seaming.
- Stitch Markers (Optional but Recommended): To mark the beginning and center of rounds.
3. Essential Crochet Stitches & Techniques
- Slip Knot
- Chain (ch)
- Slip Stitch (sl st): For joining rounds.
- Single Crochet (sc)
- Half Double Crochet (hdc)
- Half Double Crochet Decrease (hdc2tog): Yarn over, insert hook into first stitch, pull up a loop (3 loops on hook). Insert hook into next stitch, pull up a loop (4 loops on hook). Yarn over, pull through all 4 loops on hook.
- Working in Rounds and Rows: The sole is worked in oval rounds, and the body of the bootie is worked in rounds.

4. Let’s Crochet the Little Dreamer Booties!
We will start with the sole, then build the sides, shape the toe, and finish with the cuff.
Part 1: The Sole (Worked in Oval Rounds)
This creates a flat, sturdy foundation for the bootie.
- Foundation Chain: Ch 10.
- Round 1: Hdc in the 2nd ch from hook. Hdc in each of the next 7 chs. Work 5 hdc in the last ch (this is the corner). Now, working on the opposite side of the foundation chain, hdc in each of the next 8 stitches. Join with a sl st to the first hdc of the round.
- [21 hdc]
- Round 2: Ch 1 (does not count as a stitch). Work 2 hdc in the first stitch. Hdc in each of the next 7 stitches. Work 2 hdc in each of the next 5 stitches (the corner). Hdc in each of the next 7 stitches. Work 2 hdc in the last stitch. Join with a sl st to the first hdc of the round.
- [29 hdc]
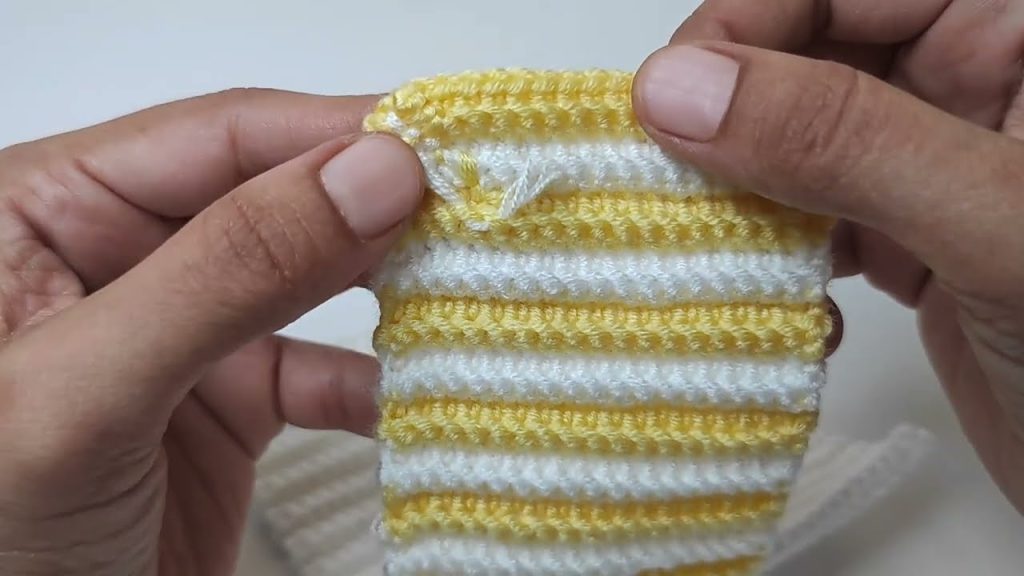
- Round 3: Ch 1. Sc in the back loop only (BLO) of each stitch around. Join with a sl st to the first sc.
- Working in the BLO creates a defined ridge, marking the transition from the sole to the body of the bootie.
Part 2: The Body (Building the Sides)
This section creates the height of the bootie.
- Round 4: Ch 1 (does not count as a stitch). Sc in each stitch around. Join with a sl st to the first sc.
- Rounds 5-6: Ch 1. Sc in each stitch around. Join with a sl st to the first sc.
- The sc stitches create a solid, simple fabric. You can add more rounds here for a taller bootie.
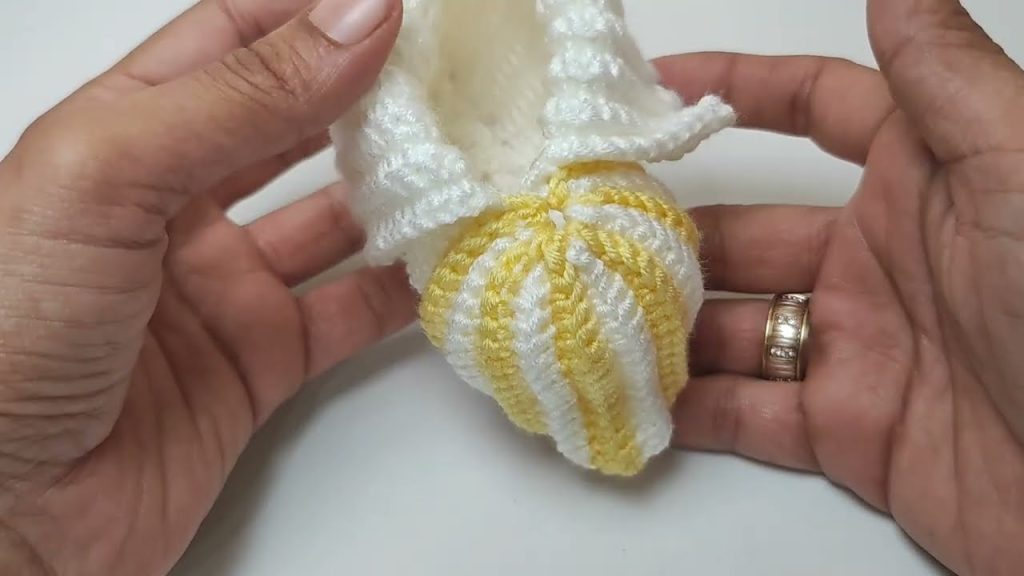
Part 3: Shaping the Toe (The Decreases)
This is the key to creating the bootie’s shape.
- Round 7: Ch 1 (does not count as a stitch). Sc in the first 8 stitches. Hdc2tog. Repeat 5 more times. Sc in the remaining stitches. Join with a sl st to the first sc.
- [23 stitches]
- Round 8: Ch 1. Sc in the first 6 stitches. Hdc2tog. Repeat 4 more times. Sc in the remaining stitches. Join with a sl st to the first sc.
- [18 stitches]
Part 4: The Cuff
This adds a decorative and comfortable finish.
- Round 9: Ch 2 (counts as 1 hdc). Hdc in each stitch around. Join with a sl st to the top of the beginning Ch 2.
- Round 10 (Optional Decorative Edge): Ch 1. Sc in each stitch around. Join with a sl st to the first sc.
- Fasten off, leaving a tail to weave in.
- Repeat all steps to create the second bootie.
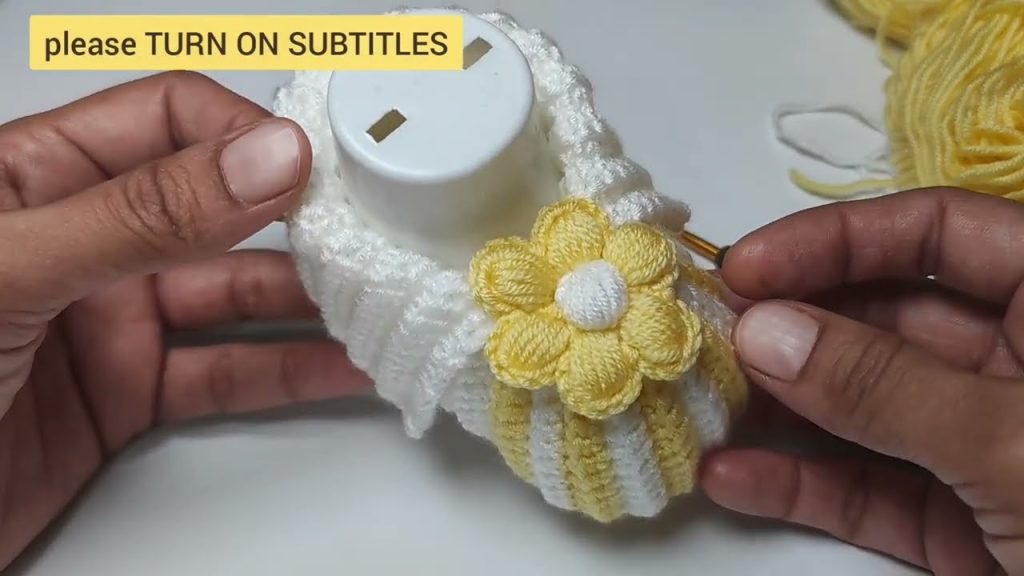
Step 5: Finishing Touches
- Weave in All Ends: Use your yarn needle to carefully weave in any remaining loose yarn tails.
- Add a Decorative Cord (Optional): Ch a long cord of about 50 stitches. Thread it through the last row of hdc stitches to create a drawstring or tie.
- Block: Give the booties a gentle steam or wet block to help them hold their shape.
Enjoy your beautiful, handmade “Little Dreamer” Crochet Baby Booties. They are a labor of love and a perfect gift for a new arrival!
Video tutorial:


