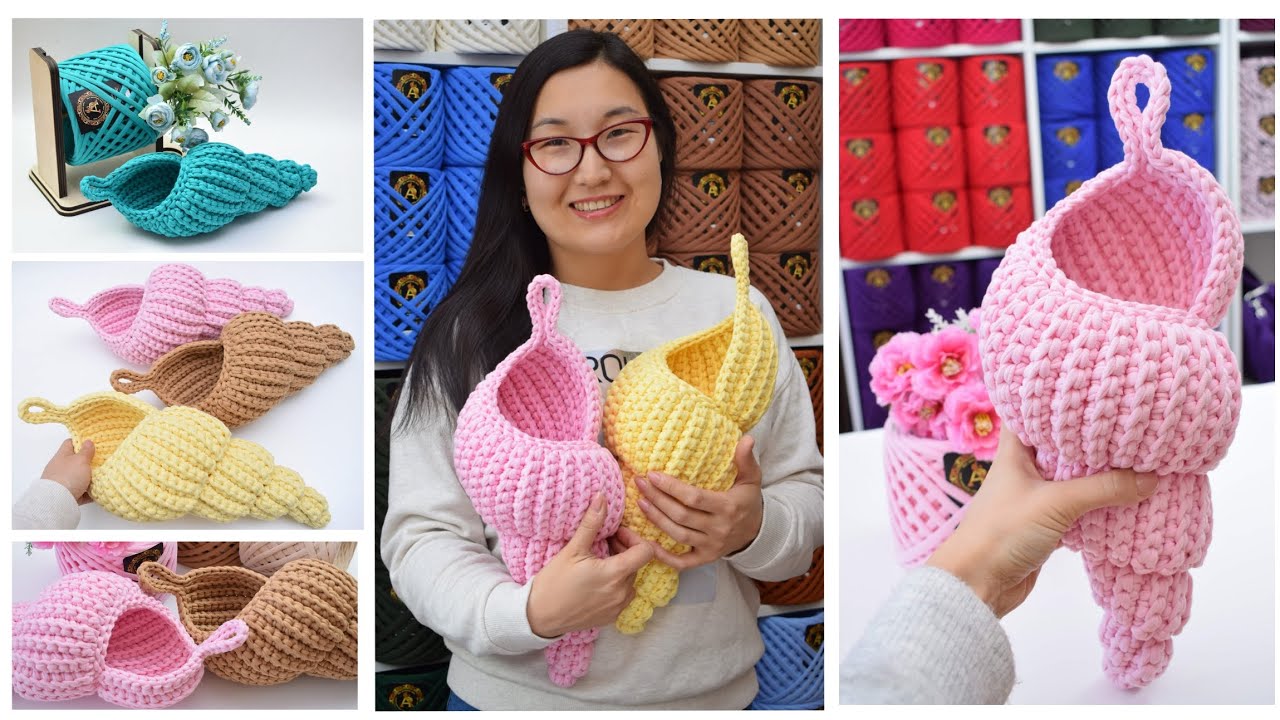
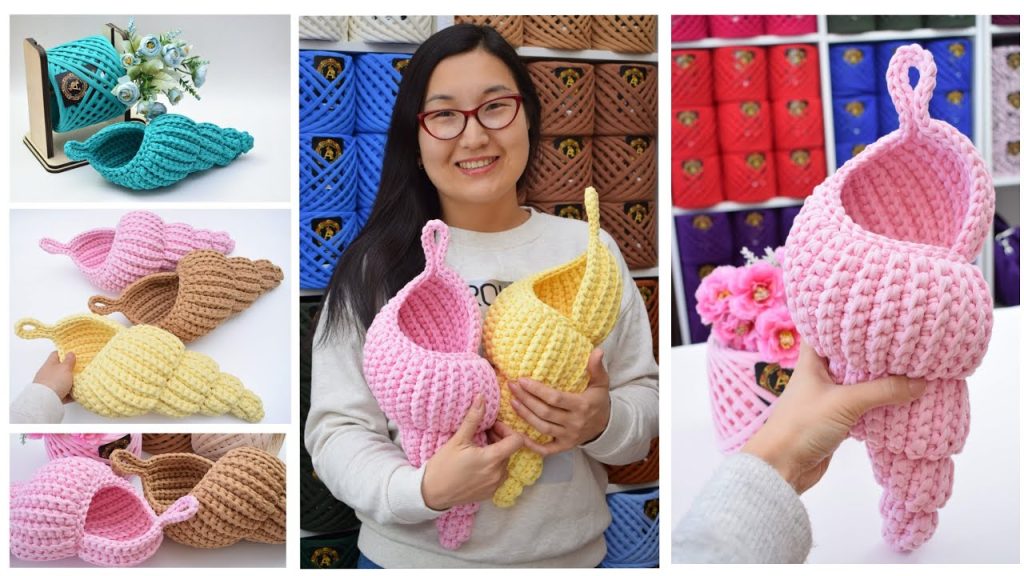
A beautiful, handmade basket is a perfect addition to any home, providing a stylish and functional way to organize everything from blankets and pillows to yarn and toys. The “Seashell Sanctuary” Crochet Basket is a perfect project to create a sturdy and decorative piece, featuring a beautiful, textured stitch that mimics the delicate ridges of a seashell. This unique, two-row repeat pattern is not only a joy to work but also creates a dense, resilient fabric that helps the basket hold its shape beautifully.
This detailed tutorial will guide you through creating this gorgeous basket, from the flat, sturdy oval base to the clean, finished top. It’s an excellent project for any crocheter looking to create a durable and fashionable home decor item with a high-end, handmade feel.
Why Crochet the Seashell Sanctuary Basket?
- Stunning Texture: The “Seashell Cluster” stitch creates a beautiful, tactile surface that is both visually appealing and unique.
- Sturdy & Functional: The dense stitch and thick yarn make the basket incredibly durable and able to hold its shape without needing a separate insert.
- Skill Building: You’ll learn how to create a flat oval base, work in the round, and master a new, impressive stitch.
- Versatile Decor: This basket is perfect for a wide variety of uses, from a plant pot cover to a stylish storage solution.
- High-End Look: The finished basket looks professional and store-bought, making it a great conversation starter.
1. Planning Your Basket: Size & Materials
- Finished Size: The pattern is designed for a versatile basket, approximately 8 inches (20 cm) in diameter at the base and 8 inches (20 cm) tall. You can easily adjust the size by changing your starting chain and the number of rows.
- Yarn Choice: To achieve the sturdy structure of a basket, a firm, sturdy yarn is essential.
- Fiber: Look for a T-shirt yarn, a thick macrame cord, or a strong, chunky cotton yarn.
- Weight: A thick, chunky yarn is necessary for this project. Super Bulky (#6) is a great choice.
- Color: A single, solid color in a neutral tone (like cream, gray, or tan) will best highlight the textured stitch.
- Quantity: You will need approximately 200-300 yards (180-275 meters) of yarn.
2. Materials You’ll Need
- Yarn: Your chosen quantity of a thick, sturdy yarn.
- Crochet Hook: A large hook is essential for working with this chunky yarn. A 10.0 mm (N/P-15 US) or 12.0 mm (O-17 US) hook is recommended.
- Scissors: For cutting yarn.
- Yarn Needle (Tapestry Needle): A large-eyed, blunt-tipped needle for weaving in ends.
- Stitch Markers (Optional): To mark the beginning of rounds.
3. Essential Crochet Stitches & Techniques
- Slip Knot
- Chain (ch)
- Slip Stitch (sl st): For joining and neatening.
- Single Crochet (sc)
- Double Crochet (dc)
- Cluster Stitch: A group of stitches worked together to create a “puffy” cluster.
- Working in Rows and in the Round: The base is worked in rows, and the body of the basket is worked in the round.
4. Let’s Crochet the Seashell Sanctuary Basket!
We’ll start with the base, then work the body in the beautiful textured stitch, and finish with a clean top edge.
Part 1: The Base (Worked in Oval Rounds)
This creates a flat, sturdy foundation for your basket.
- Foundation Chain: Ch 16.
- Round 1: Hdc in the 2nd ch from hook. Hdc in each of the next 13 chs. Work 3 hdc in the last ch (this is the corner). Now, working on the opposite side of the foundation chain, hdc in each of the next 14 stitches. Work 2 hdc in the last stitch. Join with a sl st to the first hdc of the round.
- [33 stitches]
- Round 2: Ch 1 (does not count as a stitch). Work 2 sc in the first stitch. Sc in each of the next 14 stitches. Work 2 sc in each of the next 3 stitches (the corner). Sc in each of the next 14 stitches. Work 2 sc in each of the last 2 stitches. Join with a sl st to the first sc of the round.
- [40 stitches]
- Round 3: Ch 1. Sc in the first stitch. Work 2 sc in the next stitch. Sc in each of the next 15 stitches. Work 2 sc in the next stitch. Sc in the next stitch. Work 2 sc in the next stitch. Sc in the next 16 stitches. Work 2 sc in the next stitch. Sc in the next stitch. Work 2 sc in the last stitch. Join with a sl st to the first sc.
- [48 stitches]
- The base should now be a nice, flat oval. If you want a larger base, continue increasing at the ends of the oval.
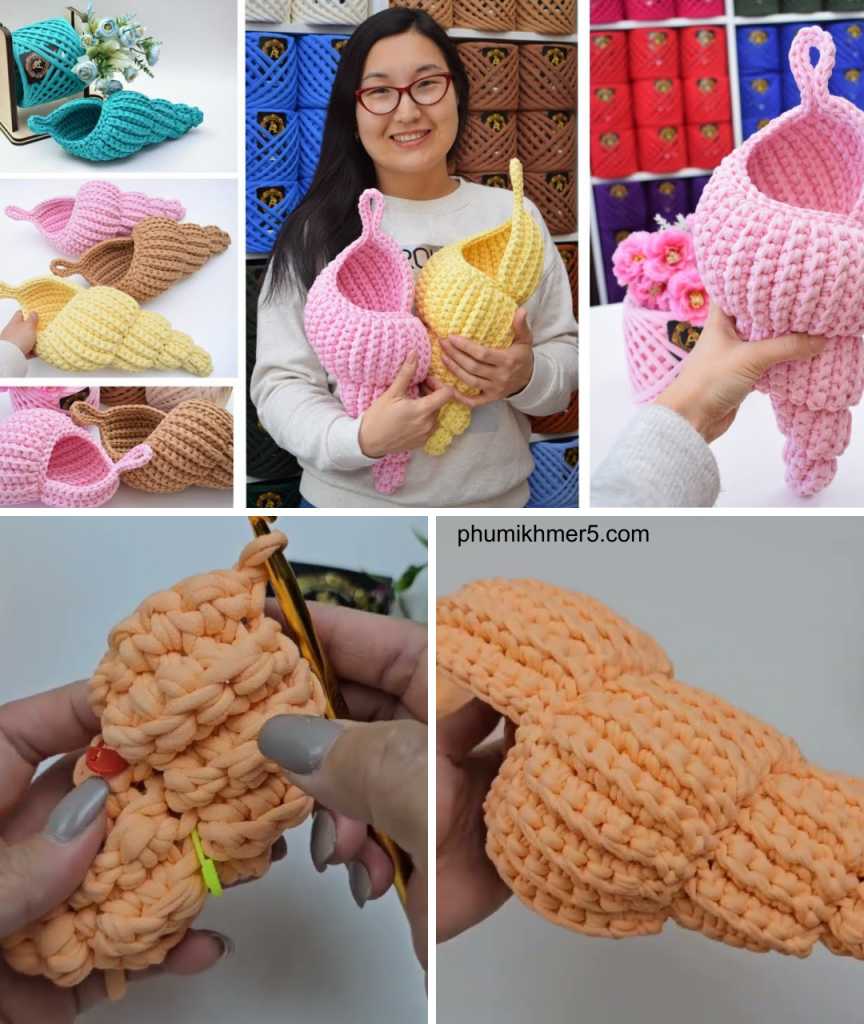
Part 2: The Body (The Seashell Cluster Stitch)
This is where you’ll create the height and the beautiful textured pattern.
- Round 1 (Defining the Edge): Ch 1 (does not count as a stitch). Sc in the back loop only (BLO) of each stitch around. Join with a sl st to the first sc.
- Working in the BLO creates a clean, defined ridge that separates the base from the body, helping the basket stand up straight.
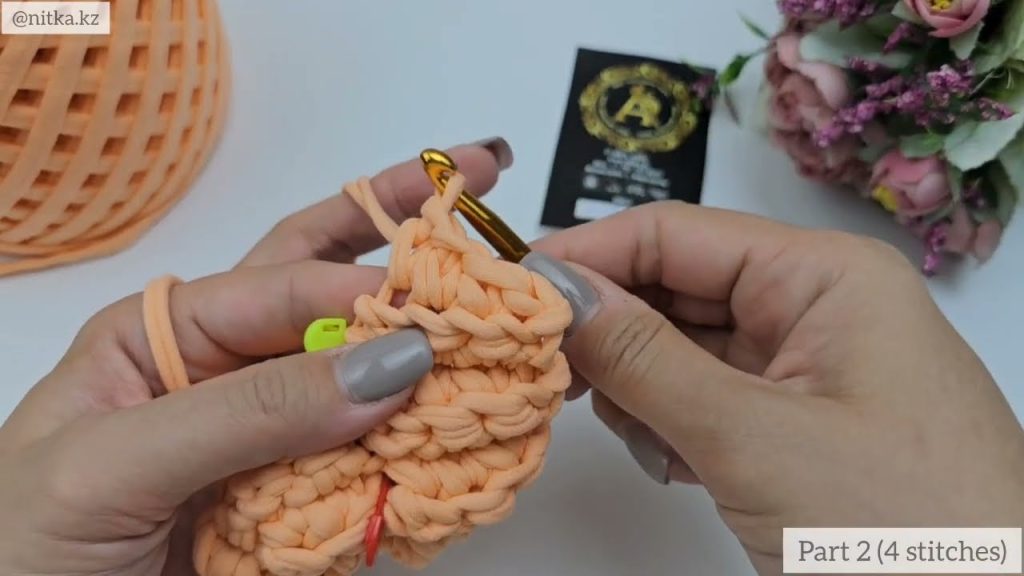
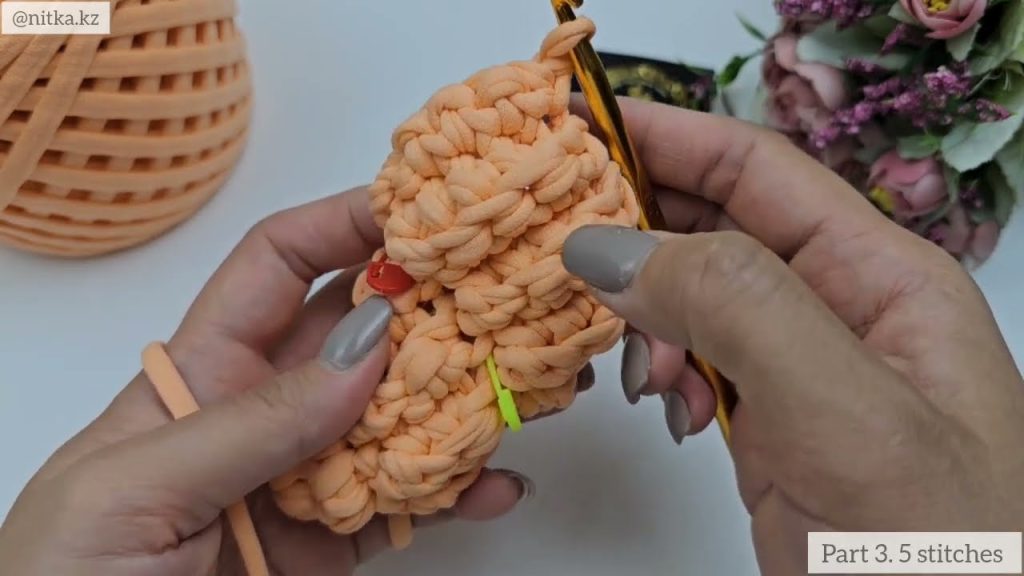
- Round 2 (Shell Cluster Start): Ch 3 (counts as 1 dc). Dc in the same stitch. Skip 2 stitches, work a Shell Cluster (5 dc) in the next stitch. Repeat from * to * around. End with 3 dc in the last stitch. Join with a sl st to the top of the beginning Ch 3.
- Round 3: Ch 3 (counts as 1 dc). Dc in the same stitch. Skip the next 4 dc stitches and work a Shell Cluster (5 dc) in the center dc of the next shell. Repeat from * to * around. End with 3 dc in the last stitch. Join with a sl st to the top of the beginning Ch 3.
- Repeat Round 3: Continue repeating this round until the basket reaches your desired height (for this pattern, about 10-12 rounds total for the body).
- Keep your tension consistent to ensure the texture is uniform.
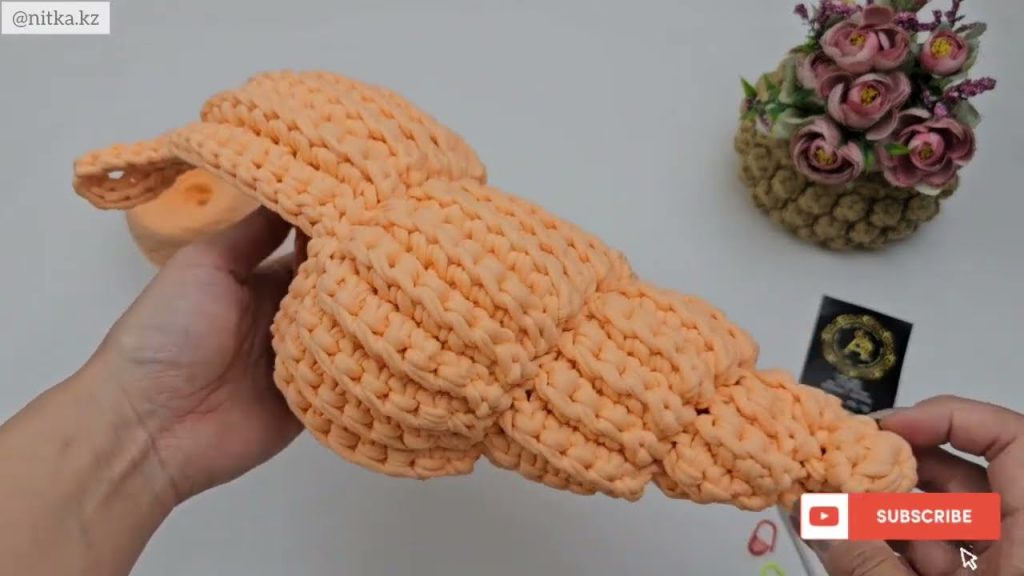
Part 3: The Top Edge and Handles
These final steps ensure a polished and professional look.
- Top Edge: Ch 1 (does not count as a stitch). Work a round of single crochet stitches evenly around the top of the basket. Join with a sl st to the first sc.
- Handles (Optional):
- To create two handles, count 10 stitches in from each side and place a stitch marker.
- Row 1: Sc in each stitch until you reach the first stitch marker. Ch 15 (or your desired length for the handle). Skip all stitches until you reach the next stitch marker. Sc in the next stitch and continue to the end of the round.
- Row 2: Sc in each sc and each ch stitch around to create a solid handle.
- Final Touches: Work a round of slip stitches around the top for a clean edge. Fasten off and weave in all ends securely.
Enjoy your beautiful and unique “Seashell Sanctuary” Crochet Basket. Its elegant texture and handmade charm are sure to be a welcome addition to any space!
Video tutorial:


