
The crochet granny square bag is more than just a passing fad; it’s a testament to the enduring appeal of handmade crafts and the power of online communities. It’s accessible, customizable, and inherently joyful to create. So grab your hook, choose your favorite colors, and get ready to create your own piece of this viral phenomenon!
The Allure of the Granny Square: A Timeless Classic Reimagined
The granny square itself has a storied history, dating back to the late 19th century. Its simple, modular construction and inherent charm have made it a staple in crochet for generations. Initially popular for blankets, afghans, and throws, the granny square faded somewhat from mainstream fashion, often associated with a “vintage” or “homemade” aesthetic.
However, fashion is cyclical, and the rise of cottagecore, vintage aesthetics, and a renewed appreciation for handmade and sustainable fashion have thrust the granny square back into the spotlight. The bag form factor provides a fresh, modern way to incorporate this classic motif into everyday style.
Why This Bag is Going Viral: The Perfect Recipe for Social Media Success
Several factors have converged to make the crochet granny square bag a runaway hit online:
- Visually Stunning & Instantly Recognizable:
- Vibrant Color Play: Granny squares are inherently colorful, making them incredibly eye-catching on feeds. The ability to mix and match an infinite palette of yarns allows for endless visual variety.
- Textural Appeal: The distinct clusters and openwork of the granny square create a rich texture that stands out in photos and videos.
- Nostalgic Appeal: For many, it evokes a sense of comfort, childhood, and a simpler time, resonating deeply across generations.
- Achievable for Everyone (The “I Can Make That!” Factor):
- Beginner-Friendly: A traditional granny square uses only basic stitches (chain, slip stitch, double crochet). New crocheters can easily master the individual squares, gaining confidence quickly.
- Modular Construction: The bag is made from individual squares, which are small, portable projects. This breaks down a seemingly large project into manageable, less intimidating chunks. You can crochet squares on the go, then assemble later.
- Immediate Gratification: Each square is a quick win, fueling motivation to complete the whole bag.
- Endless Customization & Personal Expression:
- Color Schemes: From wild, rainbow “scrapghan” bags using up every yarn remnant, to sophisticated monochromatic designs, or carefully curated color palettes, the possibilities are limitless. This allows for immense personal expression.
- Size & Shape: Adjusting the number and arrangement of squares allows for bags of all sizes—from tiny coin purses to large market totes.
- Handle Variations: Crocheted straps, wooden handles, leather straps, or even simple rope handles completely change the bag’s character.
- Stitch Variations: Beyond the classic, makers are experimenting with solid granny squares, sunburst grannies, or even combining different types within one bag.
- Sustainable & Mindful Crafting:
- In an era of fast fashion, handmade items like the granny square bag represent a move towards sustainability. They are made from durable materials, are built to last, and often utilize yarn scraps, reducing waste.
- The act of crocheting itself is a mindful activity, offering a break from screens and a tangible creative outlet, appealing to those seeking more intentional hobbies.
- Social Media’s Role as a Catalyst:
- Short-Form Video (TikTok/Reels): “How-to” videos showing the quick progression of a granny square or the satisfying process of seaming squares together are highly engaging and shareable.
- Inspiration Boards (Pinterest/Instagram): Users can easily discover, save, and share countless variations and styling ideas for granny square bags, fueling a constant stream of inspiration.
- Community: Online crochet communities thrive on sharing projects, asking for advice, and celebrating finished makes. The granny square bag trend has fostered a massive, supportive global community.
Get Hooked: Making Your Own Viral Granny Square Bag
Ready to join the trend? Here’s a simplified overview of how these bags are typically constructed:
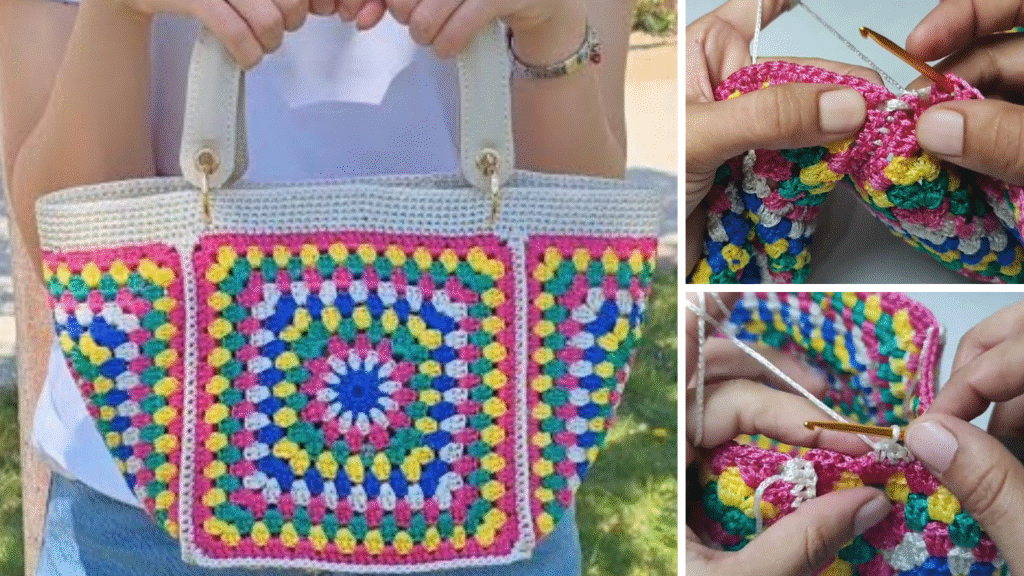
- Choose Your Squares: Decide on the type of granny square (classic is easiest) and your color scheme. You’ll need multiple squares (e.g., 12-16 for a medium tote, plus one for the base).
- Crochet Your Squares: Make each square identically. Weave in ends as you go! This is crucial.
- Layout & Join: Arrange your squares in the desired pattern (e.g., three across for the front/back, two for each side). Use a slip stitch, single crochet, or whip stitch join to connect them into a flat panel, then join the panels to form the bag’s body.
- Add a Base: A common technique is to use one larger granny square or a simple crocheted oval/rectangle for the bag’s bottom, which you’ll seam to the body.
- Top Edging: Crochet a few rounds of single crochet or half double crochet around the top opening of the bag to create a sturdy rim.
- Handles: Crochet simple straps, attach pre-made handles, or even braid some yarn for a rustic look. Sew them securely to the top edge.
- Optional Lining: For extra durability and to prevent stretching, consider adding a fabric lining.
How to Make Your Viral Crochet Granny Square Bag: A Step-by-Step Guide
Making a crochet granny square bag is simpler than you might think, even if you’re a beginner. It involves just three main parts: making the squares, joining them, and adding the finishing touches like a border and handles. Let’s break it down!
What You’ll Need:
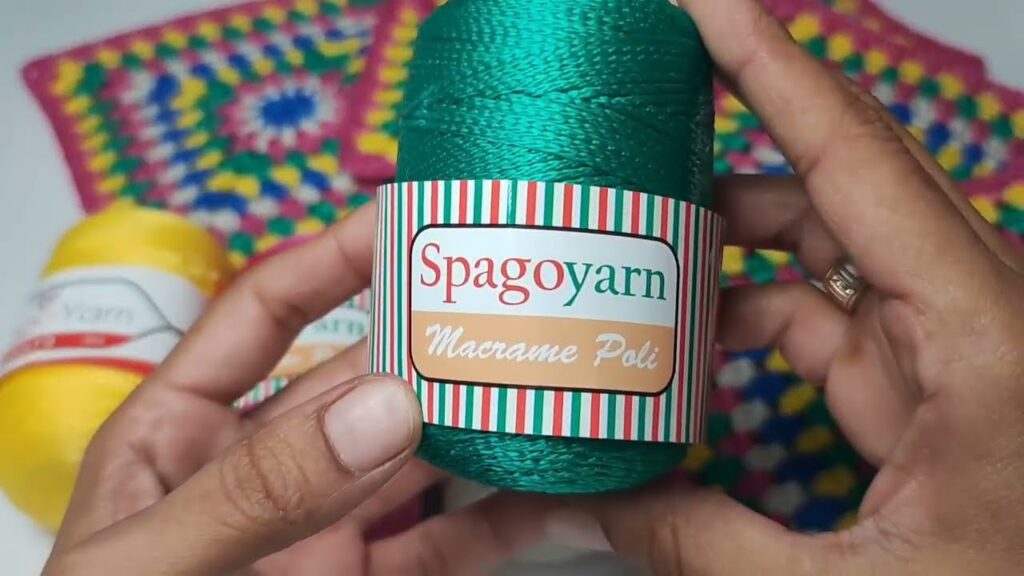
- Yarn: Worsted weight (Category 4) in your chosen colors. Cotton or acrylic are great choices.
- Crochet Hook: 5.0mm (H/8) or 5.5mm (I/9) is a good start for worsted weight.
- Yarn Needle (Tapestry Needle): For weaving in ends and seaming.
- Scissors:
Step 1: Crochet Your Granny Squares
This is the core of your bag. You’ll need to make multiple identical squares – typically 12 to 16 for a medium-sized tote, plus one for the bottom if you want a flat base. Each square should be about 4-5 inches (10-13 cm).
Classic Granny Square Pattern (3 Rounds):
- Round 1 (Center): Make a Magic Ring (or chain 4, slip stitch to first chain to form a ring). Chain 2 (does NOT count as a stitch). Work (3 double crochet (dc)) into the ring. Chain 2. (3 dc) into the ring. Chain 2. Repeat from * 2 more times. Join with a slip stitch (sl st) to the top of the first dc. Pull Magic Ring tail tight to close. (4 groups of 3 dc, 4 chain-2 spaces)
- If you’re changing colors, cut yarn and fasten off here, leaving a tail to weave in.
- Round 2: Attach new yarn (if changing colors) with a sl st into any chain-2 corner space. Chain 2. Work (2 dc, chain 2, 3 dc) into the same chain-2 space (this is your first corner). *Chain 1. Work (3 dc, chain 2, 3 dc) into the next chain-2 space (next corner).* Repeat from * 2 more times. Chain 1. Join with a sl st to the top of the beginning dc. (8 groups of 3 dc, 4 chain-2 spaces, 4 chain-1 spaces)
- Again, fasten off if changing colors.
- Round 3: Attach new yarn (if changing colors) with a sl st into any chain-2 corner space. Chain 2. Work (2 dc, chain 2, 3 dc) into the same chain-2 space. *Chain 1. Work (3 dc) into the next chain-1 space. Chain 1. Work (3 dc, chain 2, 3 dc) into the next chain-2 space.* Repeat from * 2 more times. Chain 1. Work (3 dc) into the last chain-1 space. Chain 1. Join with a sl st to the top of the beginning dc. (12 groups of 3 dc, 4 chain-2 spaces, 8 chain-1 spaces)
- Fasten off, leaving a tail to weave in.
Repeat these steps until you have all your squares. Crucially, weave in all your yarn ends neatly on each square before assembly! This makes the final step much easier and cleaner.
Step 2: Assemble Your Bag
This is where your squares come together to form the bag. A common layout for a medium tote uses 12 squares for the body and 1 for the base.
- Layout Your Squares:
- Body Panels: Arrange 3 squares in a row for the front, another 3 for the back.
- Side Panels: Arrange 2 squares in a row for one side, another 2 for the other side.
- Bottom: Use your last single square for the base.
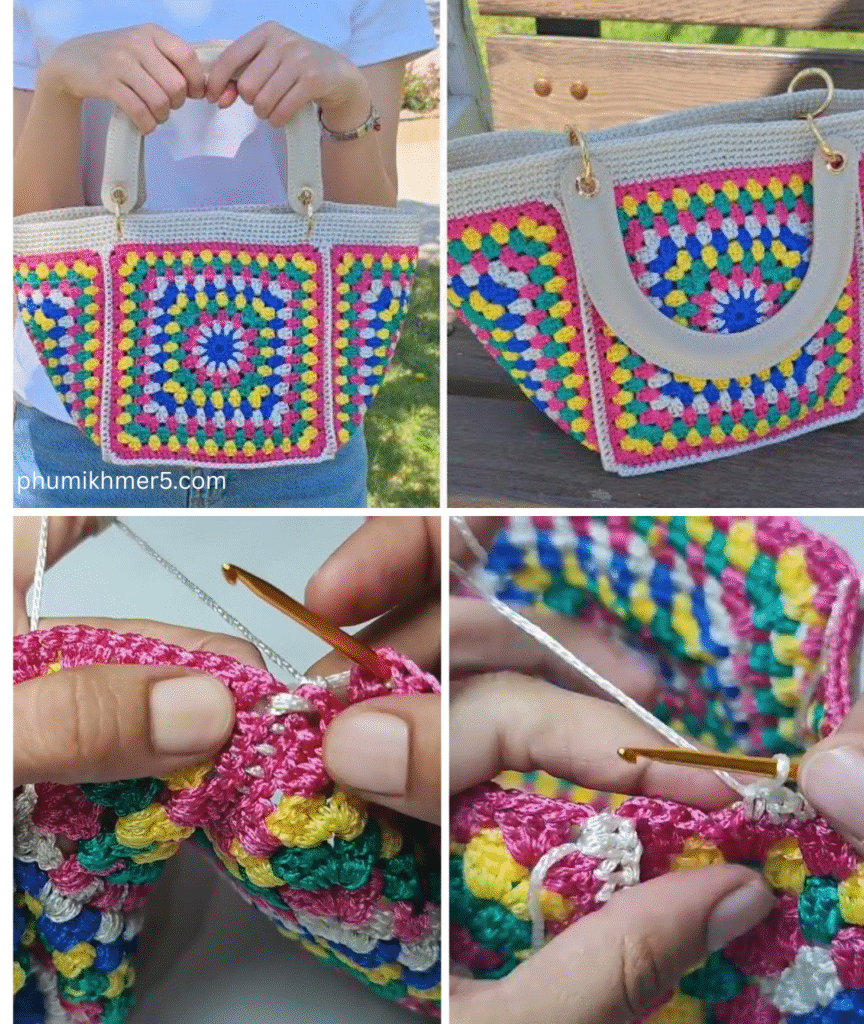
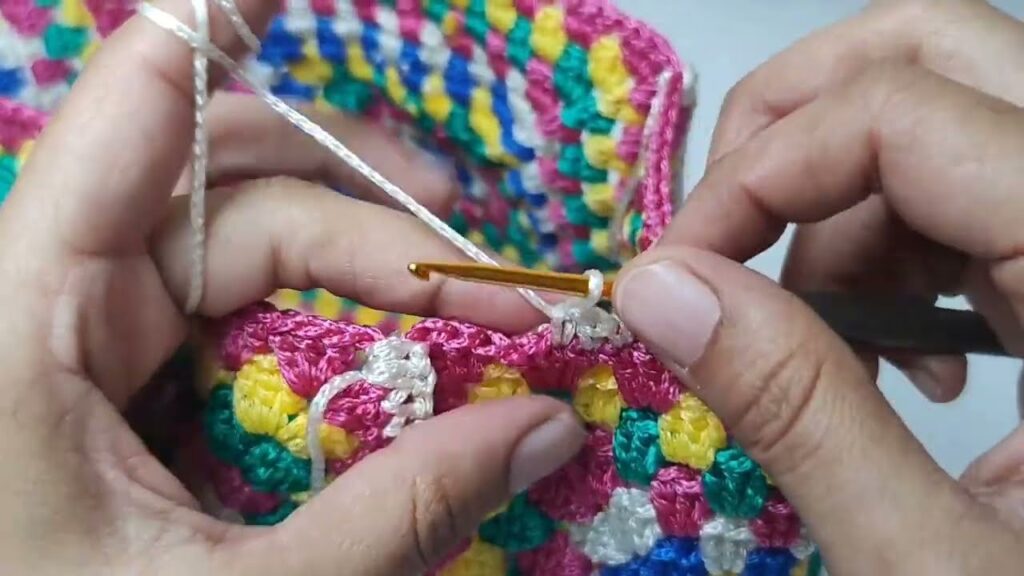
- Join the Squares: You can join squares using a slip stitch join (creates a flat, less visible seam) or a single crochet join (creates a slightly raised, decorative seam). For beginners, the whip stitch with a yarn needle is also very easy and effective.
- Join the 3-square strips: Connect the short edges of 3 squares to make your front and back panels.
- Join the 2-square strips: Do the same for your two side panels.
- Form the Tube: Join the long edges of your panels in this order: Front to Side 1, Side 1 to Back, Back to Side 2, Side 2 to Front. This creates an open “tube.”
- Attach the Bottom: Take your single base square. Align its edges with the bottom opening of your crocheted tube. Carefully join all four sides of the base square to the corresponding edges of the tube, closing off the bottom of the bag.
Step 3: Add the Finishing Touches
Now, to make your bag functional and beautiful!
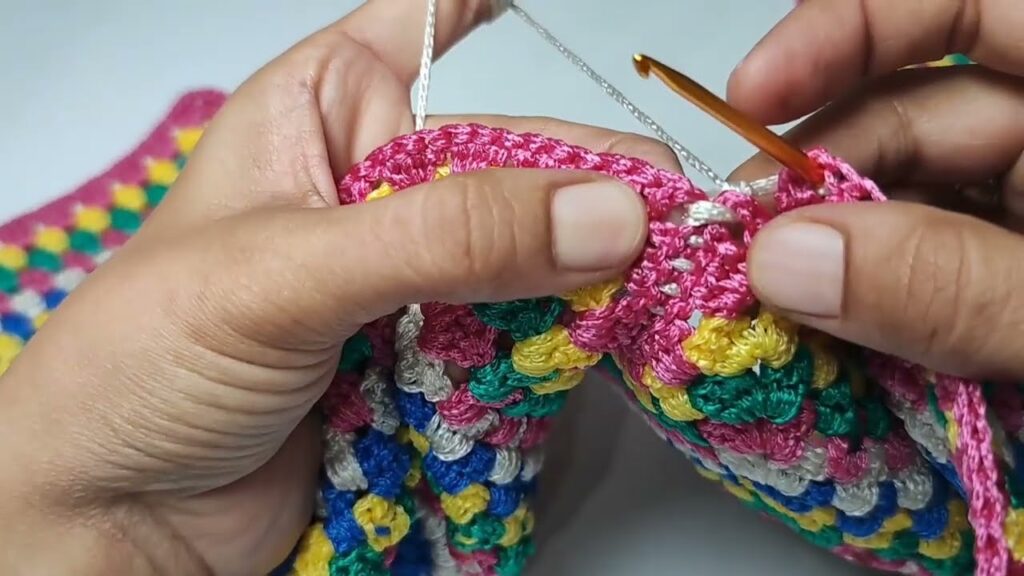
- Top Edging:
- Attach yarn with a sl st to any stitch on the top opening of your bag.
- Chain 1. Single crochet (sc) evenly around the entire top edge. Join with a sl st to the first sc.
- Repeat this sc round 1-2 more times for a sturdy rim. Fasten off.
- Crocheted Handles (Make 2):
- Chain 100 (or desired length for your shoulder/crossbody strap).
- Single crochet (sc) in the 2nd chain from the hook and in each chain across. Turn. (99 sc)
- Chain 1. Sc in each sc across. Fasten off, leaving long tails for sewing.
- Repeat for the second handle.
- Attach Handles: Flatten your bag. Position the ends of one handle over the center of the front panel’s top edge, making sure they are evenly spaced. Use your yarn needle and the long tails to securely sew each end of the strap to the bag. Repeat for the second handle on the back panel.
Step 4: Final Touches
- Weave in All Ends: This is important! Use your yarn needle to neatly hide any remaining loose yarn tails throughout your bag.
- Blocking (Optional but Recommended): Gently mist your finished bag with water. You can stuff it lightly with towels or paper to help it hold its shape, then let it air dry completely. This helps the stitches even out and makes the bag look more polished.
You’ve just created a fantastic crochet granny square bag! It’s an awesome project for practicing key crochet skills and making a stylish accessory.
Video tutorial:


