Crochet squares, especially the classic granny square, are one of the most beloved and versatile projects in the crochet world. Whether you’re dreaming of crafting a cozy blanket, a stylish bag, or colorful home décor, learning how to make crochet squares is a perfect starting point for beginners. In this guide, we’ll walk you through the basics of creating beautiful crochet squares—tools, stitches, patterns, and tips to get you started with confidence and creativity.

🧶 What Are Crochet Squares?
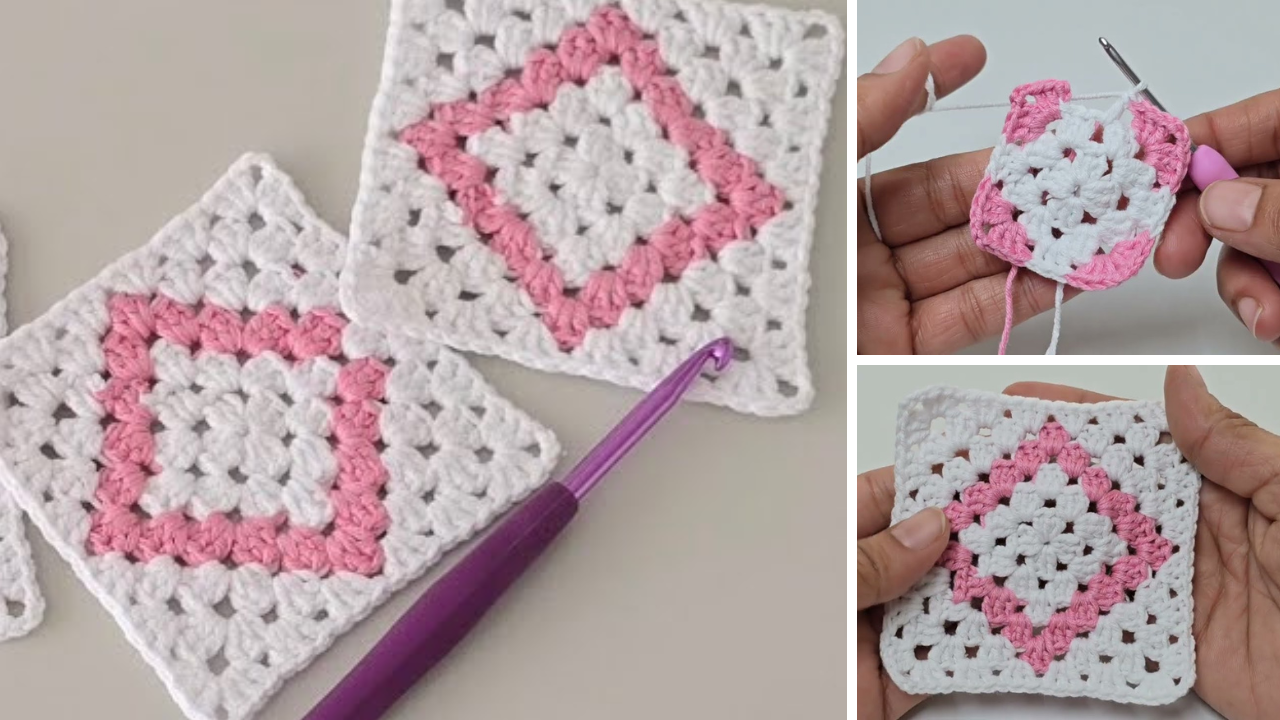
Crochet squares are small motifs—typically square-shaped—that can be stitched individually and then joined together. The most iconic of these is the granny square, but there are many variations involving different stitch patterns and colors.
Crochet squares are great for beginners because:
- They’re small and manageable.
- They use basic stitches.
- They’re portable—ideal for learning on the go.
- They offer instant gratification and room for creativity.
🛠️ Materials You’ll Need
Before you begin, gather the following supplies:
- Yarn: Choose a smooth, medium-weight yarn (worsted weight or category 4). Lighter colors make it easier to see your stitches.
- Crochet Hook: Use the size recommended on your yarn label. For worsted weight, an H/8 (5.0 mm) hook is common.
- Scissors: For trimming yarn.
- Yarn needle: For weaving in the ends.
- Stitch markers (optional): Helpful for marking your rounds or corners.

🧵 Basic Stitches to Learn
You only need a few foundational stitches to begin making crochet squares:
- Chain (ch): A basic loop used to start projects or create spacing.
- Slip Stitch (sl st): Joins rounds or moves your yarn to a new position.
- Single Crochet (sc): A short, tight stitch.
- Double Crochet (dc): A taller stitch often used in granny squares.
- Treble Crochet (tr) (optional): Used in more advanced squares.
There are countless video tutorials online demonstrating each of these stitches—perfect for visual learners.
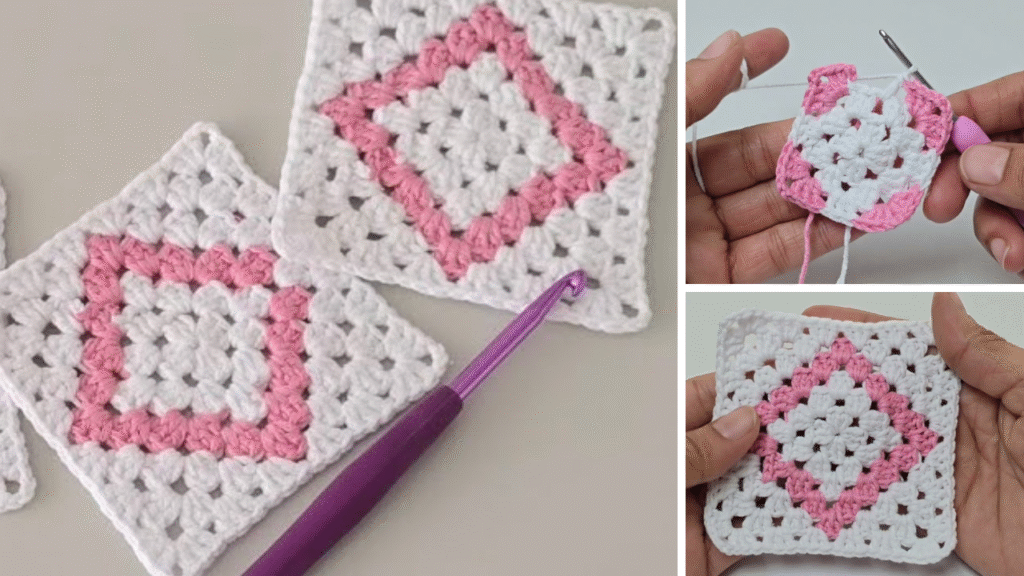
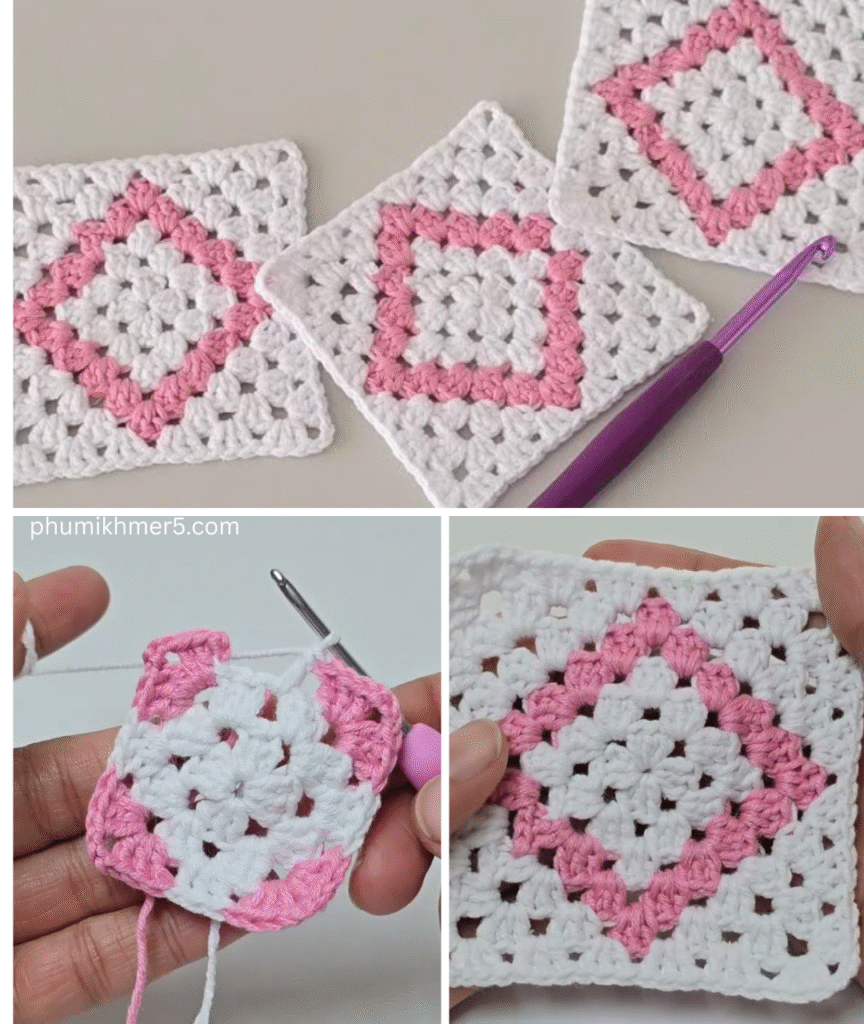
🧩 How to Crochet a Basic Granny Square
Here’s a simple pattern to start with:
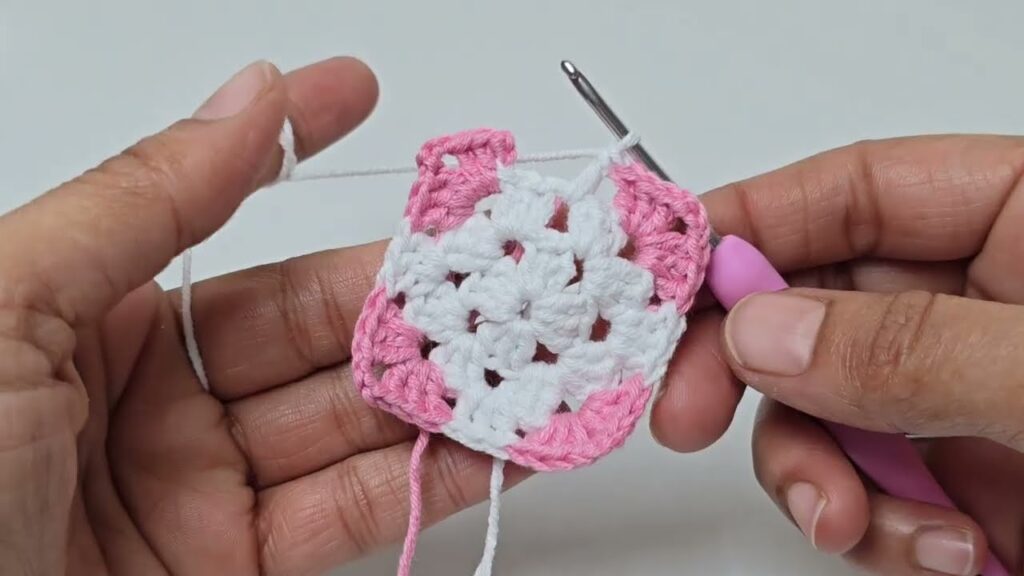
Round 1:
- Chain 4 and join with a slip stitch to form a ring.
- Chain 3 (counts as first dc), 2 dc into the ring, ch 2, 3 dc into the ring—repeat from * two more times.
- Chain 2, join with a sl st to top of beginning ch-3. You’ll have 4 sets of 3 dc clusters separated by ch-2 spaces (the corners).
Round 2:
- Slip stitch to next ch-2 space.
- Chain 3, 2 dc into space, ch 2, 3 dc into same space (first corner).
- Ch 1, in next ch-2 space: 3 dc, ch 2, 3 dc—repeat around.
- End with ch 1, slip stitch to top of beginning ch-3.
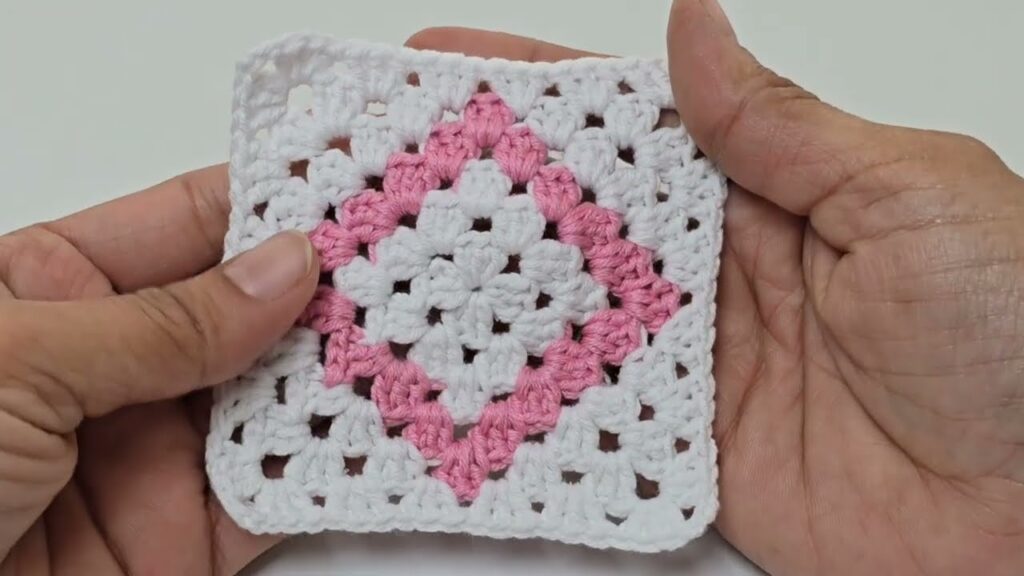
Round 3 (and beyond):
- Continue in the same fashion, working [3 dc, ch 2, 3 dc] in each corner space, and 3 dc in each ch-1 space along the sides. Always ch 1 between clusters on the sides.
💡 Tip: Change yarn colors at the beginning of a new round to add vibrancy.
🎨 Color Combinations & Design Tips
Color is where you can really make your squares beautiful. Here are some ideas:
- Monochrome: Use one color for a minimalist look.
- Multicolor: Change yarn every round for a vibrant square.
- Ombre Effect: Gradually shift from light to dark shades of one color.
- Contrasting Borders: Frame your squares with a bold or neutral border to make them pop.
Use a color wheel to find complementary or analogous color schemes.
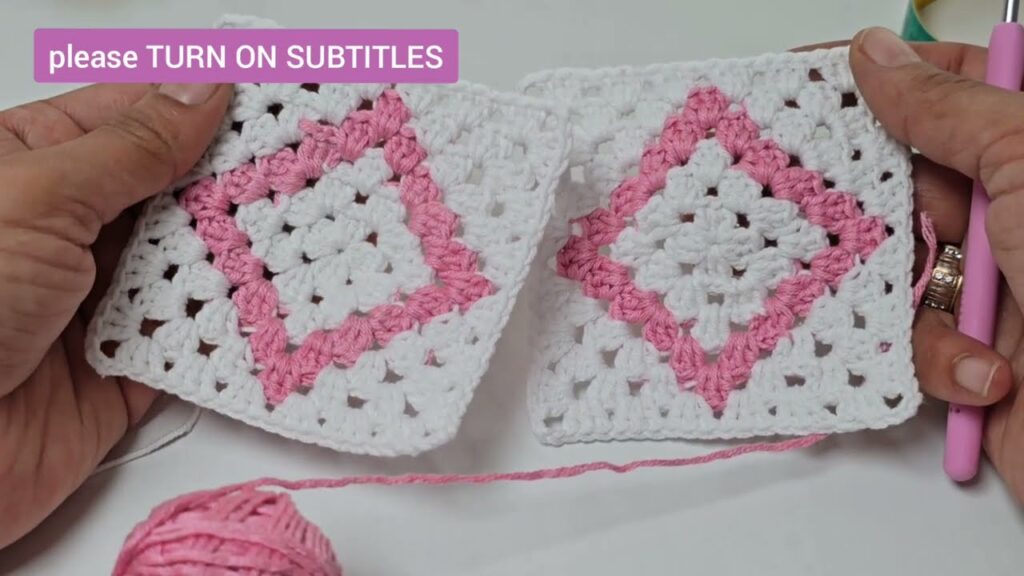
🧷 Joining Crochet Squares
Once you’ve made several squares, you can join them using various methods:
- Slip Stitch Join: Simple and clean-looking.
- Whip Stitch: Done with a yarn needle and invisible from the front.
- Join-As-You-Go: Integrates the joining process during the final round of each square.
🧼 Finishing Touches
- Weave in ends securely with a yarn needle to keep your work neat and long-lasting.
- Block your squares if they look wavy or uneven. Pin them to shape on a foam board and lightly mist with water or steam.
💡 Tips for Beginners
- Practice on scrap yarn before starting a big project.
- Keep your tension even—not too tight, not too loose.
- Count your stitches and corners regularly to maintain a square shape.
- Use stitch markers to mark the beginning of each round or important spaces.
- Watch tutorials—YouTube and crochet blogs are excellent resources.
🧶 Project Ideas Using Crochet Squares
- Granny square blanket
- Pillow covers
- Table runners
- Tote bags
- Scarves or shawls
- Clothing like vests or cardigans
🪡 Final Thoughts
Crochet squares are more than just a beginner’s project—they’re the building blocks for a world of creative possibilities. With just a hook, some yarn, and a bit of practice, you can create stunning pieces that showcase your style and skill. So grab your yarn and start stitching—beautiful squares await!
Video tutorial:


