
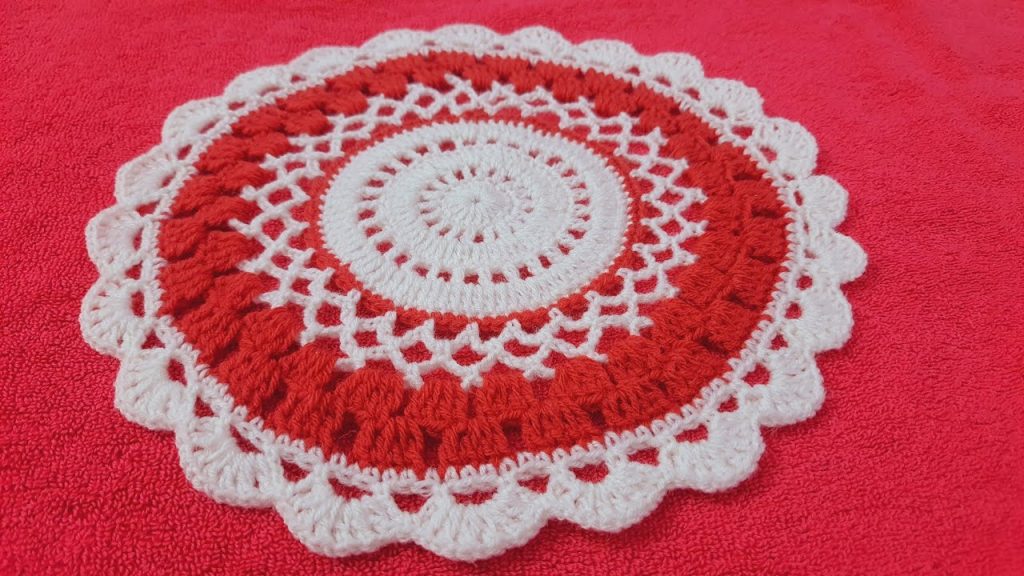
A thalposh is a traditional decorative cloth used to cover plates, trays, or dishes, especially during special occasions, religious events, or when serving guests in South Asian cultures. These covers are not only functional but also reflect elegance and hospitality. When made with crochet, a thalposh becomes a charming fusion of culture and craft—lightweight, decorative, and personalized.
In this article, we’ll guide you through creating a beautiful two-coloured crochet thalposh, from materials and design options to patterns and finishing touches. Whether you’re a beginner or seasoned crocheter, this project is a perfect way to use your creativity.
🌟 Why Make a Crochet Thalposh?
- Adds a personal, handmade touch to your dining table
- Perfect gift idea for weddings, housewarmings, or Eid
- Customizable in size, shape, and colors
- Reusable and washable — better than disposable alternatives
🧵 Materials You Will Need
- Yarn (2 contrasting or complementary colors)
Recommended: Size 3 cotton yarn or mercerized cotton (e.g., Color A and Color B) - Crochet Hook: 3.5 mm – 4 mm (as suitable for your yarn)
- Tapestry Needle: For weaving in ends
- Scissors
- Measuring Tape: To ensure size accuracy
- Optional: Beads or tassels for decoration
🎨 Choosing the Two Colors
You can choose:
- Contrasting Shades: e.g., Red & White, Navy & Gold, Black & Silver
- Pastels: e.g., Peach & Cream, Lavender & White
- Bold Combinations: e.g., Emerald Green & Maroon for traditional flair
Select yarn colors that enhance each other and fit the purpose — festive, religious, or everyday use.
🔷 Basic Design Options
Crochet thalposh can be made in various shapes, with the most popular being:
- Square (traditional)
- Round (elegant and modern)
- Hexagonal (unique and artistic)
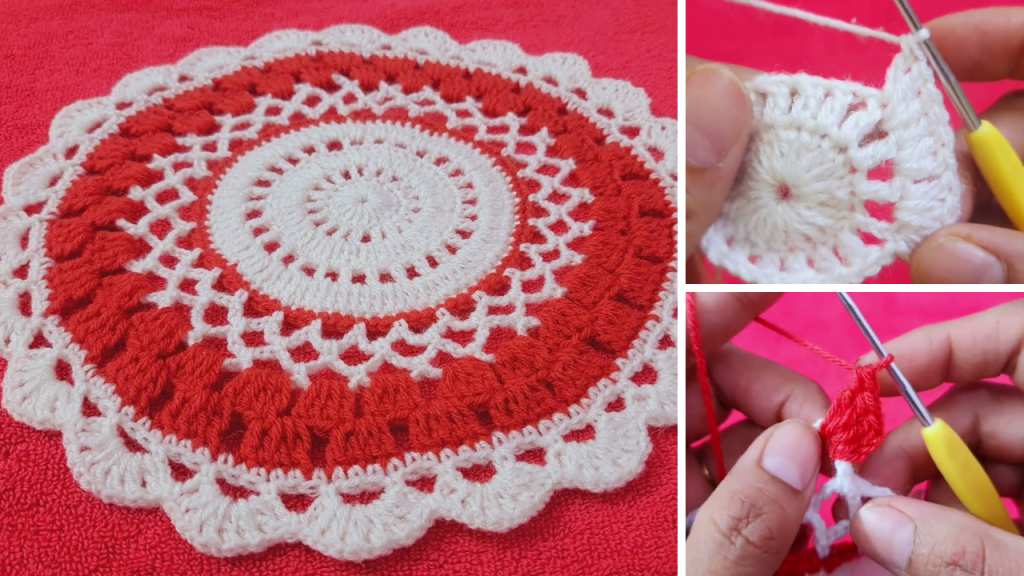
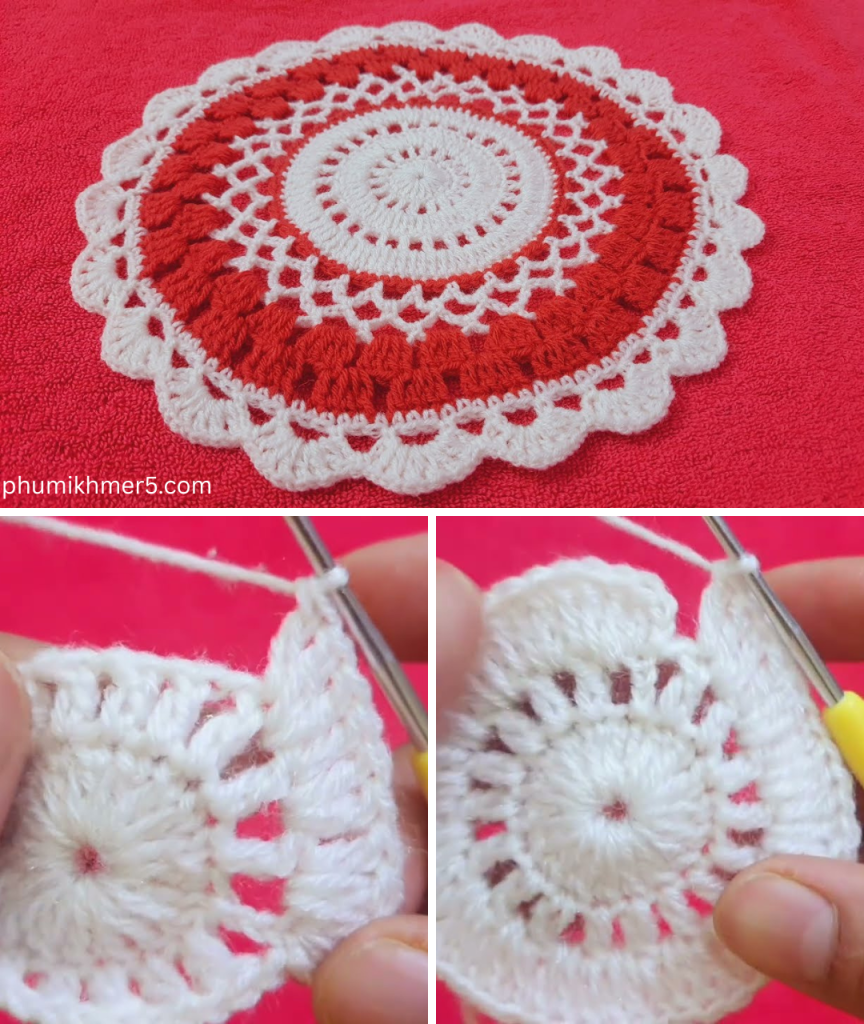
In this guide, we’ll focus on a square-shaped two-colour crochet thalposh using a simple granny square pattern that grows with rounds.
🧶 Step-by-Step Pattern: Easy Two-Coloured Square Thalposh
Finished Size: Approx. 18×18 inches (adjustable)
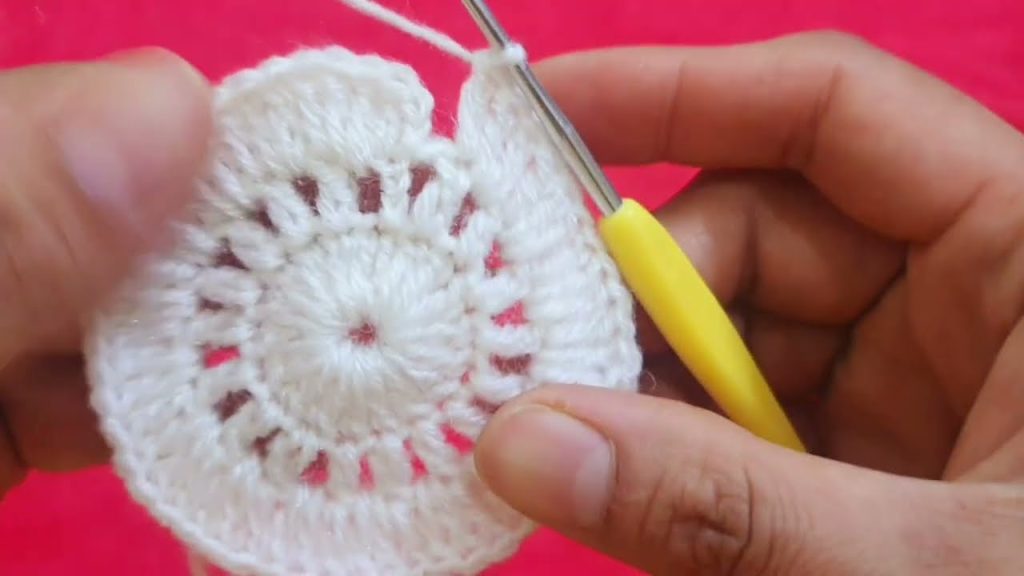
🔸 Step 1: Foundation Ring
- With Color A, make a slip knot and chain 4.
- Join with a slip stitch to form a ring.
🔸 Step 2: First Round
- Ch 3 (counts as 1 dc), work 2 dc into the ring, ch 2, 3 dc into ring — repeat this 3 more times.
- You’ll have 4 sets of 3 dc clusters, with ch-2 corners between.
- Slip stitch into the top of the beginning ch-3 to close.
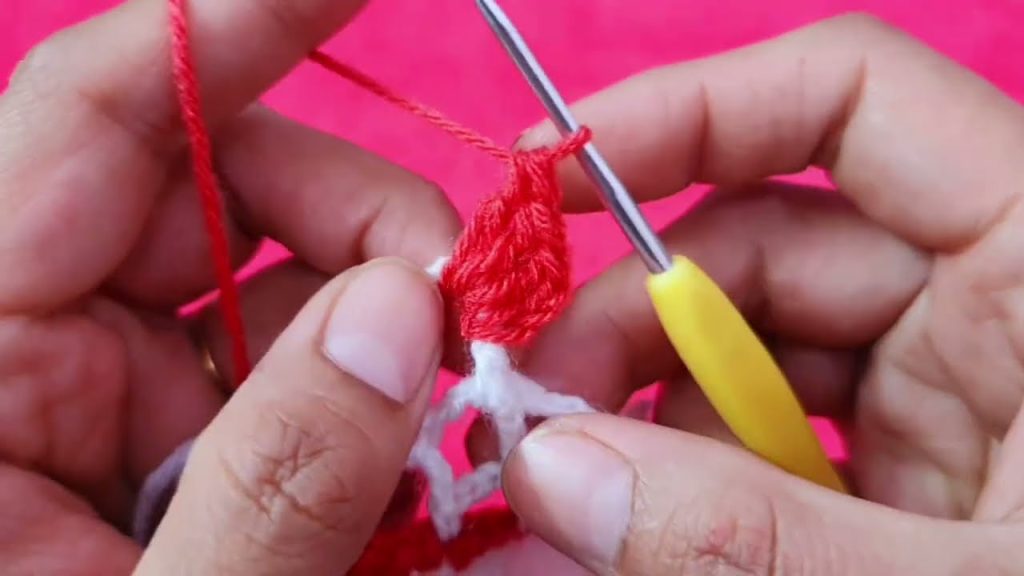
🔸 Step 3: Change to Color B
- Fasten off Color A.
- Attach Color B in any corner space (ch-2 space).
- Ch 3 (counts as 1 dc), 2 dc, ch 2, 3 dc in the same space (corner made).
- In the next ch-2 corner, 3 dc, ch 2, 3 dc — repeat around.
- Join with slip stitch to beginning ch-3.
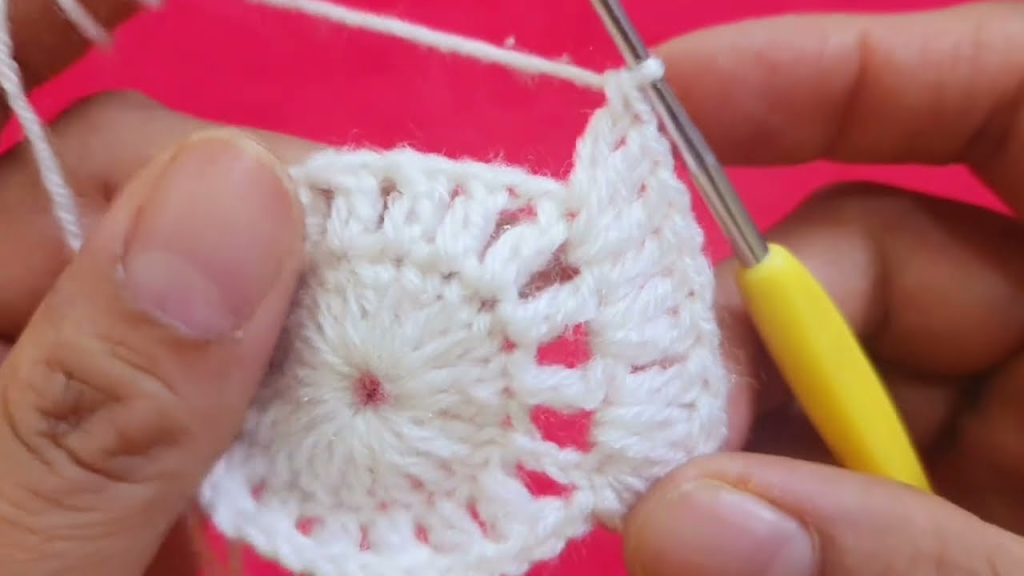
🔸 Step 4: Alternate Colors
- Continue alternating Color A and Color B every round.
- In each corner: 3 dc, ch 2, 3 dc
- In each side space: 3 dc
Continue until you reach your desired size. Most thalposh pieces have around 10 to 12 rounds.
✨ Finishing Touches
▪ Edging
Add a beautiful border using one of the colors:
- Shell Edging: (5 dc in one stitch, skip 1, sl st in next) – repeat around
- Picot Edging: (Sc in next stitch, ch 3, sl st in same stitch)
▪ Blocking
To make your thalposh lay flat and look professional:
- Lightly steam or wet block it on a flat surface, pinning edges to shape.
▪ Optional Decor
- Sew tiny beads or pearls along the border
- Attach tassels or crochet flowers at the corners
- Embroider initials in the center for gifting
🧼 Care Instructions
- Hand wash gently in cold water
- Lay flat to dry
- Store folded or rolled — avoid hanging to maintain shape
❤️ Final Thoughts
A two-coloured crochet thalposh is more than just a functional kitchen accessory—it’s a beautiful representation of tradition, creativity, and care. Whether you’re making it for yourself, for a festive occasion, or as a heartfelt gift, this project is satisfying and accessible even for beginners.
🌸 Bonus Tip:
You can also make matching coasters or tray mats using the same granny square pattern — creating a full set of handmade table decor!
Video tutorial:


