Crocheting baby booties is one of the most beloved and rewarding projects in the world of yarn crafts. Whether you’re expecting a new addition to the family, looking for a thoughtful handmade gift, or building your crochet skills, baby booties are a perfect project. Small, quick, and endlessly customizable, these tiny shoes are filled with charm—and they don’t require advanced skills to make.
This guide will walk you through everything you need to know about easy crochet baby booties: their history, benefits, materials needed, beginner-friendly patterns, and helpful tips to perfect your creation.

🧵 What Are Crochet Baby Booties?
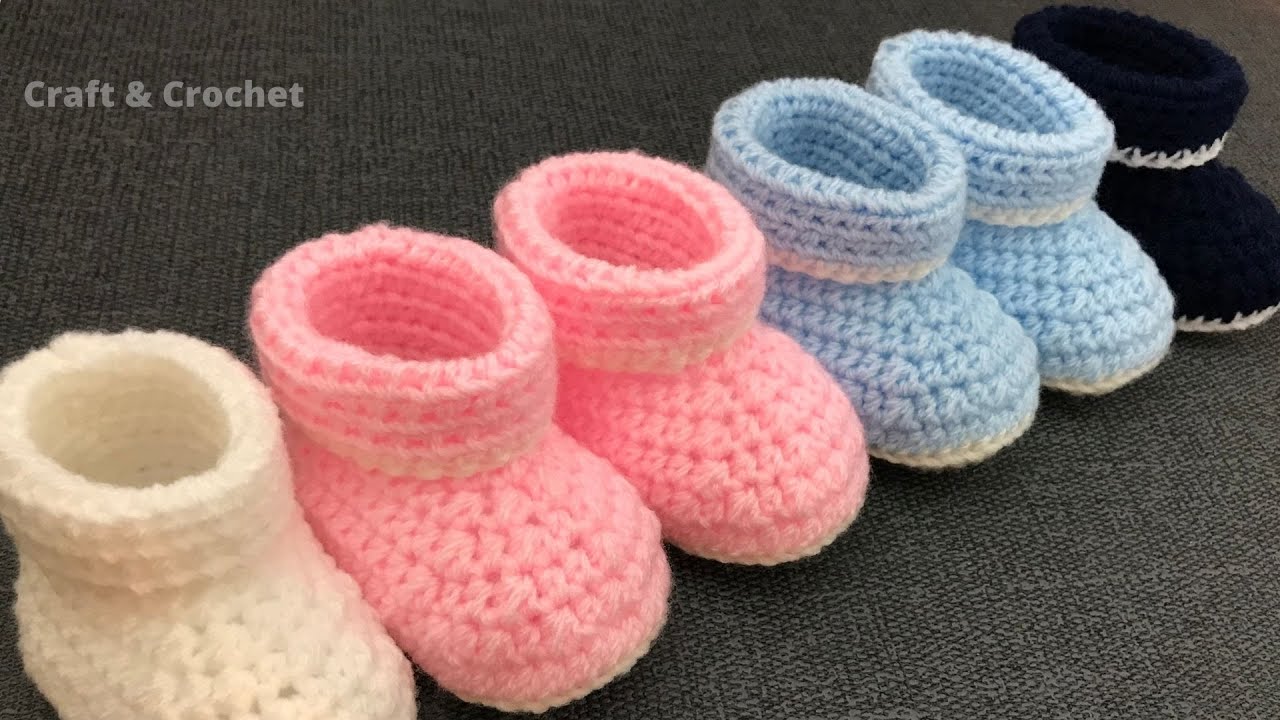
Crochet baby booties are small, soft shoes created using yarn and a crochet hook, designed to fit snugly on a baby’s feet. Unlike commercial baby shoes, crochet booties are lightweight, breathable, and can be customized in countless ways with colors, embellishments, and patterns.
They are ideal for newborns and infants aged 0–12 months. Booties can keep little toes warm, add a layer of comfort, or serve as keepsakes cherished for years to come.
📜 A Brief History
The art of crochet dates back to the 1800s in Europe and has long been used to create baby garments due to its softness and warmth. Baby booties became especially popular during the Victorian era, when handcrafting was a sign of love and devotion. Over the years, they have become one of the most popular handmade gifts for baby showers and holidays.
🎁 Why Make Crochet Baby Booties?
Here are a few reasons why crochet baby booties remain a favorite project:
✓ Fast and Beginner-Friendly
They typically take just 1–2 hours to complete, making them ideal for quick projects or last-minute gifts.
✓ Adorable and Customizable
Choose your own colors, stitch patterns, and embellishments to suit any theme or season.
✓ Economical
They require very little yarn—often less than 50g per pair.
✓ Meaningful Gifts
Handmade items carry emotional value, making booties perfect for baby showers, christenings, or keepsakes.
✓ Skill Building
They are an excellent way to learn shaping, increasing/decreasing stitches, and working in the round.
🧶 Materials Needed
Before you get started, gather these supplies:
| Item | Description |
|---|---|
| Yarn | Soft, baby-safe yarn (usually DK or sport weight; acrylic or cotton blends) |
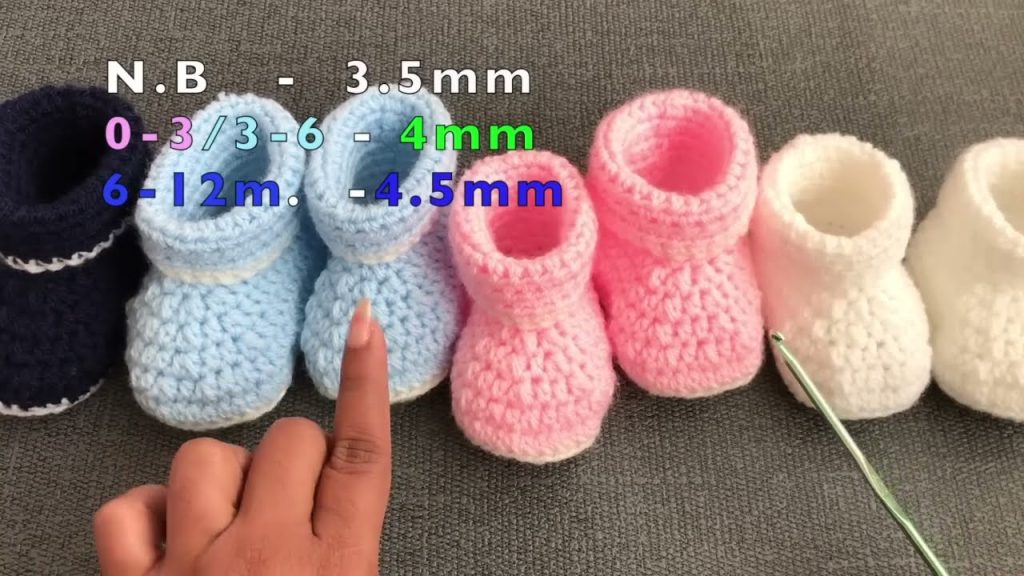
| Hook | 3.5mm to 4.5mm (check your yarn label for guidance) |
| Tapestry Needle | For sewing and weaving in ends |
| Scissors | For cutting yarn |
| Stitch Markers | Helpful for tracking rounds |
| Optional | Buttons, ribbons, or appliqués for decoration |
📏 Sizing Guide
Crochet baby booties can be made in different sizes depending on the age. Here’s a rough guide:
| Age | Sole Length |
|---|---|
| 0–3 months | 3.5″ / 9 cm |
| 3–6 months | 4″ / 10 cm |
| 6–9 months | 4.5″ / 11.5 cm |
| 9–12 months | 5″ / 12.5 cm |
You can adjust hook size and yarn weight to achieve the right fit.
✨ Easy Crochet Baby Booties – Step-by-Step Pattern
Here’s a basic and easy-to-follow pattern for classic baby booties, suitable for newborns (0–3 months).
💡 Stitches Used:
- CH – Chain
- SC – Single Crochet
- HDC – Half Double Crochet
- DC – Double Crochet
- SL ST – Slip Stitch
- INC – Increase (2 stitches in one stitch)
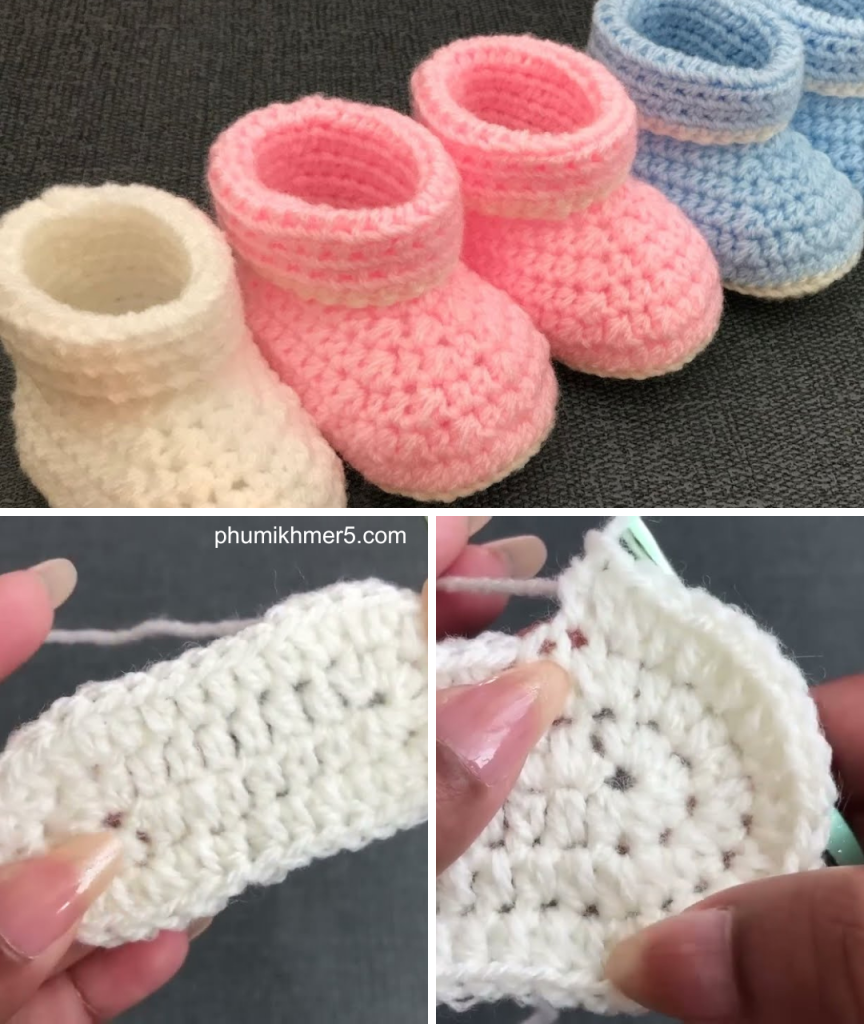
🧵 Step 1: Make the Sole
Foundation Chain:
Chain 11.
Row 1:
In 2nd chain from hook, work 2 SC. SC in next 8 stitches. Work 4 SC in last chain. Now work on the opposite side of the chain: SC in next 8 stitches, 2 SC in last stitch. (24 stitches)
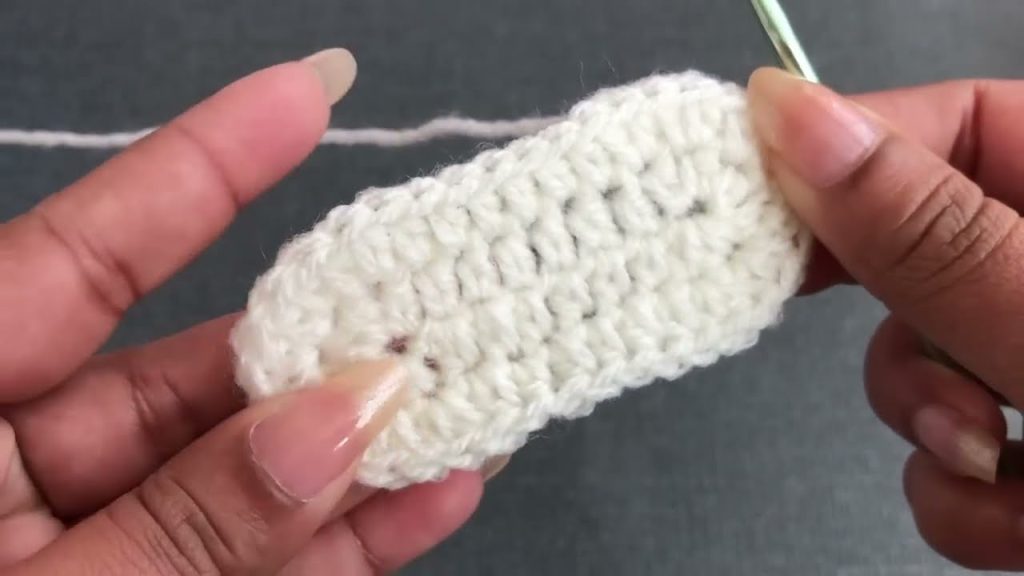
Row 2:
2 SC in first stitch. SC in next 8. 2 SC in each of the next 4 stitches. SC in next 8. 2 SC in last 2 stitches. (32 stitches)
Row 3:
SC around evenly to reinforce the sole (32 stitches). Do not fasten off.
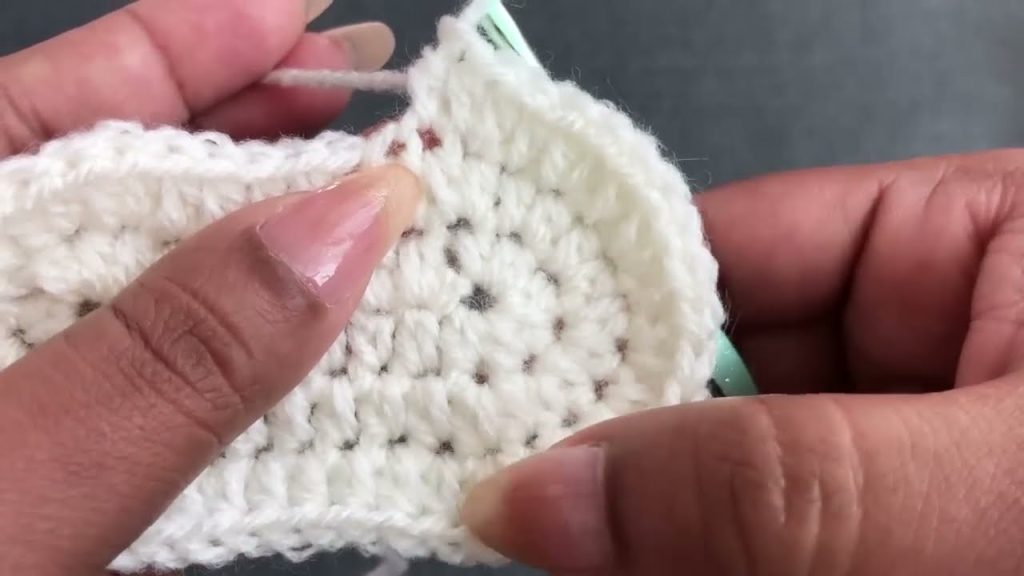
🧵 Step 2: Create the Upper
Round 1:
Working in the back loops only, SC in each stitch around. (32 SC)
This helps the upper part stand up from the sole.
Rounds 2–4:
SC in each stitch around (in both loops). At the end of Round 4, mark the center front of the bootie with a stitch marker.
🧵 Step 3: Shape the Toe
Round 5:
SC in next 11, then work the following decrease sequence:
(SC2TOG, SC) repeat 4 times (this forms the toe shape), SC in last 9. (28 stitches)
Round 6:
SC in next 11, then (SC2TOG) repeat 4 times, SC in last 9. (24 stitches)
🧵 Step 4: Finish the Cuff
Round 7:
SC around.
Rounds 8–10:
You can switch to HDC or DC to make the cuff taller or use a ribbing pattern for added stretch. Fasten off and weave in ends.
🎀 Optional Embellishments
- Buttons: Add a decorative button to the side.
- Bows or Ribbons: Sew onto the front toe area.
- Appliqué: Crochet a heart or star and sew it on.
- Pom-poms: Add playful flair to the cuff or toe.
🎨 Design Variations
Once you master the basic pattern, try out these creative versions:
| Style | Description |
|---|---|
| Mary Janes | Add a strap and button for a classic girl’s shoe look |
| Loafers | Use a rectangular tongue and stitching detail for a “mini moccasin” |
| Bunny Booties | Add ears and a little tail for an animal-themed gift |
| Slipper Style | Keep the cuff short for easy on-off |
🧼 Caring for Crochet Baby Booties
- Machine Washable Yarn: Use soft acrylic or cotton blends that can be washed easily.
- Hand Wash for Wool: If you use wool or specialty yarn, hand wash and lay flat to dry.
- Avoid Harsh Chemicals: Baby skin is delicate—use gentle detergent only.
💡 Tips for Success
- Gauge Matters: Always check your gauge and measure the sole to ensure a proper fit.
- Use Soft Yarn: Baby skin is sensitive—avoid scratchy or heavily textured yarns.
- Count Carefully: Use stitch markers if needed, especially around the toe shaping.
- Make Two Identical: Always count stitches and rounds carefully on the second bootie.
🎁 Gifting Ideas
- Baby Shower Set: Pair booties with a matching hat and blanket.
- Keepsake Box: Present in a hand-decorated box with baby’s initials.
- Holiday Themed: Red and green booties for Christmas, or pastel shades for Easter.
🧶 Conclusion
Crochet baby booties are a classic, heartwarming project that brings joy to both the maker and the recipient. With just a bit of yarn, time, and care, you can create something that’s not only adorable but also filled with meaning. Whether you follow a basic pattern or add your own creative twist, these tiny treasures are always a big hit.
So grab your hook, choose your yarn, and start stitching love into every little loop!
Video tutorial:


