
In the modern world of fast-paced living and minimalist fashion, simplicity has become more than just a trend—it’s a lifestyle. Among the many accessories that blend functionality with aesthetics, the pouch wallet stands out as a symbol of effortless elegance. Whether you’re running errands, traveling, or stepping out for a quick coffee, the simple and easy pouch wallet is the perfect companion.
This article will explore what makes the pouch wallet so appealing, its various types and uses, and how you can choose (or even create!) the right one for your needs.
🌟 What Is a Pouch Wallet?
A pouch wallet is a small, often zippered or buttoned fabric or leather case designed to hold your daily essentials—cash, cards, coins, and sometimes even small items like keys or lipstick. Unlike traditional wallets that are folded or bulky, pouch wallets are:
- Flat and compact
- Lightweight and portable
- Stylishly simple
They often come with minimalist designs, making them perfect for both men and women who prefer functionality without compromising on aesthetics.
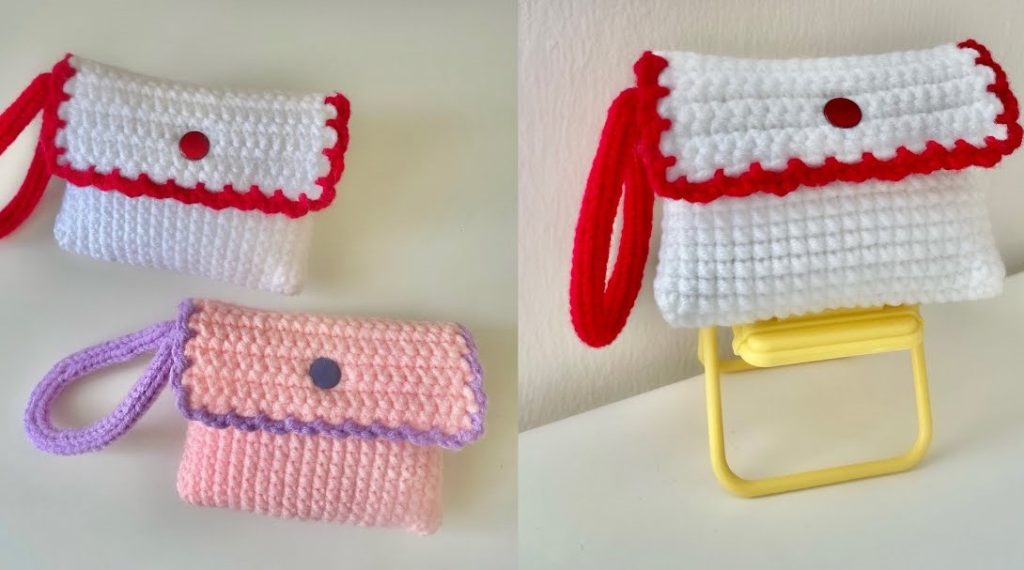
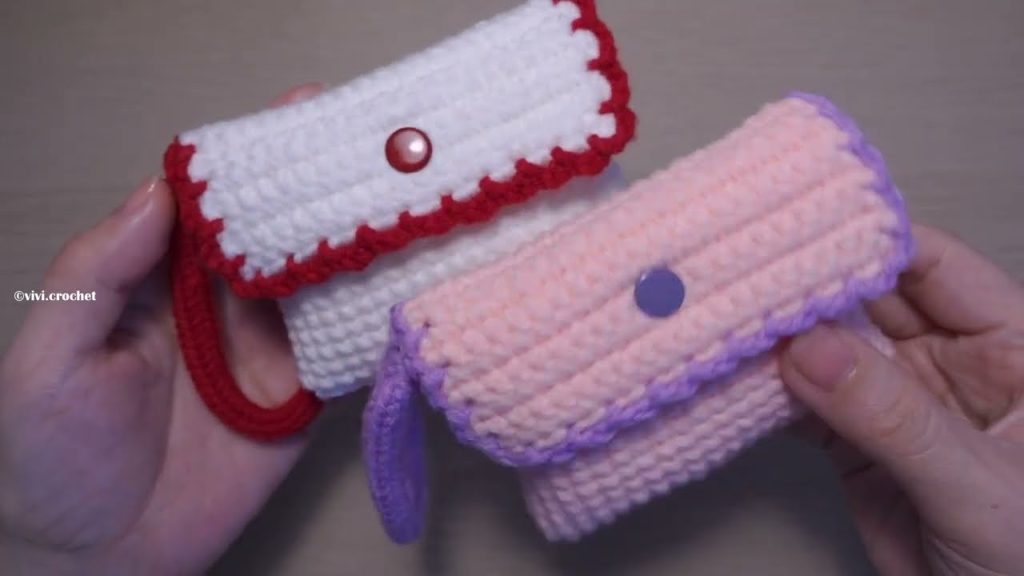
🧶 Simple and Easy Crochet Pouch Wallet ✨
Beginner-Friendly Tutorial
This project is great for using scrap yarn, gifting, or organizing small items like coins, lip balm, or cards. It takes minimal time and materials.
🧵 Materials You’ll Need:
| Item | Notes |
|---|---|
| Yarn | Medium weight yarn (worsted/size 4 works well) |
| Crochet hook | Size H/5mm or suitable for your yarn |
| Scissors | For trimming ends |
| Tapestry needle | To weave in ends |
| Button or snap | Optional, for closure |
| Stitch marker | Optional, to track rounds |
📏 Finished Size:
About 4″ x 3″ (can be customized).
🧵 Step-by-Step Instructions
✅ Skill Level: Beginner
Stitches used:
- ch = chain
- sc = single crochet
- sl st = slip stitch
- inc = increase (2 sc in one stitch)
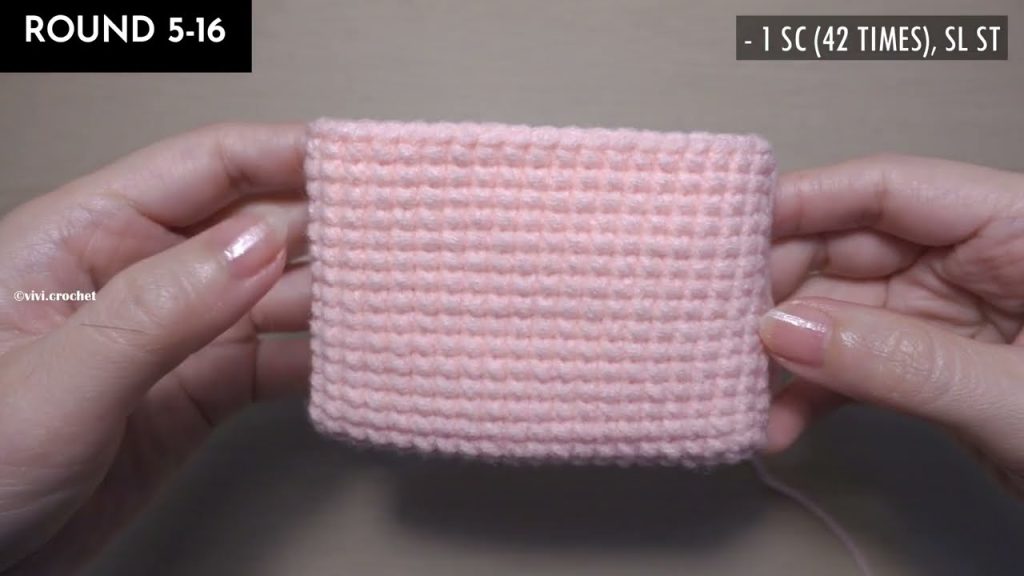
🪄 Step 1: Create the Base
We’ll start by crocheting a flat rectangle (or oval) that forms the base of the pouch.
Chain 16 (or adjust for your desired width)
Row 1: Sc in 2nd ch from hook and across (15 sc).
Chain 1, turn.
Row 2–10: Sc in each st across.
(You should now have a rectangle approx. 4” wide x 2.5” tall)
📝 You can add or subtract rows to make it taller or shorter.
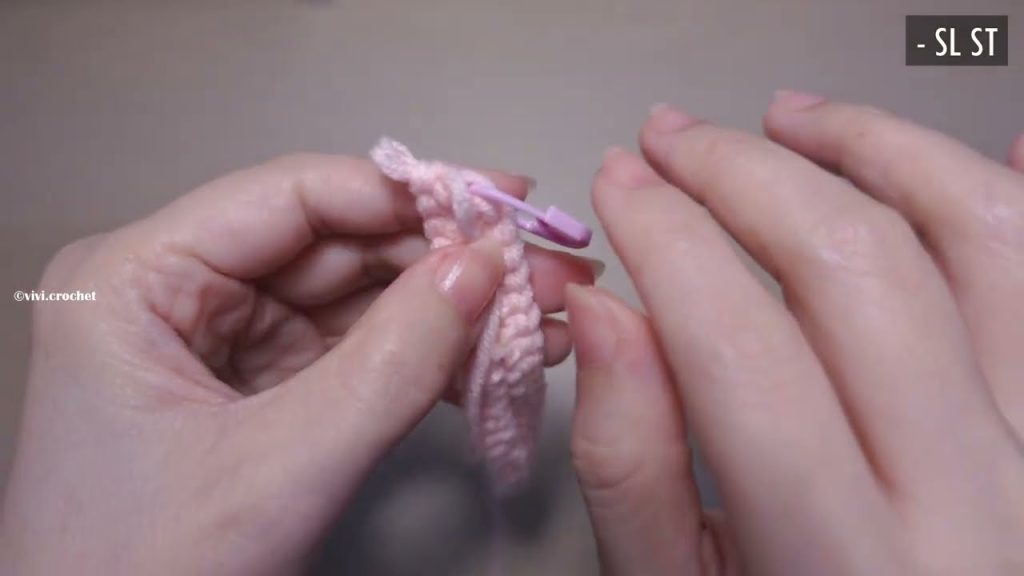
🪡 Step 2: Fold and Seam the Sides
- Fold your rectangle in half with the short sides touching.
- Use slip stitch or whip stitch along both sides to join them. You now have a small pocket!
🌟 Step 3: Add a Flap (Optional but cute)
From the top of the back panel:
Join yarn to one corner at the top opening.
Row 1: Sc across top edge (about 15 sc), ch 1, turn.
Row 2: Dec 1 (sc2tog), sc across to last 2 sts, dec 1. Ch 1, turn.
Repeat Row 2 until 3 sts remain.
Row 6: Sc3tog to make a point. Fasten off.
Optional: Chain a button loop before fastening off (e.g., chain 5, sl st to same stitch).
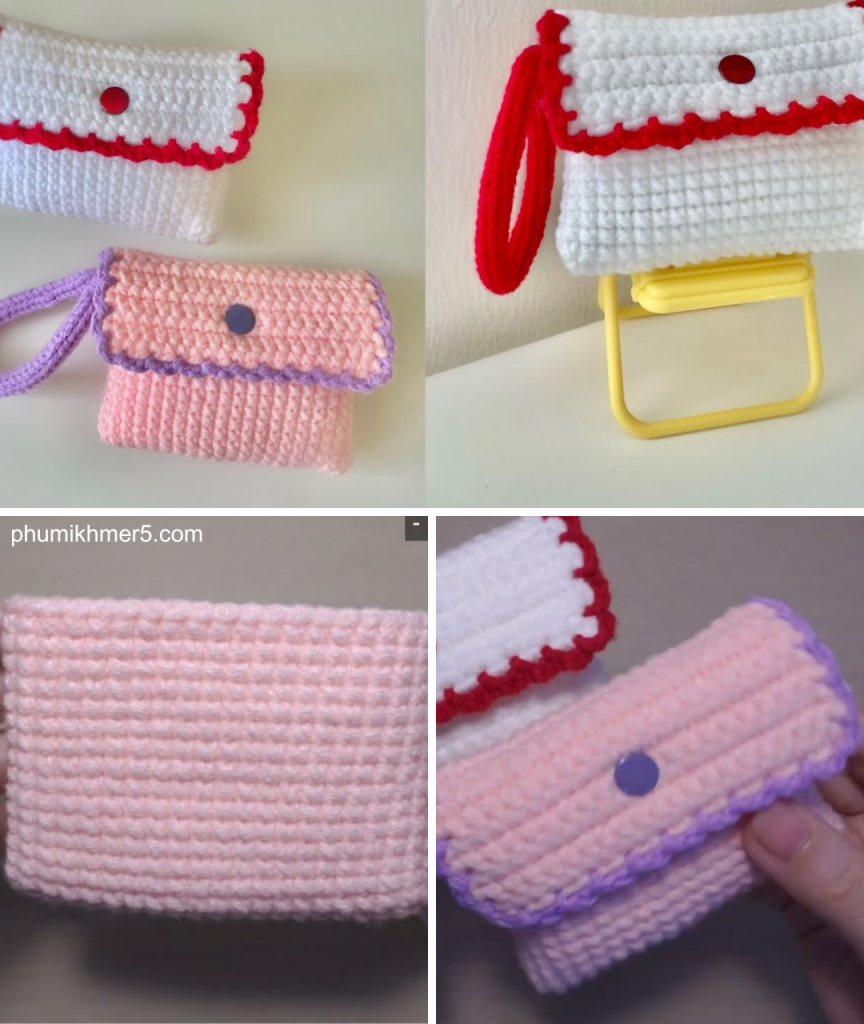
🎀 Step 4: Add a Closure (Optional)
- Button: Sew onto the front side of the pouch under the flap.
- Snap or Velcro: Attach with glue or sew in place.
- Drawstring: Instead of a flap, weave a chain through the top row for a mini drawstring pouch.
🧹 Step 5: Weave in Ends
Use your tapestry needle to hide all yarn tails neatly on the inside.
🎉 Done!
You’ve just made a simple and easy crochet pouch wallet ✨ — cute, functional, and handmade by you!
🌈 Final Thoughts
The simple and easy pouch wallet is a brilliant example of how everyday items can be both practical and stylish. It speaks to the modern desire for minimalism, functionality, and beauty—all in one small, handheld accessory.
Whether you’re buying one, gifting one, or making your own, a pouch wallet is more than just an accessory. It’s a small reflection of your lifestyle—organized, intentional, and beautifully simple. ✨
Video tutorial:


