
Crochet lovers, rejoice! The humble granny square has just gotten a whimsical makeover—with butterflies. 🦋 Whether you’re new to crochet or a seasoned pro looking to add some magic to your makes, the Crochet Butterfly Granny Square offers the perfect blend of simplicity and charm.
This article will walk you through what it is, how to make it, how to use it, and fun ways to customize it. Let’s spread those wings and get hooking!
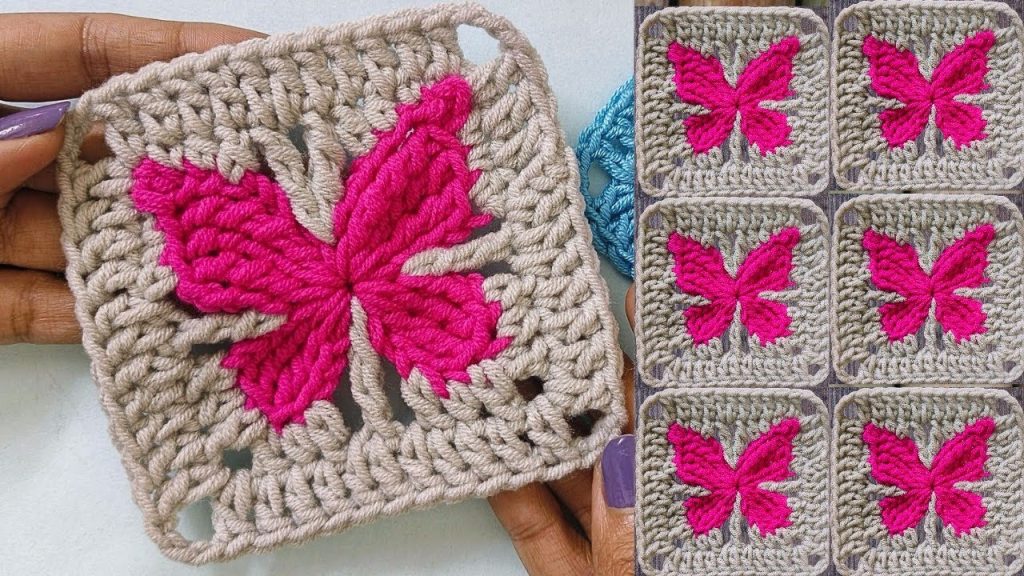
🧵 What is a Butterfly Granny Square?
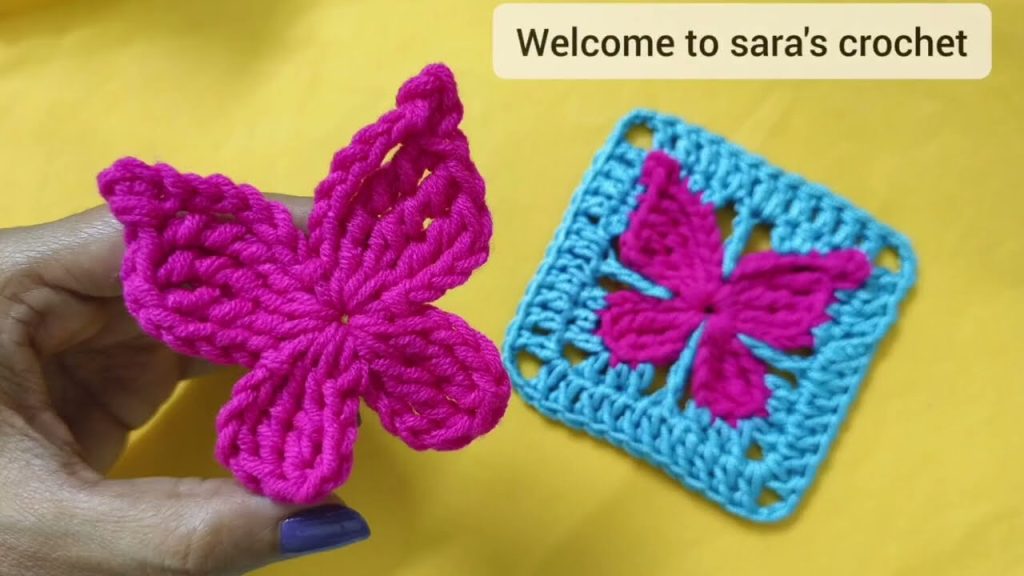
A butterfly granny square is a type of motif in which a 3D or flat butterfly is either:
- Embedded in the center of the square
- Or applied as an embellishment to a classic granny square
It maintains the traditional granny square shape (usually a square made from clusters of double crochets), but with a butterfly centerpiece that makes the design pop.
It’s great for:
- Baby blankets 🍼
- Pillow covers 🛏️
- Shawls and bags 👜
- Wall hangings 🖼️
- Table decor 🌸
🌟 Why Make a Crochet Butterfly Granny Square?
1. Beginner-Friendly
The basic stitches used are chains, double crochets, and slip stitches—making it perfect for beginners who want something that looks advanced.
2. Scrap Yarn Friendly
You only need a small amount of yarn for each butterfly, so it’s ideal for using up leftover yarn from other projects.
3. Beautiful and Versatile
Butterflies symbolize transformation, hope, and beauty. Adding them to your crochet work gives it life, color, and personality.
🧶 Materials You’ll Need:
| Material | Notes |
|---|---|
| Yarn (2–3 colors) | Worsted weight or DK yarn works best |
| Crochet hook | Size 4mm–5mm (G-H) depending on your yarn |
| Tapestry needle | For weaving in ends |
| Scissors | For trimming yarn |
| Stitch markers | Optional, for marking rounds |
✨ Stitches and Abbreviations:
- ch = chain
- sl st = slip stitch
- sc = single crochet
- dc = double crochet
- tr = treble crochet
- sp = space
- sk = skip
- st(s) = stitch(es)
🦋 How to Crochet the Butterfly Granny Square (Step-by-Step)
🔹 Part 1: Make the Butterfly (Center)
This method makes a folded 3D butterfly from a simple round.
🦋 Butterfly Body & Wings:
- With Color A (wings), ch 4. Sl st into first ch to form a ring.
- Round 1:
- Ch 3 (counts as dc), 2 dc in ring, ch 2
- [3 dc, ch 2] x3
- Join with sl st to top of ch-3
(You now have 4 clusters of 3 dc with ch-2 corners – like a mini granny square)
- Round 2:
- Sl st to next ch-2 space
- (3 dc, ch 2, 3 dc) in ch-2 space, repeat in all 4 corners
- Join with sl st, fasten off
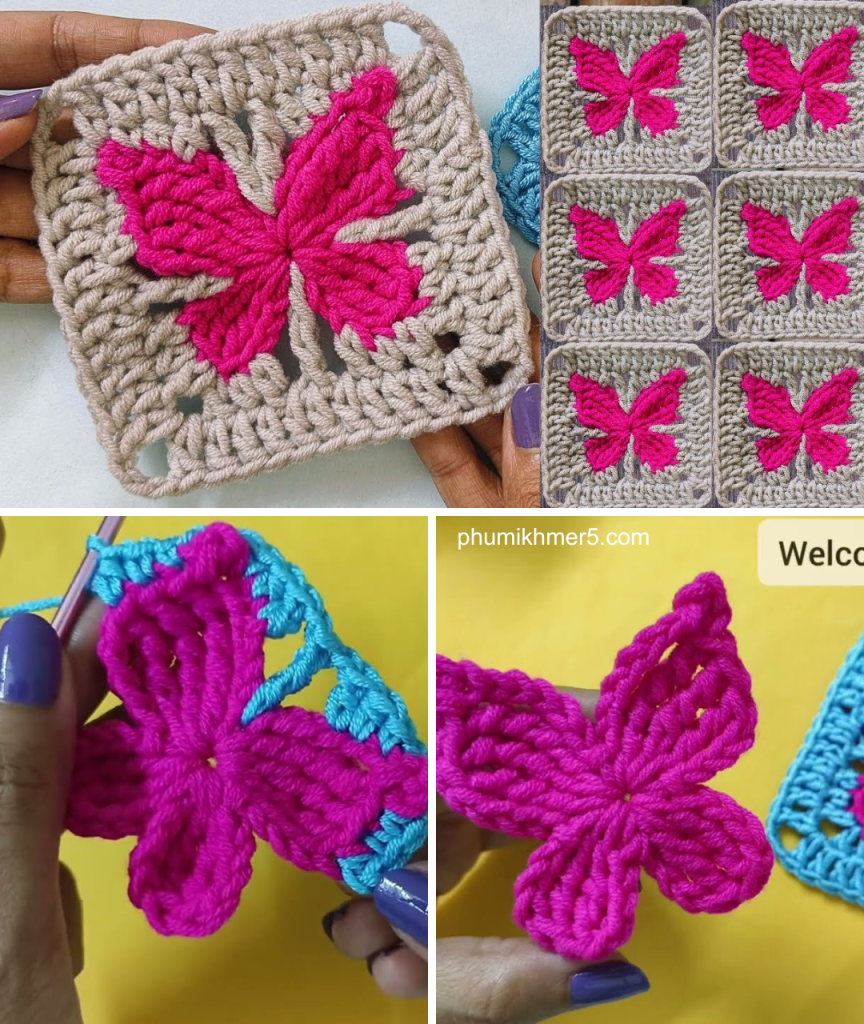
📝 Fold this small square in half diagonally. It will now look like a butterfly with two wings on each side.
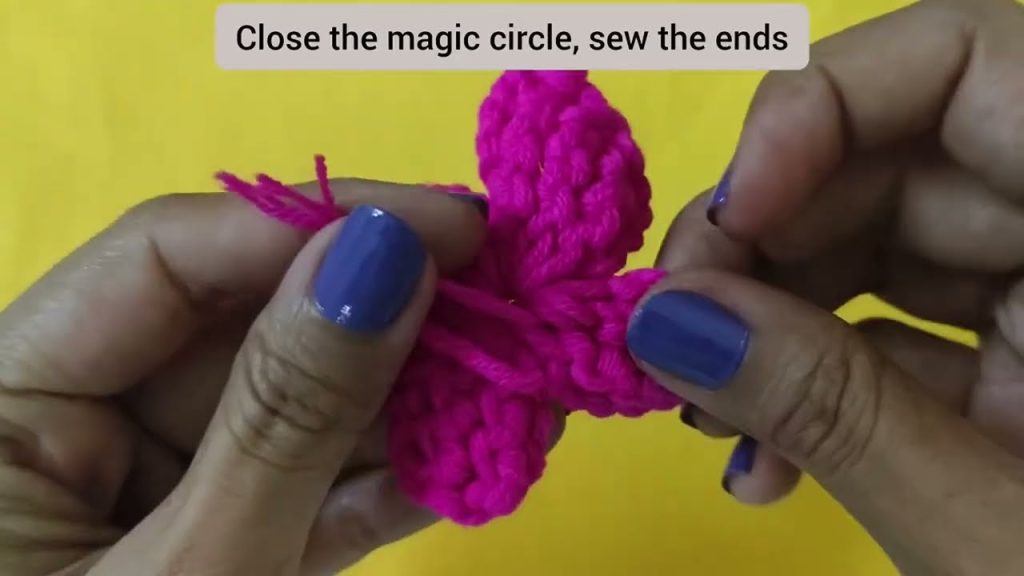
- With contrasting Color B, wrap yarn around the center fold (about 5–6 times) to form the body of the butterfly and secure it with a knot at the back.
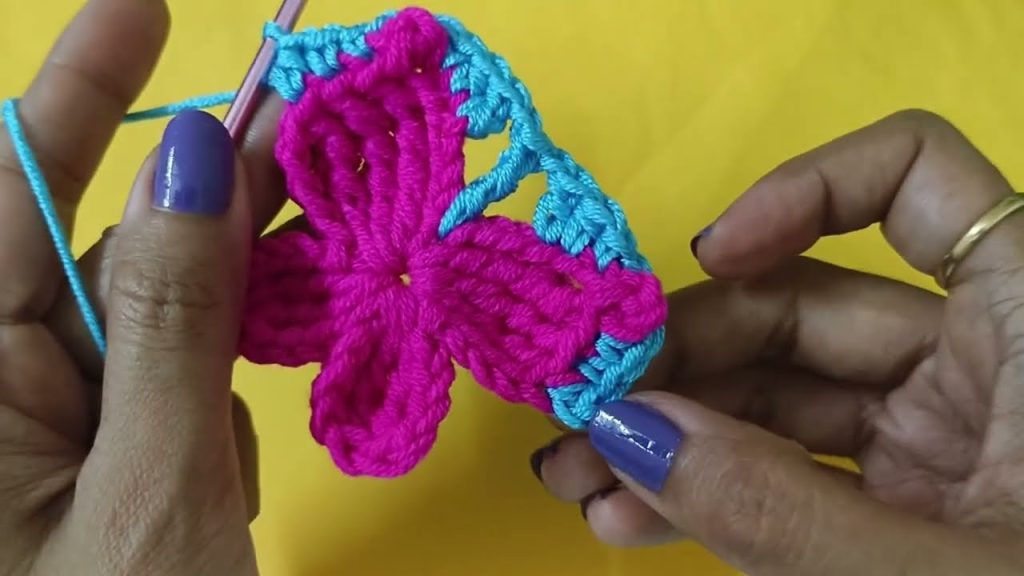
🔹 Part 2: Start the Granny Square
Now that the butterfly is made, you’ll crochet around it to create the square.
Square Foundation (Color C):
- Attach yarn to one corner of the folded square (in the ch-2 sp).
- Round 1:
- (3 dc, ch 2, 3 dc) in each corner space around the folded butterfly
- Join with sl st
- Fasten off or continue with the same color
- Round 2 (Optional for Larger Square):
- Ch 3 (counts as dc), (3 dc in next sp, ch 2, 3 dc in corner sp) around
- Join and fasten off
Now your butterfly is enclosed in a solid or open granny square!
🎨 Customization Tips
| Element | Idea |
|---|---|
| 🧶 Yarn colors | Use ombré or variegated yarn for magical wings |
| 🦋 Butterfly size | Increase wing size by using larger stitches (tr) |
| ✨ Sparkle | Add metallic thread or beads to the body |
| 📐 Square size | Add extra rounds of granny border |
| 🎀 Appliqué style | Make separate butterflies and sew onto squares |
🛠️ How to Use Your Butterfly Granny Squares
Once you’ve made a few, you can stitch them together just like any other granny square.
🪡 Project Ideas:
- Blanket or Throw: Use butterflies in alternating squares for a whimsical layout
- Cushion Cover: Make two 8″ squares, stitch together, and insert a pillow
- Wall Art: Stretch your square in a wooden hoop for crochet wall decor
- Bag or Purse: Line the inside and attach a zipper or strap
- Bunting or Garland: String multiple butterfly squares together
🧺 Care Instructions:
- Hand wash or gentle machine cycle (depending on yarn)
- Lay flat to dry to preserve shape
- Store flat or fold carefully to avoid creasing the butterfly wings
🧚 Final Thoughts
The Super Easy Crochet Butterfly Granny Square 🦋 is more than just a crochet motif—it’s a small piece of joy, transformation, and creativity. With just a few simple stitches, you can create something that looks beautifully intricate but is easy enough for even a beginner to tackle.
Crocheting butterflies into your granny squares is a wonderful way to personalize gifts, uplift your home decor, or simply enjoy a meditative, crafty afternoon.
Video tutorial:


