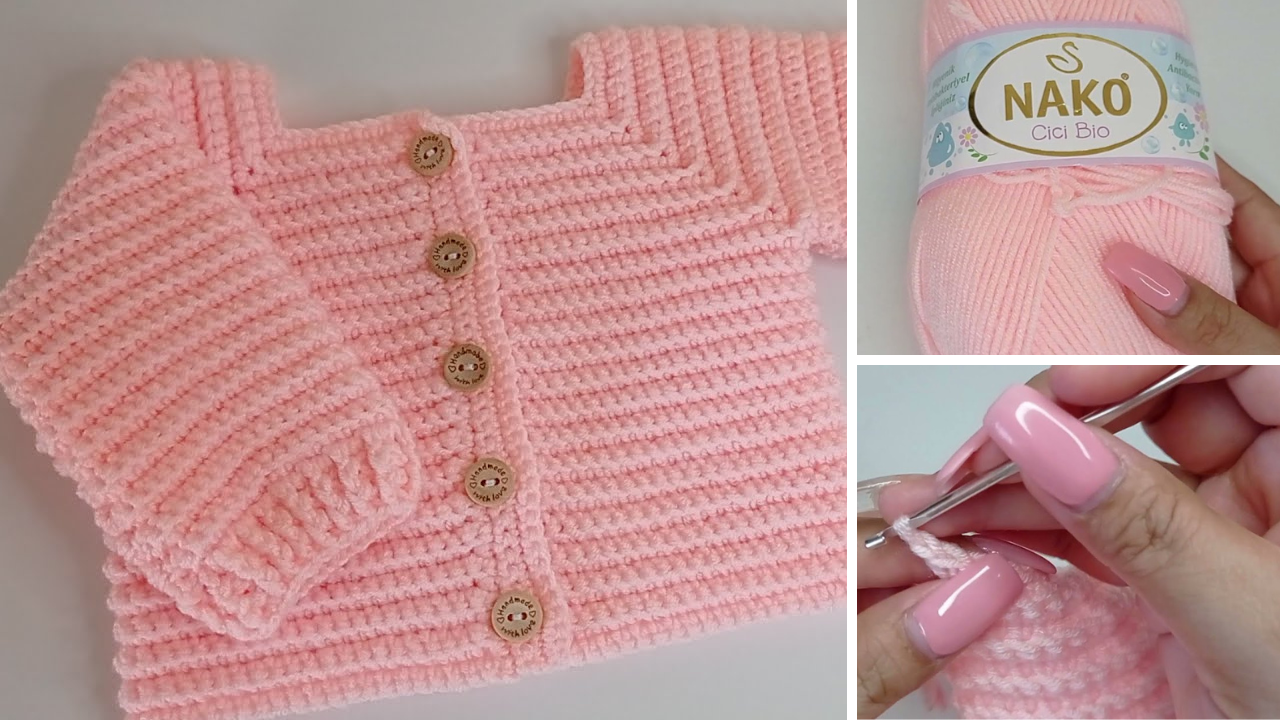
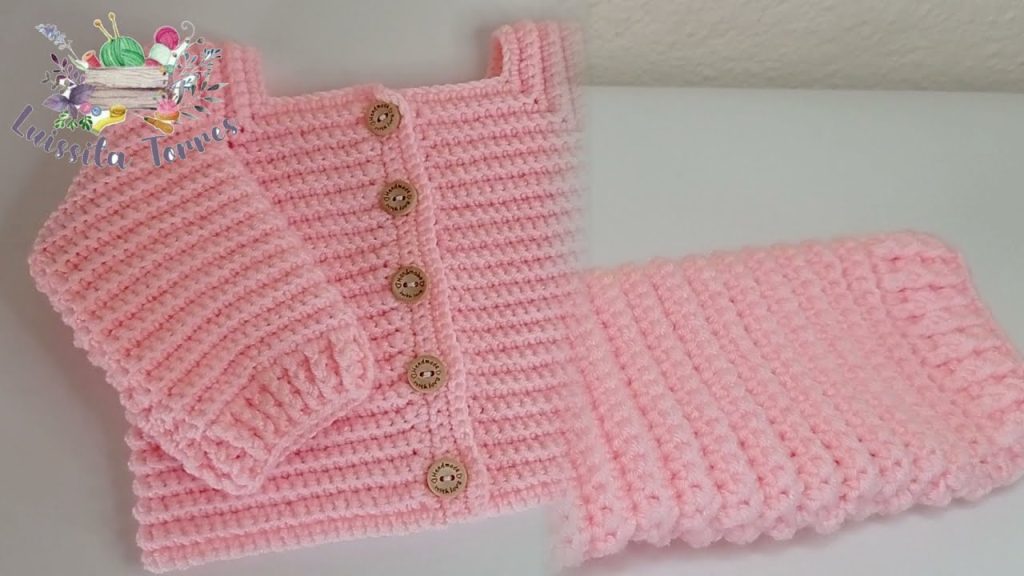
Creating a handmade garment for a baby is one of the most rewarding experiences in crochet. Whether you’re making a gift for a baby shower or crafting a cozy layer for your own little one, this easy and quick crochet baby coat or sweater is a perfect project. With basic stitches and clear instructions, you’ll have a charming baby garment ready in no time.
This pattern is suitable for newborn to 3 months, but with slight adjustments, it can be resized. Let’s walk through everything you need to know—from materials to finishing—to crochet a baby coat or sweater step-by-step.

🧵 Supplies You’ll Need
✅ Materials:
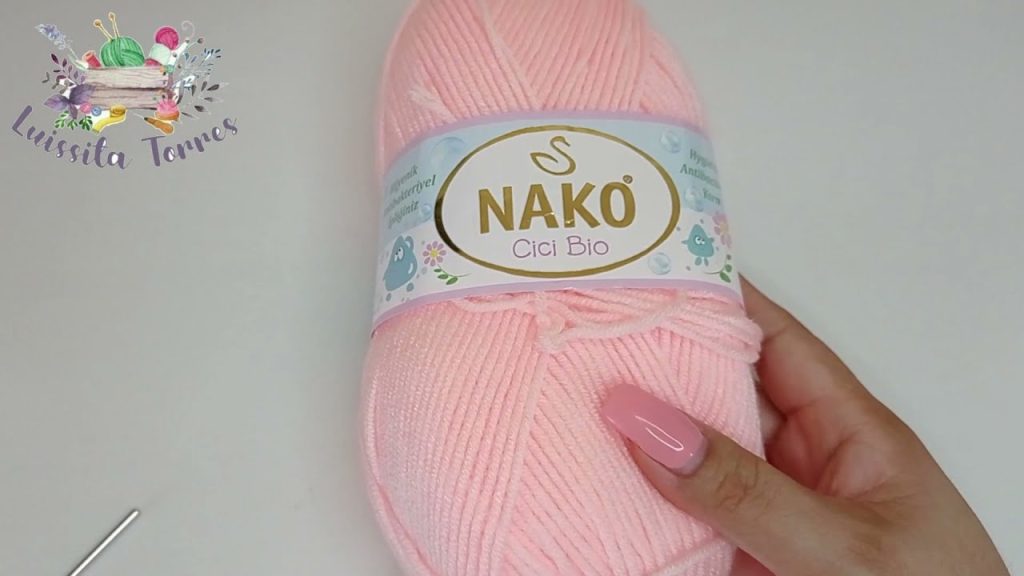
- Yarn: Worsted weight (Category 4) or baby DK yarn
- Approx. 250–350 yards
- Soft acrylic, cotton blend, or baby-safe yarn recommended
- Crochet Hook: Size 4.5mm to 5.5mm (G or H hook) depending on yarn
- Yarn Needle: For weaving in ends
- Scissors
- Buttons (Optional): 3 to 5 small buttons
- Stitch Markers: Optional but helpful
📏 Sizing & Gauge
✅ Size:
This pattern fits a baby approximately 0–3 months.
- Chest circumference: ~16–18 inches (40–45 cm)
- Length (shoulder to hem): ~10 inches (25 cm)
- Sleeve length: ~5–6 inches (12–15 cm)
✅ Gauge:
- 16 stitches and 10 rows = 4 inches in half double crochet (hdc)
Always make a small gauge swatch before starting to ensure proper fit.
🪡 Stitches Used (US Terms)
You only need to know basic crochet stitches:
- ch – Chain
- sc – Single crochet
- hdc – Half double crochet
- dc – Double crochet
- sl st – Slip stitch
Optional:
- BLO – Back loop only (for ribbing)
- Puff stitch – If you’d like to add texture

🧥 Project Overview
We’ll make the baby sweater in five pieces:
- Back Panel
- Left Front Panel
- Right Front Panel
- Sleeves (2)
- Assembly + Edging
🧶 Crochet Baby Sweater – Step-by-Step Instructions
🔹 Step 1: Crochet the Back Panel
Foundation Chain:
Ch 38 (or adjust for 9–10 inches width based on your gauge)
Row 1:
Hdc in 2nd ch from hook and across. (37 hdc)
Row 2–22:
Ch 1, turn, hdc in each stitch across.
➡️ This will form a rectangle approximately 9–10 inches wide and 10 inches long.
Fasten off and set aside.
🔹 Step 2: Make the Front Panels
Left Front Panel:
Foundation Chain:
Ch 20 (half of the back panel width)
Row 1:
Hdc in 2nd ch from hook and across. (19 hdc)
Row 2–22:
Ch 1, turn, hdc in each stitch across.
Fasten off.
Right Front Panel:
Repeat the same steps as the left front panel.
✅ Optional: In the last 4 rows, stop 3 stitches early on neck side to shape the neckline.
🔹 Step 3: Join the Shoulders
Lay the back panel flat, and place the front panels on top, aligning the top edges.
Join the shoulders using whip stitch or slip stitch across the top 5–6 stitches on each side.
Leave the center open for the neck hole (~4–5 stitches unsewn in the middle).
🔹 Step 4: Make the Sleeves
Foundation Chain:
Ch 22 (about 6 inches long)
Row 1:
Hdc in 2nd ch from hook and across. (21 hdc)
Row 2–16:
Ch 1, turn, hdc across.
➡️ Add 2–3 stitches evenly over the sleeve length for slight widening (optional).
Seam the sleeve sides to create a tube. Repeat for the second sleeve.
🔹 Step 5: Attach the Sleeves
Place the sleeves inside the armholes, aligning the top center of sleeve with the shoulder seam.
Using a slip stitch or whip stitch, sew around the armhole to attach the sleeves to the body.
Repeat for both sleeves.
🔹 Step 6: Add the Edging (Collar, Front, and Bottom)
Add edging for a neat and professional finish.
✅ Collar:
Attach yarn at neck edge.
Row 1: Ch 1, sc evenly around the neck opening.
Row 2–4: Work in sc or hdc for a 1-inch collar.
Fasten off.
✅ Front Edging:
Attach yarn at bottom front edge.
Sc up the front edge, around the neck, and down the other front side.
Do 2–3 rows in sc or hdc for a clean finish.
✅ Buttonholes:
On the right front panel (or left if preferred), evenly space ch-2 spaces on the second row of front edging to form buttonholes.
Sew buttons on the opposite side.
🔹 Step 7: Bottom Edging (Optional Ribbing)
Option 1: Simple Edge
- Ch 1, sc evenly along the bottom edge.
Option 2: Ribbed Look
- Ch 6
- Row 1: Sc in 2nd ch from hook and across. (5 sc)
- Row 2: Ch 1, turn, sc BLO across
- Repeat until it matches the bottom width
- Attach with sl st across the bottom edge
🔹 Step 8: Weave in Ends and Finish
Use a yarn needle to neatly weave in all ends.
Steam or lightly block if necessary to shape the sweater.
Add any embellishments (patches, appliqué, embroidery) for a personal touch.

🎁 Optional Add-Ons
- Hood: Create a square of 6″x6″, fold in half, seam one edge, and attach to neckline.
- Pockets: Make two small rectangles and sew onto the front panels.
- Matching Hat or Booties: Great for a gift set!
👶 Care Tips
- Use machine washable yarn to make it easy for parents.
- Avoid wool or scratchy fibers—babies have sensitive skin.
- Always double-check button security.
🧸 Why This Project Works for Beginners
- Uses only basic stitches (hdc, sc)
- Worked in flat panels (no shaping or increasing complexity)
- Easy assembly
- Fast to finish (can be done in a weekend)
- Adaptable to color changes, embellishments, and sizes
💡 Final Tips
- If you’re unsure of gauge, size as you go by measuring against a baby onesie or sweater.
- Use stitch markers to keep track of increases or important rows.
- Make it gender-neutral or customize with color combos.
🪄 Conclusion
With this easy and quick crochet baby sweater pattern, you can create a beautiful, warm, and practical garment for a newborn in just a few hours. Whether you’re a new crocheter or just looking for a stress-free project, this guide offers everything you need to make a baby coat step by step—no frills, just warmth and cuteness!
Video tutorial: