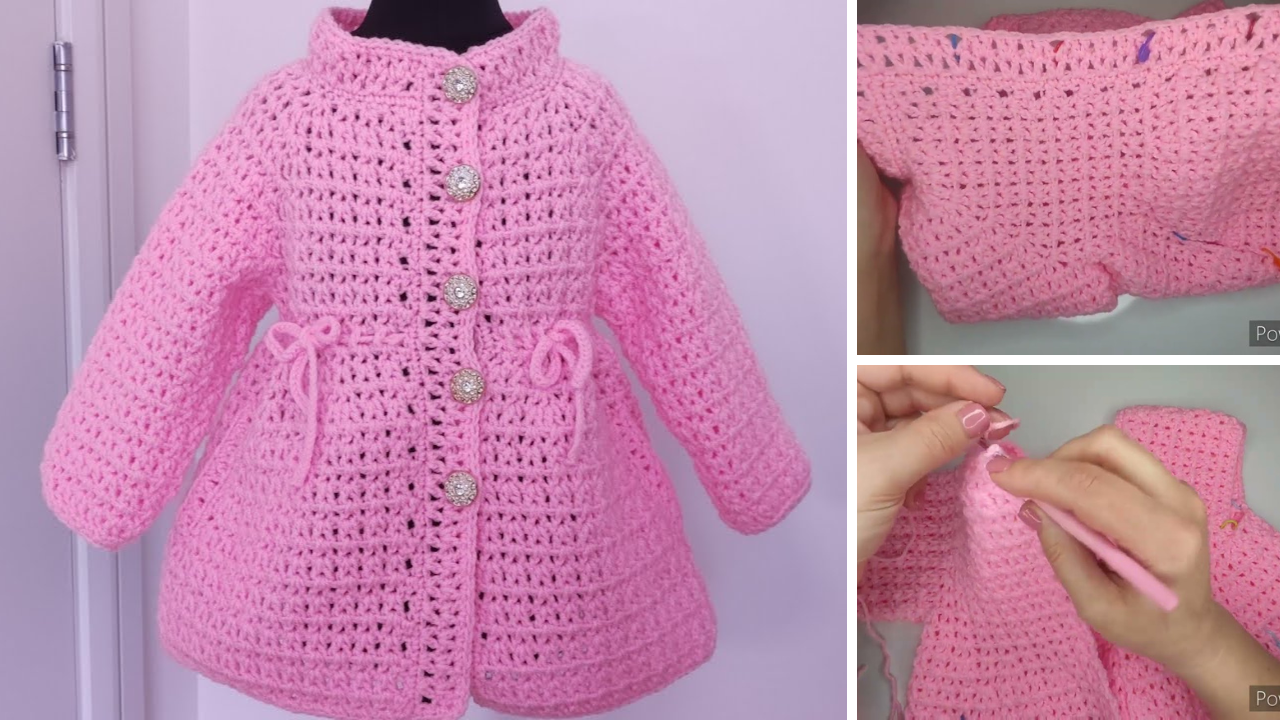
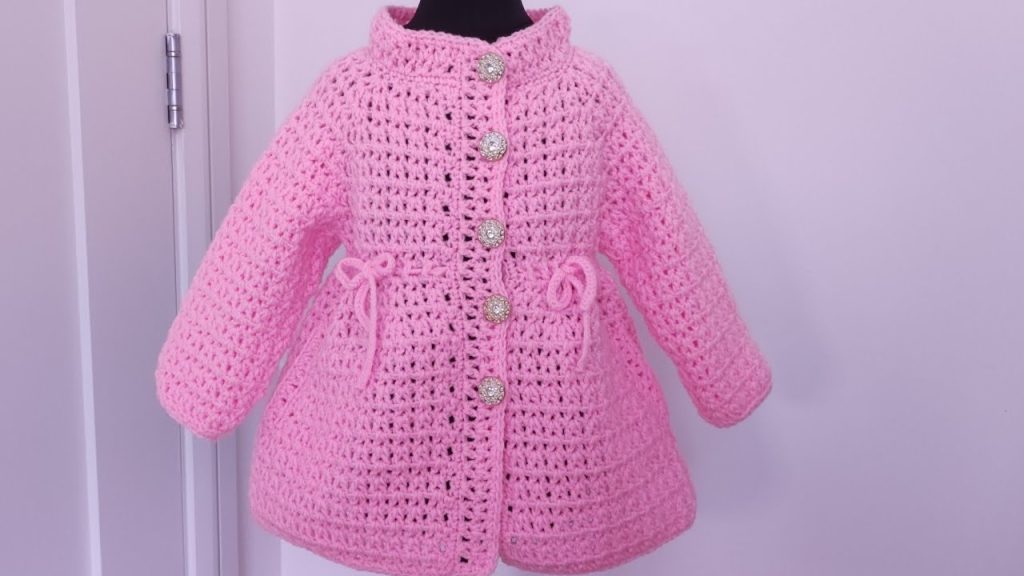
The “Early Bloom” Cardigan is a beautiful, light, and feminine layering piece inspired by the first flowers of spring. Designed to drape gently over the shoulders and offer just the right amount of warmth, it’s perfect for transitional weather or cool summer evenings.
This article will guide you through the entire process of crocheting your own “Early Bloom” cardigan—from materials and sizing to construction, stitch patterns, and final assembly.
✨ Project Overview
- Skill Level: Intermediate
- Time Commitment: 15–25 hours
- Sizes Available: XS to 3XL
- Style: Open-front, long-sleeved cardigan with floral/lacy accents
- Techniques Used: Basic crochet stitches, lace motifs, seaming, ribbing
🧶 Materials Needed
To make the Early Bloom Cardigan, you will need the following:
Yarn
- Type: DK weight yarn (3-light)
- Fiber: Cotton or cotton-acrylic blend (breathable for layering)
- Yardage:
- XS–S: ~1100 yards
- M–L: ~1300 yards
- XL–2XL: ~1500 yards
- 3XL: ~1700 yards
Suggested Yarn: Paintbox Yarns Cotton DK, or Scheepjes Cotton 8
Tools
- Crochet hook size 4.0 mm (G-6)
- Stitch markers
- Yarn needle for seaming and weaving in ends
- Scissors
- Measuring tape
- Blocking pins and mat (optional but recommended)

🧵 Stitch Abbreviations (U.S. Terms)
- ch – chain
- sl st – slip stitch
- sc – single crochet
- dc – double crochet
- tr – treble crochet
- sk – skip
- sp – space
- rep – repeat
- RS – right side
- WS – wrong side
🌿 Construction Notes
The cardigan is worked in three main panels: a back panel and two front panels. Sleeves are worked separately and seamed to the armholes. The lace stitch is used throughout for a breezy, floral-inspired texture. The cardigan is finished with a ribbed edge around the opening and cuffs.
📏 Sizing and Measurements (Finished Bust)
| Size | Bust (inches) | Length | Sleeve Length |
|---|---|---|---|
| XS | 30–32 | 24 | 20 |
| S | 32–34 | 25 | 20.5 |
| M | 36–38 | 26 | 21 |
| L | 40–42 | 27 | 21.5 |
| XL | 44–46 | 28 | 22 |
| 2XL | 48–50 | 29 | 22.5 |
| 3XL | 52–54 | 30 | 23 |
Choose a size with 2–4 inches of positive ease for a relaxed fit.
🌸 Stitch Pattern: Bloom Lace
The main stitch for the body is the Bloom Lace Pattern:
Multiples of 8 + 3
Row 1 (RS): Dc in 4th ch from hook, *ch 2, sk 2, sc in next ch, ch 2, sk 2, dc in next 2 chs; rep from * across.
Row 2: Ch 3, turn, dc in next dc, *ch 2, sc in ch-2 sp, ch 2, dc in next 2 dc; rep from * across.
Repeat Row 2 for pattern.

🧥 Step-by-Step Instructions
Step 1: Back Panel
- Foundation Chain: Chain a multiple of 8 + 3 to match your size.
- E.g., for Medium: ch 115 (104 + 3 + 8 buffer)
- Work in Bloom Lace Pattern until panel measures the desired length (around 26″ for M).
- Fasten off and set aside.
Step 2: Front Panels (Make 2)
- Chain half the number of stitches used for the back, plus 3.
- E.g., Medium: ch 59
- Work in Bloom Lace Pattern for the same number of rows as the back.
- Shape neckline:
- On final 5 rows, decrease by skipping 1 extra stitch at neckline edge (to slope).
- Fasten off.
Step 3: Join Shoulder Seams
- Place front panels on top of the back panel, RS facing in.
- Seam shoulder edges together using whip stitch or mattress stitch.
- Leave armhole depth open (~7–9 inches depending on size).
Step 4: Sleeves
- Chain a foundation row to match sleeve width (typically 48–60 stitches).
- Work in Bloom Lace Pattern until sleeve measures the appropriate length.
- Optionally, taper the sleeve by decreasing 1 st at each end every 5 rows.
- Fasten off and fold sleeve in half lengthwise. Seam long edge.
- Attach sleeves to armhole with stitch markers, then seam around.
Step 5: Ribbed Edging (Optional but adds polish)
Front and Collar Ribbing
- Attach yarn to bottom front corner.
- Work 1 row of sc evenly up front edge, around neckline, and down other side.
- Work in FPdc/BPdc ribbing for 6–8 rows for a cozy finish.
Cuffs and Hem
- Join yarn at wrist and work ribbing in the round.
- Optional: Add ribbing along the bottom hem for structure.
Step 6: Blocking
Blocking helps open up the lace and even out your stitches.
- Gently soak the cardigan in lukewarm water.
- Squeeze out excess water and lay flat on a towel or blocking mat.
- Pin into shape and allow to dry completely.
🧺 Care Instructions
- Hand wash or gentle machine cycle (if yarn permits).
- Lay flat to dry.
- Store folded, not hung, to preserve shape.
🪷 Tips for Success
- Use stitch markers to keep track of lace pattern sections.
- Count stitches at the end of each row—easy to lose track in lace!
- Don’t skip blocking—it transforms the piece from “homemade” to “handmade.”
- Choose a light pastel or earthy tone to complement the cardigan’s floral theme.
🌼 Final Thoughts
The “Early Bloom” Cardigan is a poetic celebration of growth, renewal, and comfort. With its flowing silhouette and breezy lace stitch, it’s an heirloom-worthy addition to any handmade wardrobe. Though it requires attention to detail, the reward is a garment that feels as fresh and unique as spring’s first bloom.
Happy crocheting—and may your hooks be swift and your yarn tangle-free!
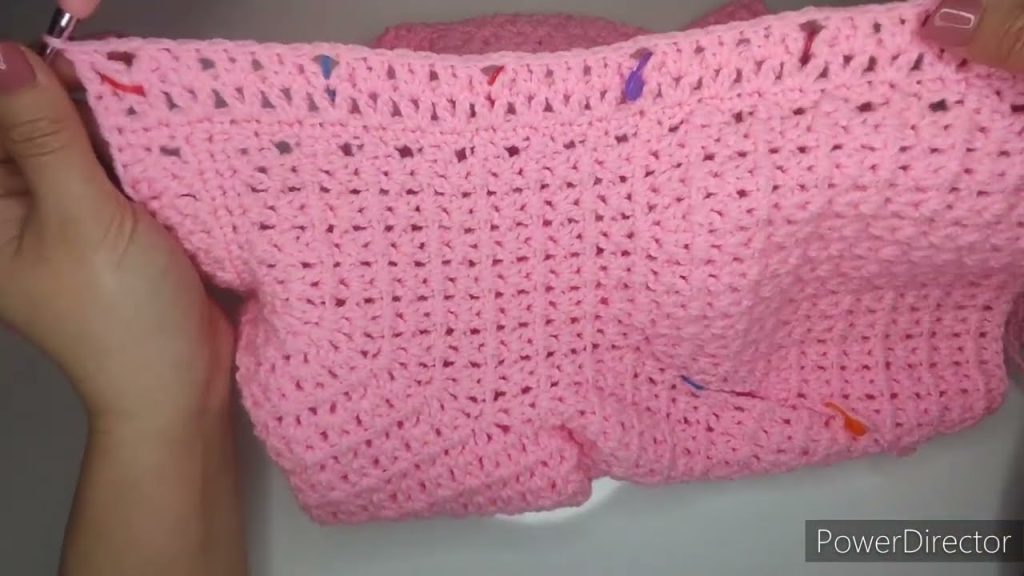
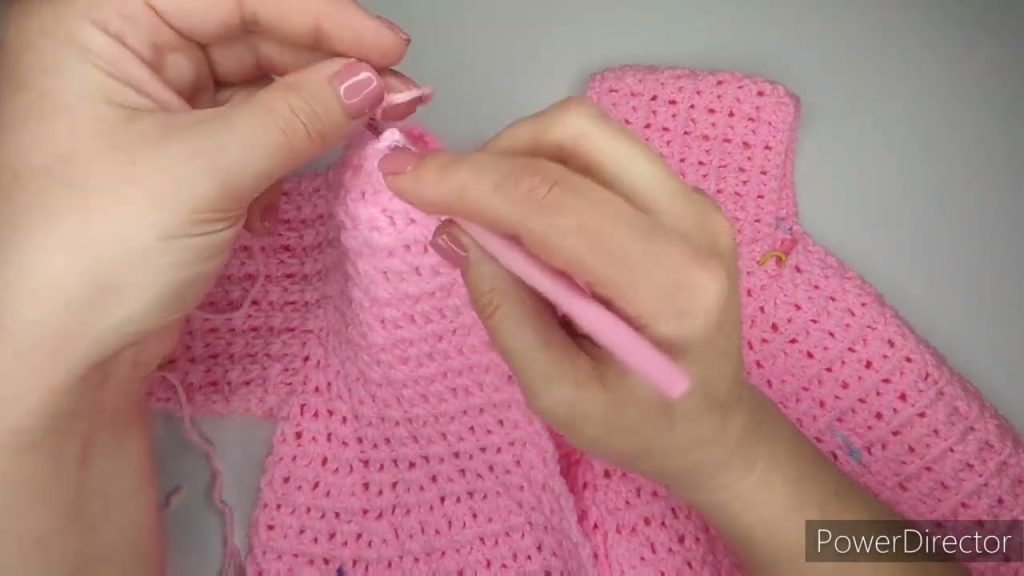
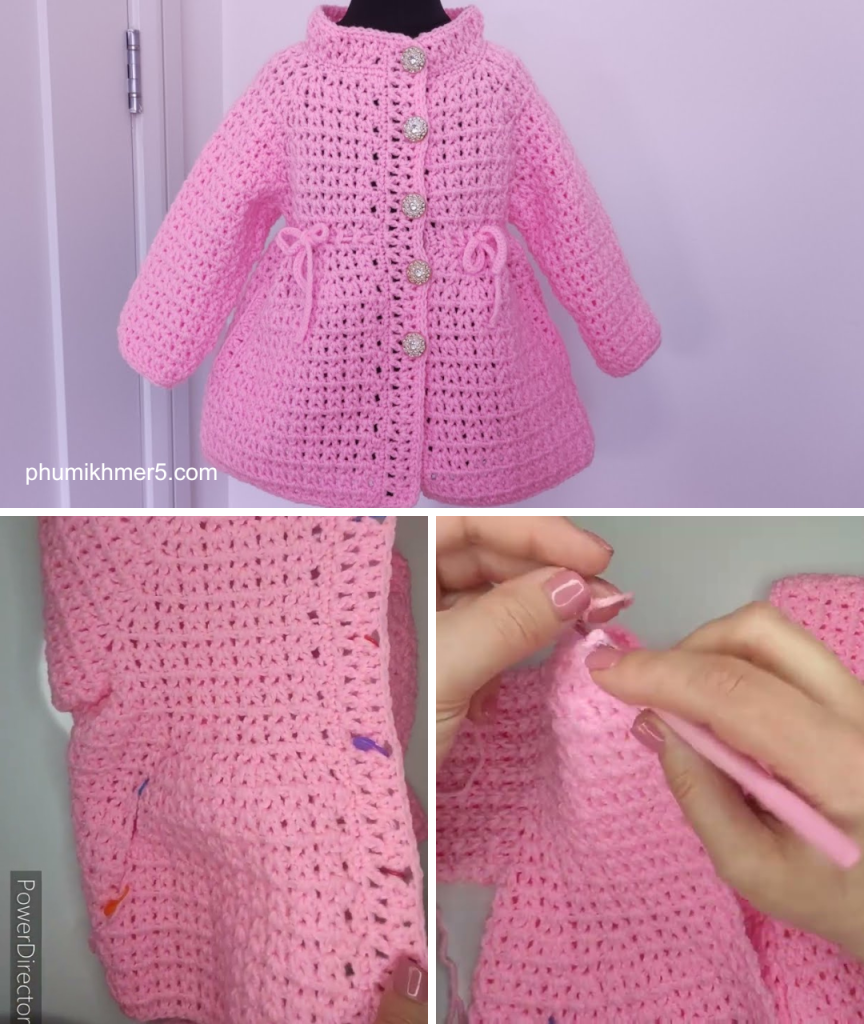
Video tutorial: