
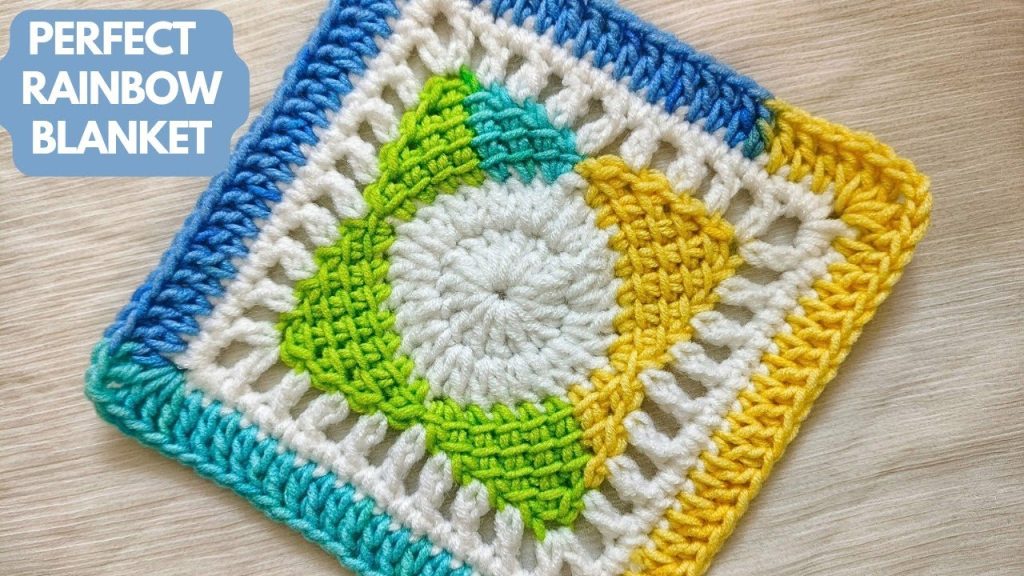
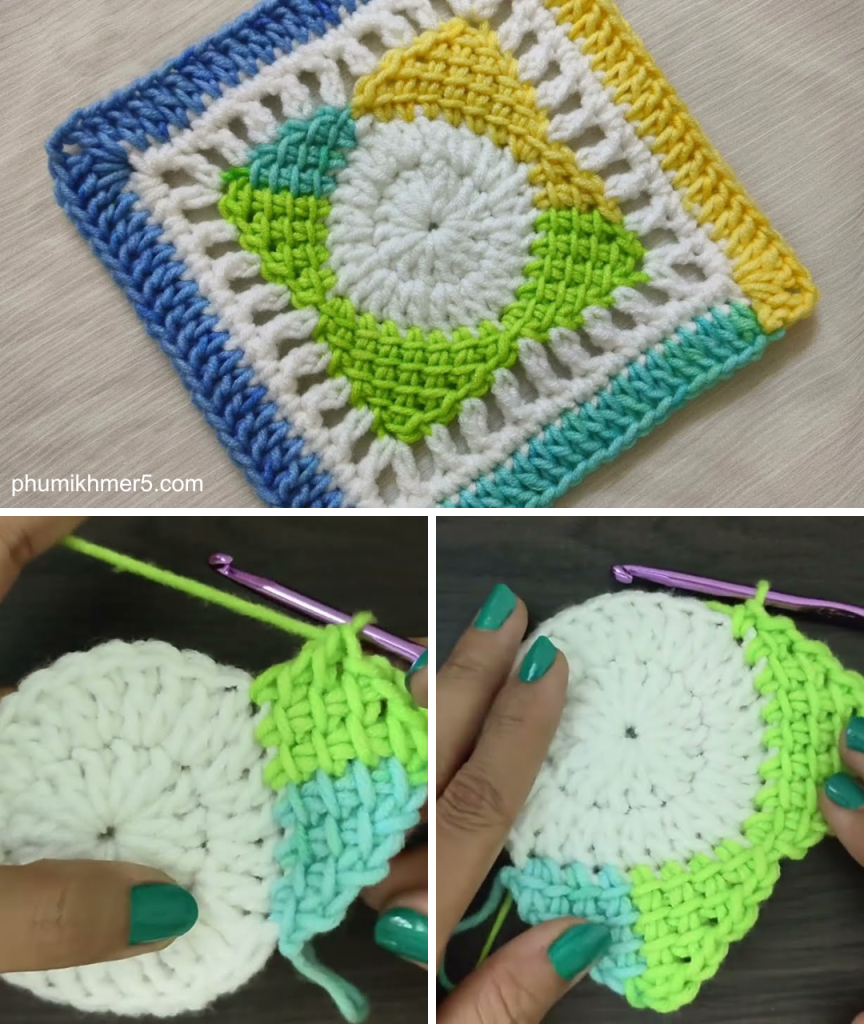
There is something deeply satisfying about crocheting a beautiful, intricate square. It’s the perfect building block for so many projects: a cozy baby blanket, a stunning throw, a stylish tote bag, or a collection of cushions. This tutorial will guide you through creating the “Endless Blossom” Crochet Square, a design that features a mesmerizing central floral motif that expands outwards into a lacy, elegant finish.
This pattern is a fantastic project for an adventurous beginner or an experienced crocheter looking for a beautiful, rhythmic stitch pattern. The textured center and delicate corners create a square with wonderful visual interest and a beautiful drape, making it ideal for a special blanket or throw that will be cherished for years to come.
Why Crochet the Endless Blossom Square?
- Versatile: The finished square can be joined to create blankets, throws, pillows, or even scarves.
- Unique Design: The central flower-like pattern is a unique and eye-catching feature.
- Skill Building: You’ll practice working in the round, creating clusters, and shaping corners.
- Great for Leftover Yarn: A beautiful way to use up different colors in your stash to create a patchwork effect.
- Addictive: The repeating pattern and quick-to-see progress make it hard to put down!
1. Planning Your Square: Size & Materials
- Finished Size: This pattern will create a square that is approximately 6 inches x 6 inches (15 cm x 15 cm). You can easily make it larger by adding more rounds to the pattern.
- Yarn Choice: The square looks lovely in any yarn weight, but we’ll use a standard Worsted Weight (#4) yarn for this tutorial, as it shows stitch definition beautifully and is a common choice for blankets. Choose a yarn that is soft and durable.
- Colors: You can use a single color for a classic look, or use two or three contrasting colors to highlight the central flower and corners.
- Quantity: You will only need a small amount of yarn for a single square, approximately 15-20 yards (14-18 meters) per square.
2. Materials You’ll Need
- Yarn: A small amount of Worsted Weight (#4) yarn in your chosen color(s).
- Crochet Hook: 5.0 mm (H-8 US). (Or the hook size that gives you the best stitch definition and feel for your yarn.)
- Scissors: For cutting yarn.
- Yarn Needle (Tapestry Needle): For weaving in ends.
- Stitch Marker (Optional): To mark the beginning of rounds if you find it helpful.
3. Essential Crochet Stitches & Techniques
- Slip Knot
- Chain (ch)
- Slip Stitch (sl st): For joining rounds.
- Single Crochet (sc)
- Double Crochet (dc)
- Triple Crochet (tr): Yarn over twice, insert hook, yarn over, pull up a loop (4 loops on hook), [yarn over, pull through 2 loops] 3 times.
- V-Stitch (V-st): (dc, ch 1, dc) all in the same stitch or space.
- Shell Stitch: (3 dc) all in the same stitch or space.
- Picot Stitch (for a lacy edge): Ch 3, sl st into the 3rd ch from hook.
- Magic Ring (or Adjustable Ring): For starting the square with a tight center. (Alternatively, Ch 4 and join with a sl st to form a ring.)
4. Let’s Crochet the “Endless Blossom” Square!
We will work in joined rounds, starting from the center.
Pattern Notes:
- Ch 3 at the start of a round counts as a DC.
- All rounds are joined with a sl st to the top of the beginning chain unless otherwise specified.
- This pattern is written for a single color, but feel free to change colors on any round you like.
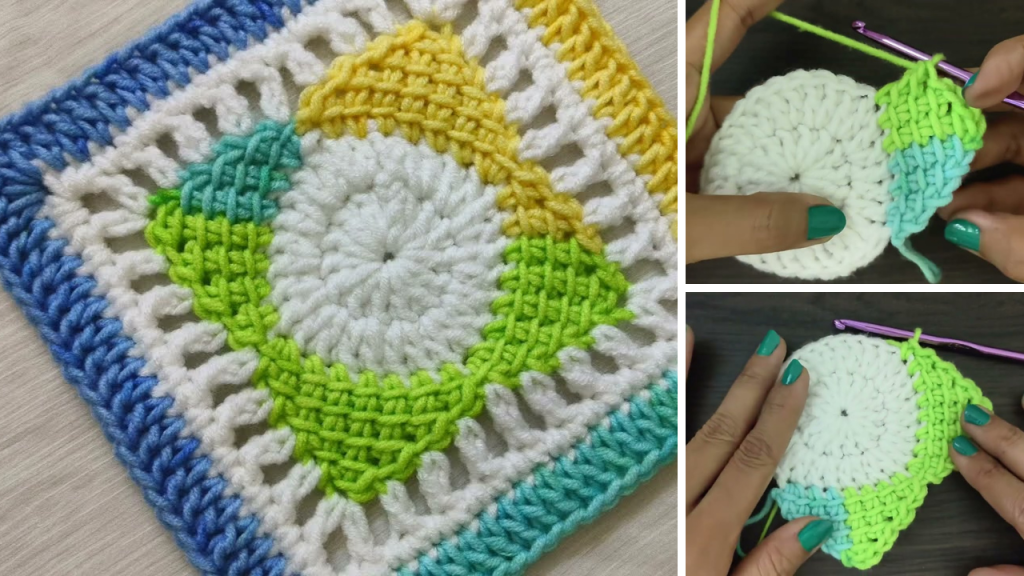
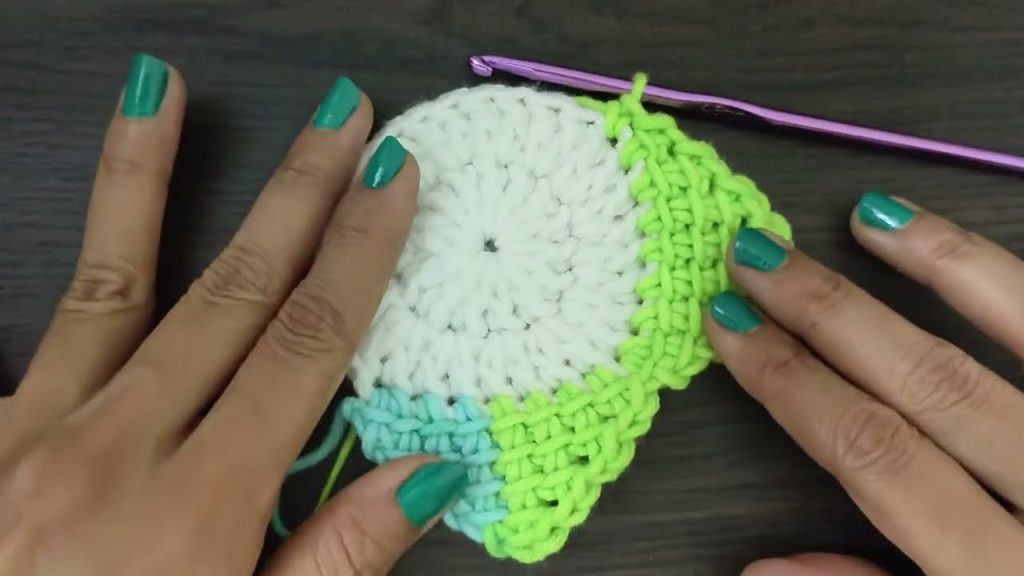
Round 1: The Center Blossom
- Make a Magic Ring.
- Ch 3 (counts as 1 dc), work 11 dc into the ring.
- Join with a sl st to the top of the beginning Ch 3.
- Pull the ring tight to close the center.
- [12 dc]
Round 2: Creating the First Points
- Ch 1 (does NOT count as a stitch). Sc in the first dc.
- Ch 2, skip the next dc.
- Sc in the next dc, ch 2, skip the next dc. Repeat from * to * around.
- Join with a sl st to the first sc.
- [6 sc, 6 ch-2 spaces]
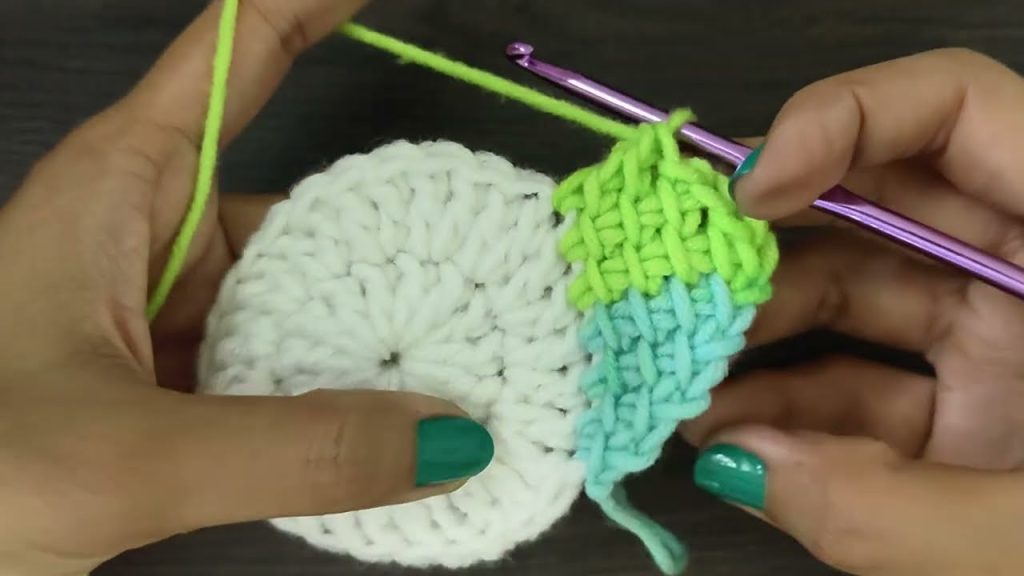
Round 3: The Expanding Petals
- Sl st into the first ch-2 space.
- Ch 3 (counts as 1 dc), work 2 dc into the same ch-2 space.
- Ch 1.
- Work a Shell Stitch (3 dc) into the next ch-2 space, ch 1. Repeat from * to * around.
- Join with a sl st to the top of the beginning Ch 3.
- [6 shell stitches, 6 ch-1 spaces]
Round 4: The Square’s Foundation
- Ch 3 (counts as 1 dc). Dc in the next dc.
- (Dc, ch 2, dc) into the ch-1 space (this is a corner).
- Dc in each of the next 3 dc (the shell from the previous round).
- (Dc, ch 2, dc) into the next ch-1 space (this is a corner).
- Dc in each of the next 3 dc.
- (Dc, ch 2, dc) into the next ch-1 space (this is a corner).
- Dc in each of the next 3 dc.
- (Dc, ch 2, dc) into the next ch-1 space (this is a corner).
- Dc in each of the next 3 dc.
- Join with a sl st to the top of the beginning Ch 3.
- [28 dc, 4 ch-2 corner spaces]
Round 5: Expanding the Corners
- Ch 3 (counts as 1 dc), dc in each of the next 3 dc.
- (Dc, ch 2, dc) into the ch-2 corner space.
- Dc in each of the next 7 dc (the side of the square).
- (Dc, ch 2, dc) into the ch-2 corner space.
- Dc in each of the next 7 dc.
- (Dc, ch 2, dc) into the ch-2 corner space.
- Dc in each of the next 7 dc.
- (Dc, ch 2, dc) into the ch-2 corner space.
- Dc in each of the next 3 dc.
- Join with a sl st to the top of the beginning Ch 3.
- [44 dc, 4 ch-2 corner spaces]
Round 6: Adding a Lacy V-Stitch Edge
- Ch 3 (counts as 1 dc). Dc in the same stitch.
- Skip 2 dc. (V-stitch (dc, ch 1, dc) in the next dc, skip 2 dc). Repeat from * to * until you reach the corner.
- (Dc, ch 2, dc) into the ch-2 corner space.
- Skip 2 dc. (V-stitch in the next dc, skip 2 dc). Repeat from * to * across the side until you reach the next corner.
- Repeat steps 3 and 4 for the remaining corners and sides.
- Join with a sl st to the top of the beginning Ch 3.
- You will have V-stitches across the sides and a corner with (dc, ch 2, dc).
Round 7: Finishing the Edge
- Ch 1 (does not count as a stitch). Sc in the first dc.
- Work 3 sc into the next ch-1 space (of the V-stitch).
- Sc in the next 2 dc (the dc of the V-stitch), 3 sc into the next ch-1 space. Repeat from * to * across the side.
- Work (sc, ch 2, sc) into the ch-2 corner space.
- Repeat steps 2, 3, and 4 for the remaining sides and corners.
- Join with a sl st to the first sc.
- Fasten off, and weave in all ends securely.
Tips for Joining Your Squares
Once you have a collection of these beautiful squares, you can join them together to create a full blanket or throw.
- Whip Stitch: A simple and strong seam. Place squares right-sides together and use a yarn needle to stitch through both loops of the corresponding stitches on each square.
- Slip Stitch: Use your crochet hook to slip stitch the squares together. This creates a neat, flat seam.
- Join-as-you-go: An advanced technique where you join the squares to each other as you crochet the final round of each new square.
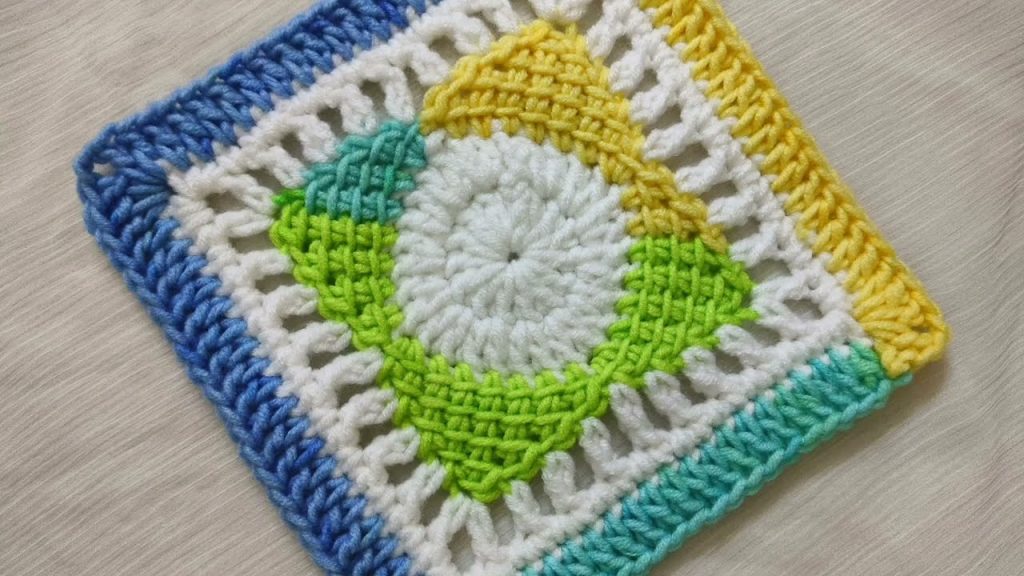
Enjoy creating your “Endless Blossom” crochet squares. Their texture and unique design will add a touch of handmade elegance to any project!
Video tutorial:


