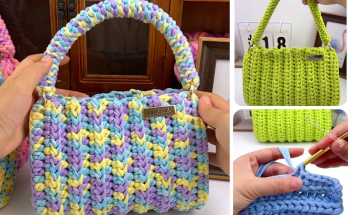
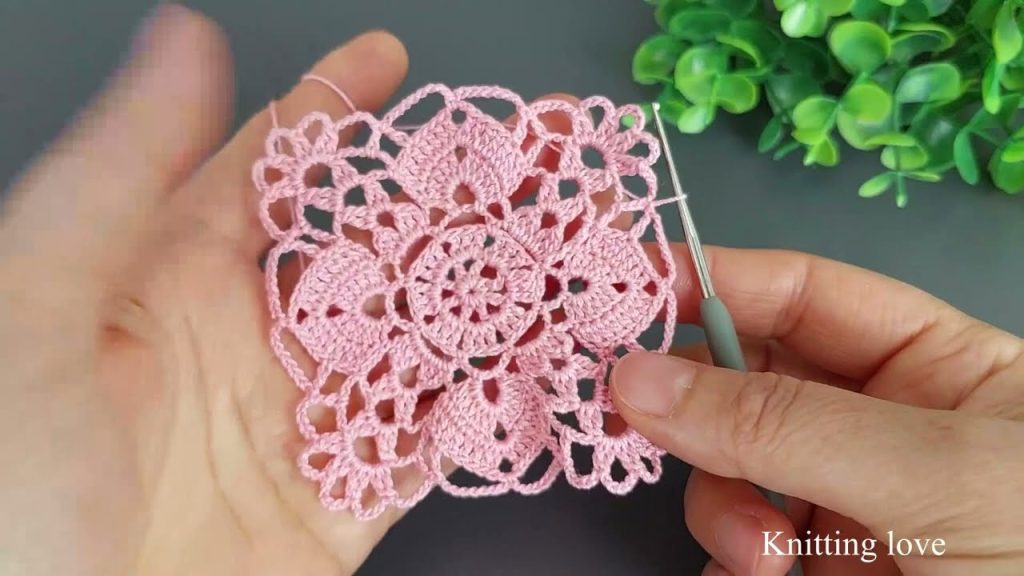
Inspired by the Vibrant Crochet Design 2025 tutorial by Knitting Love, this pattern utilizes a beautiful, textured shell-and-mesh stitch that creates a dense, undulating surface. This Rainbow Ripple Stitch is perfect for a stylish, structured handbag or tote, providing both visual interest and the stability needed for an everyday bag. The pattern is designed to showcase color changes, making it ideal for utilizing scrap yarn or creating bold, vibrant stripes.
This pattern is written for a versatile Medium-Sized Tote Bag that is worked flat in two panels and then seamed.

📋 Project Details & Materials
| Item | Detail | Notes |
| Project | Rainbow Ripple Handbag | Finished size approx. 14 inches wide x 12 inches tall (excluding handles). |
| Skill Level | Beginner/Intermediate | Uses simple stitches in a repeated sequence. |
| Yarn | Worsted Weight (Category 4) Cotton or Cotton Blend | Essential for structure. Use multiple colors for a vibrant look (Color A, B, C, etc.). Approx. 800 yards total. |
| Hook | 4.0 mm (G/6) or size needed for a tight, stable gauge. | A smaller hook ensures the fabric is sturdy and minimizes stretch. |
| Notions | Lining fabric (optional), Tapestry needle, Scissors, Stitch markers. |
Gauge
Gauge is important for bag structure.
- Stitch Gauge: One complete Shell Repeat (from the center of one shell to the center of the next) should measure approximately 2.5 inches wide.
- Row Gauge: 4 Rows of the pattern should measure approximately 1.5 inches tall.
📚 Abbreviations (US Crochet Terms)
| Abbreviation | Meaning |
| Ch | Chain |
| St(s) | Stitch(es) |
| SC | Single Crochet |
| DC | Double Crochet |
| Tr | Treble Crochet |
| Sl St | Slip Stitch |
| Sp | Space |
| Sk | Skip |
| Beg | Beginning |
✨ Special Stitches
| Stitch Name | Abbreviation | Instruction |
| Shell | Shell | (2 DC, Ch 1, 2 DC) worked into the designated stitch or space. |
Stitch Multiple: Chain a multiple of 5 + 1 for the foundation row.
Part 1: The Rainbow Ripple Stitch Panel (Make 2)
The bag is constructed from two identical panels (Front and Back). The color changes are worked every two rows for a vibrant striped effect.
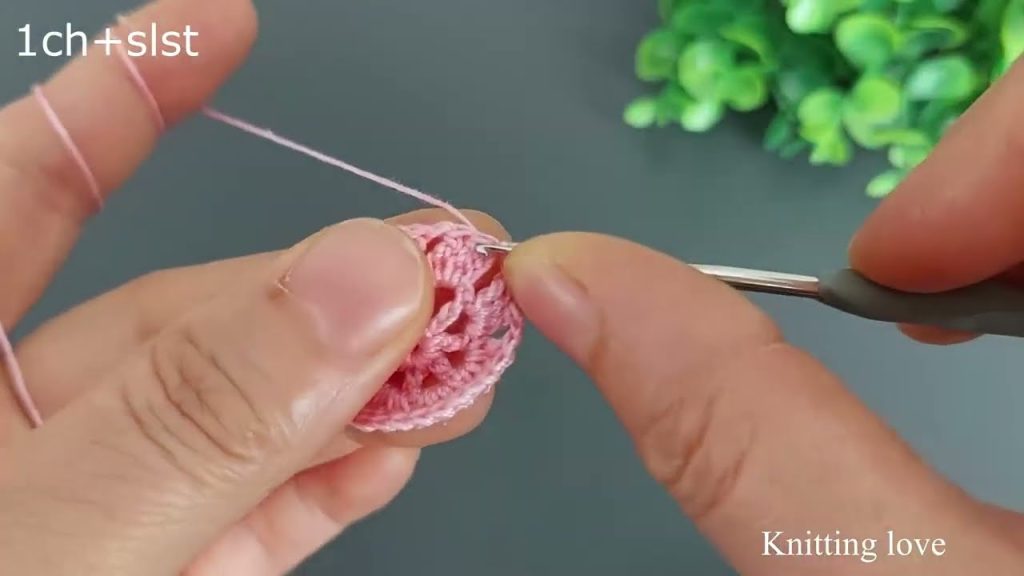
Step 1: Foundation Chain and Base Row
Chain a multiple of 5 + 1. For a 14-inch wide panel, Chain 56.
Color A – Row 1 (Foundation):
- SC in the 2nd Ch from hook and in each Ch across. Ch 1, turn. (55 SC)
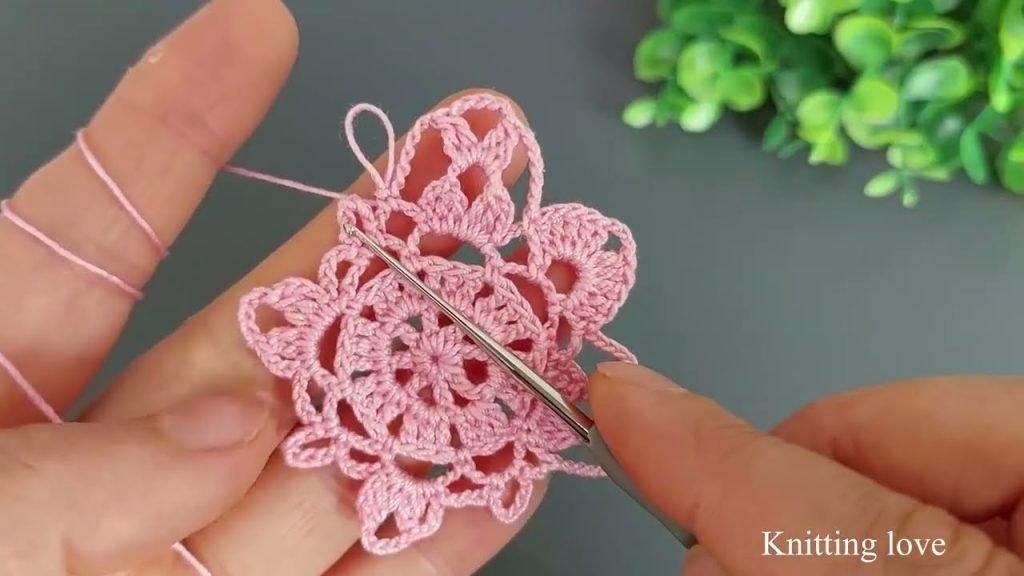
Step 2: The 2-Row Repeat
Color A – Row 2 (Shell Setup):
- SC in the first SC.
- *Ch 2, Sk 2 SC, SC in the next SC.
- Ch 2, Sk 2 SC, SC in the next SC. Rep from * across, ending with: SC in the last SC. Ch 3 (counts as 1st DC), turn. (18 sets of Ch-2 loops)
Color B – Row 3 (Shell Row):
Change to Color B on the final loop of the turning chain of Row 2.
- Work 2 DC into the first Ch-2 Sp (this forms a half-shell edge).
- SC into the SC between the two Ch-2 loops.
- *Work Shell (2 DC, Ch 1, 2 DC) into the next SC (the one where two Ch-2 loops meet). SC in the next SC.
- Rep from * across, ending the final repeat with: SC in the last SC, 3 DC into the last Ch-2 Sp. Ch 1, turn.
Color B – Row 4 (Mesh Reset):
- SC in the first DC.
- *Ch 2, SC into the Ch-1 Sp of the Shell.
- Ch 2, SC into the SC between the shells.
- Rep from * across, ending with: Ch 2, SC in the top of the turning Ch 3. Ch 3 (counts as 1st DC), turn.
Color C – Row 5 (Shell Repeat):
Change to Color C on the final loop of the turning chain of Row 4.
- Work 2 DC into the first Ch-2 Sp (half-shell edge).
- SC into the SC between the shells.
- *Work Shell (2 DC, Ch 1, 2 DC) into the next SC. SC in the next SC.
- Rep from * across, ending the final repeat with: SC in the last SC, 3 DC into the last Ch-2 Sp. Ch 1, turn.
Color C – Row 6 (Mesh Reset Repeat):
- SC in the first DC.
- *Ch 2, SC into the Ch-1 Sp of the Shell.
- Ch 2, SC into the SC between the shells.
- Rep from * across, ending with: Ch 2, SC in the top of the turning Ch 3. Ch 3 (counts as 1st DC), turn.
Step 3: Continuing the Panel Body
Repeat Rows 5 and 6 (alternating colors every two rows) until the panel measures approximately 12 inches tall (around 32-34 rows).
- Final Row (Stabilize): After the last Shell Row, work one final row of SC in every DC and Ch-1 Sp across the row. Fasten off.
Part 2: Assembly and Handles
Step 1: Seaming the Panels
- Place the two completed panels together, right sides facing in.
- Using a Sl St or SC seam, join the bottom edge and the two side edges together.
- Leave the top 14-inch edge open.
- Turn the bag right side out.
Step 2: Creating the Handles (Make 2)
The handles are worked separately and then securely attached.
- Chain: Using Color A, Ch 80 (or to desired handle length, approx. 20 inches).
- Row 1: SC in the 2nd Ch from hook and in each Ch across. Ch 1, turn.
- Rows 2-3: SC in each SC across.
- Fasten off, leaving a long tail for sewing.
Step 3: Attaching the Handles
- Place the bag flat. Mark the placement for the handles: centered on the front and back panels, approximately 3 inches in from each side seam.
- Using the long tail, sew the handle securely to the marked spots on the bag’s upper edge. Use a whipstitch or mattress stitch, ensuring the ends are firmly anchored to withstand use.
Part 3: Top Edge and Final Touches
Step 1: Top Edge Stabilizer
To finish the top opening of the bag and provide a clean edge around the handle attachments:
- Rejoin Color A to the side seam, Ch 1.
- Round 1 (SC): SC evenly around the entire top perimeter of the bag, including the attachment points of the handles. Be generous with the SCs where the handle meets the bag for stability. Sl St to the Beg SC to join.
- Round 2 (Reverse SC/Crab Stitch): Ch 1, SC backward (from left to right for right-handers) into each SC around. This creates a tight, ropelike edge that helps the bag opening hold its shape. Sl St to the Beg SC.
Step 2: Lining (Highly Recommended)
Because of the slightly open nature of the mesh rows, lining the bag is recommended to prevent items from falling out and to increase the bag’s longevity and sturdiness.
- Cut a simple cloth lining using cotton or canvas fabric, matching the bag dimensions.
- Stitch the fabric pieces together, leaving the top open.
- Insert the lining into the bag and hand-stitch the top edge of the lining securely to the Reverse SC border.

Finishing:
- Weave in any remaining ends from the color changes and seams.
- Lightly steam block the bag to set the shape.
Your Rainbow Ripple Handbag is ready for your next outing!
Video tutorial: