
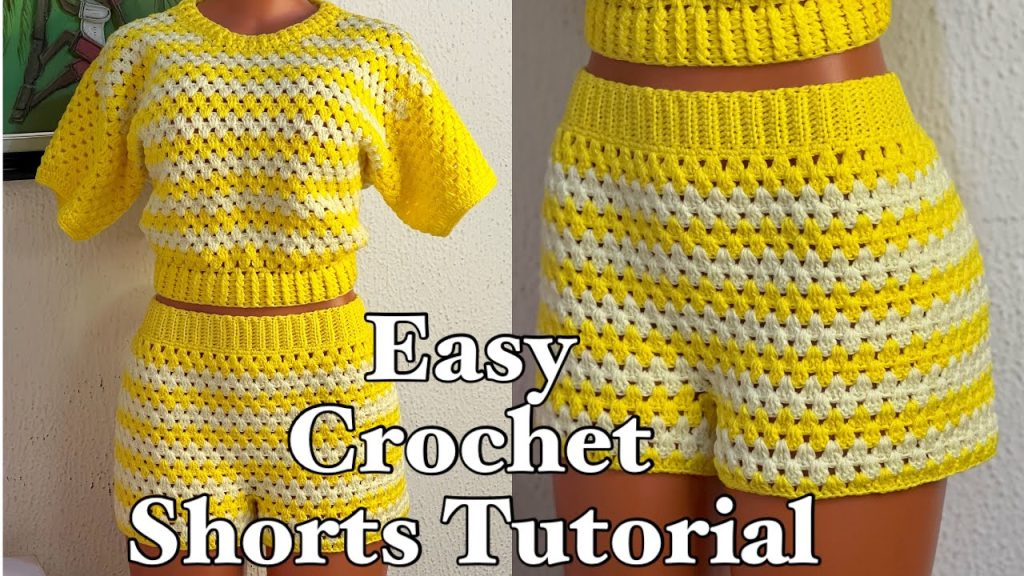
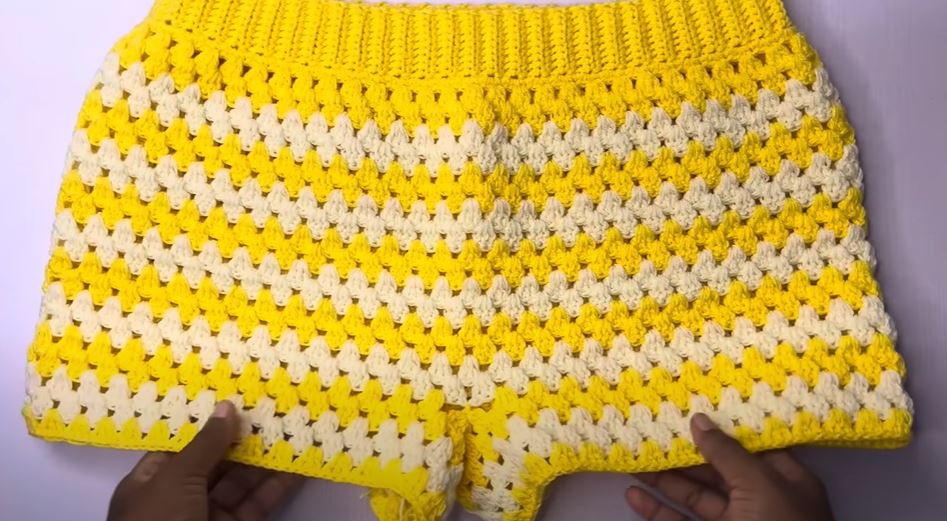
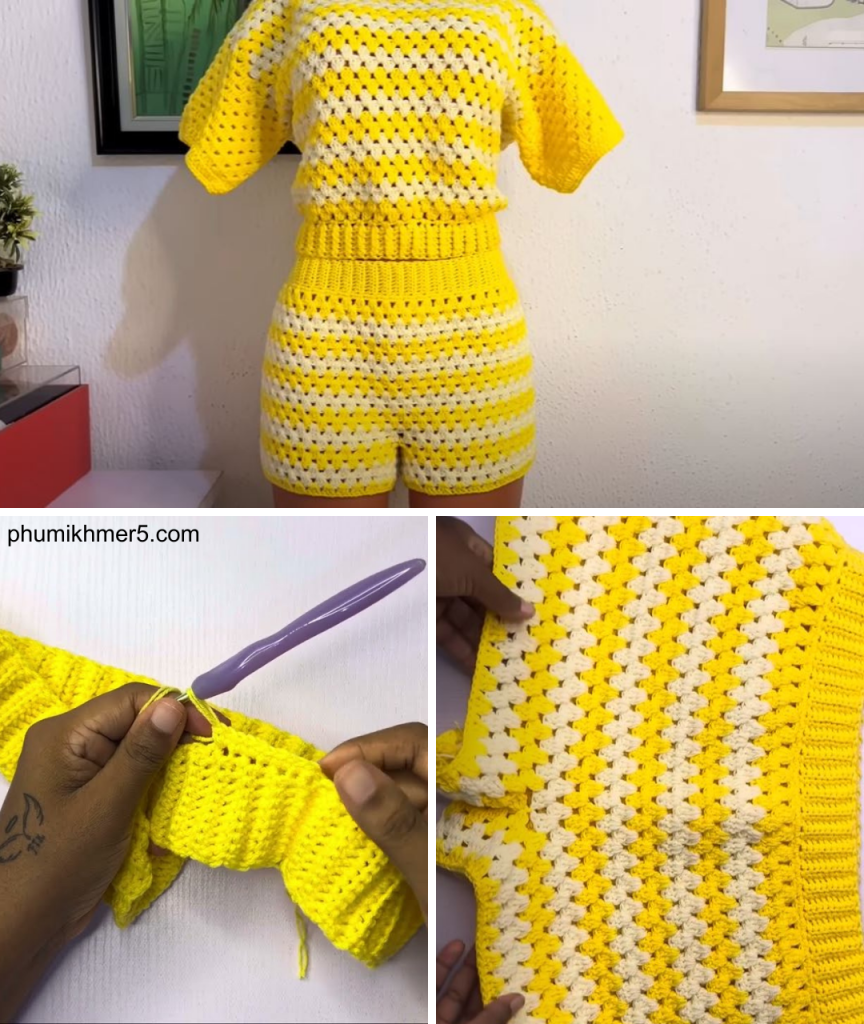
Nothing says summer comfort and style quite like a pair of lightweight, handmade shorts. The “Summer Breeze” Granny Stitch Crochet Shorts are a perfect project for any crocheter looking for a fun, stylish, and surprisingly simple garment. Using the timeless and rhythmic granny stitch, these shorts are not only a joy to make but also feature a beautiful drape and an airy feel, perfect for a sunny day.
This detailed, beginner-friendly tutorial will guide you through creating these shorts, working from the top down for a seamless, comfortable fit. The repetitive nature of the granny stitch makes this a wonderfully meditative project, and you’ll be amazed at how quickly these shorts work up.
Why Crochet the Summer Breeze Shorts?
- Beginner-Friendly Garment: The granny stitch is a fundamental crochet pattern, making this a great first project for crocheting wearable items.
- Lightweight & Comfortable: The open, lacy nature of the granny stitch is perfect for a breathable summer garment.
- Seamless Construction: Working from the top down means minimal finishing and seaming, making the process faster and the final product more comfortable.
- Customizable Fit: The pattern is easily adjustable in length and width to create a perfect, custom fit.
- Stylish & Unique: A handmade pair of shorts is a statement piece that is both fashionable and personal.
1. Planning Your Shorts: Size & Materials
- Sizing: This pattern is written for a standard Women’s Small/Medium (S/M) with instructions on how to adjust for other sizes.
- Finished Waist Circumference (approx.): 28-30 inches (71-76 cm).
- Pro Tip: Measure your waist and hip circumference to ensure the best fit.
- Yarn Choice: The drape of your shorts is crucial for comfort.
- Fiber: Choose a lightweight and breathable yarn like Cotton, Linen, Bamboo, or a Cotton blend.
- Weight: DK (#3) or a light Worsted Weight (#4) yarn is ideal for this project.
- Color: The granny stitch looks beautiful in solid colors, but you could also use a variegated yarn for a fun, multi-color effect.
- Quantity: For a S/M size, you will need approximately 400-500 yards (365-457 meters) of yarn.
2. Materials You’ll Need
- Yarn: Your chosen quantity of DK (#3) or a light Worsted Weight (#4) yarn.
- Crochet Hook: 4.0 mm (G-6 US) or a size that gives you a lovely, flexible fabric with your yarn. A looser gauge is better for a garment.
- Scissors: For cutting yarn.
- Yarn Needle (Tapestry Needle): For weaving in ends.
- Measuring Tape: Crucial for checking your gauge and measurements.
- Stitch Marker (Optional): To mark the beginning of rounds.
- Elastic Band (Optional): A thin elastic band for the waistband if you prefer.

3. Essential Crochet Stitches & Techniques
- Slip Knot
- Chain (ch)
- Slip Stitch (sl st): For joining rounds.
- Double Crochet (dc)
- Granny Stitch Cluster (Granny Cluster): A group of 3 dc stitches worked into the same chain space or stitch.
- Working in the Round: The shorts are worked in continuous rounds from the top down.
- Turning Chains: A Ch 2 or Ch 3 at the beginning of a round can count as the first dc, but for this pattern, we will simply join with a sl st to the first dc of the round.
4. Let’s Crochet the Summer Breeze Shorts!
We will start with the waistband, then increase to create the hip area, and finally split for the legs.
Pattern Notes:
- The pattern is worked in a multiple of 3 stitches for the granny cluster.
- All rounds are joined with a sl st to the top of the first dc of the round.
- The shorts are worked from the top down.
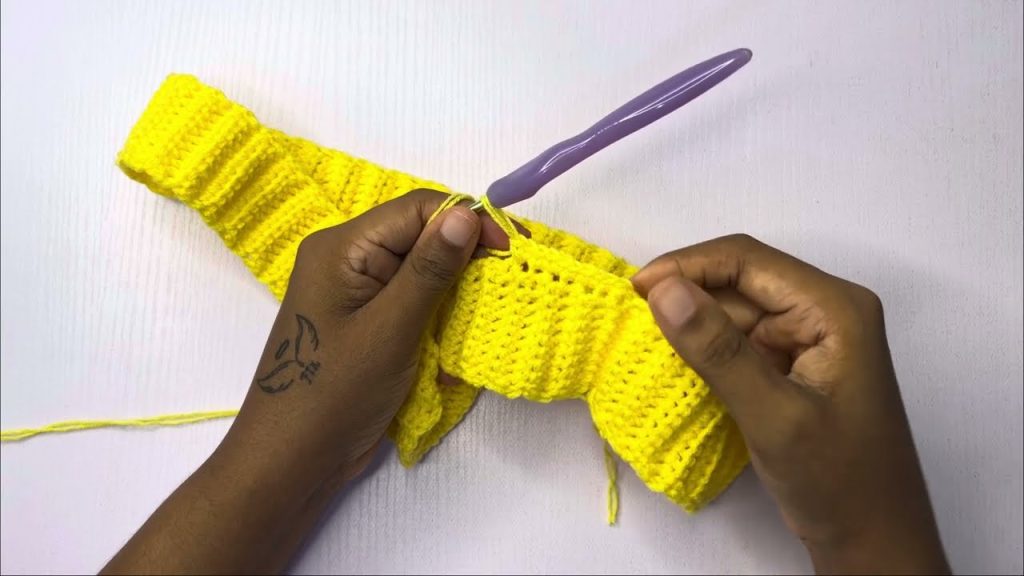
Part 1: The Waistband & Yoke
This creates the top section of the shorts, fitting around the waist and hips.
- Foundation Chain: Ch 90 (96, 102).
- S/M: Ch 90
- L/XL: Ch 96
- 1X/2X: Ch 102
- Adjust to a chain length that fits your waist, making sure it’s a multiple of 3.
- Round 1: Join with a sl st to the first ch to form a ring, being careful not to twist the chain. Ch 2 (does not count as a stitch). Work 1 dc in each ch around. Join with a sl st to the first dc.
- [90 (96, 102) dc]
- Rounds 2-4 (Waistband): Ch 2. Work 1 dc in each dc around. Join with a sl st to the first dc.
- This creates the height of the waistband. You can adjust the number of rows for a wider or narrower band.

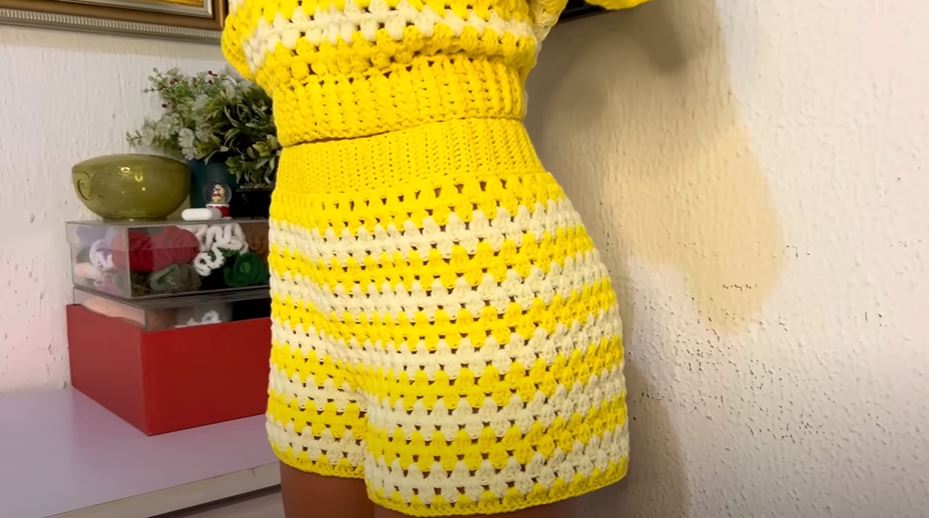
Part 2: The Hip Shaping
We’ll switch to the granny stitch now and increase to fit the hips.
- Round 5 (Granny Stitch Start): Ch 2 (does not count as a stitch). Work a Granny Cluster (3 dc) in the same stitch as the join. Skip 2 stitches, work a Granny Cluster in the next stitch. Repeat from * to * around. Join with a sl st to the first dc of the first cluster.
- [30 (32, 34) clusters]
- Round 6 (Increase Round): Ch 2. Work a Granny Cluster into the space between the first two clusters of the previous round. Work a Granny Cluster in the next space. Work a Granny Cluster in the next space. Work an Increase Cluster (3 dc, ch 1, 3 dc) in the next space. Repeat from * to * around until you have 2 spaces left. Work a Granny Cluster in each of the last two spaces. Join with a sl st.
- This round adds a little extra room for the hips. You can add more increase rounds if you need to.
- Rounds 7-10: Ch 2. Work a Granny Cluster into each space around. Join with a sl st to the first dc of the round.
- Continue working the granny stitch in each space until the shorts reach your crotch level.
Part 3: Splitting for the Legs
This is where the shorts come to life!
- Round 11 (Leg Separation): Ch 2. Work Granny Clusters in each space across the front half of the shorts. When you reach the side, Ch 6 (8, 10) (this creates the crotch seam). Skip to the other side of the shorts and join with a sl st to the first Granny Cluster on the back half of the shorts.
- Count your clusters and chain to make sure the front and back are even. The chain length determines the depth of the crotch seam.
- Round 12 (Leg 1): Ch 2. Work Granny Clusters in each space around the shorts, including the spaces created by the chain from the previous round. Join with a sl st.
- Repeat Round 12: Continue working Granny Clusters in rounds for about 6-8 rounds to reach your desired shorts length.
- You can make them longer or shorter simply by continuing or stopping the rounds.
Part 4: The Second Leg & Finishing
- Leg 2: Rejoin yarn at the crotch seam on the other side.
- Repeat Rounds 12 onwards from Part 3 for the second leg.
- Finishing:
- Fasten off, leaving a tail to weave in.
- Weave in all ends securely.
- For the waistband, you can thread a thin elastic band through the spaces on the inside to ensure a snug fit.
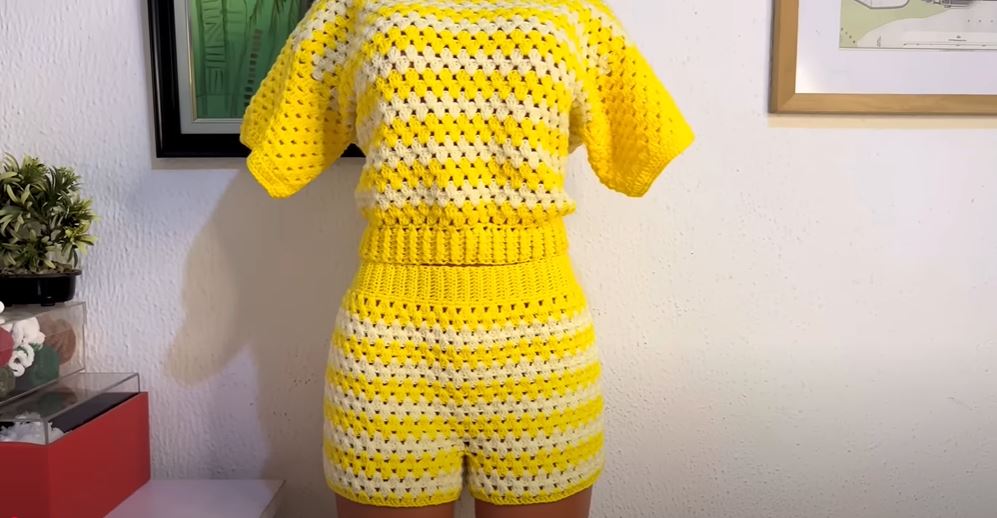
- Give your shorts a light steam block to even out the stitches and improve the drape.
Enjoy your beautiful, handmade “Summer Breeze” Granny Stitch Crochet Shorts. They are a testament to your skill and a perfect addition to your warm-weather wardrobe!
Video tutorial:


