There’s a simple joy in creating a beautiful, delicate crochet flower. The “Desert Bloom” Crochet Flower is a perfect project for any crocheter, featuring a simple stitch that creates a lovely, multi-layered bloom. This detailed tutorial will guide you through creating a charming, versatile flower that can be used for a wide variety of projects, from embellishing a hat or bag to creating a beautiful garland.
This pattern is an excellent choice for a beginner looking to create a beautiful, practical item or for an experienced crocheter wanting a fast and fun project that results in a beautiful, handmade embellishment. The small size and simple construction make it a quick and rewarding project.

Why Crochet the Desert Bloom Flower?
- Quick & Easy: These flowers work up in a short amount of time, making them a perfect last-minute embellishment or gift.
- Beginner-Friendly: Uses only fundamental crochet stitches, making it accessible for those new to the craft.
- Versatile: Use them to decorate a wide variety of items, from bags and hats to blankets and clothing.
- Great for Scrap Yarn: This project is a fantastic way to use up small amounts of leftover yarn from other projects.
- Unique & Personal: A handmade embellishment adds a special, personal touch to any project.
1. Planning Your Flower: Size & Materials
- Finished Size: The pattern is designed for a small, versatile flower, approximately 2 inches (5 cm) in diameter.
- Yarn Choice: Choose a yarn that is durable and has good stitch definition.
- Fiber: A sturdy, medium-weight yarn like Worsted Weight (#4) in Acrylic or Cotton is a great choice.
- Color: You can use a single color for a minimalist look or use multiple colors for a two-toned effect.
- Quantity: You will need approximately 10-15 yards (9-14 meters) of yarn per flower.
2. Materials You’ll Need
- Yarn: Your chosen quantity of Worsted Weight (#4) yarn.
- Crochet Hook: 4.0 mm (G-6 US) or a size that gives you a dense but flexible fabric with your yarn.
- Scissors: For cutting yarn.
- Yarn Needle (Tapestry Needle): For weaving in ends.

3. Essential Crochet Stitches & Techniques
- Slip Knot
- Chain (ch)
- Slip Stitch (sl st): For joining and neatening.
- Single Crochet (sc)
- Double Crochet (dc)
- Half Double Crochet (hdc)
- Treble Crochet (tr): Yarn over twice, insert hook into stitch, pull up a loop (4 loops on hook). [Yarn over, pull through 2 loops] 3 times.
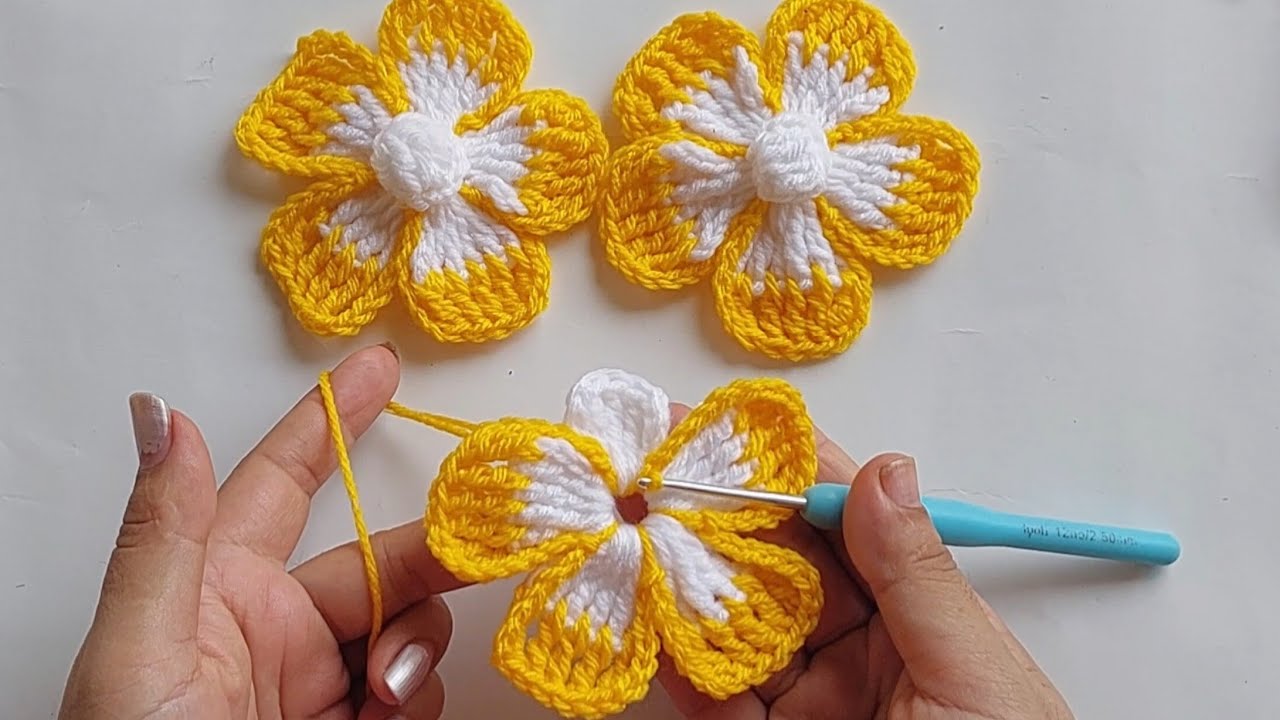
4. Let’s Crochet the Desert Bloom Flower!
The flower is made by creating a base ring and then working the petals into that ring.
Pattern Notes:
- The flower is worked in rounds.
- The petals are worked into the same base ring.
Part 1: The Base Ring
- Start with a Magic Ring (or Ch 4, sl st to first ch to form a ring).
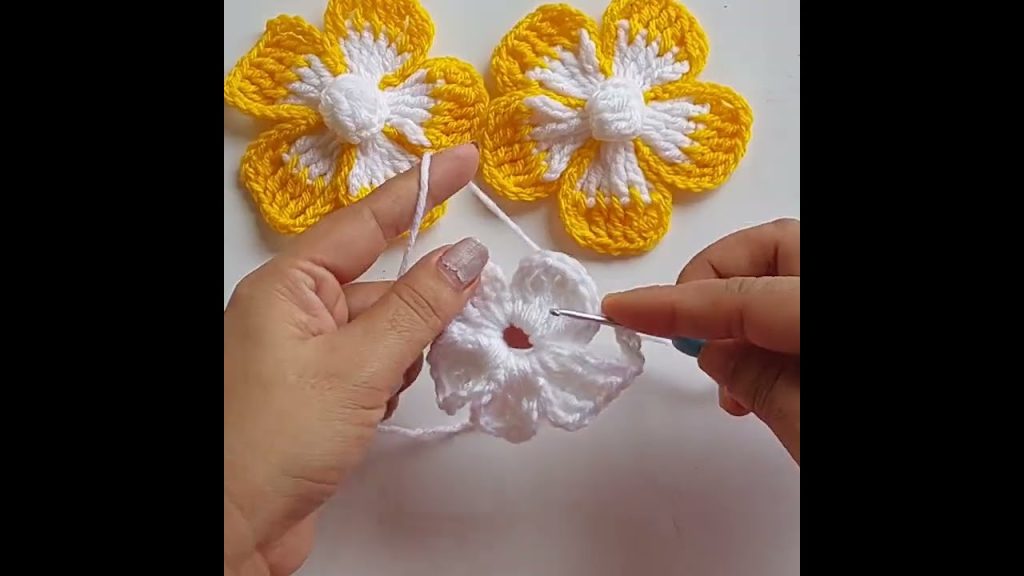
Part 2: The Inner Petals
- Ch 1 (does not count as a stitch).
- Work 10 sc into the magic ring. Join with a sl st to the first sc.
- Round 1 (Petals): Ch 1 (does not count as a stitch). Work a sl st into the first sc. Ch 2, work 1 hdc into the same stitch. Ch 2, sl st into the same stitch. Repeat from * to * into each of the remaining 9 sc stitches around.
- You will have 10 small petals.
Part 3: The Outer Petals
- Work into the back of the sc stitches from the base ring.
- Ch 1 (does not count as a stitch). Sl st into the back loop of the first sc from the base ring.
- Ch 3, work 1 dc into the same stitch. Ch 3, sl st into the same stitch. Repeat from * to * into each of the remaining 9 sc stitches around.
- You will have 10 larger petals.
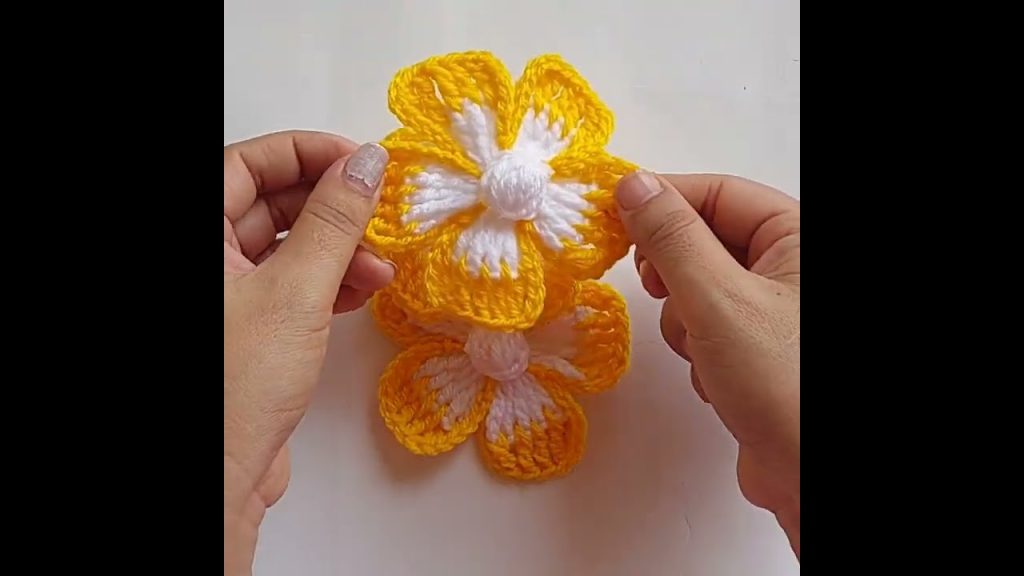
Part 4: The Final Touches
- Fasten off, leaving a long tail for sewing if you plan to attach the flower to something.
- Weave in all ends securely.
- You can use your yarn needle to sew a small bead or button to the center of the flower for an added touch.
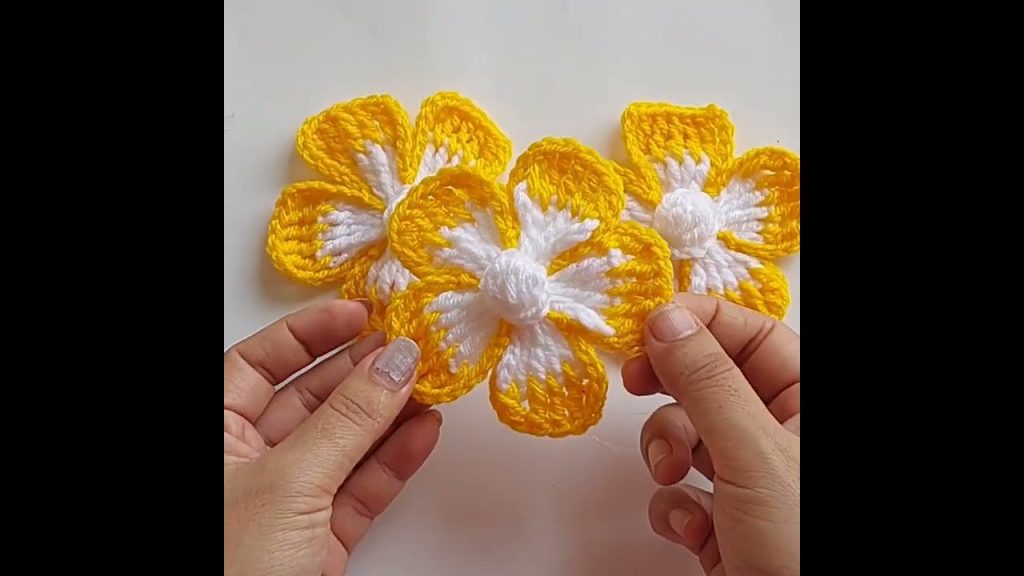
Enjoy your beautiful, handmade “Desert Bloom” Crochet Flower. It’s a labor of love that is a perfect addition to any project!
Video tutorial:


