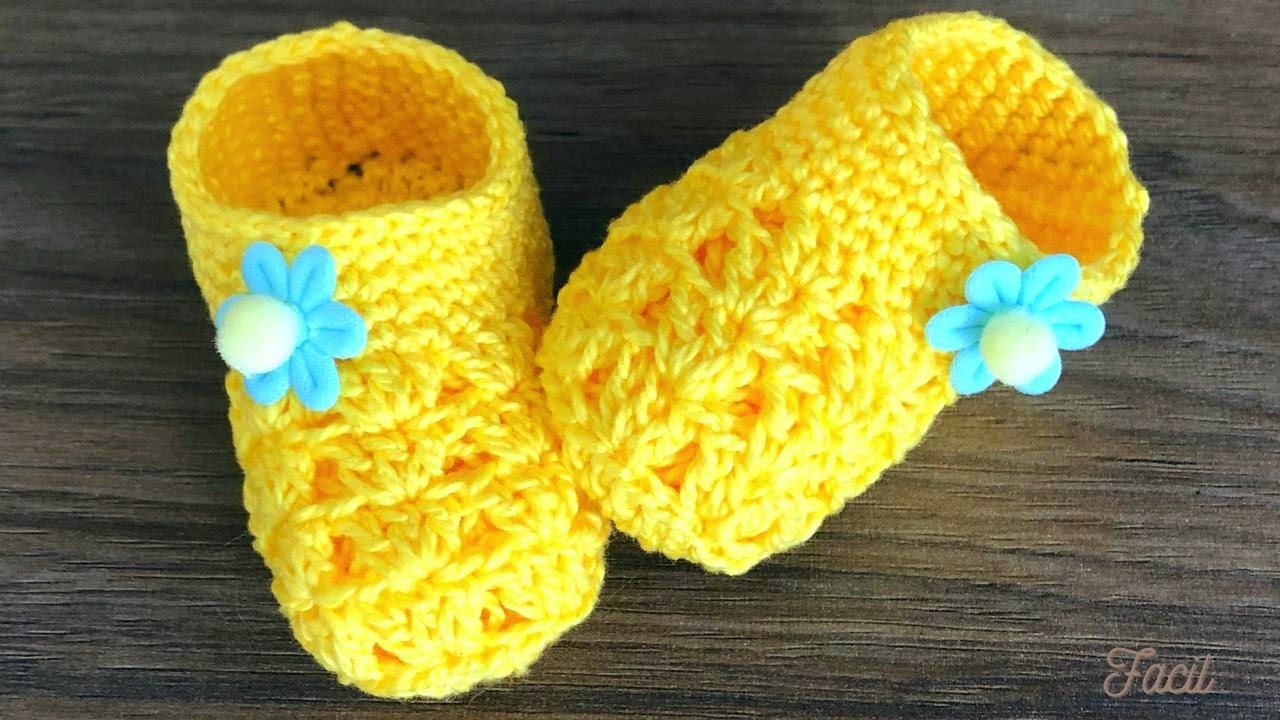
A handmade pair of baby booties is a timeless and heartfelt gift that will be cherished for years to come. The “Tiny Toes” Crochet Baby Booties are a perfect project for any crocheter, featuring a simple, classic design with a touch of whimsy. This detailed tutorial will guide you through creating a sturdy, stylish, and fun pair of booties that are perfect for keeping little feet warm.

This project is an excellent choice for a beginner looking to create a beautiful, practical garment or for an experienced crocheter wanting a fast and fun project that results in a beautiful, heirloom-quality item. The booties are worked from the sole up, which makes them a seamless project that is easy to try on as you go.
Why Crochet the Tiny Toes Booties?
- Top-Down Construction: The booties are worked from the sole up, which means there is no seaming required on the body of the shoe! This makes the process faster and the finished garment more comfortable for a baby.
- Seamless & Fast: The booties are worked in rounds, which makes them a quick and satisfying project.
- Beginner-Friendly: Uses only fundamental crochet stitches, making it accessible for those new to the craft.
- Customizable: Easily change the size, colors, and number of stitches to create a bootie that is a perfect fit for you.
- Heartfelt Gift: A handmade pair of booties is a personal and incredibly thoughtful gift for a new baby.
1. Planning Your Booties: Size & Materials
- Sizing: This pattern is written for a standard 0-6 Months Old with instructions on how to adjust for a larger size.
- Finished Sole Length (approx.): 3.5 inches (9 cm).
- To adjust for a larger size, use a larger hook and/or increase the starting chain length.
- Yarn Choice: Choose a yarn that is soft, gentle on a baby’s skin, and machine-washable.
- Fiber: Look for a baby-specific yarn in acrylic, wool, or a soft cotton blend.
- Weight: Worsted Weight (#4) yarn is ideal for this project, as it creates a beautiful, cozy fabric.
- Color: A single, solid color will best highlight the simple stitch pattern.
- Quantity: You will need approximately 50-75 yards (45-70 meters) of yarn per pair of booties.
2. Materials You’ll Need
- Yarn: Your chosen quantity of Worsted Weight (#4) yarn.
- Crochet Hook: 4.0 mm (G-6 US) or a size that gives you a dense but flexible fabric with your yarn.
- Scissors: For cutting yarn.
- Yarn Needle (Tapestry Needle): For weaving in ends.
- Stitch Markers (Optional): To mark the beginning of rounds.
3. Essential Crochet Stitches & Techniques
- Slip Knot
- Chain (ch)
- Slip Stitch (sl st): For joining and neatening.
- Single Crochet (sc)
- Half Double Crochet (hdc)
- Working in the Round: The booties are worked in continuous rounds from the top down.
- Working in the Back Loop Only (BLO): This creates a defined ridge, marking the transition from the sole to the body of the bootie.
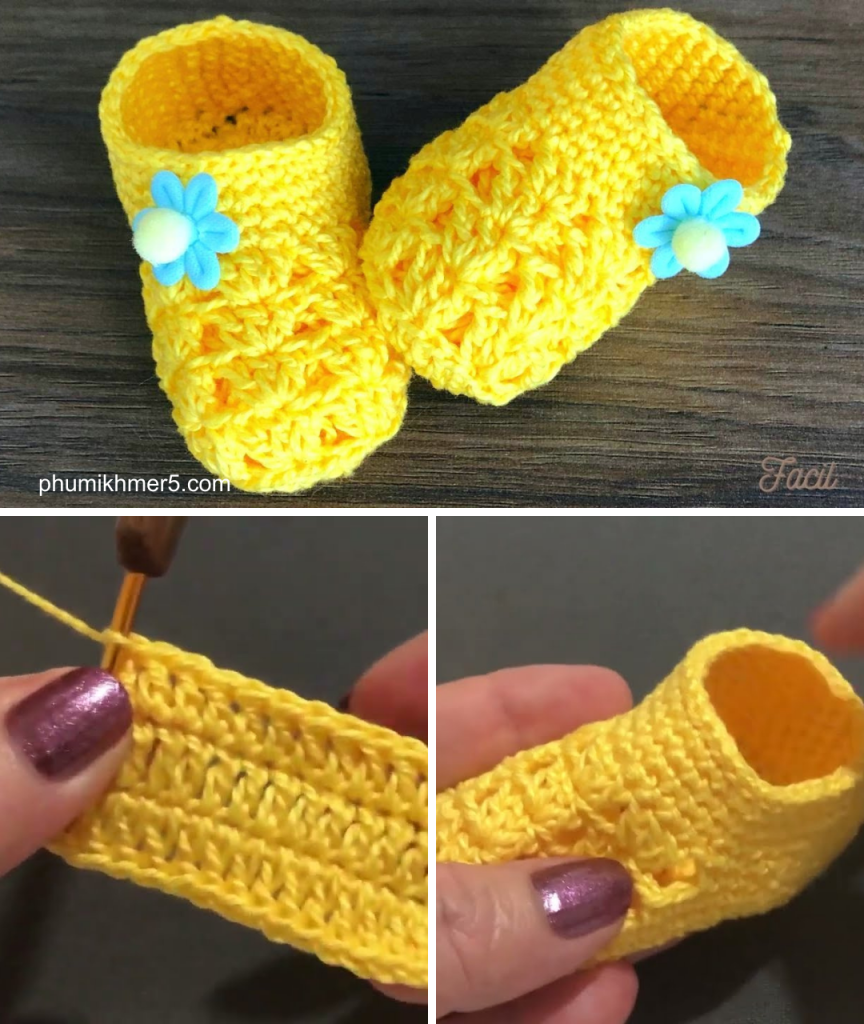
4. Let’s Crochet the Tiny Toes Booties!
We will start at the sole, then work up the body, and finish with the cuff and details.
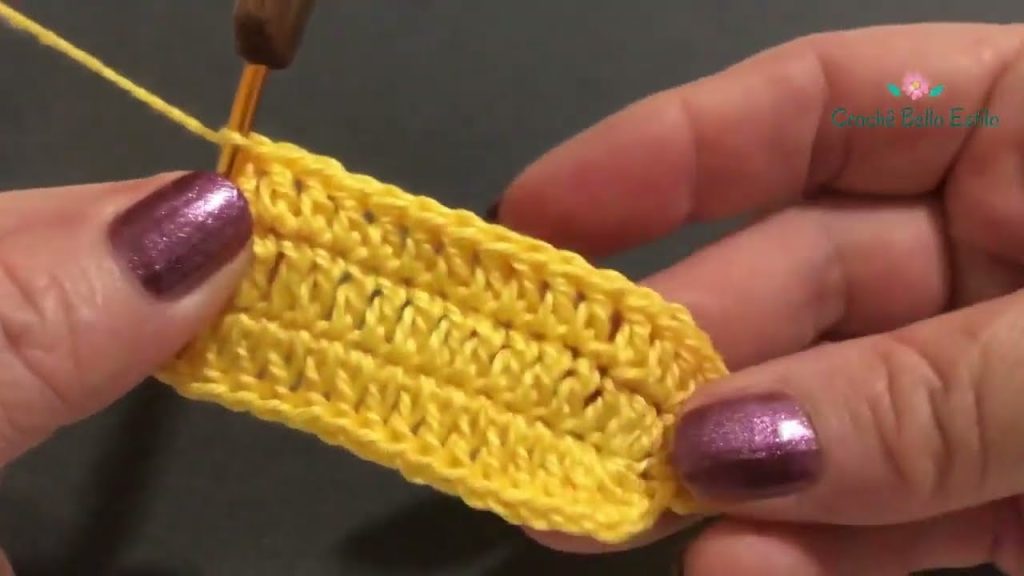
Part 1: The Sole (Worked in Oval Rounds)
This creates the flat, bottom part of the bootie.
- Foundation Chain: Ch 11.
- Round 1: Hdc in the 2nd ch from hook. Hdc in each of the next 8 chs. Work 5 hdc in the last ch. Now, working on the opposite side of the foundation chain, hdc in each of the next 9 stitches. Join with a sl st to the first hdc of the round.
- Round 2: Ch 2 (does not count as a stitch). Work 2 hdc in the first stitch. Hdc in each of the next 8 stitches. Work 2 hdc in each of the next 5 stitches. Hdc in each of the next 8 stitches. Work 2 hdc in the last stitch. Join with a sl st.
- Fasten off and weave in the end.
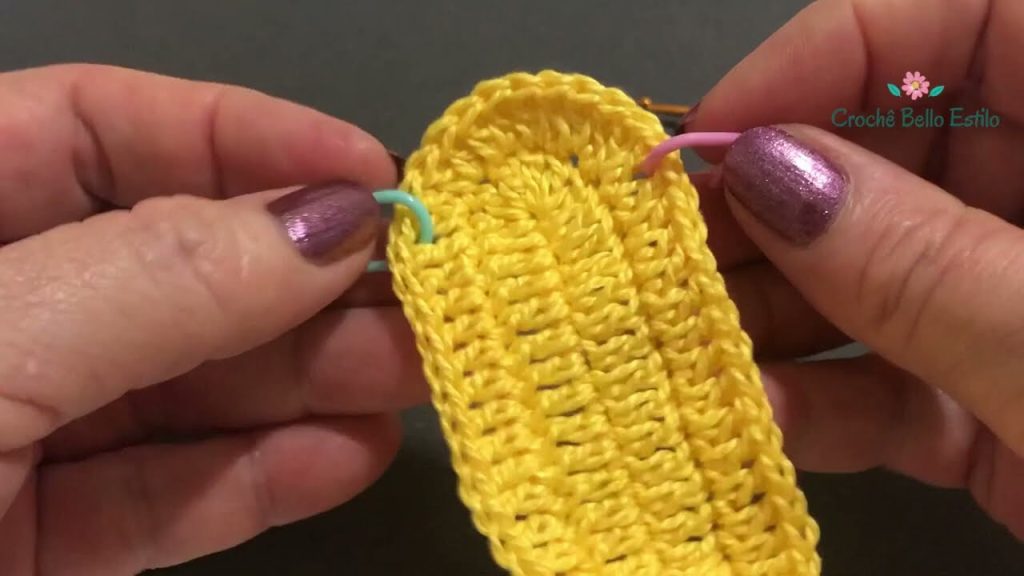
Part 2: The Body (Worked in Rounds)
This is where you’ll create the height of the bootie.
- Round 1 (Defining the Edge): Rejoin yarn to the back of the sole. Ch 1 (does not count as a stitch). Sc in the back loop only (BLO) of each stitch around. Join with a sl st to the first sc.
- Working in the BLO creates a defined ridge, marking the transition from the sole to the body of the bootie.
- Round 2: Ch 1. Sc in each stitch around. Join with a sl st.
- Round 3: Ch 1. Sc in the next 10 stitches. Sc2tog (single crochet decrease) 5 times. Sc in the next 10 stitches. Join with a sl st.
- Round 4: Ch 1. Sc in the next 8 stitches. Sc2tog 3 times. Sc in the next 8 stitches. Join with a sl st.
- Round 5: Ch 1. Sc in each stitch around. Join with a sl st.
Part 3: The Cuff
This step gives the bootie its cozy, finished look.
- Round 1: Ch 2. Hdc in each stitch around. Join with a sl st.
- Rounds 2-4 (Ribbing): Ch 2. Hdc in the back loop only (BLO) of each stitch around. Join with a sl st.
- Fasten off and weave in all ends.
Enjoy your beautiful, handmade “Tiny Toes” Crochet Baby Booties. They’re a labor of love that is a perfect addition to any baby’s wardrobe!
Video tutorial:


