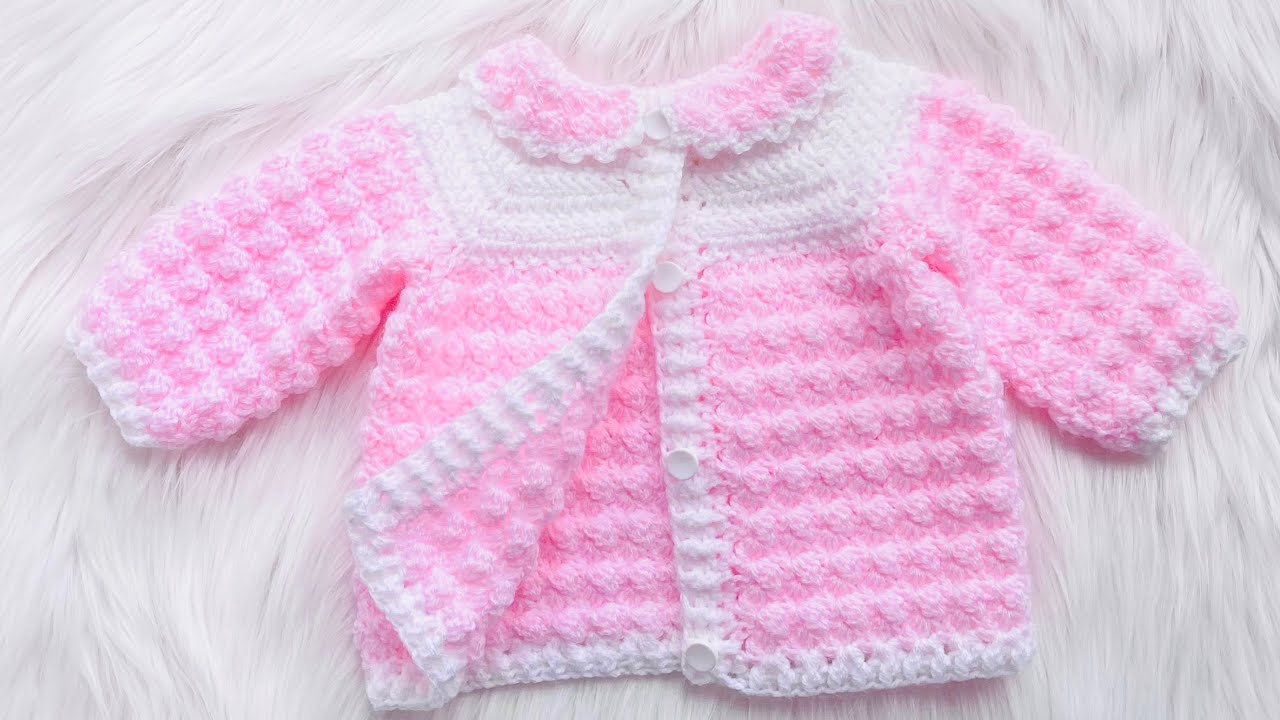
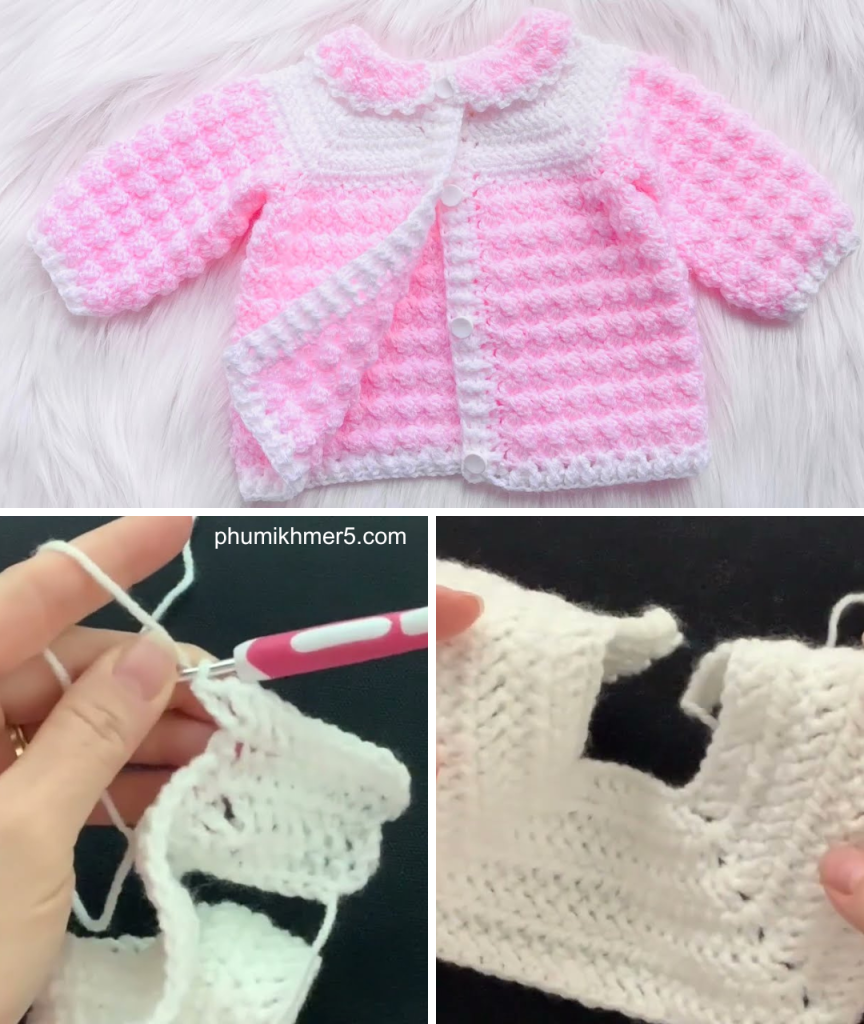
A handmade baby cardigan is a timeless and cherished gift that will be treasured for years to come. The “Little Ivy Baby Cardigan” is a perfect project for any crocheter, featuring a simple, repetitive stitch pattern that creates a beautiful, textured fabric. This detailed tutorial will guide you through creating a soft, cozy, and charming cardigan that is perfect for keeping a little one warm.

This project is an excellent choice for a beginner looking to create a beautiful, practical garment or for an experienced crocheter wanting a fast and fun project. The cardigan is worked from the top down, which makes it a seamless project that is easy to try on as you go.
Why Crochet the Little Ivy Cardigan?
- Soft & Cozy: The stitch pattern creates a beautiful texture that is incredibly soft and comfortable for a baby.
- Beginner-Friendly: Uses only fundamental crochet stitches, making it accessible for those new to the craft.
- Works Up Quickly: The combination of simple stitches and a larger hook means your project will grow fast!
- Heartfelt Gift: A handmade cardigan is a personal and incredibly thoughtful gift for a new baby.
- Customizable: Easily change the size and colors to create a cardigan that is a perfect fit for you.
1. Planning Your Cardigan: Size & Materials
- Sizing: This pattern is written for a standard 0-6 Months Old with instructions on how to adjust for a larger size.
- Yarn Choice: Choose a yarn that is soft, gentle on a baby’s skin, and machine-washable.
- Fiber: Look for a baby-specific yarn in acrylic, wool, or a soft cotton blend.
- Weight: Worsted Weight (#4) yarn is ideal for this project, as it creates a beautiful, cozy fabric.
- Color: A single, solid color will best highlight the simple stitch pattern, but a variegated yarn or a few color stripes would also look great.
- Quantity: You will need approximately 200-300 yards (180-275 meters) of yarn per cardigan.
2. Materials You’ll Need
- Yarn: Your chosen quantity of Worsted Weight (#4) yarn.
- Crochet Hook: 4.0 mm (G-6 US) or a size that gives you a dense but flexible fabric with your yarn.
- Scissors: For cutting yarn.
- Yarn Needle (Tapestry Needle): For weaving in ends.
- Stitch Markers (Optional): To mark the beginning and end of rows.
- Buttons (Optional): For a buttoned closure.
3. Essential Crochet Stitches & Techniques
- Slip Knot
- Chain (ch)
- Slip Stitch (sl st): For joining and neatening.
- Single Crochet (sc)
- Double Crochet (dc)
- Working in Rows: The cardigan is worked in flat rows.
4. Let’s Crochet the Little Ivy Cardigan!
The cardigan is made from a simple, top-down construction that creates a beautiful garment with no seams.
Pattern Notes:
- The cardigan is worked in flat rows, from the top down.
- The cardigan is worked in one piece.
- Ch 3 at the start of a row counts as a dc.
- Ch 1 at the start of a row does NOT count as a stitch.
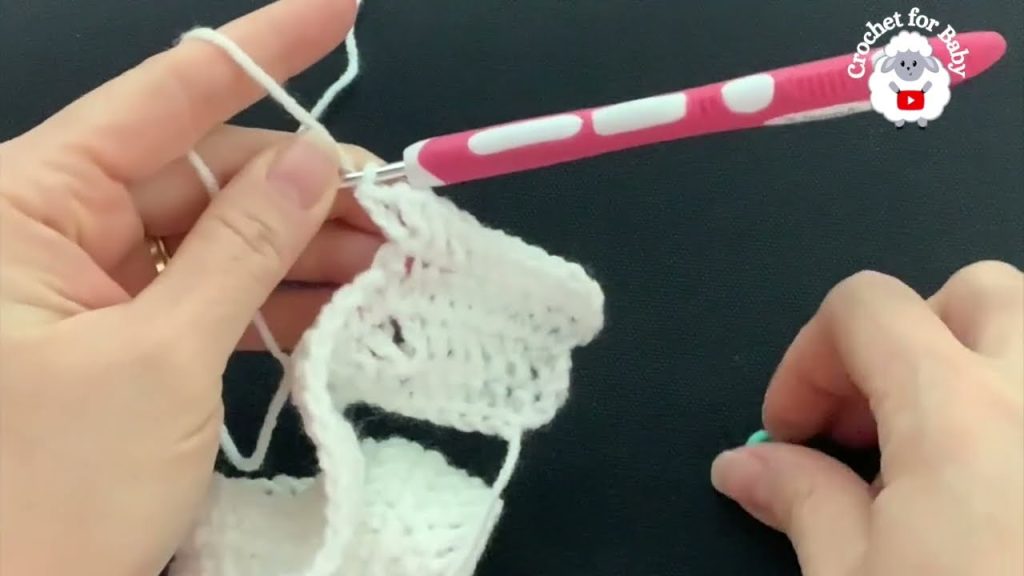
The Cardigan Yoke
- Foundation Chain: Ch 44.
- Row 1: Dc in the 4th ch from hook (counts as 1st dc). Dc in each of the next 4 ch. [Dc, ch 2, dc] in the next ch (first corner). Dc in each of the next 7 ch. [Dc, ch 2, dc] in the next ch (second corner). Dc in each of the next 12 ch. [Dc, ch 2, dc] in the next ch (third corner). Dc in each of the next 7 ch. [Dc, ch 2, dc] in the next ch (fourth corner). Dc in each of the last 5 ch. Ch 3, turn.
- Row 2: Dc in each of the next 5 stitches. [Dc, ch 2, dc] in the ch-2 space. Dc in each of the next 9 stitches. [Dc, ch 2, dc] in the ch-2 space. Dc in each of the next 14 stitches. [Dc, ch 2, dc] in the ch-2 space. Dc in each of the next 9 stitches. [Dc, ch 2, dc] in the ch-2 space. Dc in each of the last 6 stitches. Ch 3, turn.
- Row 3: Continue this pattern of working dc stitches into each stitch and a [dc, ch 2, dc] increase in each ch-2 space.
- Continue increasing in this manner until the yoke is large enough to fit across your baby’s back, under the arms (for this pattern, about 4-6 more rows).
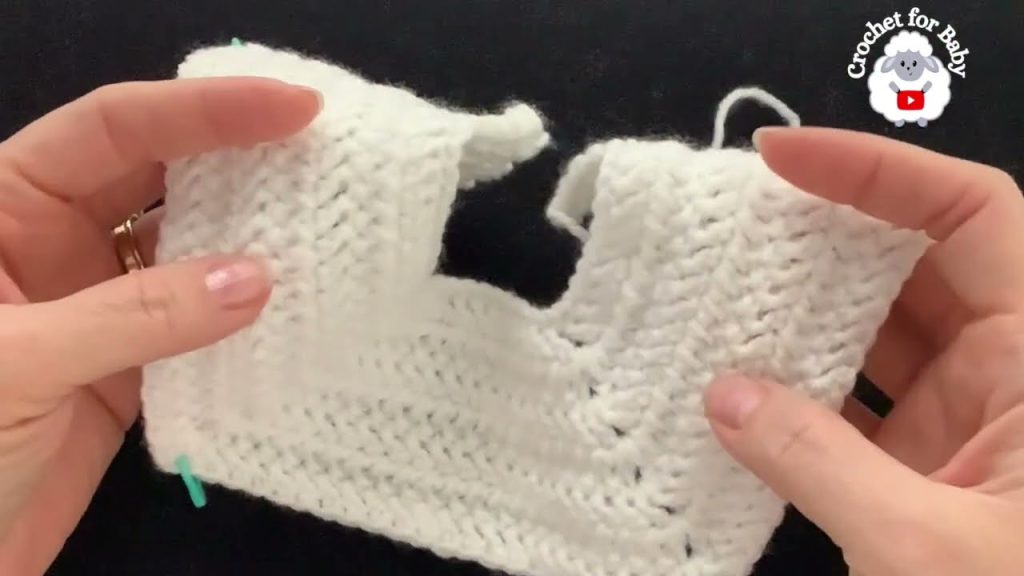
The Sleeves & Body
- Row 1 (Joining): Ch 3, turn. Dc in each stitch until you reach the first ch-2 space. Work a dc in the ch-2 space. Skip all the stitches of the sleeve section and work a dc into the next ch-2 space. Continue working dc stitches across the back panel until you reach the next ch-2 space. Work a dc in the ch-2 space. Skip all the stitches of the next sleeve section and work a dc into the next ch-2 space. Continue working dc stitches across the front panel. Ch 3, turn.
- You have now created the armholes!
- Row 2: Dc in each stitch across. Ch 3, turn.
- Repeat Row 2: Continue working rows of dc until the cardigan reaches your desired length.
- Sleeves: Join yarn to one of the armholes. Work dc stitches in the round until the sleeve reaches the desired length. Repeat for the other sleeve.
Finishing Touches
- Once your cardigan reaches the desired size, fasten off and weave in all ends securely.
- Optional Border: For a finished look, you can add a simple border of single crochet stitches around the entire edge of the cardigan.
Enjoy your beautiful, handmade “Little Ivy Baby Cardigan”. It’s a labor of love that is a perfect addition to any baby’s wardrobe!
Video tutorial:


