A handmade bag is a beautiful and personal accessory for a day out, and one made with a simple, yet elegant design is even better. The “Cloud Nine” Crochet Puff Stitch Bag is a perfect project for any crocheter, featuring a stunning, three-dimensional puff stitch that is both stylish and incredibly fun to make. This detailed tutorial will guide you through creating a sturdy, stylish, and fun bag that is perfect for carrying your essentials or for adding a touch of handmade charm to your home.
This project is an excellent choice for an intermediate crocheter or an adventurous beginner who wants to learn a new, impressive technique. The repetitive nature of the puff stitch pattern is easy to memorize once you get the hang of it, and the finished result is a unique bag with a high-end, handcrafted feel.
Why Crochet the Cloud Nine Bag?
- Unique 3D Texture: The puff stitch creates a captivating, tactile surface that sets this bag apart.
- Sturdy & Functional: The dense nature of the puff stitch makes the bag strong and helps it hold its shape.
- Skill Building: You’ll master the art of working a new, beautiful stitch pattern and learn how to create a seamless bag with a sturdy base and functional strap.
- Impressive Look: The finished bag looks much more complicated than it actually is, making it a great conversation starter.
- Customizable: Easily change the size, colors, or add a different handle to make it your own.
1. Planning Your Bag: Size & Materials
- Finished Size: The pattern is designed for a versatile bag, approximately 8 inches (20 cm) in diameter at the base and 10 inches (25 cm) tall. You can easily adjust the size by changing your hook size or the number of increase rounds.
- Yarn Choice: Choose a yarn that is durable and has good stitch definition to make the 3D effect stand out.
- Fiber: A sturdy, thick yarn like T-shirt yarn or a strong macrame cord is highly recommended. This will give the bag its shape and durability.
- Weight: A chunky or super bulky weight yarn is ideal for this project.
- Color: A single, solid color will best highlight the stitches, but a variegated yarn could also create a beautiful effect.
- Quantity: You will need approximately 200-300 yards (180-275 meters) of yarn in total.
2. Materials You’ll Need
- Yarn: Your chosen quantity of a thick, sturdy yarn.
- Crochet Hook: 8.0 mm (L-11 US) or a hook size that gives you a dense but flexible fabric with your yarn.
- Scissors: For cutting yarn.
- Yarn Needle (Tapestry Needle): For weaving in ends.
- Stitch Markers (Optional): To mark the beginning of rounds.
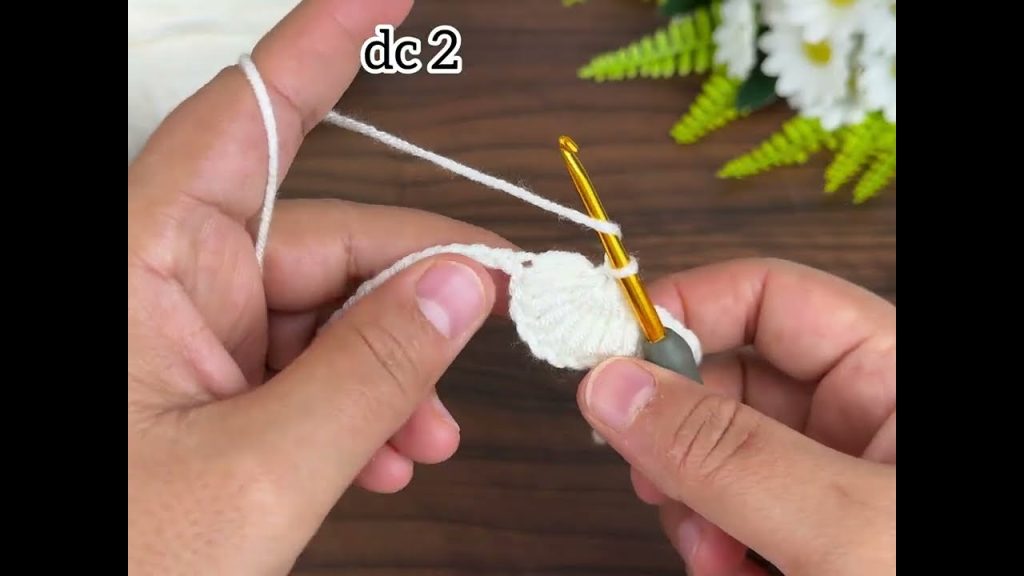
3. Essential Crochet Stitches & Techniques
- Slip Knot
- Chain (ch)
- Slip Stitch (sl st): For joining and neatening.
- Single Crochet (sc)
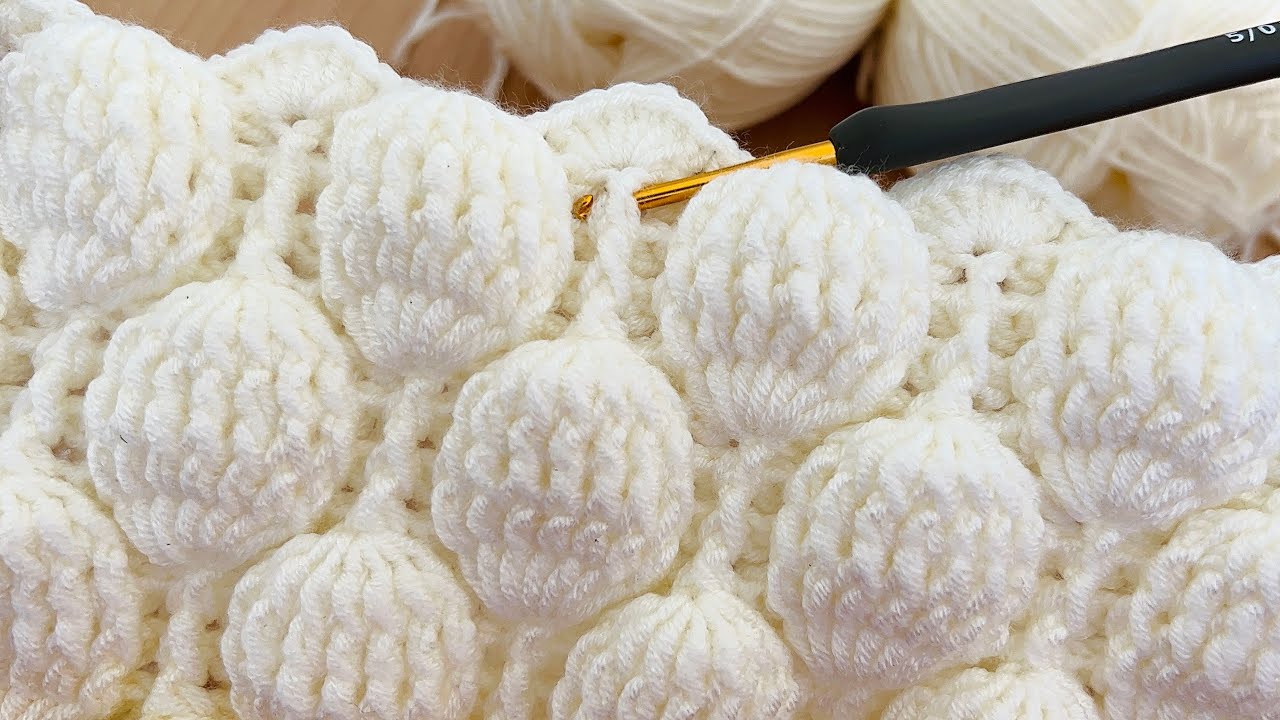
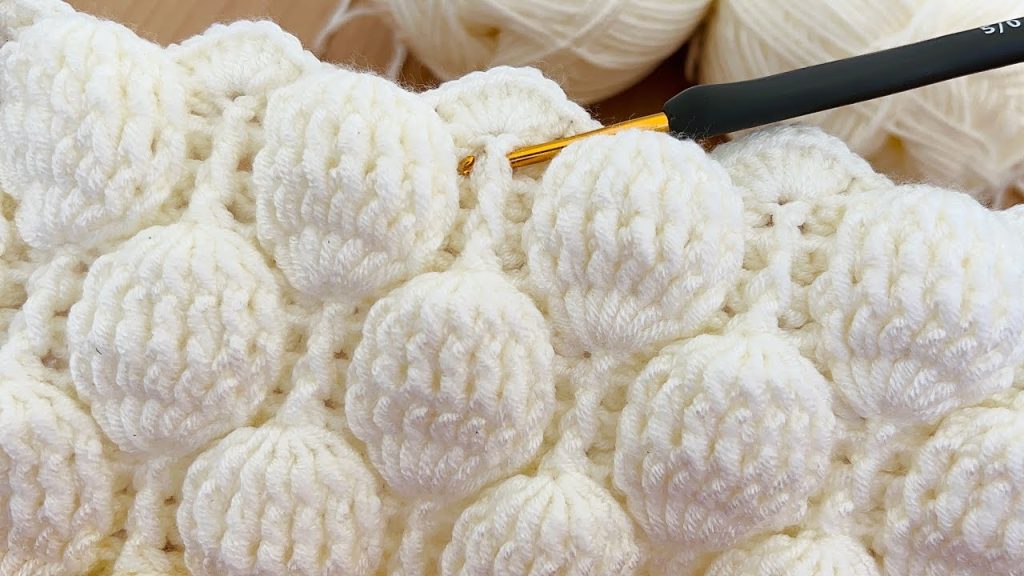
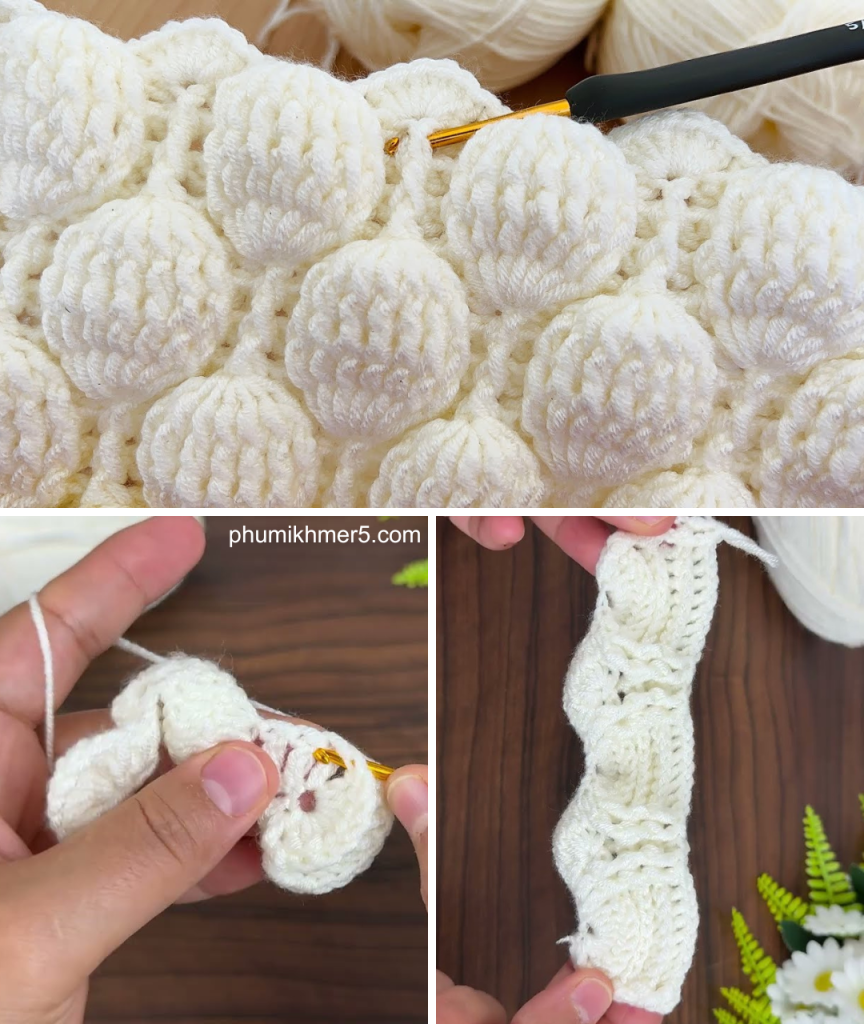
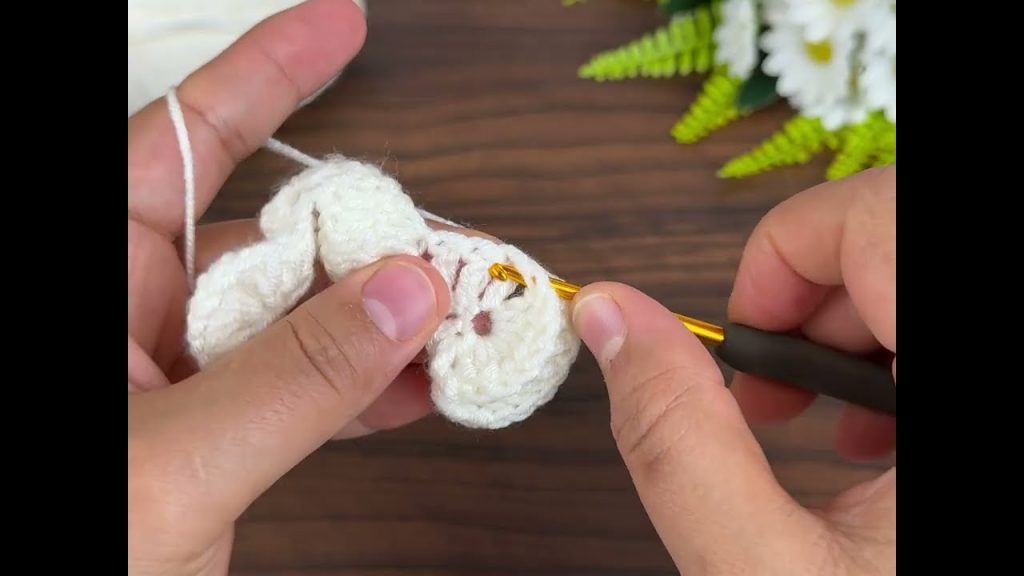
- Puff Stitch: This is the key stitch for the 3D effect. You will yarn over, insert your hook into the stitch, pull up a loop, and repeat multiple times before pulling through all the loops on your hook.
4. Let’s Crochet the Cloud Nine Bag!
We’ll start with the base, then work up the body, and finish with the top and strap.
Part 1: The Base (Worked in Rounds)
This creates a flat, sturdy foundation for your bag.
- Start with a Magic Ring (or Ch 4, sl st to first ch to form a ring).
- Round 1: Ch 1 (does not count as a stitch). Work 8 sc into the magic ring. Join with a sl st to the first sc.
- Round 2: Ch 1. Work 2 sc in each stitch around. Join with a sl st to the first sc.
- [16 sc]
- Round 3: Ch 1. Work 1 sc in the first stitch, 2 sc in the next stitch. Repeat from * to * around. Join with a sl st to the first sc.
- [24 sc]
- Round 4: Ch 1. Work 1 sc in the next 2 stitches, 2 sc in the next stitch. Repeat from * to * around. Join with a sl st.
- [32 sc]
- Round 5: Ch 1. Work 1 sc in the next 3 stitches, 2 sc in the next stitch. Repeat from * to * around. Join with a sl st.
- [40 sc]
- Continue increasing in this manner until the base of the bag is large enough to be your desired size (approximately 6-8 inches in diameter).
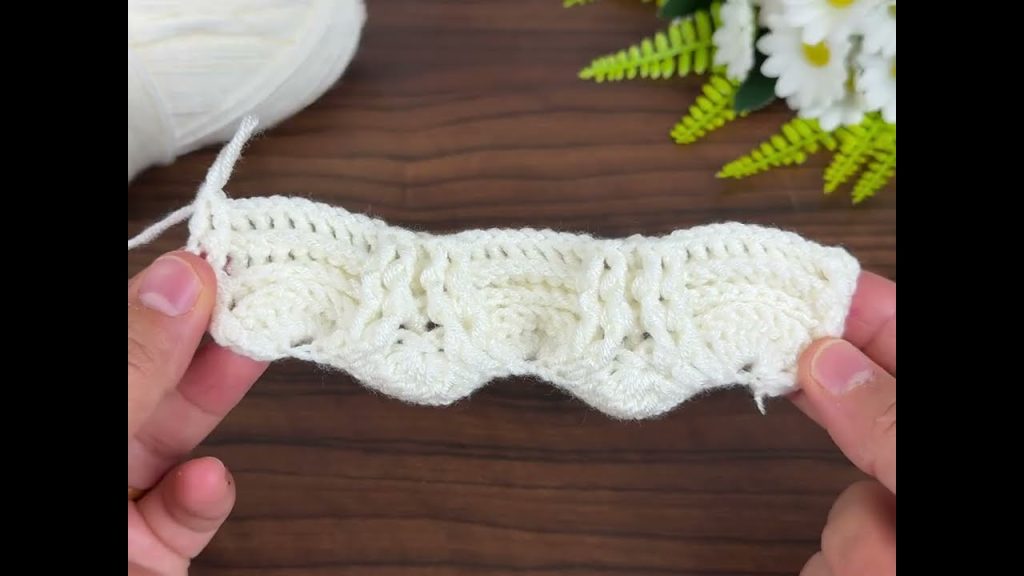
Part 2: The Body (The Puff Stitch)
This is where you’ll create the height and the beautiful puff stitch pattern.
- Round 1 (Defining the Edge): Ch 1 (does not count as a stitch). Sc in the back loop only (BLO) of each stitch around. Join with a sl st to the first sc.
- Working in the BLO creates a defined ridge, marking the transition from the base to the body of the bag.
- Round 2: Ch 1. Work 1 sc in the first stitch. Work a Puff Stitch in the next stitch, sc in the next stitch. Repeat from * to * around. Join with a sl st.
- Round 3: Ch 1. Work 1 sc in the first stitch. Work a Puff Stitch in the next stitch, sc in the next stitch. Repeat from * to * around. Join with a sl st.
- Make sure to stagger the puff stitches so they are in between the puff stitches from the previous row.
- Repeat Round 3: Continue repeating this round until the bag reaches your desired height (for this pattern, about 10 inches / 25 cm tall).
Part 3: The Strap
- Strap: Ch 101 (or a chain length that is a comfortable crossbody length for you).
- Row 1: Sc in the 2nd ch from hook and in each ch across. Ch 1, turn.
- Row 2-3: Sc in each stitch across. Ch 1, turn.
- The strap should now be a nice, sturdy strip. Once it is long enough, sew it to the top of the bag on opposite sides.
- Fasten off and weave in all ends.
Enjoy your beautiful, handmade “Cloud Nine” Crochet Puff Stitch Bag. Its elegant design and handmade charm are sure to be a conversation starter!
Video tutorial:


