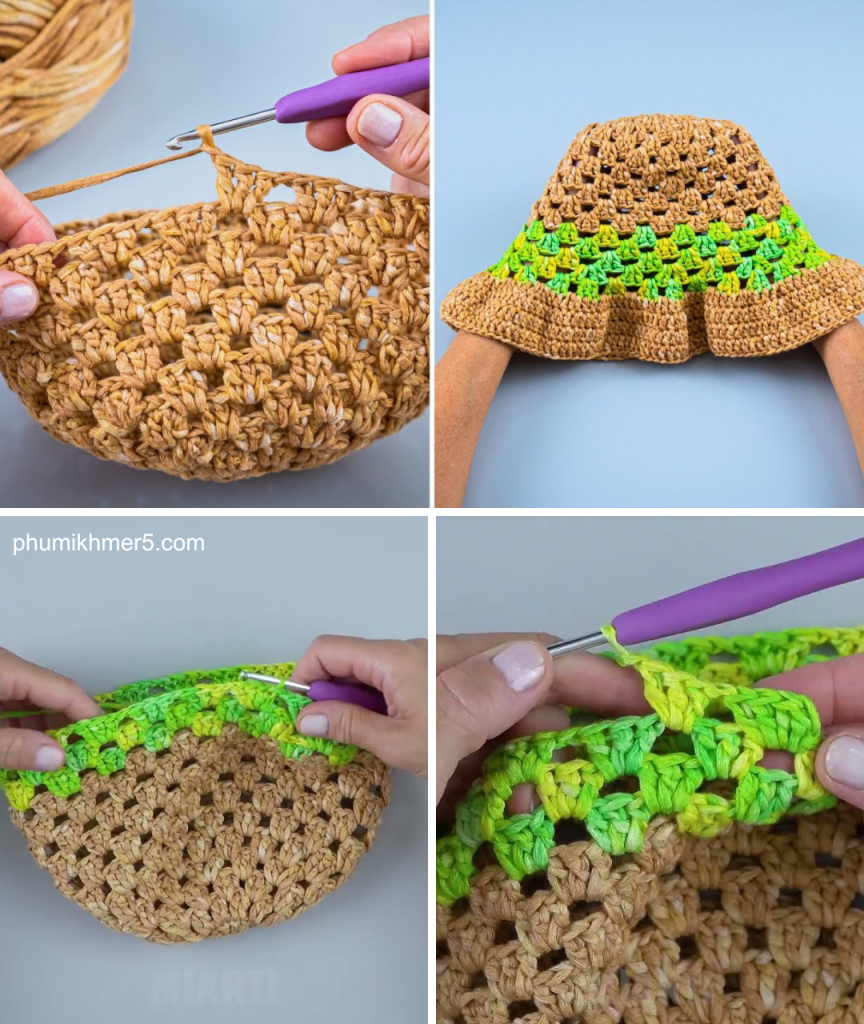
Granny square bucket hats have made a massive comeback in the fashion world, blending vintage charm with modern style. These colorful, textured accessories are not only trendy but also fun and relatively simple to make. Whether you’re new to crochet or an experienced hook-wielder looking for a creative project, this guide will walk you through the entire process of making your own crochet granny square bucket hat.
🧵 What Is a Granny Square Bucket Hat?
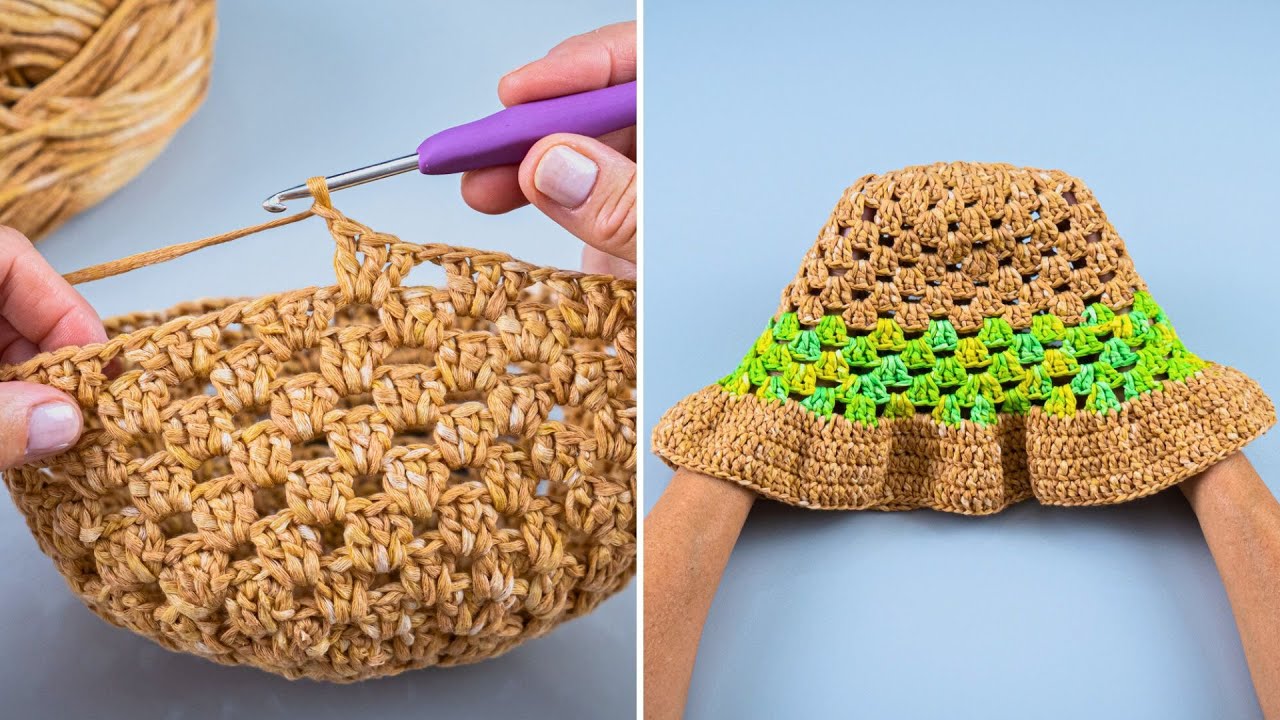
A granny square bucket hat is a hat made by joining multiple crochet granny squares (usually small, colorful squares made using a combination of basic crochet stitches) and forming them into a bucket hat shape. The hat typically includes:
- A crown (top of the hat)
- Side panels (walls of the hat)
- A brim (to provide sun protection and the signature bucket shape)
🛠️ Materials Needed
Before you begin, gather the following supplies:
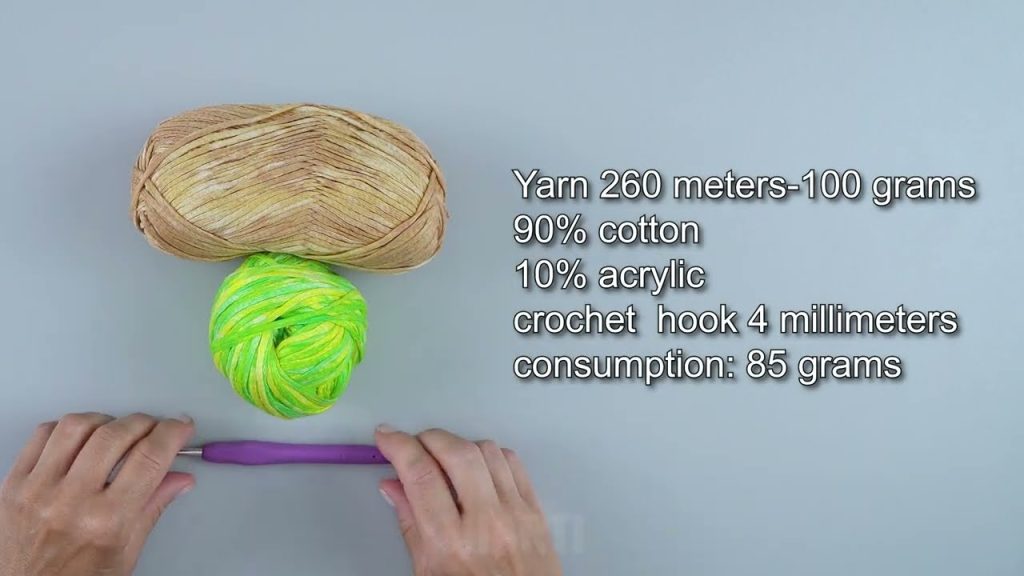
Yarn
- Weight: Worsted weight (Category 4) or cotton yarn is ideal for structure and breathability.
- Colors: Choose 3–5 colors for a classic granny square look. You can go monochrome or bright and bold.
Crochet Hook
- Size 4.5 mm to 5.0 mm (US 7 to H-8) is typically used with worsted weight yarn. Check your yarn label for a recommended hook size.
Tools
- Yarn needle or tapestry needle
- Scissors
- Stitch markers (optional)
- Measuring tape
Optional
- Blocking mat and pins (for squaring and shaping your granny squares)
📏 Sizing Your Hat
The average adult head circumference is 22 inches (56 cm). You’ll want your hat to fit snugly, so aim for a final circumference of about 21–22 inches, depending on the stretchiness of your yarn and tension.

🧶 Part 1: Making the Granny Squares
You’ll need about 5 to 8 squares depending on the size of the squares and your desired fit.
🟩 Basic Granny Square Pattern (3 Rounds)
Start with a magic ring or chain 4 and join into a ring.
Round 1:
- Ch 3 (counts as 1 dc), 2 dc into the ring, ch 2,
- 3 dc into the ring, ch 2 — repeat 3 times.
- Join with a slip stitch to the top of the starting ch-3. (You’ll have 4 clusters of 3 dc, separated by ch-2 corners)
Round 2:
- Slip stitch to the first corner space.
- Ch 3, 2 dc, ch 2, 3 dc into the same corner space.
- (3 dc, ch 2, 3 dc) into next corner space — repeat around.
- Join with a slip stitch to the top of starting ch-3.
Round 3:
- Slip stitch to the corner again.
- Ch 3, 2 dc, ch 2, 3 dc into corner.
- 3 dc into space between two 3-dc clusters, then (3 dc, ch 2, 3 dc) in corner — repeat.
- Join to top of ch-3.
We recommend 3 to 4 rounds per square for a hat, each measuring roughly 4 inches (10 cm) across.
🔁 Repeat this pattern until you have the required number of squares:
- 5 squares for the sides (band)
- 1 for the crown (top)
- Optional: Additional mini-squares for a wide brim, or use another pattern for the brim.
🧷 Part 2: Joining the Granny Squares
There are several ways to join granny squares. Here are two popular methods:
1. Slip Stitch Join (Flat Seam)
- Place two squares together, right sides facing out.
- Insert hook through the back loops of both squares.
- Slip stitch across. This creates a clean and subtle seam.
2. Whip Stitch (Using a Needle)
- With right sides together, sew through both loops at the edges using a yarn needle.
- This method is great for beginners and provides a nearly invisible seam when done neatly.
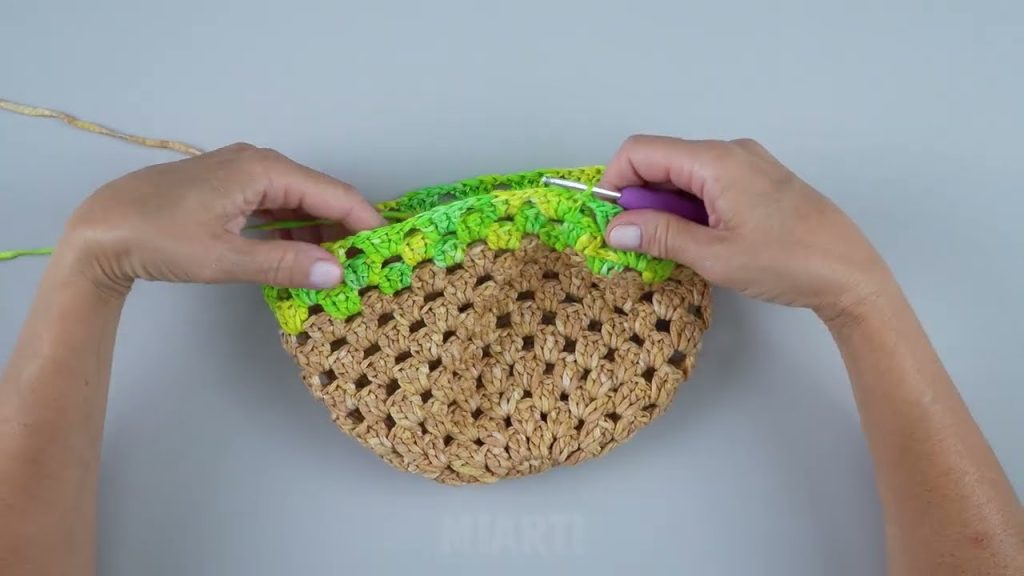
🧩 Assembly Tip:
- Join the 5 side squares in a strip first.
- Then, join the ends of the strip to form a ring (the body of the hat).
- Attach the crown square to the top by stitching each of its sides to the top edges of the side squares.
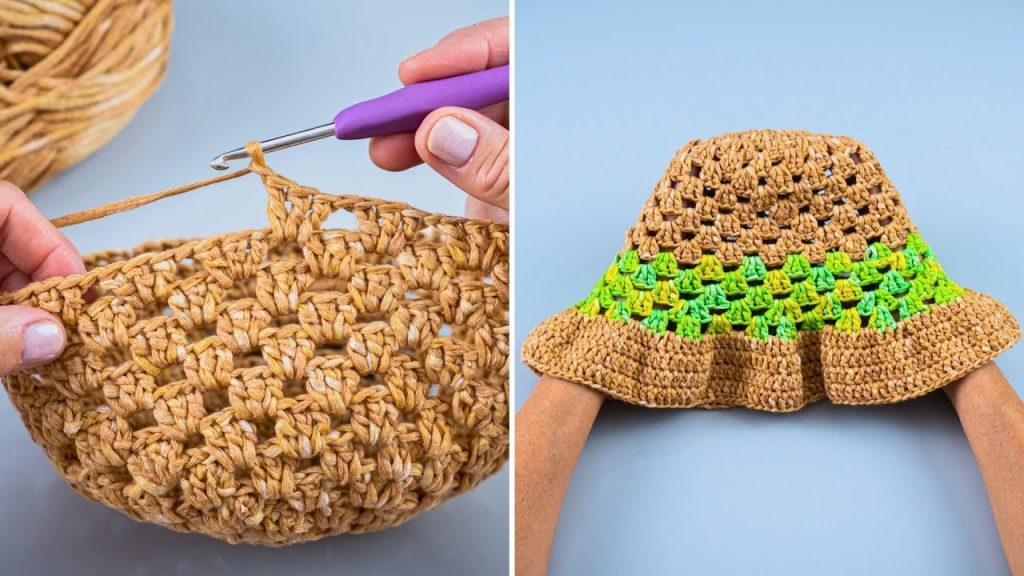
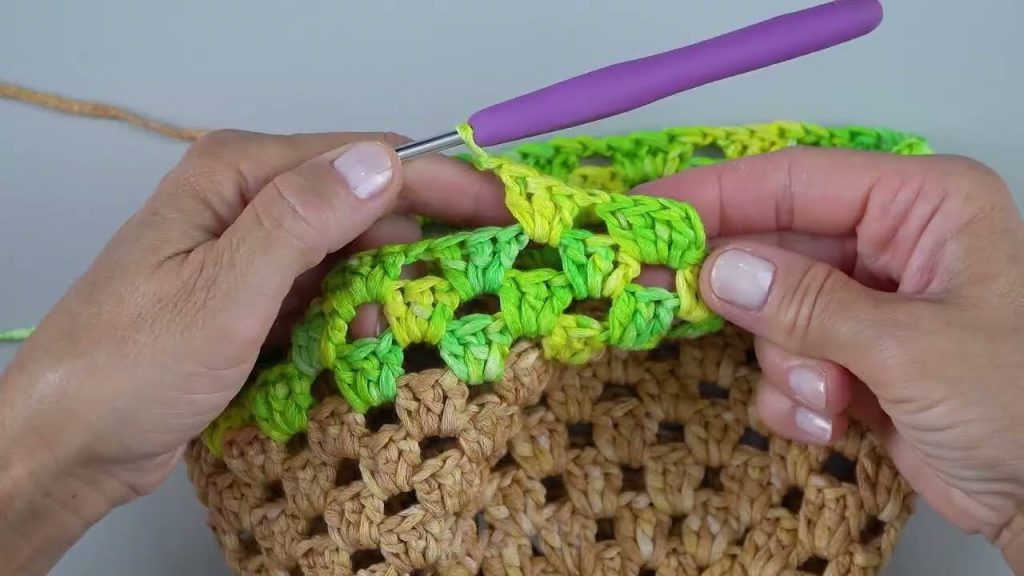
🪡 Part 3: Creating and Attaching the Brim
The brim gives the bucket hat its signature silhouette. You can crochet directly onto the base or create separate strips to attach later.
Brim Pattern (Worked in Rounds)
Round 1:
- Join yarn to the bottom edge of your side squares.
- Work one round of sc (single crochet) all the way around the base. Join with a slip stitch.
Round 2:
- Ch 2, 1 dc in each of next 2 sts, 2 dc in next st (increase) — repeat around.
- Join.
Round 3:
- Ch 2, 1 dc in next 3 sts, 2 dc in next st — repeat.
Keep increasing in this pattern (adding one more stitch between increases each round) until your brim is as wide as you’d like — usually 2 to 3 inches.
Optional Brim Edging:
- Add a final round of reverse single crochet (crab stitch) or picot stitch for a decorative finish.
🧼 Part 4: Finishing Touches
Block Your Hat (Optional but Recommended)
- Wet block your hat to help the squares sit flat and even.
- Use pins to shape the brim while drying.
Weave in Ends
- Use a yarn needle to weave in any remaining loose ends on the inside of the hat.
Add a Lining (Optional)
- If you want more structure or comfort, sew in a lightweight fabric lining.
💡 Style Tips
- Color Themes: Try monochrome pastels for a soft, cottagecore vibe, or bright, clashing colors for a bold retro look.
- Add Embellishments: Sew on small flowers, buttons, or use textured yarn for a unique flair.
- Make Matching Accessories: Use leftover squares to create matching wrist warmers, bags, or a scarf.
📸 Show Off Your Work!
Once your hat is finished, wear it with pride! Post it on social media or gift it to a friend. Use tags like #grannysquarehat or #crochetstyle to join the online crochet community.
🧵 Final Thoughts
Crocheting a granny square bucket hat is a perfect project that combines tradition with trendiness. Not only does it allow you to practice your skills, but you also end up with a stylish, one-of-a-kind accessory that you can wear all year long. Whether you’re making one for yourself, as a gift, or for a small business, this project is sure to bring joy — both during the process and when you see the final result.
So grab your hook and yarn, and let those squares take shape — one stitch at a time.
Video tutorial:


