Crocheting baby garments is one of the most rewarding projects a crafter can take on. The small size, the intricate yet manageable details, and the joy of gifting something handmade make it a delightful experience. Among these projects, the “Little Sweetheart” baby cardigan stands out for its elegance, comfort, and charm.
Whether you’re making it for your own baby, a baby shower gift, or charity donations, this guide will walk you through everything you need to know to crochet your own Little Sweetheart cardigan — from materials and sizing to the final stitch.

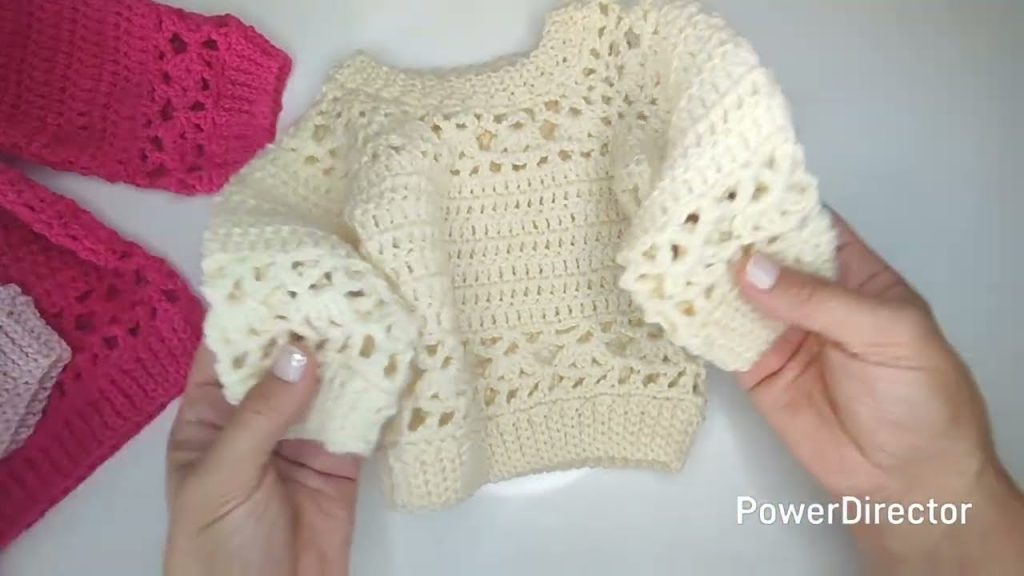
💖 About the “Little Sweetheart” Baby Cardigan
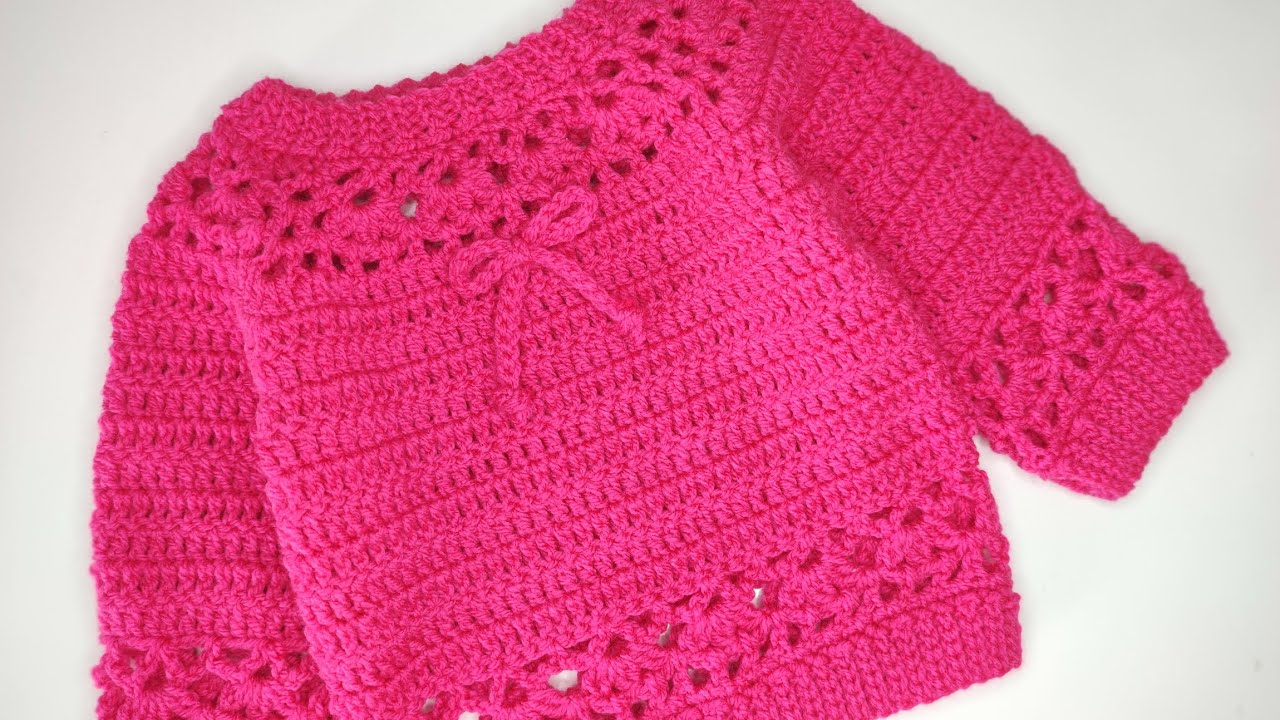
The “Little Sweetheart” cardigan is a soft, cozy, top-down baby cardigan, worked in one piece with minimal seaming. It features:
- Delicate detailing around the yoke
- A button-up front
- Optional lacy edging or ruffles for an extra sweet touch
It can be customized in terms of size, sleeve length, and trim — making it suitable for newborns to 12 months.
🧵 Materials You’ll Need
Yarn
- Yarn weight: Light (DK) or baby sport yarn (Category 3)
- Yardage:
- Newborn: 150–180 yards
- 3–6 months: 200–250 yards
- 6–12 months: 250–300 yards
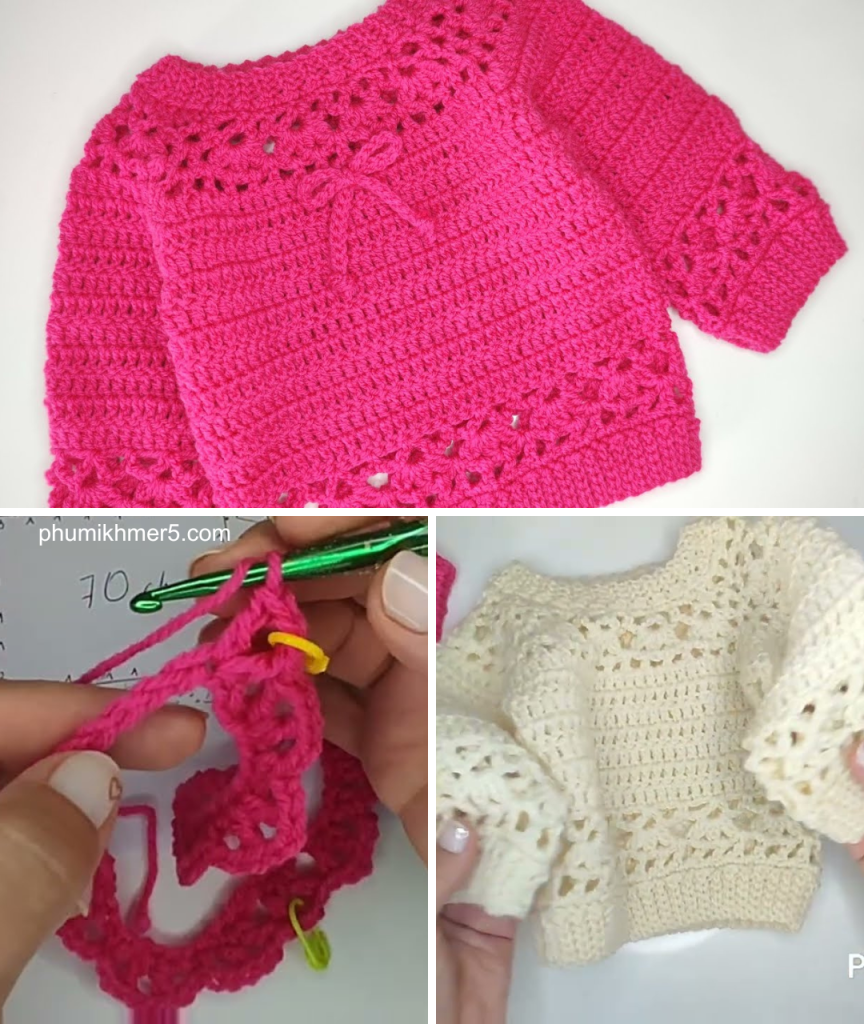
- Fiber suggestion: Cotton-blend or super-soft acrylic for comfort and washability
- Color: Choose soft pastels or classic white for a timeless baby look
Crochet Hook
- Size: 4.0 mm (G-6) or size required to meet gauge
Notions
- Yarn needle (for weaving in ends)
- Scissors
- Stitch markers
- 3–5 small buttons (1/2″ or 1.2 cm)
- Measuring tape
📏 Sizing Guide
| Size | Chest Circumference | Finished Chest | Approximate Age |
|---|---|---|---|
| Newborn | 14–15″ (35–38 cm) | 16″ (40 cm) | 0–3 months |
| 3–6 months | 16–17″ (40–43 cm) | 18″ (45 cm) | 3–6 months |
| 6–12 months | 18–19″ (45–48 cm) | 20″ (50 cm) | 6–12 months |
🧶 Tip: Make a swatch! Aim for a gauge of 18 dc x 10 rows = 4 inches (10 cm).
🪡 Stitches & Techniques Used
- ch – chain
- sl st – slip stitch
- sc – single crochet
- dc – double crochet
- hdc – half double crochet
- dc inc – 2 dc in same stitch (increase)
- dc2tog – double crochet two together (decrease)
- shell stitch – 5 dc in one stitch (for optional lacy edging)
Skill Level: Advanced beginner to intermediate
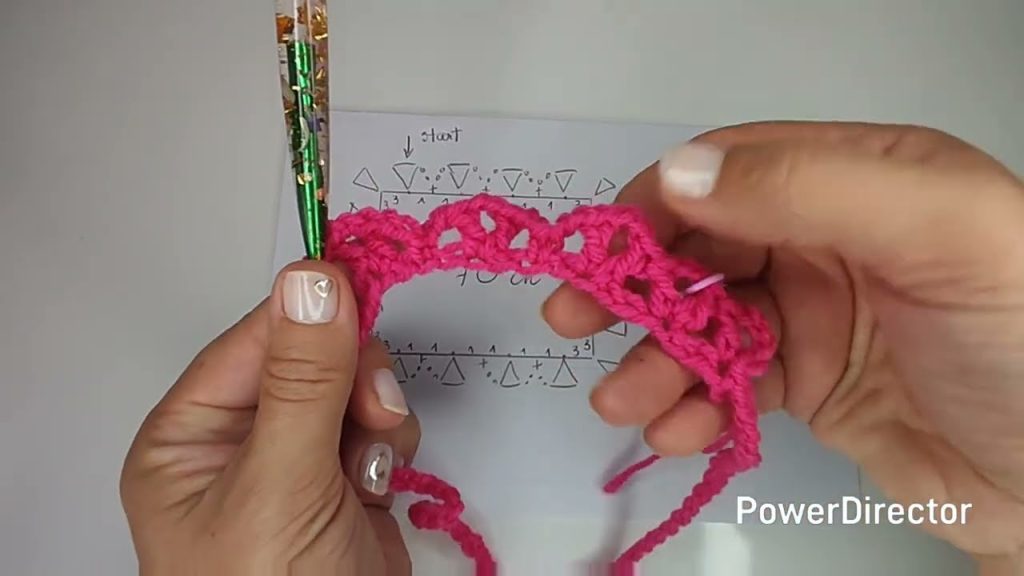
🧶 Part 1: Yoke (Top-Down Construction)
This cardigan is worked top-down, starting at the neck and increasing at the raglan points to shape the yoke.
Foundation Row:
- Ch 52 (for newborn) – (Adjust by adding multiples of 8 for larger sizes)
- Dc in 4th ch from hook and in each ch across (49 dc)
- Turn.
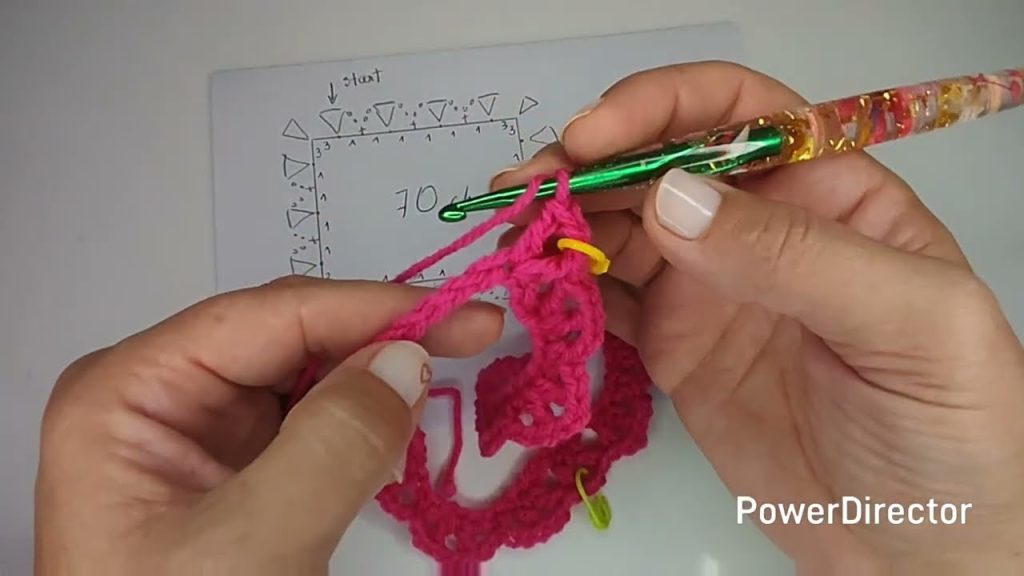
Row 1 (Setup for Raglan Increases):
- Ch 2 (counts as first dc), dc in next 6 sts,
- [dc, ch 1, dc] in next stitch (1st increase corner),
- Dc in next 8 sts,
- [dc, ch 1, dc] in next (2nd corner),
- Dc in next 10 sts,
- [dc, ch 1, dc] (3rd corner),
- Dc in next 8 sts,
- [dc, ch 1, dc] (4th corner),
- Dc in remaining 7 sts.
- Turn.
Row 2–8 (Increasing Rows):
- Continue in dc, placing [dc, ch 1, dc] in each ch-1 space (these are your raglan increase points).
- Continue working dc in all other stitches.
🧮 By Row 8, you should have a well-formed yoke with 4 increase “seams” where the sleeves and body will be separated.
👕 Part 2: Splitting for Sleeves
At this point, you’ll divide the piece into body and sleeves.
Row 9 (Separate Sleeves):
- Work in dc to first ch-1 space,
- Skip all sts between 1st and 2nd ch-1 spaces (this forms sleeve), ch 2 or 4 underarm chains,
- Continue dc across back to next ch-1 space,
- Skip sleeve sts again, ch 2–4,
- Finish the row with dc across remaining stitches.
You’ll now be working just the body of the cardigan.
👗 Part 3: Body
Rows 10–18 (or desired length):
- Continue working even in dc.
- Add some rows of hdc or sc at the bottom for a nice finishing edge.
🧵 Optional: Add shell edging or picot stitch at the hem for decoration:
*sc in first st, skip 1, 5 dc in next st, skip 1* repeat across
💪 Part 4: Sleeves
Sleeves are worked directly onto the underarm openings left earlier.
Sleeve Rounds:
- Join yarn to underarm.
- Work dc evenly around the armhole (approx. 20–24 sts).
- Join with sl st and ch 2 to begin next round.
- Continue in dc for 6–10 rounds depending on desired length.
Optional shaping: Decrease one stitch underarm every other round for a more tapered sleeve.
Finishing edge: Use sc or shell stitch to match body.
👕 Part 5: Button Band & Neckline
Right Front (buttonholes):
- Join yarn at neckline.
- Ch 1, sc evenly down the front edge.
- Place buttonholes: ch 2, skip 2 sts in evenly spaced locations.
Left Front:
- Work a row of sc without buttonholes.
Collar:
- Optional: Add 1–2 rows of sc or shell stitch around the neckline.
- For a ruffled collar, work 2 dc in each stitch around.

🪡 Finishing Touches
Weave In Ends
- Use a yarn needle to neatly weave in all yarn tails.
Block the Cardigan
- Lightly steam or wet block to shape the cardigan.
- Use pins to shape the edges and sleeves evenly.
Sew On Buttons
- Use matching thread or yarn.
- Make sure they’re secure and safe for babies (no choking hazards).
🎨 Customization Ideas
- Color blocking: Use different colors for yoke, sleeves, and body.
- Lace panel: Add a row of eyelets (e.g., dc, ch 1, skip 1) for a decorative touch.
- Appliqués: Sew on small hearts, stars, or flowers.
- Embroidery: Use surface crochet or stitching to personalize with a name or monogram.
📸 Tips for Sharing Your Work
If you’re gifting or selling your finished cardigan, consider:
- Tagging your creations on Instagram with #LittleSweetheartCardigan
- Including a handmade tag
- Packaging in a breathable cotton pouch or tissue wrap
🧶 Final Thoughts
The “Little Sweetheart” baby cardigan is a timeless, adorable, and functional project for crocheters of all levels. Its versatility and sweetness make it a favorite in every handmade baby wardrobe. Whether you go for classic pastels or bold brights, every stitch you make will wrap a little one in warmth and love.
So pick your colors, prep your hooks, and get ready to create a precious handmade treasure.
Video tutorial:


