Crochet bucket hats are stylish, practical, and surprisingly easy to make—even for beginners! Whether you’re looking to add a pop of personality to your wardrobe or create a handmade gift, this easy and quick crochet bucket hat tutorial is just what you need.
In this step-by-step guide, we’ll walk through everything from the materials you’ll need, how to understand basic crochet stitches, and the full process of creating your own bucket hat—from the crown to the brim. By the end of this tutorial, you’ll have a cute, customizable bucket hat ready to wear or gift.
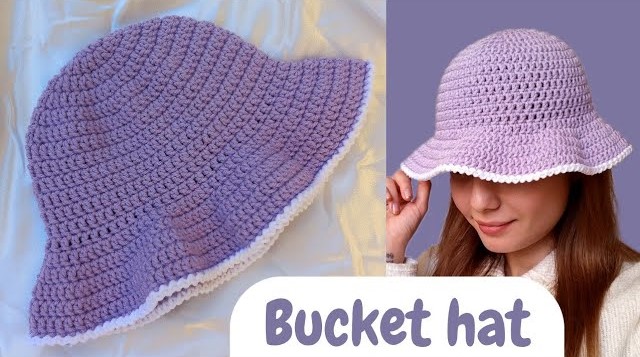
🧶 Why Crochet a Bucket Hat?
Bucket hats are back in fashion, and for good reason. They’re versatile, unisex, and perfect for any season. Crocheting your own gives you complete control over color, size, and style. Plus, it’s a relaxing, rewarding project you can finish in just a few hours.
🪡 What You’ll Need (Materials & Tools)
Before you start, gather the following supplies:
Materials:
- Worsted weight (medium #4) cotton yarn – Cotton is breathable and holds shape well. You’ll need around 150–200g depending on size.
- Color suggestions: Neutral tones for everyday wear, bright colors for summer flair, or stripes for a funky look.
Tools:
- Crochet hook: 4.0mm (G) or 5.0mm (H) depending on your tension.
- Scissors
- Stitch markers (optional, but helpful)
- Yarn needle for weaving in ends
- Measuring tape
🧵 Crochet Terms & Abbreviations
This tutorial uses U.S. crochet terms:
| Abbreviation | Term |
|---|---|
| ch | chain |
| sc | single crochet |
| dc | double crochet |
| sl st | slip stitch |
| st(s) | stitch(es) |
| inc | increase (2 stitches in same stitch) |
| rnd | round |
🎯 Finished Dimensions
- Adult Medium Size
- Crown diameter: ~6.5 inches (16.5 cm)
- Hat height: ~7.5 inches (19 cm)
- Brim width: ~2.5 inches (6.5 cm)
You can easily adjust the size by adding or subtracting rounds.
🔄 Skill Level: Beginner-Friendly
You only need to know:
- How to make a magic ring
- How to work single crochet and double crochet
- How to work in the round
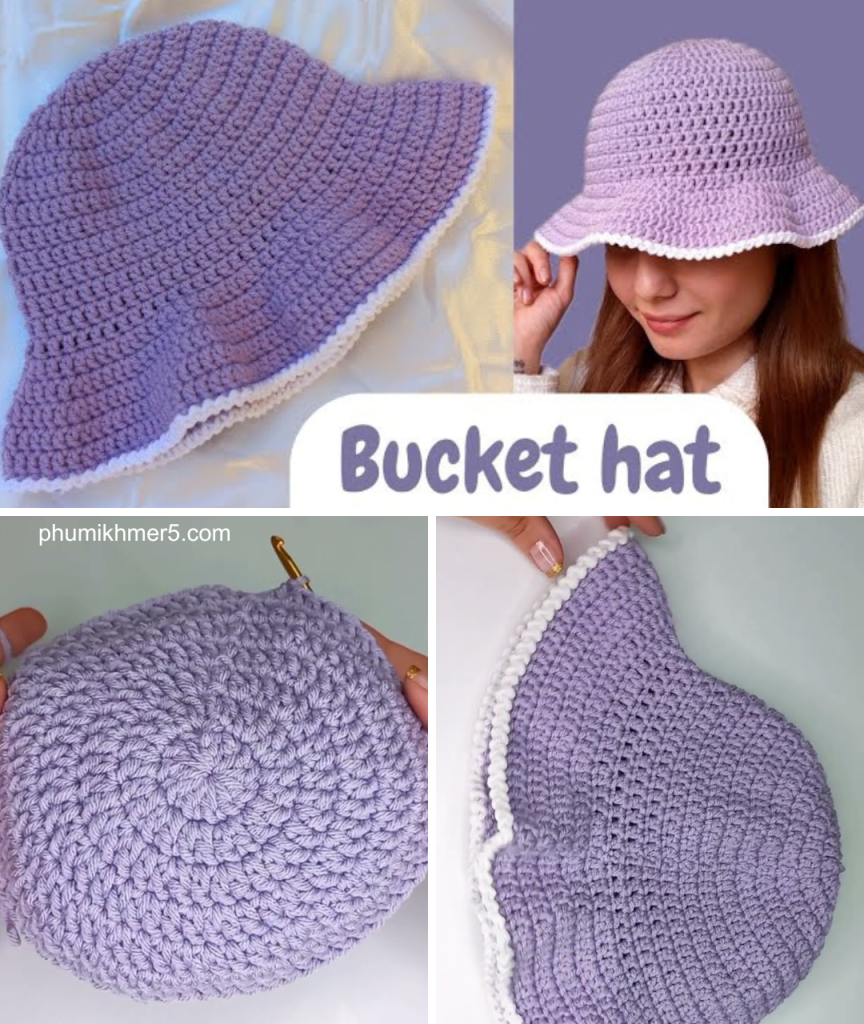
🧢 Step-by-Step Crochet Bucket Hat Tutorial
Step 1: The Crown (Top of the Hat)
This part creates the rounded top of your hat.
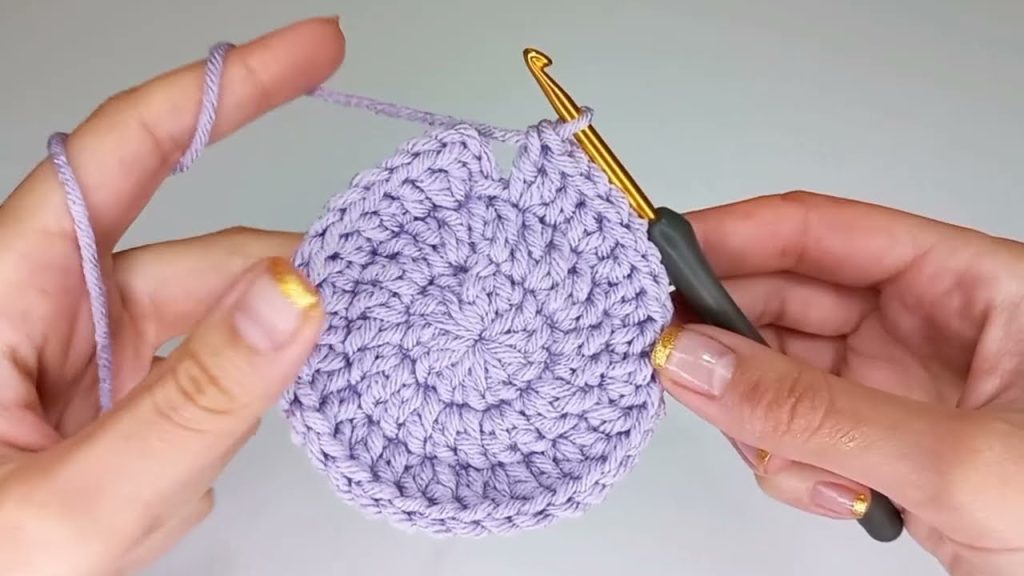
Rnd 1:
Make a magic ring, ch 2 (does not count as dc), work 12 dc into the ring.
Join with sl st to the first dc. (12 sts)
Rnd 2:
Ch 2, 2 dc in each st around. Join. (24 sts)
Rnd 3:
Ch 2, 1 dc in next st, 2 dc in next. Repeat around. Join. (36 sts)
Rnd 4:
Ch 2, 1 dc in next 2 sts, 2 dc in next. Repeat around. Join. (48 sts)
Rnd 5:
Ch 2, 1 dc in next 3 sts, 2 dc in next. Repeat around. Join. (60 sts)
Rnd 6:
Ch 2, 1 dc in next 4 sts, 2 dc in next. Repeat around. Join. (72 sts)
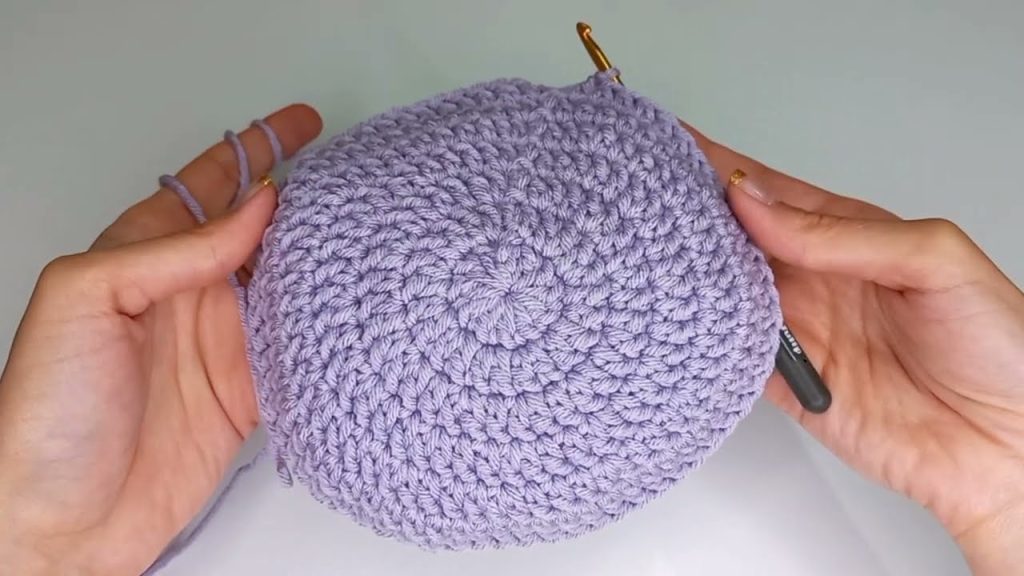
🔁 Adjust crown size by continuing the pattern:
Add 1 more regular stitch between increases in each new round until the crown reaches 6.5 inches (16.5 cm) in diameter.
Step 2: The Body (Sides of the Hat)
No more increasing here—you’ll just build height.
Rnds 7–14 (or desired length):
Ch 2, 1 dc in each stitch around. Join with sl st.
Repeat until the body reaches ~5 inches (13 cm) in height.
🧩 Optional: Use single crochet for a tighter fabric or to mix textures.
Step 3: The Brim
Time to flare out!
Rnd 15:
Ch 1, 1 sc in next 2 sts, 2 sc in next. Repeat around. Join. (96 sts)
Rnd 16:
Ch 1, 1 sc in next 3 sts, 2 sc in next. Repeat around. Join. (120 sts)
Rnd 17:
Ch 1, 1 sc in each st around. Join.
Rnd 18 (Optional for wider brim):
Repeat Rnd 17 or add another increase round (e.g., 1 sc in next 4 sts, 2 sc in next) if desired.
🧵 Use single crochet here for a firm, structured brim.
Step 4: Finishing Touches
- Fasten off your yarn and use your yarn needle to weave in all loose ends.
- Gently steam block your hat (especially the brim) to shape it nicely.
- Try it on and admire your creation!

🧺 Optional Customizations
- Colorwork: Create stripes or color blocks by switching yarn colors at the beginning of any round.
- Stitch variations: Try using half-double crochet or alternating rows of dc and sc for texture.
- Brim shape: Add a wire or use a tighter stitch for a more structured brim.
- Decor: Add a crocheted flower, appliqué, or buttons for flair.
💡 Tips for Success
- Check your tension: Loose stitches can make the hat floppy; tight ones may make it too small.
- Measure as you go: Use a flexible tape to check crown diameter and hat height.
- Don’t overthink it: This is a forgiving pattern—if you miss a stitch, just keep going!
🎁 Crochet Bucket Hat FAQ
Q: How long does it take to make a crochet bucket hat?
A: Most people can finish one in 2–4 hours, depending on experience and stitch choice.
Q: Can I use acrylic yarn instead of cotton?
A: Yes, but acrylic may be warmer and less breathable. Cotton is better for structure and summer wear.
Q: Can I wash my crochet bucket hat?
A: Yes! Machine wash cold, gentle cycle, and air dry flat for best results (especially for cotton yarn).
🧶 Final Thoughts
Crocheting a bucket hat is one of the most enjoyable and practical beginner projects. It’s fast, stylish, and endlessly customizable. Whether you’re making one for yourself or creating thoughtful handmade gifts, this pattern is sure to become a favorite in your crochet journey.
Ready to get started? Grab your yarn, hook, and a cup of tea—and happy crocheting!
Video tutorial:


