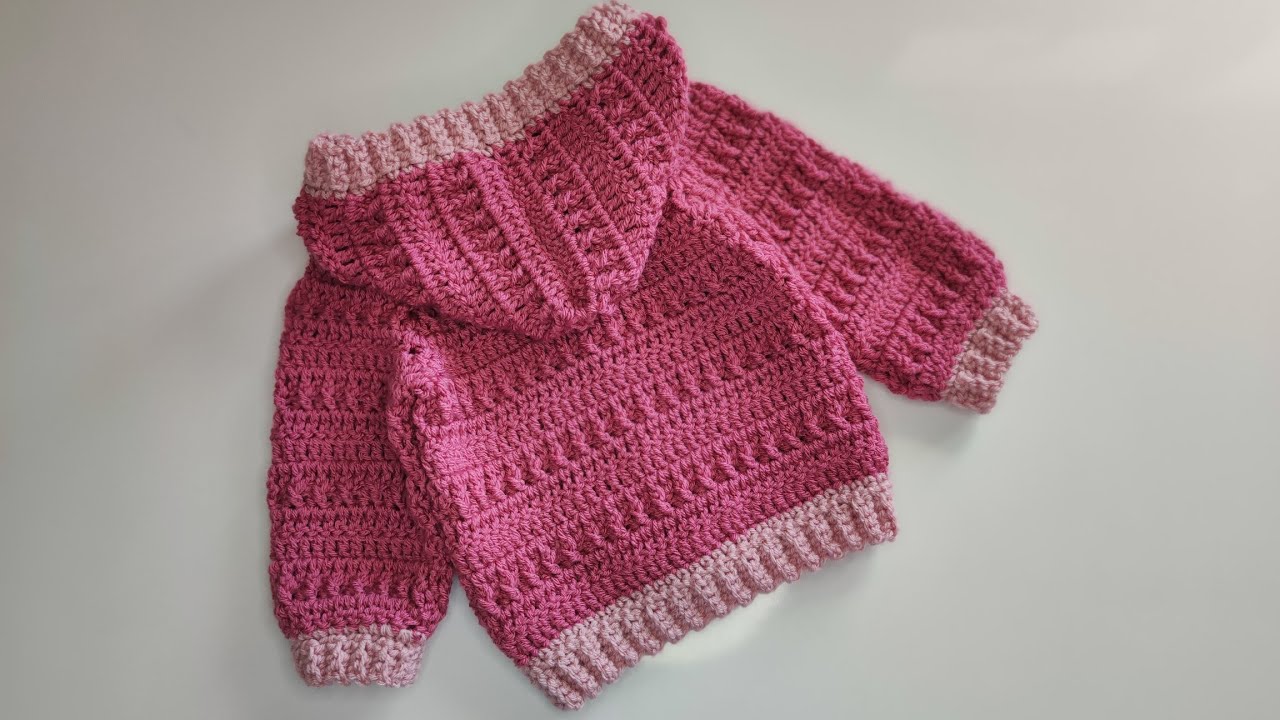
Crocheting for babies is one of the most rewarding forms of handmade crafting. There’s something heartwarming about creating soft, cozy garments for the tiniest humans. Among the many items you can make, a baby hoodie is not only practical—it’s a cherished keepsake.
Whether you’re a parent, grandparent, aunt, friend, or someone crafting for charity or baby showers, learning how to crochet a baby hoodie opens the door to endless creative possibilities. In this guide, you’ll learn how to create a simple yet beautiful baby hoodie with easy-to-follow instructions, material lists, tips, and customization ideas.

🧸 Why Crochet a Baby Hoodie?
A handmade baby hoodie combines warmth, comfort, and style. It’s perfect for layering during chilly seasons and can be customized to match any nursery or theme.
Benefits:
- ✅ Functional: Keeps baby warm with a soft hood and long sleeves.
- 💝 Personalized Gift: A thoughtful, heartfelt present.
- 🌈 Customizable: You choose the yarn, colors, buttons, and patterns.
- 🧶 Beginner-Friendly Options: Simple construction methods make it accessible even for newer crocheters.
📋 Supplies You’ll Need
Before starting, gather the following materials:
🧶 Yarn
- Type: DK (light worsted, Category 3) or Worsted (Category 4)
- Fiber: Soft acrylic or cotton blend (baby-friendly and washable)
- Amount: 250–400g depending on size
🪝 Crochet Hook
- Size: 4.0 mm (G-6) for DK, 5.0 mm (H-8) for worsted
- Adjust based on your yarn and desired gauge.
🧵 Other Tools
- Yarn needle (for sewing and weaving ends)
- Scissors
- Stitch markers (helpful for shaping)
- Measuring tape
- Buttons (3–5, optional for the front closure)
📏 Sizing Guide (0–24 Months)
Here’s a rough estimate of sizes (all measurements in inches):
| Size | Chest | Length | Sleeve Length |
|---|---|---|---|
| 0–3 months | 16″ | 9″ | 6″ |
| 3–6 months | 17″ | 10″ | 7″ |
| 6–12 months | 18″ | 11″ | 8″ |
| 12–24 months | 19–20″ | 12–13″ | 9″ |
✅ Always check your gauge to match the sizing!

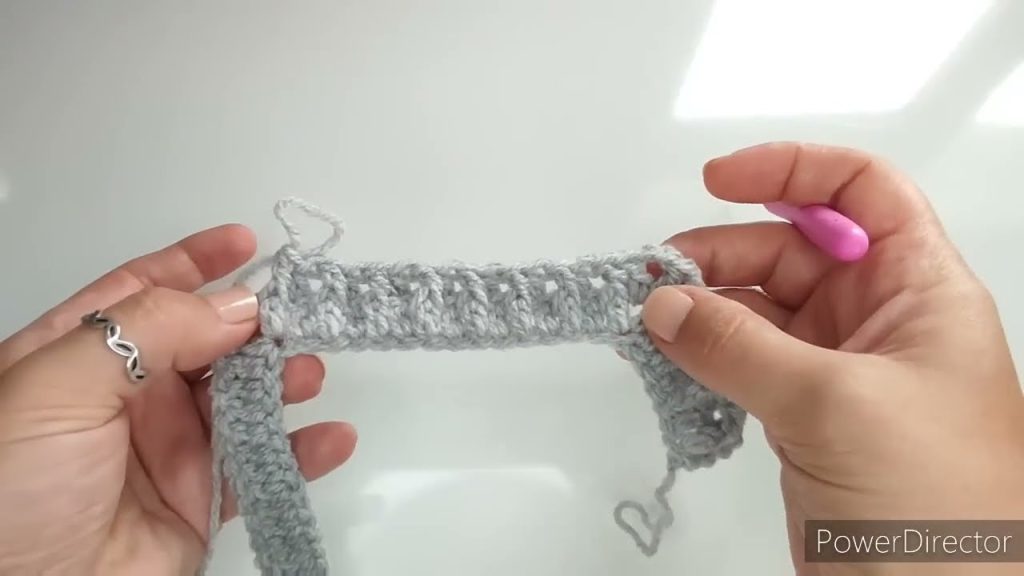
🧶 Basic Stitches You’ll Use
This pattern keeps things simple using beginner stitches:
- Chain (ch)
- Slip Stitch (sl st)
- Single Crochet (sc)
- Half Double Crochet (hdc) – Optional
- Double Crochet (dc)
Don’t worry if you’re new—these are easy to learn and widely used in baby patterns.
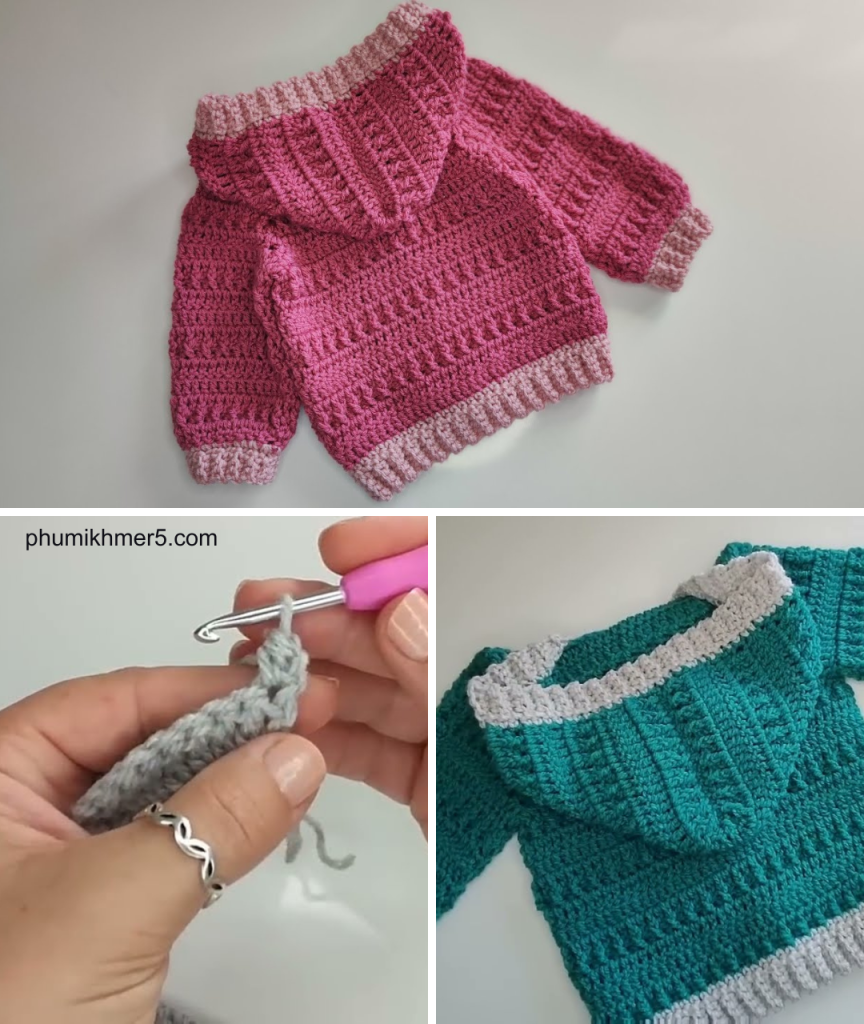
👕 Construction Overview
We’ll use a top-down raglan construction—a seamless technique that starts at the neck and grows downward. This method is great for beginners and makes it easy to adjust the size as you go.
Key Parts:
- Yoke (neck and shoulders)
- Body
- Sleeves
- Hood
- (Optional) Front opening with buttons
🧶 Step-by-Step: How to Crochet a Baby Hoodie
🪡 Step 1: Crochet the Yoke
The yoke is the upper part of the hoodie that sits around the shoulders.
Basic Yoke Pattern (0–3 Months):
Ch 41.

Row 1: Dc in 4th ch from hook and each across. (39 dc)

Mark stitch positions for increases (e.g., stitch 6, 11, 18, 23). These are your raglan lines.

Row 2: Ch 2, turn. Dc in each stitch, increasing 1 dc on either side of each raglan stitch (i.e., 2 increases per raglan line = 8 per row).

Repeat Row 2 until you reach approx. 5–6” depth (or desired yoke length).
📌 Use stitch markers to keep track of your raglan increases.
👕 Step 2: Split for Body and Sleeves
When the yoke is long enough:
- Skip stitches for sleeves (place on stitch holders or mark with yarn).
- Continue crocheting only across the body (front, back, front).
Row X: Dc across front panel, skip sleeve stitches, dc across back, skip other sleeve, dc across last front panel.

Continue working dc rows until body reaches 9" length (or desired size).
🧤 Step 3: Add the Sleeves
Attach yarn to one sleeve section and work in the round.
Round 1: Dc evenly around sleeve opening.
Join with sl st. Ch 2.

Repeat rounds to make sleeve length (6" for 0–3 months, up to 9" for 12–24 months).

Optional: Decrease 2 stitches near the wrist for shaping.
Repeat for second sleeve.
👒 Step 4: Add the Hood
Attach yarn to the back neck.
Row 1: Sc or hdc evenly along the neckline.
Rows 2–12: Ch 1, turn. Hdc in each stitch. Continue until hood measures 6–7" deep.

Fasten off and fold hood in half lengthwise. Sew or sl st the top edge closed.
🔘 Step 5: Add Front Bands and Buttons
If you’d like to make your hoodie a cardigan style with buttons:
- Attach yarn to bottom front corner.
- Work sc or hdc evenly up the side, around the hood, and down the other side.
- Work 2–4 rows for a neat edge.
- Add buttonholes every 1–2 inches on one side by chaining and skipping stitches.
- Sew buttons on the opposite side.
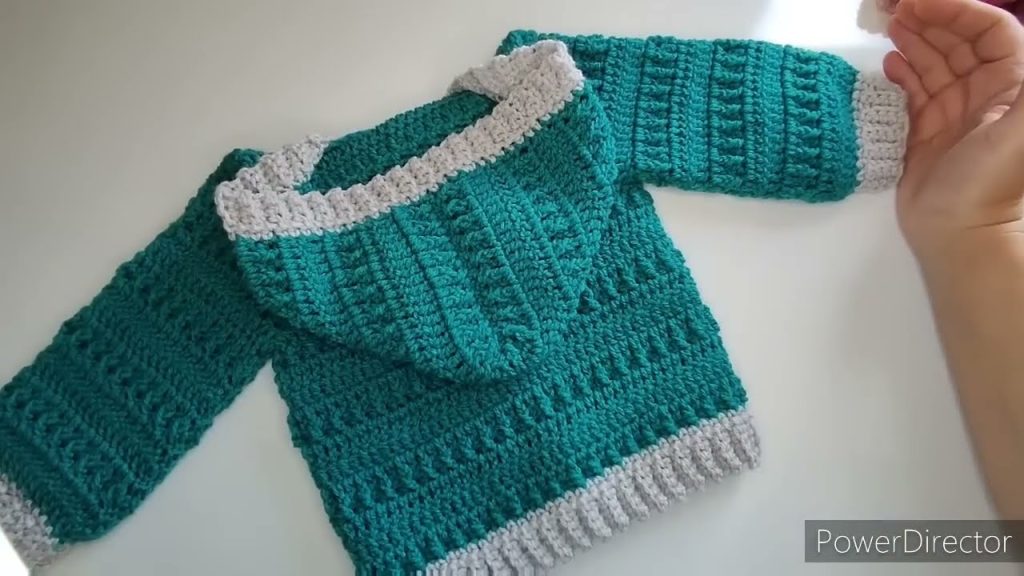
✨ Customization Ideas
- Color Blocking: Change yarn colors at the sleeves or hood.
- Stripes: Add colorful stripes to the body or hood.
- Ears: Crochet bear, bunny, or cat ears and attach to the hood.
- Embroidery: Add initials, stars, or flowers.
- Themed Buttons: Use wooden, animal, or novelty buttons for fun!
🧼 How to Wash a Crochet Baby Hoodie
Choose yarn that’s machine washable (like soft acrylic or cotton blends).
Washing Instructions:
- Use cold or warm water
- Gentle or delicate cycle
- Lay flat to dry (avoid stretching)
Pro Tip:
Use a garment bag in the wash to protect delicate stitches.
🎁 Gifting and Selling Tips
Crocheted baby hoodies make excellent handmade gifts and sell well at markets.
Gifting:
- Add a care tag (handmade, wash instructions)
- Wrap in kraft paper or baby-themed packaging
- Include a matching hat or booties
Selling:
- Offer different sizes (0–3, 3–6, 6–12, 12–24 months)
- Use neutral and gender-inclusive colors
- Price based on time + materials (often $25–$60 depending on complexity)
❓ Frequently Asked Questions (FAQs)
Q: Can I make this with only single crochet?
A: Yes, but it will take longer and create a denser fabric. DC or HDC is preferred for softness and flexibility.
Q: Can I use cotton yarn?
A: Yes—cotton is breathable and perfect for spring/summer hoodies. For colder months, choose acrylic or wool blends.
Q: How do I adjust the size?
A: Adjust starting chain, increase rounds, or switch hook/yarn size. Always make a gauge swatch first.
🧶 Free Pattern Summary (0–3 Months)
Materials: DK or worsted yarn, 4.5–5mm hook
Stitches: Ch, dc, sl st, optional sc/hdc
Construction: Top-down raglan
Components: Yoke → Body → Sleeves → Hood → Trim
Make 1 hoodie in about 6–8 hours.
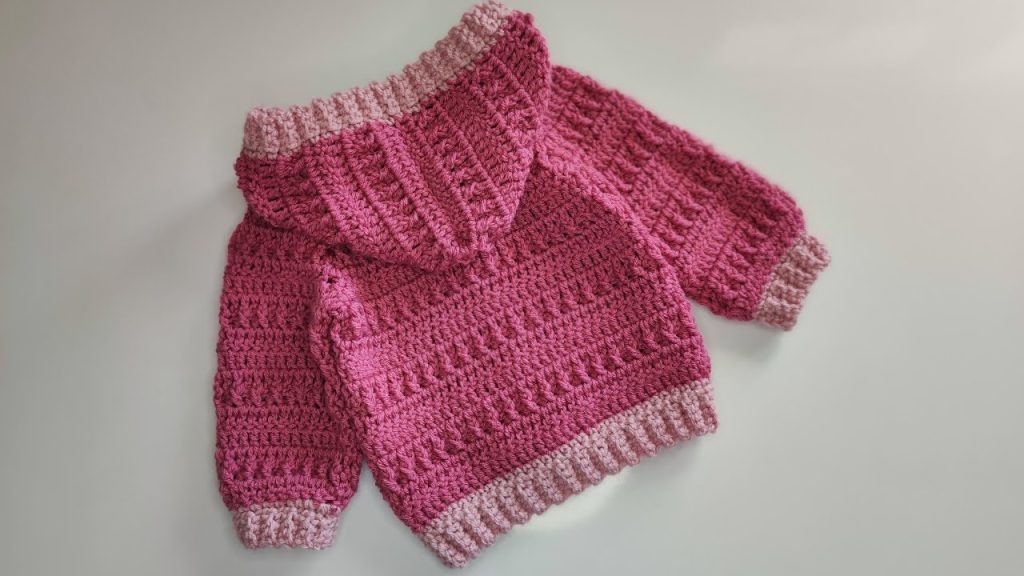
💬 Final Thoughts
Crocheting a baby hoodie is a deeply satisfying project—whether it’s for a baby’s first winter, a heartfelt gift, or a cherished heirloom. With just basic stitches and a little patience, you can create a cozy and beautiful garment that will keep a little one warm and stylish.
And best of all? It’s made with love—something you can’t buy in any store. ❤️
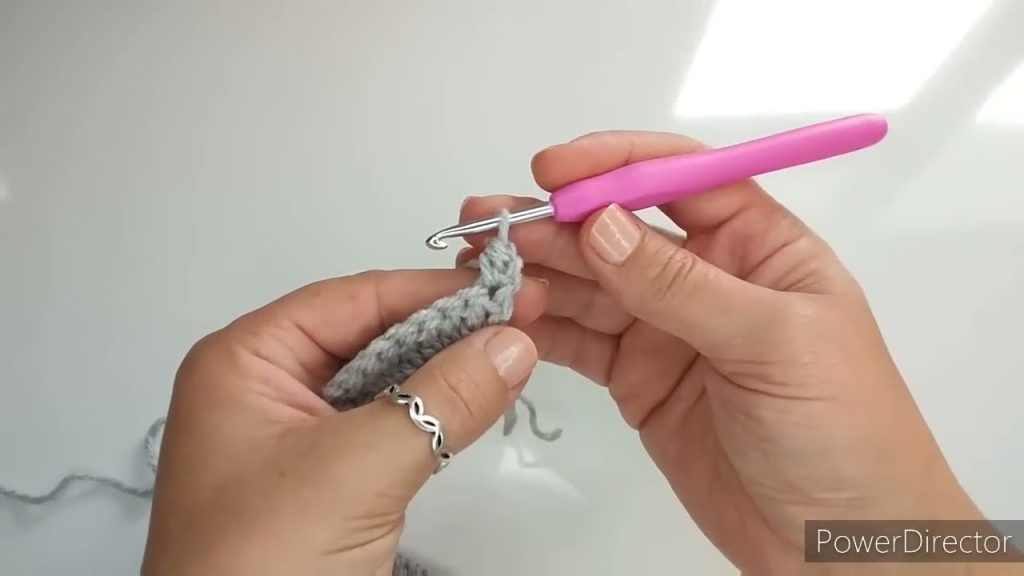
Video tutorial: