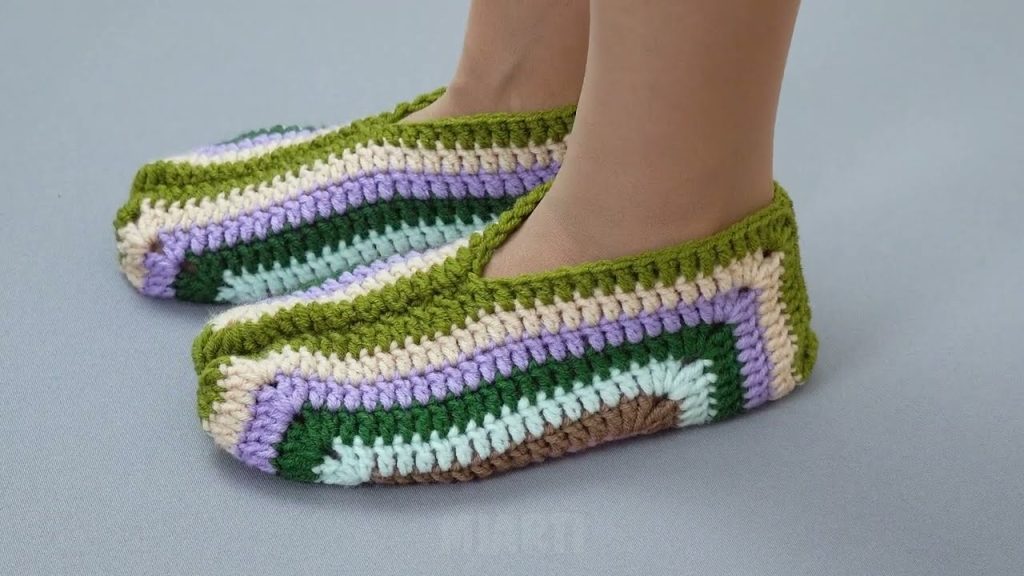
If you’re looking for a cozy, stylish, and beginner-friendly crochet project, granny square slippers are a perfect choice. These slippers combine classic granny square motifs with simple shaping techniques to create something not only charming but functional. Whether you’re lounging at home, gifting handmade items, or selling at craft fairs, granny square slippers are a warm win for everyone.
In this guide, we’ll walk you through how to crochet granny square slippers easily, from selecting materials to assembling your final product. Even if you’re a crochet novice, this project is absolutely achievable.

🧵 What Are Granny Square Slippers?
Granny square slippers are handmade indoor footwear created by crocheting individual granny squares and sewing or crocheting them together in a specific arrangement to form a slipper shape. These slippers are soft, warm, and easily customizable in size, color, and style.
They’re:
- ✅ Beginner-friendly
- ♻️ Great for using up leftover yarn
- 👣 Comfy and warm
- 🎨 Full of color possibilities
📋 Materials You’ll Need
Before you begin, make sure you have the following supplies:
Yarn
- Type: Worsted weight yarn (Category 4)
- Fiber: Acrylic or wool blend (for warmth and flexibility)
- Amount: About 100–150g per pair, depending on size
Hook
- Size: 5.0 mm (H-8) or size suitable for your yarn
- Note: Always check yarn label for recommended hook size.
Tools
- Yarn needle (for weaving in ends)
- Scissors
- Stitch markers (optional)
- Measuring tape
🧶 Basic Crochet Skills Needed
If you’re familiar with these stitches, you’re good to go:
- Chain (ch)
- Slip Stitch (sl st)
- Double Crochet (dc)
- Fastening off
- Sewing or slip stitching pieces together
Not familiar with these yet? No worries! They’re easy to learn with online tutorials or quick practice.
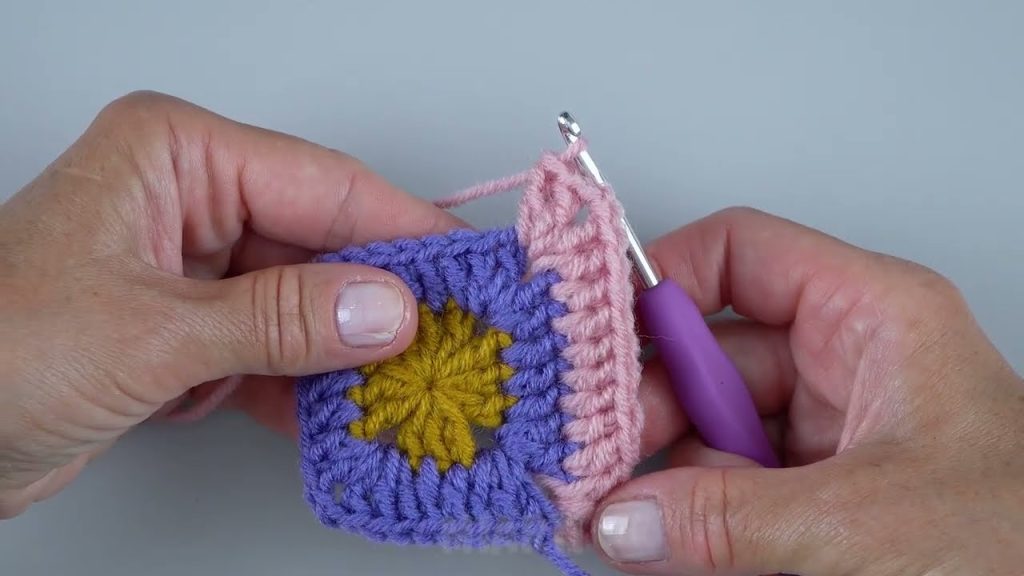
🔷 Step 1: Crochet Your Granny Squares
✨ Basic Granny Square Pattern
Let’s start with a classic 4-round granny square. You’ll need 6 squares per slipper (12 in total for a pair).
Traditional Granny Square (4 Rounds):
Round 1: Ch 4, sl st to first ch to form a ring. Ch 3 (counts as 1 dc), 2 dc in ring, ch 2. *3 dc in ring, ch 2* repeat 2 more times. Sl st to top of beginning ch-3. (You have 4 dc clusters and 4 ch-2 corners.)

Round 2: Sl st to next ch-2 space, ch 3, 2 dc in space, ch 2, 3 dc in same space (first corner made). In next ch-2 space, *3 dc, ch 2, 3 dc*. Repeat for remaining corners. Sl st to top of ch-3.

Rounds 3–4: In each ch-2 corner space, work *3 dc, ch 2, 3 dc*. In each space between clusters along sides, work 3 dc. Sl st to join each round.

Fasten off and weave in ends.

🧩 How Many Squares Do You Need?
You’ll need 6 squares per slipper, arranged as follows:
- 1 square for the toe/top
- 2 squares for the sides
- 2 squares for the heel
- 1 square for the sole (bottom)
Total for a pair: 12 squares
Tip: Make sure all your squares are the same size. Blocking helps!
📐 Step 2: Arrange the Squares
Before sewing, lay the squares flat in this layout (for one slipper):
       [1]   <-- Top
   [2]     [3]   <-- Side squares
   [4]     [5]   <-- Heel squares
       [6]   <-- Sole
- Square 1 = Toe/Top of foot
- Squares 2 & 3 = Sides of foot
- Squares 4 & 5 = Heel
- Square 6 = Sole (bottom)
Once arranged correctly, this layout will fold into a slipper shape.
🧵 Step 3: Join the Squares
Now let’s connect the squares. You can join them in one of two ways:
Option 1: Whip Stitch (Sewing)
- Place two squares with right sides together.
- Use a yarn needle and whip stitch through both loops along the edge.
- Weave in ends securely.
Option 2: Slip Stitch Join (Crocheting)
- Place right sides together.
- Insert hook through both loops of each square and slip stitch across.
- This gives a more defined edge (decorative look).
🧶 Joining Steps:
- Join square [1] to squares [2] and [3] at the left and right sides.
- Attach squares [4] and [5] beneath [2] and [3], forming a back “heel” structure.
- Fold everything to form a slipper shape.
- Join square [6] (sole) to the bottom edges of squares [2], [3], [4], and [5].
Tip: Leave the top/front of square [1] open—that’s where your foot slips in!
👟 Step 4: Shaping and Finishing Touches
Once all squares are attached:
- Try on the slipper to check fit.
- If it’s too loose: Add a round or two of single crochet around the foot opening.
- If it’s snug: Stretch gently (especially with acrylic yarn, which has some give).
- For a cozier fit, you can add a lining or a fleece insole.
🧼 Care Instructions
Depending on your yarn, here’s how to care for your slippers:
Acrylic Yarn:
- Machine wash cold
- Tumble dry low or lay flat to dry
Wool Yarn:
- Hand wash in cold water
- Lay flat to dry (avoid felting)
Always check your yarn label for exact care guidelines.
🧩 Variations and Customizations
Let your creativity shine!
Color Combinations
- 🌈 Rainbow: Each square a different color
- 🌿 Earth Tones: Browns, greens, and creams
- ❄️ Winter Whites: Use all cream or pastel yarn
Square Styles
- Use flower-centered granny squares
- Try heart motifs or starburst patterns
Embellishments
- Add buttons or pom-poms
- Crochet a cuff around the ankle opening
- Sew on a faux leather sole for durability
📏 Adjusting for Different Sizes
To make smaller or larger slippers:
Make Squares Smaller:
- Use a smaller hook
- Use fewer rounds per square
Make Squares Larger:
- Add an extra round
- Use thicker yarn
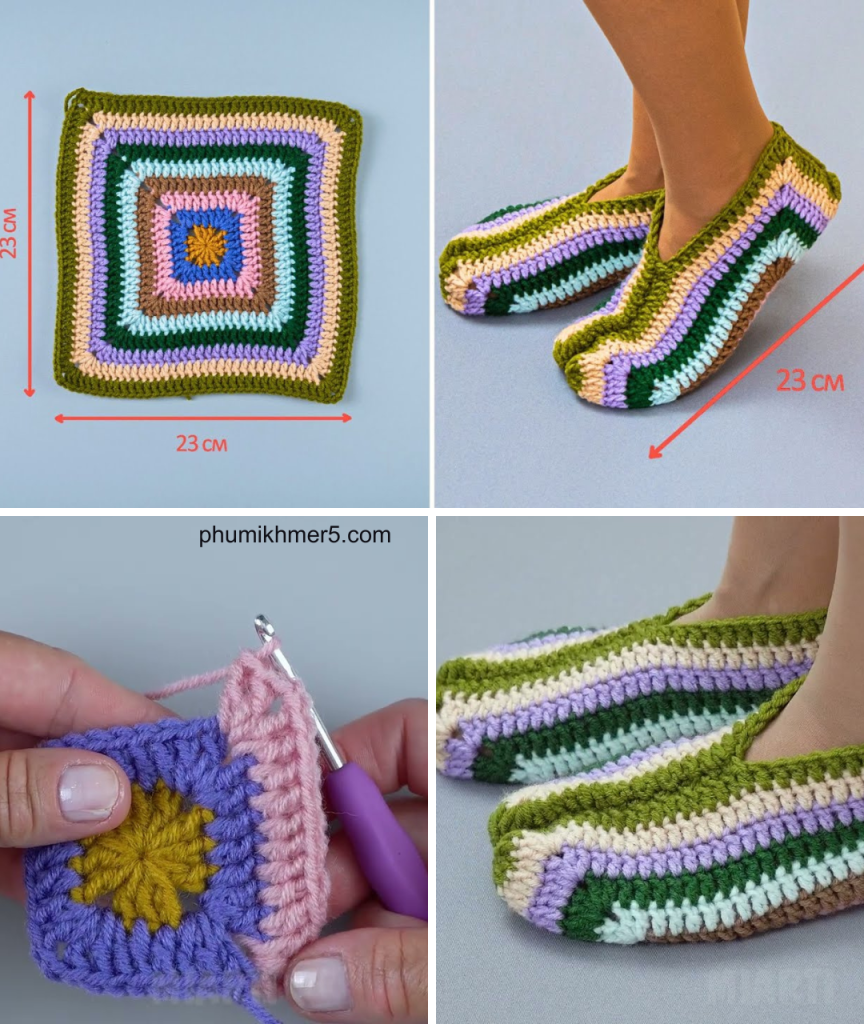
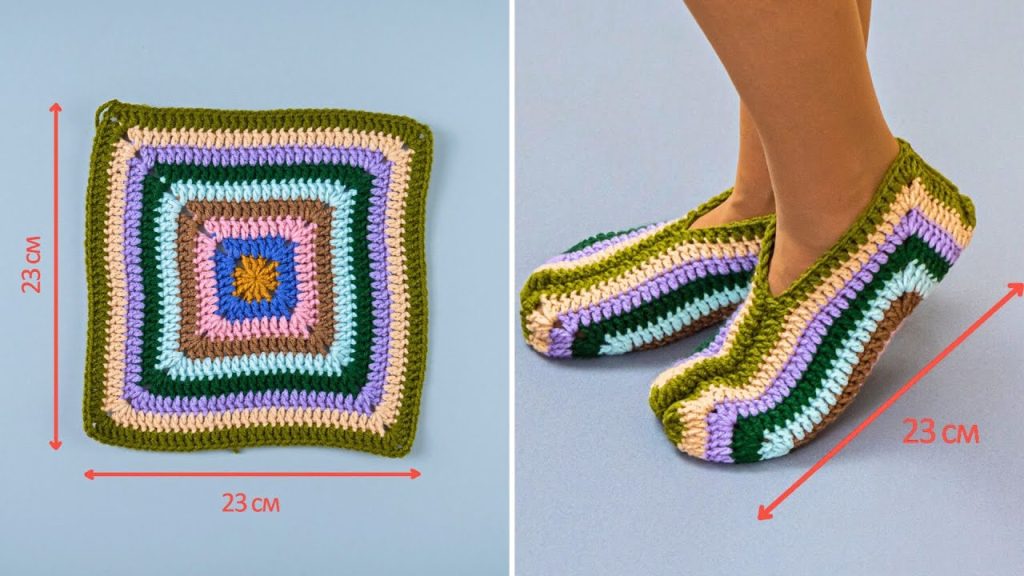
Rough size guidelines (for square size):
- Women’s S/M: ~4.5″ squares
- Women’s L/Men’s M: ~5″ squares
- Men’s L: ~5.5″ squares
Always test one slipper first to adjust size before making the second.
🎁 Gifting & Selling Ideas
Handmade slippers are perfect gifts for:
- Birthdays
- Holidays
- Housewarming
- Baby showers (make baby-sized ones!)
And if you sell your crafts:
- Offer color customization
- Add a ribbon or tag
- Package in a cute reusable bag
💬 Final Thoughts
Crocheting granny square slippers is not just a cozy pastime—it’s a celebration of creativity, nostalgia, and handmade charm. Whether you’re curling up with a cup of tea, crafting a heartfelt gift, or starting your own small business, these slippers are a wonderful project that offers both fun and function.
You can easily finish a pair in a weekend, and the joy of slipping your feet into something you made yourself is unmatched.
Video tutorial: