
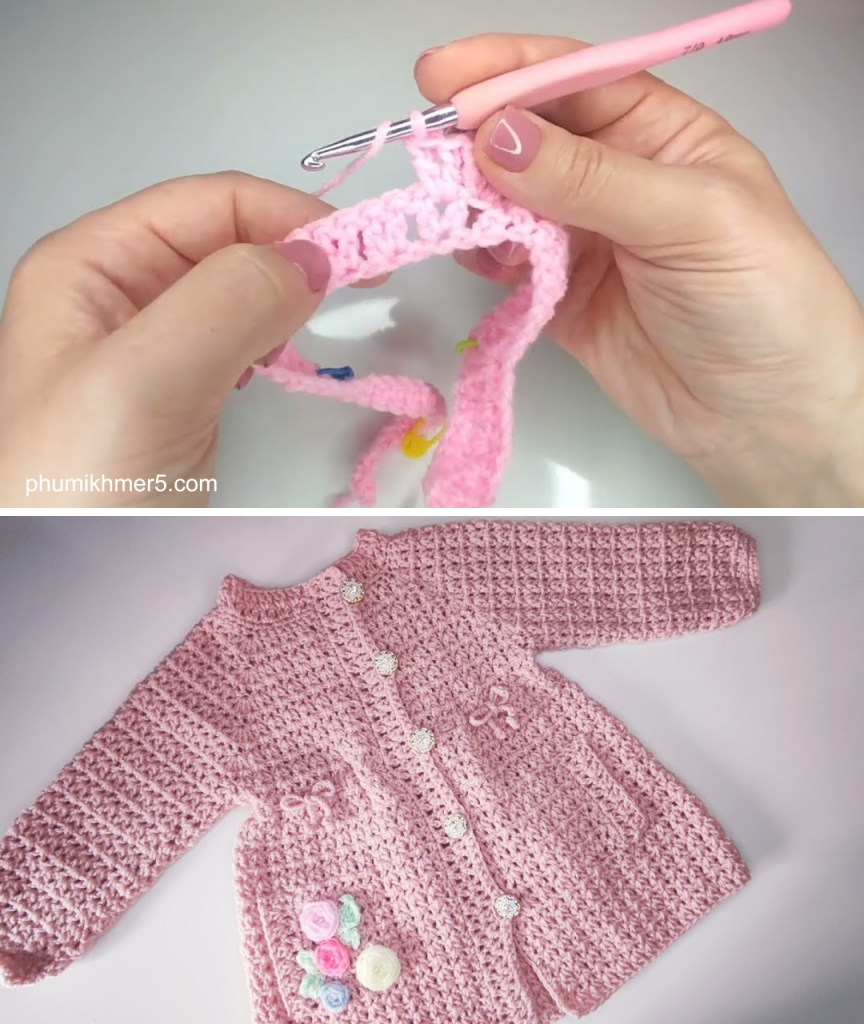
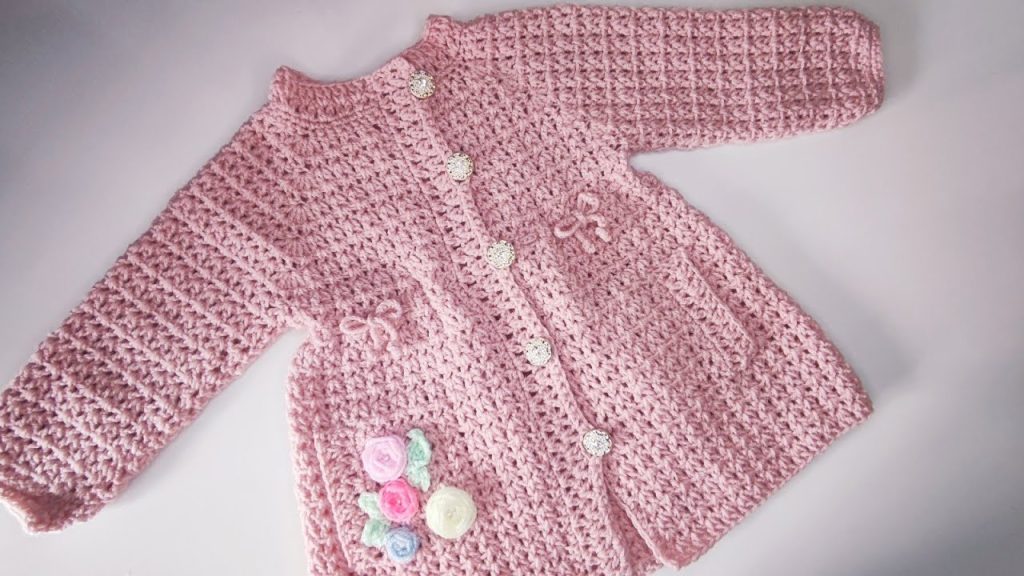
This design utilizes a unique, repeating texture stitch that creates a dense, non-drapey fabric, perfect for a cozy outerwear garment, and incorporates all the wonderful structural details you loved in the inspiration video, including the seamless top-down yoke and the integrated pockets.
🌲 The “Cabled Cypress” Structured Coat Pattern 🌲
Project Overview
- Design Concept: A sturdy, top-down crocheted coat featuring a dense, non-stretchy textured stitch that mimics a subtle rib or cable. It includes an integrated square neckline, front patch pockets, and a back walking vent.
- Finished Sizes (Approx. Chest Measurement):
- Size 1 (22 in / 56 cm)
- Size 2 (24 in / 61 cm)
- Size 3 (26 in / 66 cm)
- Skill Level: Intermediate (Familiarity with top-down construction, post stitches, and reading schematics is helpful).

Materials & Gauge
| Item | Details |
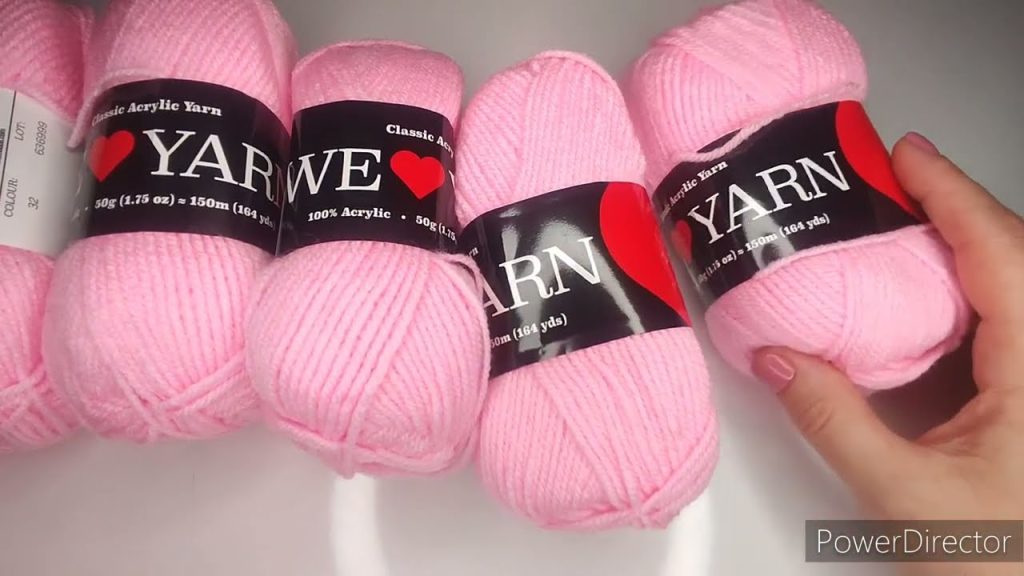
| Yarn | Worsted Weight (Category 4) or DK Weight (Category 3) yarn. A wool or acrylic blend is recommended for warmth and stitch definition. |
| Hook | Size G/6 (4.0 mm) or H/8 (5.0 mm). Use a hook size smaller than your yarn recommends to ensure a tight, dense fabric. |
| Notions | Tapestry needle, scissors, measuring tape, 4 removable stitch markers (essential for the yoke corners), 4-6 buttons (3/4 inch diameter). |
| Gauge (Blocked) | 4 pattern repeats wide (4 rows high) in Cypress Texture Stitch = 4 inches x 4 inches (10 cm x 10 cm). |
Special Stitches (US Terms)
| Abbreviation | Stitch Name | Definition |
| HDC | Half Double Crochet | Standard HDC. Used for the neckline and button bands. |
| DC | Double Crochet | Standard DC. Used as the base stitch for the texture. |
| FPDC | Front Post Double Crochet | Yarn over, insert hook from front to back around the post of the designated stitch (from the row below), yarn over, pull up loop, [yarn over, pull through 2 loops] 2 times. |
| Shell | 3 DC Shell | Work 3 Double Crochets (DC) into the same stitch or space. (Used for all Yoke Increases). |
Part 1: The Seamless Yoke (Top-Down)
The yoke is worked in rows, from the neckline down.
Starting Chain
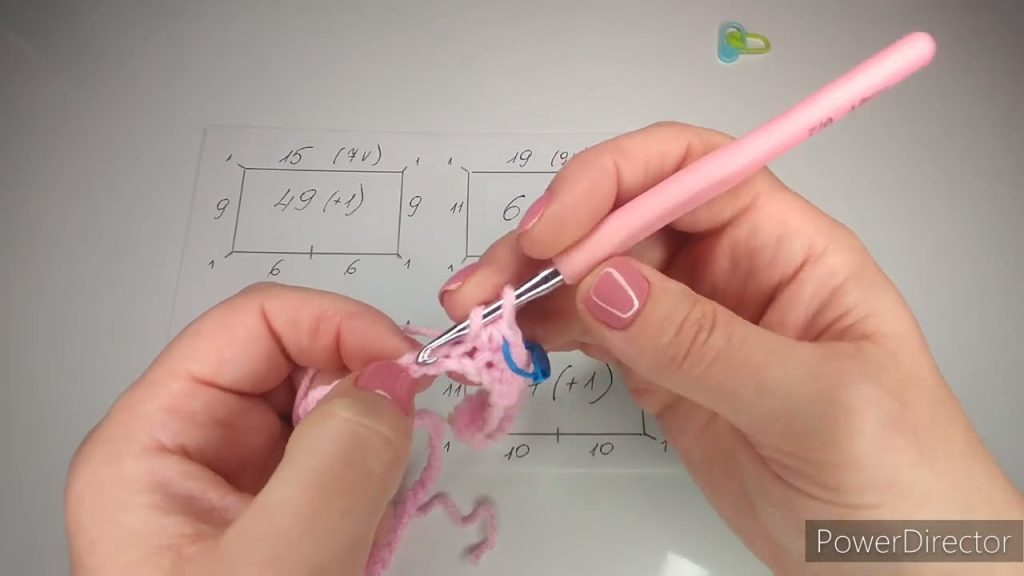
| Size | Starting Chain (Chain Multiple of 6 + 1) | Distribution (Back/Sleeve/Front) |
| Size 1 | 61 (6×10 + 1) | 9 / 12 / 18 / 12 / 9 |
| Size 2 | 73 (6×12 + 1) | 11 / 14 / 23 / 14 / 11 |
| Size 3 | 85 (6×14 + 1) | 13 / 16 / 27 / 16 / 13 |
Setup Row (RS):
Ch 3 (counts as a DC). DC in the 4th Ch from the hook and in each Ch across. (Total DC count matches your starting chain number minus 2, or simply the number of chains you made).
Row 1 (Yoke Increase & Corner Setup – WS):
Ch 3 (counts as a DC). DC in the next [Front Panel Stitches] stitches.
- Corner 1: Shell (3 DC) in the next stitch. Place a marker in the 2nd DC of the Shell.
- DC in the next [Sleeve Stitches] stitches.
- Corner 2: Shell in the next stitch. Place a marker in the 2nd DC of the Shell.
- DC in the next [Back Panel Stitches] stitches.
- Corner 3: Shell in the next stitch. Place a marker in the 2nd DC of the Shell.
- DC in the next [Sleeve Stitches] stitches.
- Corner 4: Shell in the next stitch. Place a marker in the 2nd DC of the Shell.
- DC in the remaining [Front Panel Stitches] stitches. Turn.
The Cypress Texture Stitch (Worked within the Yoke Increases)
Starting now, you will replace the simple DC stitches between the corners with the texture stitch. The Shell (3 DC) is always worked into the marked center stitch of the previous Shell.
Row 2 (Texture & Increase – RS):
Ch 3 (counts as DC). FPDC around the post of the next stitch. DC in the next stitch, FPDC around the post of the next stitch. Repeat this sequence until you reach the stitch before the corner marker.
- DC in the last stitch before the corner.
- Corner: Shell (3 DC) in the marked center stitch. Move marker to the 2nd DC of the Shell.
- Continue Texture: Start the texture pattern immediately on the first stitch after the corner: FPDC around the post of the first stitch, DC in the next stitch, FPDC around the post of the next stitch. Repeat until the stitch before the next corner marker.
- Repeat the Corner and Texture sections 3 more times.
- Work the Cypress Texture Stitch across the final Front Panel. DC in the top of the turning Ch 3. Turn.
Row 3 (Yoke Increase – WS):
Ch 3 (counts as DC). DC in every stitch until you reach the stitch before the corner marker.
- Corner: Shell (3 DC) in the marked center stitch. Move marker to the 2nd DC of the Shell.
- DC in every stitch across the next panel.
- Repeat the Corner and DC sections 3 more times.
- DC in every remaining stitch. DC in the top of the turning Ch 3. Turn.
Rows 4 – 8 (or to Yoke Length):
Repeat Row 2 (Texture Row) and Row 3 (DC Row) in alternating sequence until the yoke measures your target depth (approx. 5.5 in for Size 1, 6.5 in for Size 2, 7.5 in for Size 3) and the sleeves fit comfortably around the underarm. You will end on a Row 3 (DC Row) repeat.
Part 2: Body Separation, Pockets & Back Vent
Row 9 (Body Separation & Vent Foundation – RS):
- Front Panel: Work Row 2 (Texture Stitch) across the first Front Panel up to the first corner marker.
- Armhole: DC in the marked center stitch. Ch 4 (for armhole underchain). Skip all stitches of the first Sleeve Panel, up to the 2nd corner marker.
- Back Panel (Start of Vent): DC in the marked center stitch. Work Row 2 (Texture Stitch) across the Back Panel until the center 3 stitches. Place a marker in the center stitch of the Back Panel.
- Vent Split: Work up to the back center marker. DC in the marked center stitch. Ch 5 (This is the Vent foundation. Chain an odd number). DC in the same marked center stitch. (The Ch 5 creates a loop for the vent split).
- Continue Row 2 (Texture Stitch) until the third corner marker.
- Armhole: DC in the marked center stitch. Ch 4 (for armhole underchain). Skip all stitches of the second Sleeve Panel, up to the 4th corner marker.
- Front Panel: DC in the marked center stitch. Work Row 2 (Texture Stitch) across the final Front Panel. DC in the top of the turning Ch 3.
Row 10 (Pocket Placement & DC Row – WS):
Ch 3 (counts as DC). DC in every stitch across, including the Ch 4 underchains. When you reach the Ch 5 Vent foundation, work 5 DC around the chain space. This establishes the full body circumference.
Rows 11 – 15 (Body Shaping & Pocket Setup):
Continue working the Cypress Texture Stitch (alternating Texture Rows and DC Rows) for 5 rows.
Row 16 (Pocket Opening – RS):
- Front: Work Row 2 (Texture Stitch) across the front panel until you are 3 pattern repeats (approx. 12 stitches) from the edge.
- Pocket Opening: Work a DC in the next stitch. Chain 18. Skip the next 18 body stitches. DC in the next stitch.
- Back & Vent: Continue Row 2 (Texture Stitch) across the Back Panel and over the vent stitches.
- Pocket Opening 2: On the second Front Panel, DC in the stitch that aligns with the previous opening. Chain 18. Skip the next 18 body stitches. DC in the next stitch.
- Finish with Row 2 (Texture Stitch) on the last front section.
Part 3: Finishing the Body and Vent
Row 17 (Pocket Closure & Vent Split – WS):
Ch 3. DC in every stitch across the body. When you reach the Ch 18, work 18 DC into the chain space. This closes the pocket opening and creates the space underneath.
Rows 18 – 25 (Body Length):
Continue the Cypress Texture Stitch (Texture Rows and DC Rows) until the coat reaches the desired length before the final edging (approx. 6-8 more rows).
Vent Split Section:
At the end of Row 25, you will need to split the Back Panel again to finish the vent.
- Continue the pattern across the front and sleeves.
- Work across the back panel until you reach the center 5 DC that you worked into the Ch 5 foundation in Row 10.
- Work only into the first 2 of those 5 DC. Turn.
- Work the texture pattern back and forth across only the left half of the back panel for 4 more rows. Fasten off.
- Right Vent Panel: Attach yarn to the 4th DC of the center 5 DC. Ch 3. Work 4 rows of the texture pattern back and forth on this right panel. Fasten off.
This creates the walking vent, with one side slightly overlapping the other for a neat finish.
Part 4: Pocket Flaps & Sleeves
- Pocket Flaps (Make 2):
- Attach yarn to the skipped body stitches below the Chain 18 opening.
- Work a small rectangle of 18 stitches using the Cypress Texture Stitch for 6 rows. Fasten off. Sew the top edge of the flap to the row above the opening.
- Sleeves (Make 2):
- Attach yarn at the center of the Ch 4 underchain. Work in continuous rounds.
- Round 1: DC in each of the 4 chains and each stitch around the armhole. Join with SL ST.
- Rounds 2 – 15 (or to length): Continue the Cypress Texture Stitch in the round (alternating Texture and DC rounds, but do not turn). Decrease evenly by 2 stitches every 4 rounds for a gentle taper.
- Finish with 3 rows of HDC for a simple cuff. Fasten off.
Part 5: Final Edging & Button Band
Button Band & Neckline:
- Attach yarn to the bottom right corner of the coat (RS facing).
- Row 1 (Up Right Edge): Ch 1. Work 1 HDC for every DC row and 2 HDC for every Shell (increase) row up the entire right front edge, across the neckline, and down the left front edge. Turn.
- Row 2 (Buttonholes – WS): Ch 1. HDC in the first 3 stitches. Ch 2, Skip 2 stitches (buttonhole), HDC in the next 10 stitches. Repeat buttonhole sequence up the entire left edge (this will be the buttonhole band). HDC across the neckline and down the right edge. Turn.
- Row 3 (Finishing – RS): Ch 1. HDC in every stitch across, working 2 HDC into each Ch-2 buttonhole space. Fasten off.
Finishing:
- Weave in all ends.
- Sew buttons to the right button band, aligning them with the buttonholes on the left band.
- Block the coat aggressively to ensure the structure and texture of the Cypress Stitch stand out beautifully.
Video tutorial:


