
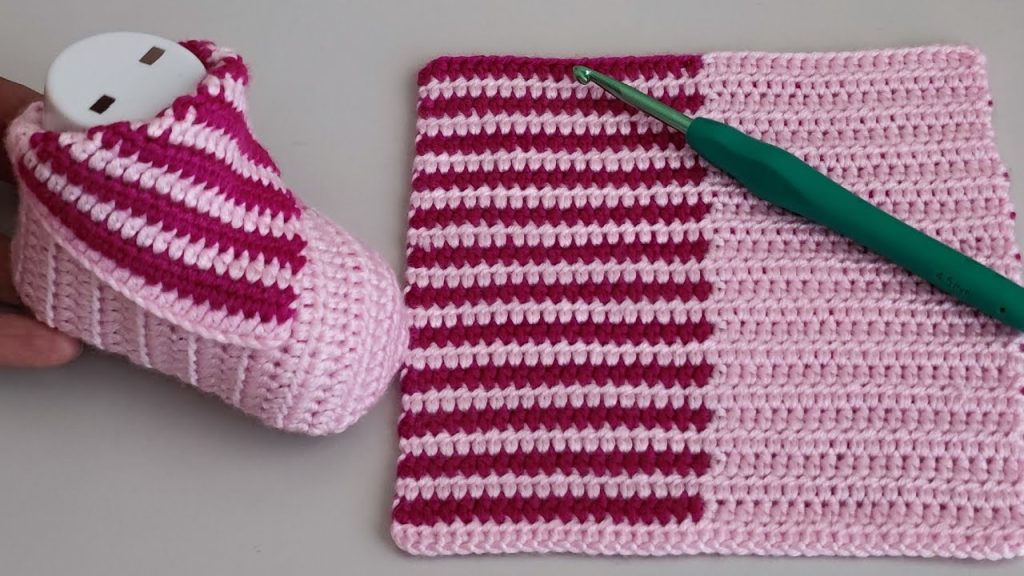
There is something deeply comforting and personal about making baby items with your own hands. If you’re looking for a quick, rewarding project that results in the softest, most stylish footwear for a little one, you’ve found it!
This pattern is inspired by the simple elegance of the tutorial from Tuba Crochet, “Save Money, Stay Stylish | Easy Crochet Baby Booties Tutorial”. We’ve transformed the visual guide into a highly detailed, written pattern for a pair of adorable, snug-fitting booties—perfect for gifting or keeping those tiny toes warm. This design is focused on a seamless sole and a classic, structured body that stays put!
🧶 Project Essentials
| Item | Detail |
| Skill Level | Beginner to Intermediate |
| Size | 0–3 Months (Approx. 3.5 inches / 9 cm finished sole length) |
| Yarn | 1 skein (approx. 50-75 yards) of DK weight (Category 3) yarn. We recommend a soft acrylic or cotton blend. |
| Hook | 3.5 mm (US E-4) crochet hook. |
| Notions | Yarn needle for weaving in ends, scissors, optional ribbon or cord for ties. |
Gauge (Approximate)
4 rows of DC = 1 inch (2.5 cm)
📋 Abbreviations (US Crochet Terms)
- Ch: Chain
- St(s): Stitch(es)
- Sl St: Slip Stitch
- SC: Single Crochet
- HDC: Half Double Crochet
- DC: Double Crochet
- SC2TOG: Single Crochet 2 Stitches Together (Decrease)
- DC2TOG: Double Crochet 2 Stitches Together (Decrease)
- BLO: Back Loop Only
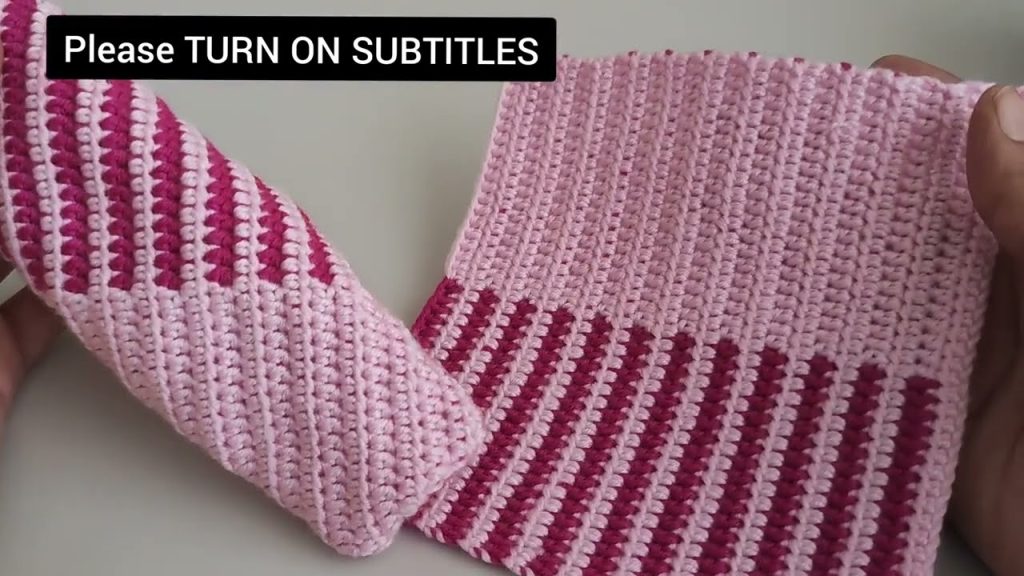
Part 1: The Seamless Sole
The sole is worked in the round to create a firm, oval base for the bootie. We will start with a chain that is the approximate length of the baby’s foot.
Foundation: Ch 10.
Round 1:
- DC in the 3rd Ch from hook.
- DC in the next 6 Chs.
- Place 5 DC in the last Ch (this forms the toe curve).
- Working down the opposite side of the starting chain: DC in the next 6 Stitches.
- Place 3 DC in the final St (this forms the heel curve).
- Sl St to the top of the starting Ch-2 to join. (Total: 20 Stitches, including the starting Ch-2)
Round 2 (Increases):
- Ch 2 (counts as DC). DC in the same St.
- DC in the next 7 Stitches.
- Place 2 DC in the next 3 Stitches (Toe increases).
- DC in the next 7 Stitches.
- Place 2 DC in the last 2 Stitches (Heel increases).
- Sl St to the top of the starting Ch-2 to join. (Total: 26 Stitches)
Round 3 (Establishing the Edge):
- Ch 1 (does not count as a St).
- SC in the BLO of every St around. Working in the BLO pulls the edge up, clearly defining the sole from the side of the bootie.
- Sl St to the first SC to join. (Total: 26 Stitches)
Part 2: The Bootie Body and Toe Shaping
We now work straight up and begin decreasing stitches over the instep to form the curved front of the shoe.
Round 4 (Straight Up):
- Ch 2 (counts as DC).
- DC in every St around.
- Sl St to the top of the starting Ch-2 to join. (Total: 26 Stitches)
Round 5 (Start Shaping):
- Ch 2 (counts as DC).
- DC in the next 6 Stitches (working across the back and sides).
- HDC in the next 2 Stitches.
- SC in the next 2 Stitches.
- DC2TOG 3 times (This forms the center toe decreases).
- SC in the next 2 Stitches.
- HDC in the next 2 Stitches.
- DC in the next 6 Stitches.
- Sl St to the top of the starting Ch-2 to join. (Total: 23 Stitches)
Round 6 (Refined Shaping):
- Ch 1 (does not count as a St).
- SC in the next 7 Stitches (working across the back and heel).
- HDC in the next St.
- SC2TOG 3 times (Instep decreases).
- HDC in the next St.
- SC in the next 7 Stitches.
- Sl St to the first SC to join. (Total: 20 Stitches)
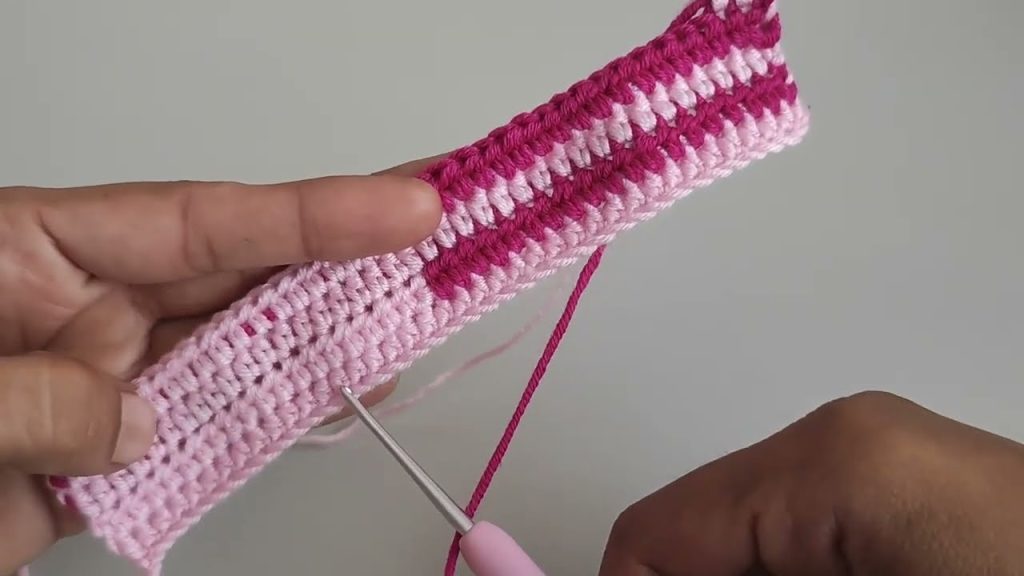
Part 3: The Ankle Cuff
The cuff is worked in simple single crochet rows to create a neat, durable top edge and provide space for a tie or strap.
Round 7 (First Cuff Round):
- Ch 1 (does not count as a St).
- SC in every St around.
- Sl St to the first SC to join. (Total: 20 Stitches)
Round 8 (Eyelet/Tie Round – Optional):
- Ch 1 (does not count as a St).
- SC in the first 2 Stitches.
- Ch 1, skip 1 St (This creates an eyelet).
- SC in the next 3 Stitches.
- Repeat from * to end of round. Adjust your Stitches if needed to ensure the round ends neatly.
- Sl St to the first SC to join. (Total: 20 Stitches)
Round 9 (Final Cuff Round):
- Ch 1 (does not count as a St).
- SC in every St around, including SC into any Ch-1 spaces from the previous round.
- Sl St to the first SC to join. (Total: 20 Stitches)
Part 4: Finishing
Fasten off your yarn, leaving a long tail for weaving.
- Weave Ends: Thread your yarn needle and carefully weave all loose ends into the inside of the bootie to secure them firmly.
- Add the Tie (Optional): If you created the eyelet round (Round 8), use a simple crocheted chain or a thin ribbon/cord. Thread it through the eyelets to create a decorative and functional ankle tie.
- Steam Block: Gently steam-block the booties to help them set their shape and even out the stitches.

Repeat all steps to create a matching pair! Enjoy your beautiful, handmade creation—a testament to style and savings!
Video tutorial:


