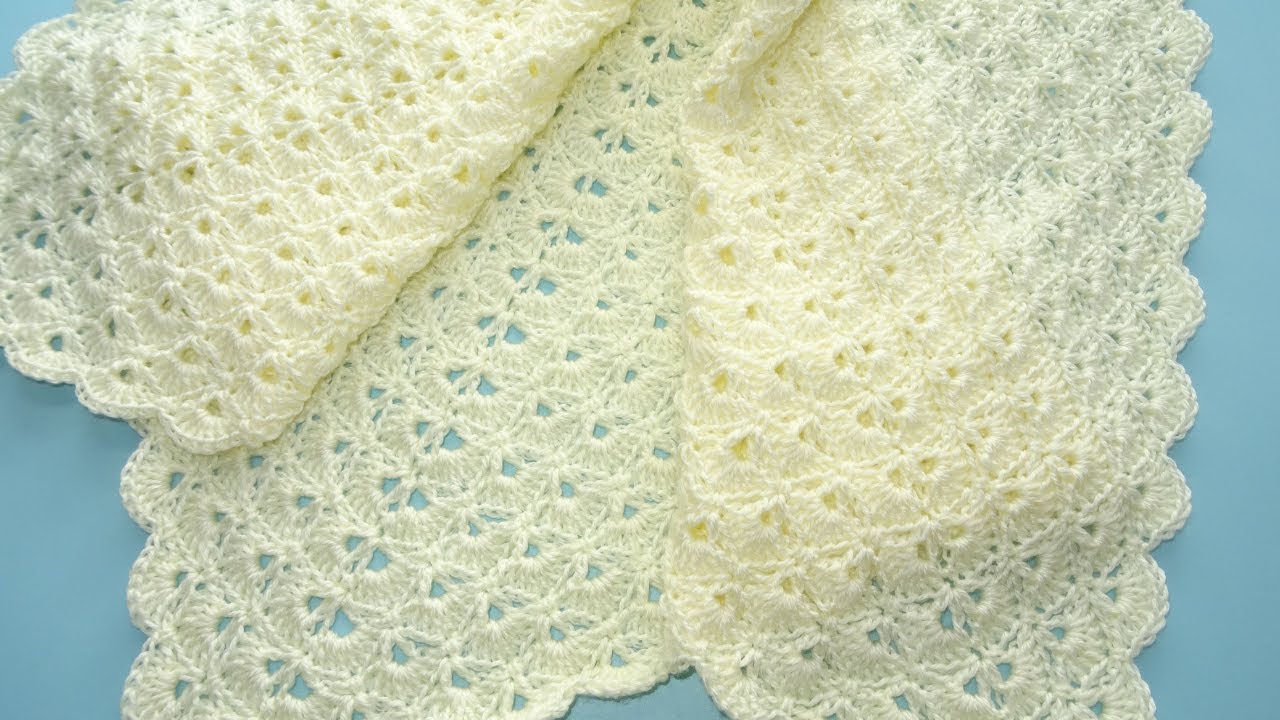
There’s something incredibly satisfying about watching a blanket grow from a single point, radiating outward into a beautiful, geometric design. The “Diamond Bloom” Square Blanket is an easy-to-master project that uses a gorgeous two-round repeat of V-stitches and Shells to create a textured, sturdy fabric that’s perfect for a baby blanket, throw, or even a large bedspread!
This tutorial is perfect for crocheters of all skill levels. It starts with the center-out technique, meaning you can easily continue crocheting until the blanket reaches any size you desire. This is one of those versatile patterns you’ll keep coming back to!

Why Crochet the Diamond Bloom Blanket?
- Center-Out Design: Allows you to effortlessly customize the size. Start small for a coaster or keep going for a king-sized throw!
- Stunning Texture: The combination of the V-stitch (the spokes) and the 7-DC Shells (the blooms) creates a beautiful, eye-catching texture.
- Great for Beginners: Despite its intricate appearance, the pattern relies on basic stitches and a simple two-round repeat.
- Versatile: Looks beautiful in a single color, multiple colors, or using a self-striping yarn.
1. Materials & Tools You’ll Need
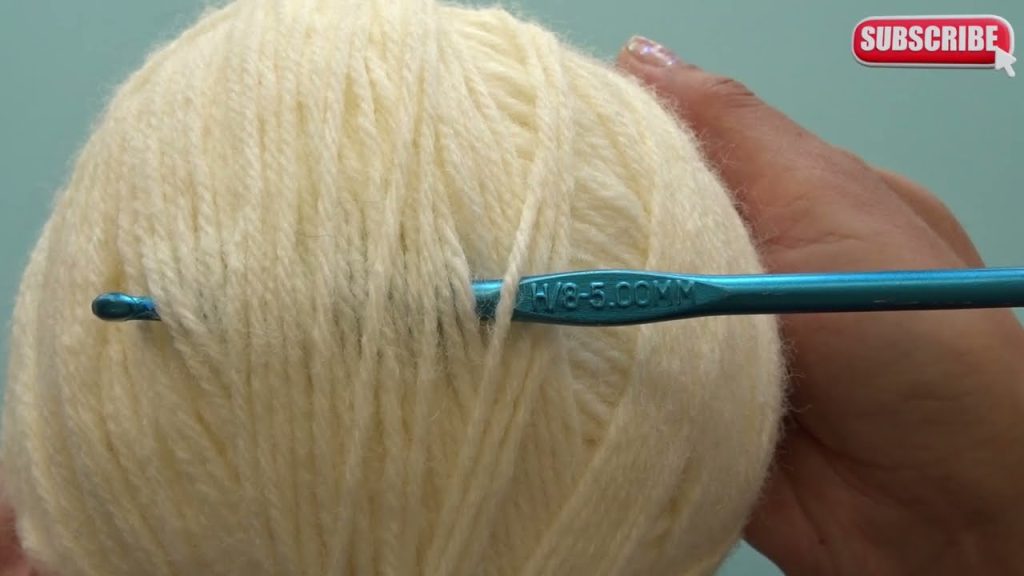
- Yarn: Number 4, Medium Weight Yarn (often labeled as Worsted Weight in the US).
- Crochet Hook: 5.0 mm (H-8 US).
- Scissors.
- Tapestry Needle (Yarn Needle): For weaving in ends.
2. Essential Crochet Stitches & Abbreviations
| Abbreviation | Stitch Name | Notes |
| ch | Chain | |
| sl st | Slip Stitch | |
| sc | Single Crochet | |
| dc | Double Crochet | |
| V-st | V-Stitch | (dc, ch 1, dc) worked into the same stitch or space. |
| Shell | Shell Stitch | 7 dc worked into the same stitch or space. |
3. Gauge & Size
- Gauge: Not critical for this project, but aim for a fabric that is firm enough to hold its shape but has a nice drape.
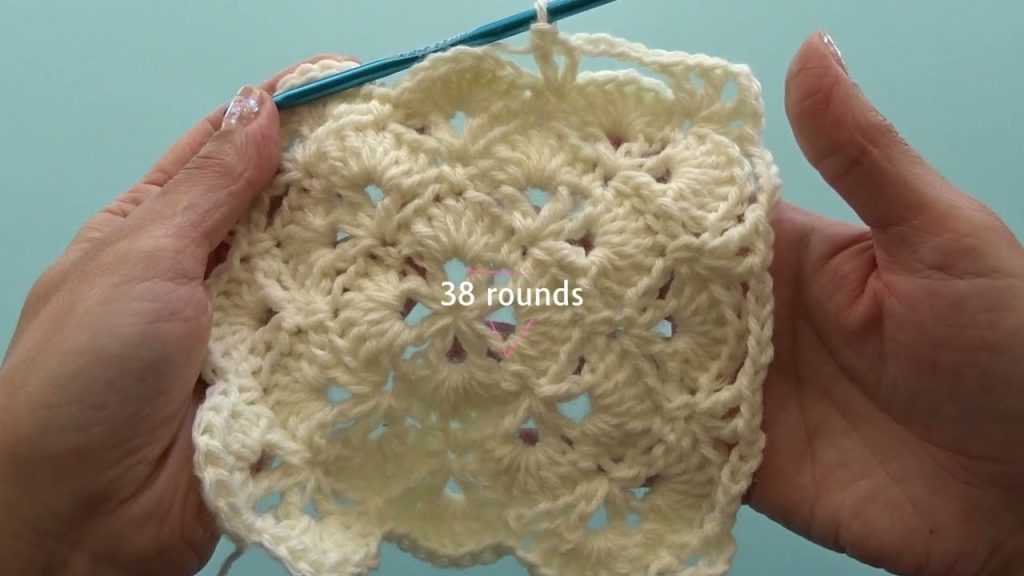
- Size: Continue repeating the pattern rounds until your blanket reaches your desired size. The video demonstrated a baby blanket of 38 total rounds.
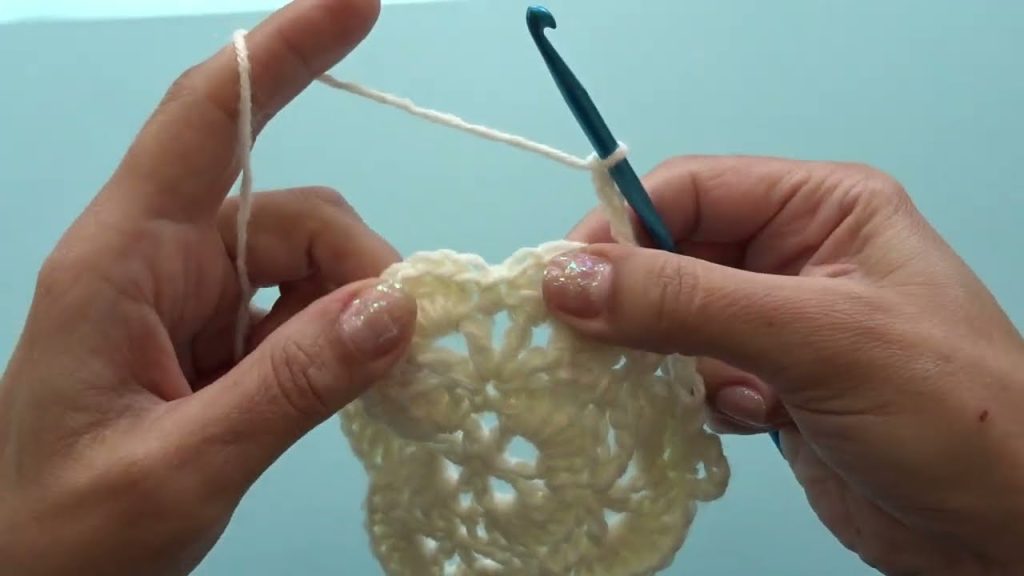
4. Let’s Crochet the Diamond Bloom Blanket!
The pattern is a two-round repeat, with an initial foundation and setup round.
Foundation
- Option 1 (Magic Ring): Create a magic ring.
- Option 2 (Chain Ring): Chain 4, then slip stitch into the first chain to form a ring.
Round 1: V-Stitches (Establishing the Square)
This round creates the initial four corners.
- Ch 4 (counts as 1 dc and ch 1).
- Work 1 dc into the ring. This completes your first V-st.
- Ch 2 (This is your first corner space).
- Work (dc, ch 1, dc) into the ring (2nd V-st).
- Ch 2 (2nd corner space).
- Work (dc, ch 1, dc) into the ring (3rd V-st).
- Ch 2 (3rd corner space).
- Work (dc, ch 1, dc) into the ring (4th V-st).
- To Join: Ch 1, then work 1 sc into the 3rd chain of the beginning Ch 4.
- (You should have 4 V-stitches and 4 corner spaces.)
Round 2: Shells (First Shell Round)
This round introduces the texture.
- Ch 1. Work 1 sc into the space where you joined the previous round (the ch-1 space).
- Work 7 dc into the next V-st’s ch-1 space (Shell).
- Work 1 sc into the next Ch-2 corner space.
- Work 7 dc into the next V-st’s ch-1 space.
- Work 1 sc into the next Ch-2 corner space.
- Repeat the pattern (7 dc in V-st, 1 sc in corner) around.
- To Join: Sl st into the first sc of the round.
Round 3: V-Stitches (Increase Round)
This round establishes the new corners and the growing sides.
- Ch 4 (counts as dc and ch 1). Work 1 dc into the same stitch (This is a half-corner).
- Ch 5.
- Corner: Skip all 7 dc. In the next single crochet, work a corner: (V-st, ch 2, V-st) into the same sc.
- Ch 5.
- Side: Skip all 7 dc. In the next single crochet, work a V-st (dc, ch 1, dc).
- Ch 5.
- Repeat the corner and side pattern: (Corner into next sc, Ch 5, V-st into next sc, Ch 5) around.
- To Join (Final Corner): Ch 5. Work V-st (dc, ch 1, dc) into the beginning stitch where you started your half-corner. Ch 1, then work 1 sc into the 3rd chain of the beginning Ch 4.
Round 4: Shells (Expanding Shell Round)
This round fills in the framework created by Round 3.
- Ch 1. Work 1 sc into the space where you joined the previous round.
- Shell: 7 dc into the ch-1 space of the next V-st.
- Side Shell Integration: Find the 4th dc of the V-st shell below it (from Round 2). Work 1 sc into that 4th dc, simultaneously picking up the Ch 5 space from Round 3.
- Shell: 7 dc into the ch-1 space of the next V-st.
- Corner: Work 1 sc into the next Ch-2 corner space.
- Shell: 7 dc into the ch-1 space of the next V-st.
- Side Shell Integration: Find the 4th dc of the shell below. Work 1 sc into the 4th dc, picking up the Ch 5 space.
- Shell: 7 dc into the ch-1 space of the next V-st.
- Repeat the pattern around: (Shell in V-st, sc into 4th dc of shell below/Ch 5 space) across the side, (Shell in V-st, sc in Ch 2 space, Shell in V-st) for the corner.
- To Join: Sl st into the first sc of the round.
5. Continuing the Blanket (The Repeat)
The pattern is a simple two-round repeat, where the single crochets of the Shell round become the anchor points for the V-stitches in the next round.
- Repeat Round: Repeat Round 3 (The V-stitch/Increase Round).
- All V-stitches are worked into the single crochets of the previous Shell round.
- The corners are always: (V-st, ch 2, V-st) into the single crochet located in the corner Ch-2 space.
- Chain 5 between all V-stitches.
- Shell Round: Repeat Round 4 (The Shell Round).
- All Shells (7 dc) are worked into the ch-1 space of the V-stitches.
- The single crochets for the sides anchor into the 4th dc of the Shell below, picking up the Ch 5.
- The corner single crochet is worked into the Ch-2 space.
Continue this two-round repeat until your blanket reaches the desired size.
6. Finishing
- Fasten Off: After completing a Shell Round (an even-numbered round), sl st into the first single crochet. Cut your yarn and pull the tail through the loop to secure.
- Weave in Ends: Using a tapestry needle, carefully weave your ends into the stitches on the wrong side of your work, going in multiple directions to ensure they are secure and invisible.
Your beautiful “Diamond Bloom” Crochet Square Blanket is now finished!
Video tutorial:


