
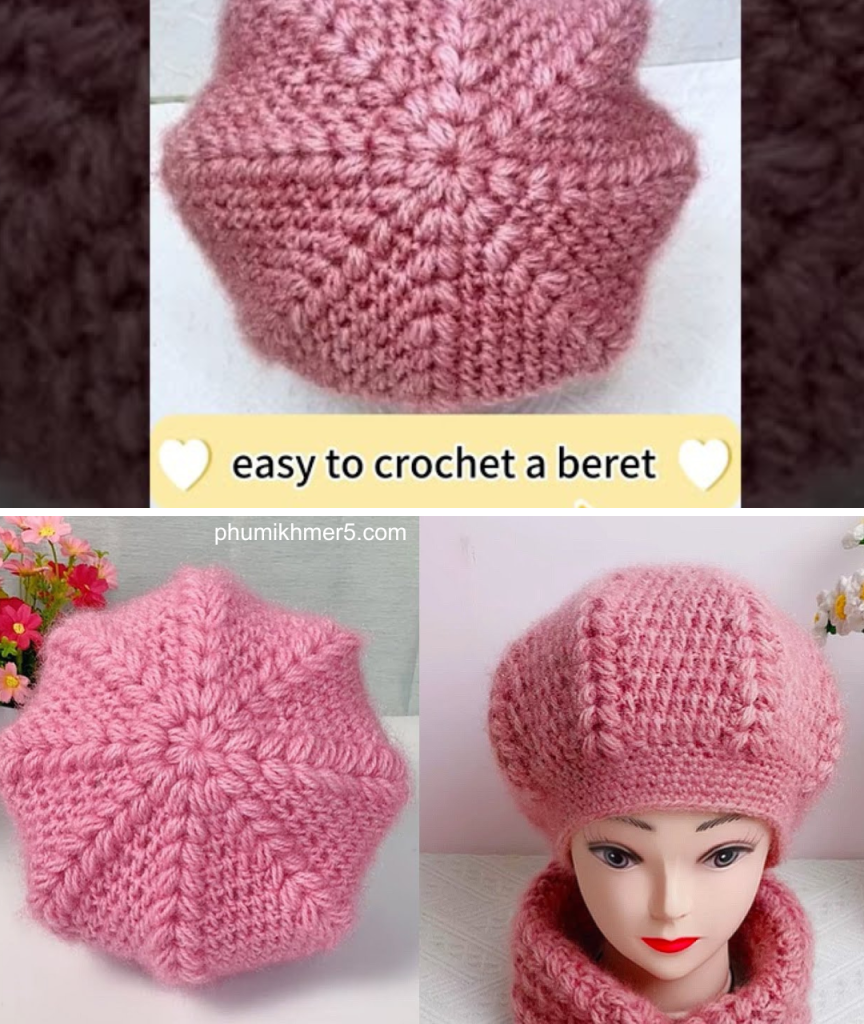
Crocheting a beret hat is a charming project for beginners eager to expand their skills while creating a fashionable accessory. In this tutorial, we will walk you through the process of crocheting an Octagon Crochet Beret Hat, a unique twist on the classic round beret. The octagon shape not only adds visual interest but also serves as a structured base for the hat, making it stand out with style and symmetry.
This guide is designed for beginners, using simple stitches and offering clear, step-by-step instructions. By the end, you’ll have a cozy, chic beret perfect for cool weather or stylish layering. Let’s get started!

🧶 Supplies You’ll Need
Before diving into the project, gather your materials. For a beginner-friendly beret, use a medium weight yarn and an appropriately sized crochet hook.
Materials:
- Worsted weight yarn (Medium #4) – Approximately 150–200 yards
- Crochet hook – 5.0 mm (H-8) or size needed for gauge
- Scissors
- Yarn needle – For weaving in ends
- Stitch markers (optional) – Helpful for keeping track of rounds
- Measuring tape – For checking hat dimensions
Recommended Yarn Types:
- Cotton-acrylic blends (for structure)
- Wool blends (for warmth and flexibility)
- Acrylic yarn (budget-friendly and easy to find)
🧵 Stitches & Techniques Used
This project uses basic crochet stitches and is beginner-friendly. Familiarize yourself with these stitches:
- Chain (ch)
- Slip Stitch (sl st)
- Single Crochet (sc)
- Double Crochet (dc)
- Magic Ring / Adjustable Ring
Optional:
- Back Loop Only (BLO) – To create a ribbed texture for the brim
📏 Beret Sizing Guide
The finished beret should be approximately:
- Crown diameter: 10–11 inches (25–28 cm)
- Hat circumference (brim): 18–20 inches (46–51 cm)
- Height: 8–9 inches (20–23 cm)
Note: You can adjust the size slightly by using a larger/smaller hook or modifying the final few rounds.
🧣 Step-by-Step Octagon Crochet Beret Tutorial
🔸 Step 1: Start with a Magic Ring
The base of the octagon beret starts in the round.
Make a magic ring.
Ch 3 (counts as first dc), then work 15 dc into the ring.
Join with sl st to top of ch-3. (16 dc total)
🧶 Tip: If you’re new to the magic ring, you can substitute it with ch 4, join with a sl st, and work into the ring.
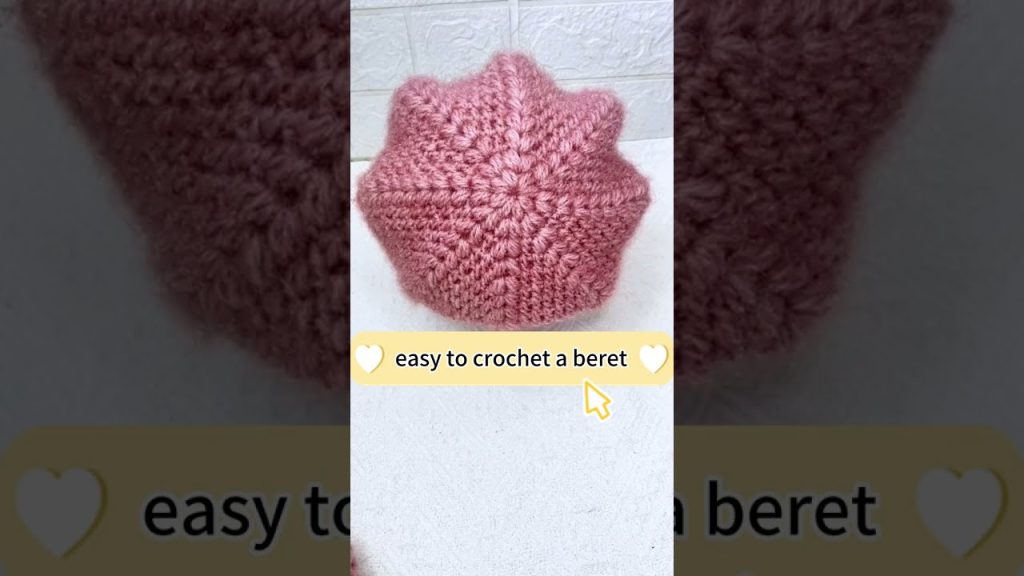
🔸 Step 2: Create the Octagon Shape
Now we’ll begin shaping the octagon by increasing at 8 points.
Round 2:
Ch 3 (counts as dc), dc in same stitch, *dc in next stitch, 2 dc in next* repeat * around.
Join with sl st. (24 dc)

Round 3:
Ch 3, dc in same st, *dc in next 2 sts, 2 dc in next* repeat * around.
Join. (32 dc)

Round 4:
Ch 3, dc in same st, *dc in next 3 sts, 2 dc in next* repeat * around.
Join. (40 dc)

Round 5:
Ch 3, dc in same st, *dc in next 4 sts, 2 dc in next* repeat * around.
Join. (48 dc)
📐 You should see the base forming a soft octagon. Each round adds 8 stitches to maintain the octagonal shape.
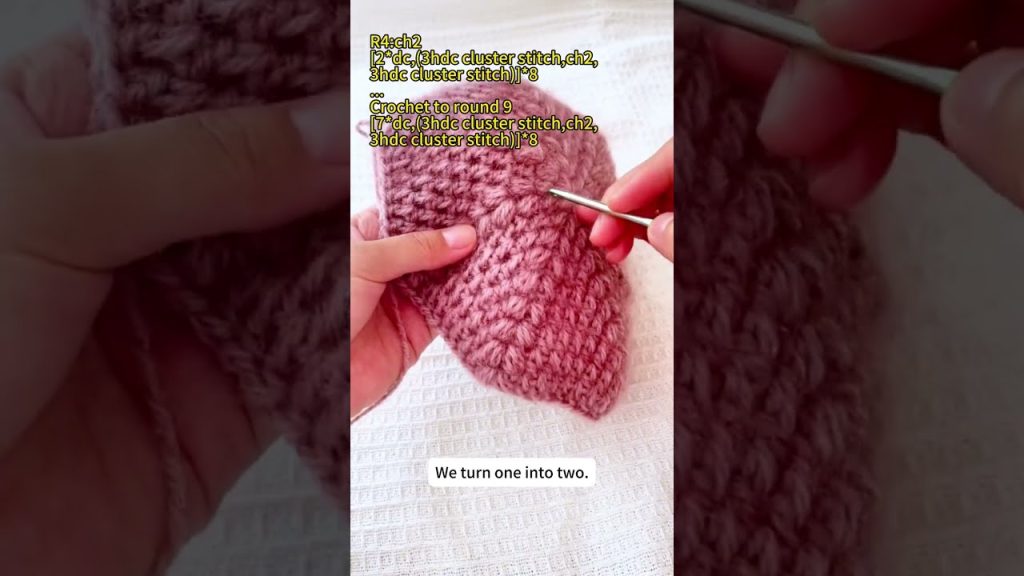
🔸 Step 3: Continue Increasing to Full Crown Size
Keep increasing in the same pattern:
Round 6: *dc in next 5 sts, 2 dc in next* (56 sts)
Round 7: *dc in next 6 sts, 2 dc in next* (64 sts)
Round 8: *dc in next 7 sts, 2 dc in next* (72 sts)
Round 9: *dc in next 8 sts, 2 dc in next* (80 sts)
⏳ Stop increasing when the crown diameter reaches approximately 10–11 inches. For most people, Round 9 or 10 is enough. You now have your octagonal base!
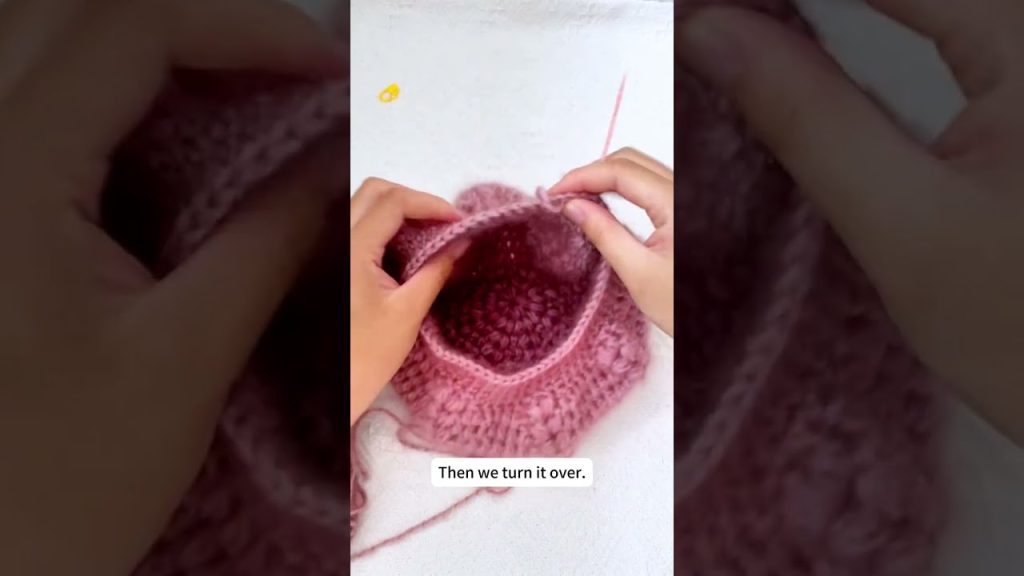
🔸 Step 4: Build the Sides (No More Increases)
Once the crown is the desired width, crochet a few rounds without increasing to shape the body of the beret.
Round 10–12: Dc in each st around. Join with sl st. (80 sts)
🧶 You can adjust how “slouchy” the beret is by adding or subtracting rounds here.
🔸 Step 5: Begin Decreasing (Taper Toward the Brim)
We now taper the hat to fit the head comfortably.
Round 13: *dc in next 8 sts, dc2tog* repeat * around. (72 sts)
Round 14: *dc in next 7 sts, dc2tog* repeat * around. (64 sts)
Round 15: *dc in next 6 sts, dc2tog* repeat * around. (56 sts)
Round 16: *dc in next 5 sts, dc2tog* repeat * around. (48 sts)
📏 At this point, the circumference should be close to 18–20 inches — snug enough for a brim.
🔸 Step 6: Create the Brim
For a snug, stretchy brim, switch to single crochet or back loop only (BLO) stitches.
Rounds 17–20: Sc in each st around. (48 sts)

Optional for texture:
Work sc in BLO for all brim rounds.
🪡 You can add more rows here if you want a thicker brim.
🔸 Step 7: Finish Off
Once the brim is done:
- Sl st to join.
- Cut the yarn, leaving a 6-inch tail.
- Use your yarn needle to weave in the tail on the inside.
- Weave in any other loose ends.
✨ Optional: Add a decorative button, pom-pom, or even a crocheted flower for flair.
👒 Styling Your Octagon Beret
Now that you’ve finished your beret, here are a few ways to wear or gift it:
- Tilted to one side: Classic Parisian style
- Back on the crown: For a slouchy look
- Paired with a scarf: Create a matching set!
- Add embellishments: Embroider initials, sew on pearls, or attach patches
🧼 Care Instructions
To ensure longevity:
- Hand wash in cold water with mild detergent
- Lay flat to dry on a towel
- Do not wring or twist
🌟 Beginner Tips & Troubleshooting
- Keep count of stitches – Use stitch markers at the start of each round.
- Your octagon looks wavy? – You may be increasing too quickly; check your stitch count.
- Too tight/loose? – Adjust hook size or yarn type for better fit.
- Want a faster version? – Use chunky yarn and a larger hook for a quick-finish beret.
📷 Share Your Creation!
Crocheting is not just functional — it’s a form of art. Share your octagon beret on platforms like Instagram, Pinterest, or Ravelry. Use hashtags like:
- #CrochetBeret
- #OctagonBeret
- #BeginnerCrochetHat
- #DIYFashion
🧵 Conclusion
The Octagon Crochet Beret Hat is a fun, rewarding project for beginners and seasoned crocheters alike. With simple stitches and a geometric twist, it’s a stylish addition to any wardrobe — or a thoughtful handmade gift.
By following this step-by-step guide, you’ve not only crafted a unique accessory but also strengthened your understanding of circular crochet, shaping, and finishing techniques.
So grab your yarn, pick your favorite colors, and get hooking. Your perfect beret is just a few stitches away!
Video tutorial:


